
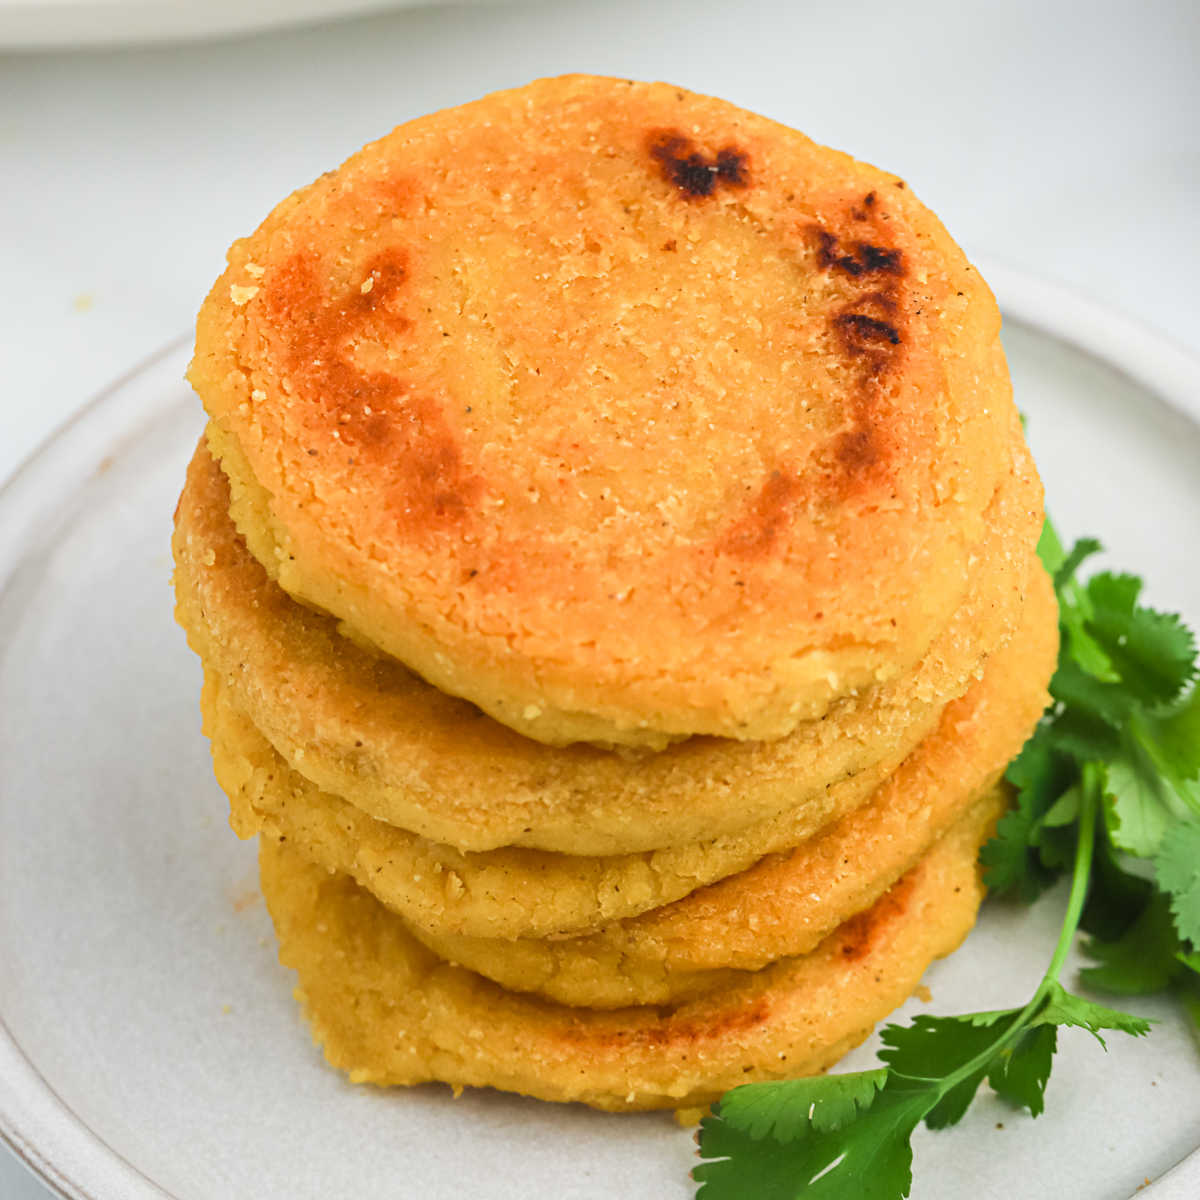
These easy arepas come straight from my father’s Venezuelan wife, and they’re the real deal — crispy and golden on the outside, soft in the middle, and made with just 4 simple ingredients. At about 25 cents each, they’re one of the most affordable breads you can make at home, and they’re ready in about 30 minutes. Split them open and stuff them with whatever your family loves, from scrambled eggs to leftover shredded beef.
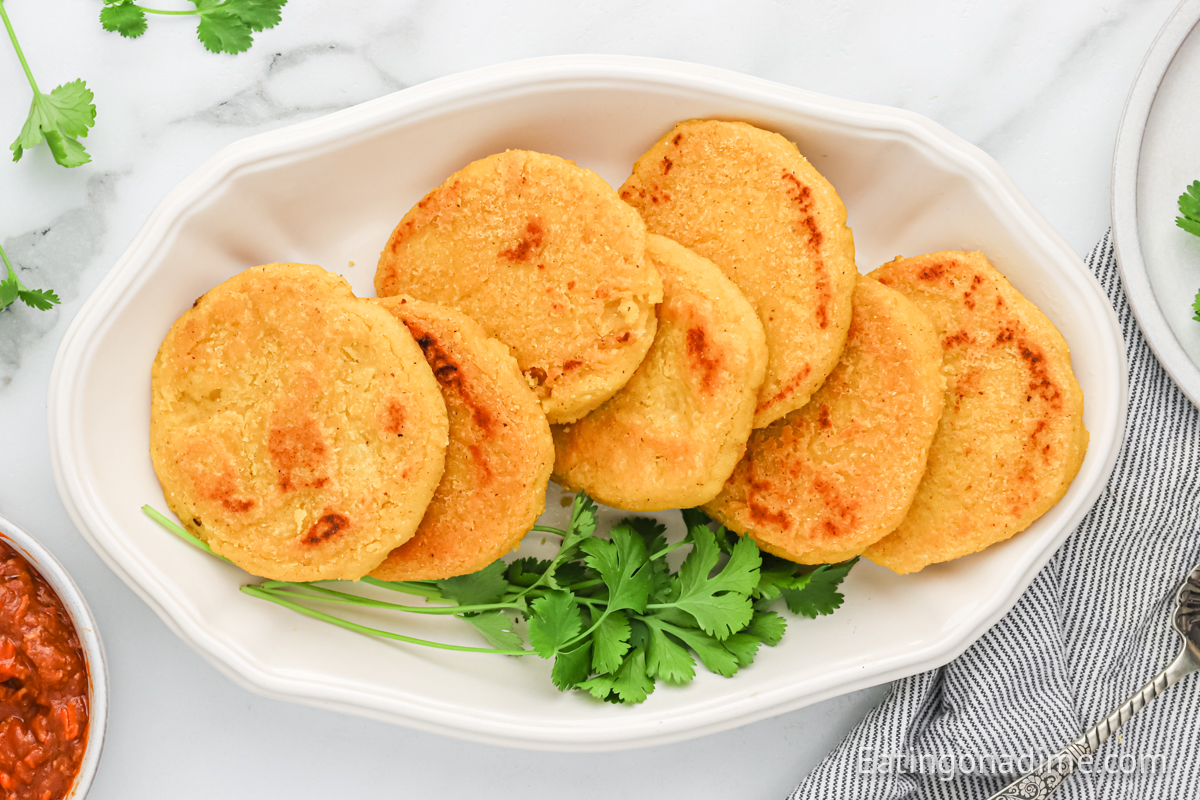
Once I started making these at home, I realized how easy and inexpensive they are. Now they’re a regular part of our meal rotation, and they’re one of my favorite ways to turn leftovers into a brand-new dinner.
Why You’ll Love This Recipe!

- Ready in about 30 minutes — no yeast, no rising time
- Easy build-your-own dinner — set out fillings and let everyone stuff their own
What are Arepas?
Arepas are a traditional cornmeal flatbread that originated in Venezuela and Colombia and have been a staple food in South America for centuries. They are made from pre-cooked corn flour mixed with water and salt, shaped into rounds, and cooked on a skillet until golden and crispy on the outside with a soft fluffy inside.
Venezuelan arepas, like these, are a little thicker with a soft center that’s made for splitting open and stuffing. Colombian arepas are usually thinner and are often eaten plain, topped, or with cheese mixed right into the dough. Both start with the same simple dough.
Ingredients
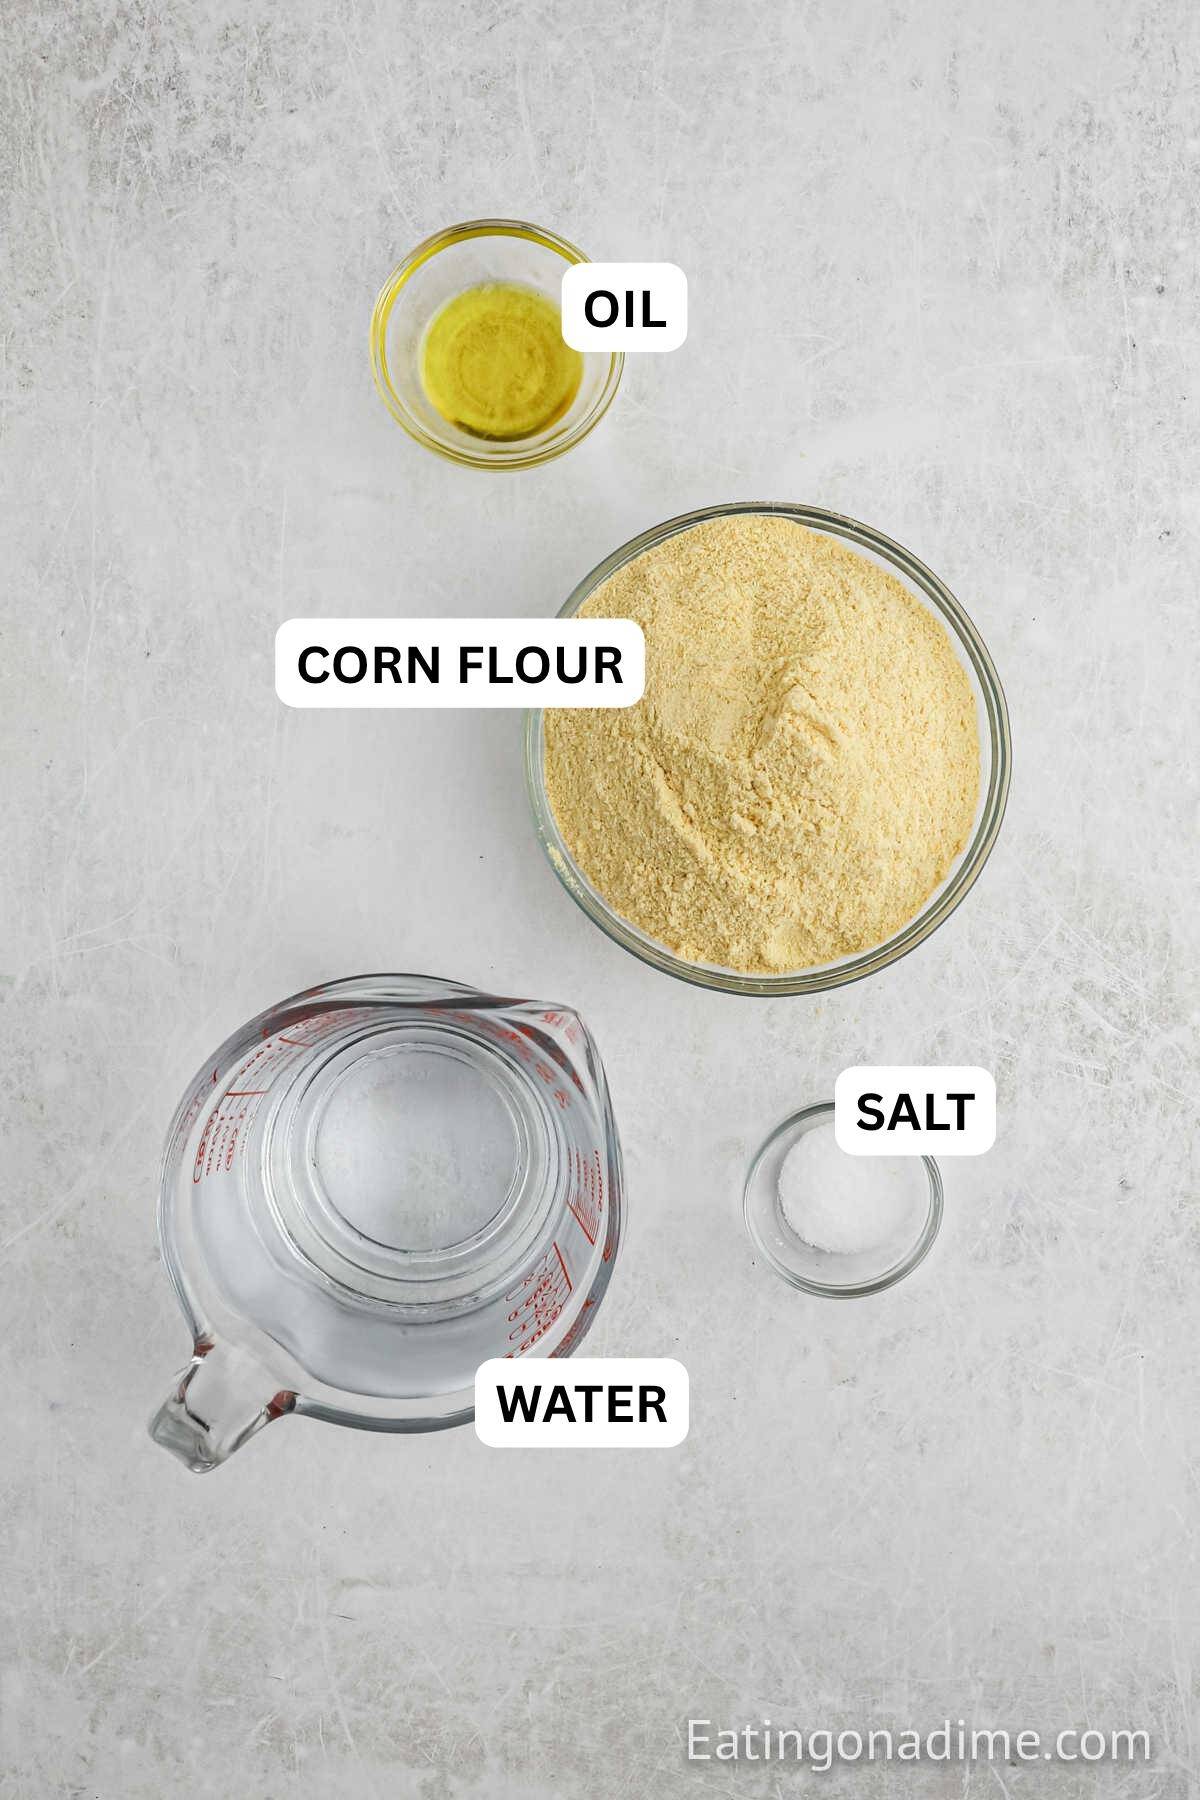
- Pre-cooked corn flour (masarepa) — this is the one ingredient you can’t swap. Look for P.A.N. or Goya in the Latin or international foods aisle. White or yellow both work. Make sure the bag says “pre-cooked.” Regular cornmeal and masa harina (used for tortillas) look similar but won’t form a smooth dough.
- Butter or oil for the skillet — just a teaspoon or two to help the outside get golden and crisp.
- Lukewarm water — lukewarm water helps the dough come together smoothly. Cold water makes the dough harder to knead
- Salt — simple seasoning that makes a noticeable difference in the final flavor
- Olive oil — adds a subtle richness and helps keep the dough from sticking to your hands. Vegetable oil also works
How to Make Arepas

Step 1 – In a large bowl, stir the salt and olive oil into the lukewarm water. Slowly pour in the pre-cooked corn flour, stirring as you go so lumps don’t form.

Step 2 – Knead the dough with your hands for a minute or two until it’s smooth and soft, like play dough. Cover the bowl and let it rest for 5 minutes. If the dough feels dry or cracks when you squeeze it, knead in more water 1 tablespoon at a time. If it’s sticky, add a spoonful of flour. Then divide it into 8 equal portions.

Step 3 – Wet your hands with a little water or oil so the dough doesn’t stick. Roll each portion into a ball, then press it between your palms into a disk about 3 to 4 inches across and about ½ inch thick. Smooth any cracks around the edges with your fingertips.

Step 4 – Heat a griddle or cast-iron skillet over medium heat and add a teaspoon of butter or oil. Cook the arepas for about 5 minutes per side, until they have a golden brown crust and sound slightly hollow when you tap them. Work in batches so you don’t crowd the pan, and keep the uncooked dough covered with a damp towel so it doesn’t dry out. Move the cooked arepas to a parchment-lined baking sheet.
Step 5 – For the fluffiest centers, bake the arepas at 350°F for 5 to 10 minutes. This step is optional, but it’s the best way to make sure thicker arepas are cooked all the way through.
Step 6 – Let the arepas cool for a minute or two (the steam inside is hot). Use a serrated knife to slice each one through the middle, leaving a small hinge on one side to make a pocket. Stuff with your favorite fillings and serve warm.
Tips for Success
- Use pre-cooked corn flour — not regular cornmeal. This is the most important tip. Regular cornmeal will not hydrate properly and will not give you the right texture.
- Let the dough rest. Five minutes of resting after kneading lets the flour fully hydrate and makes the dough much easier to shape
- Wet your hands when shaping. A little water or oil on your hands prevents the dough from sticking and helps you shape smooth even rounds
- Use medium heat. Medium heat gives you a golden, crispy outside while the inside cooks through. If the heat is too high, the outside burns before the center is done.
- Finish in the oven for the best result. The optional 5-minute oven step fully cooks the inside and gives you that authentic fluffy center that Venezuelan arepas are known for.
Arepa Troubleshooting: Quick Fixes
- Edges crack when you flatten them: The dough is too dry. Knead in lukewarm water 1 tablespoon at a time until it feels like soft play dough.
- Dough sticks to your hands: It’s a little too wet. Knead in a spoonful of corn flour, and wet your hands before shaping.
- Burnt outside, raw inside: The heat is too high or the arepas are too thick. Turn the burner to medium, keep them about ½ inch thick, and finish them in the oven.
- Gummy center when you split one: They need a few more minutes. Bake the batch for 5 more minutes.
- Dough dries out while you cook batches: Keep the shaped dough covered with a damp towel until it goes in the pan.
- Dough won’t come together at all: Check the bag — it needs to say “pre-cooked corn flour.” Masa harina and cornmeal won’t work.
Arepa Filling Ideas
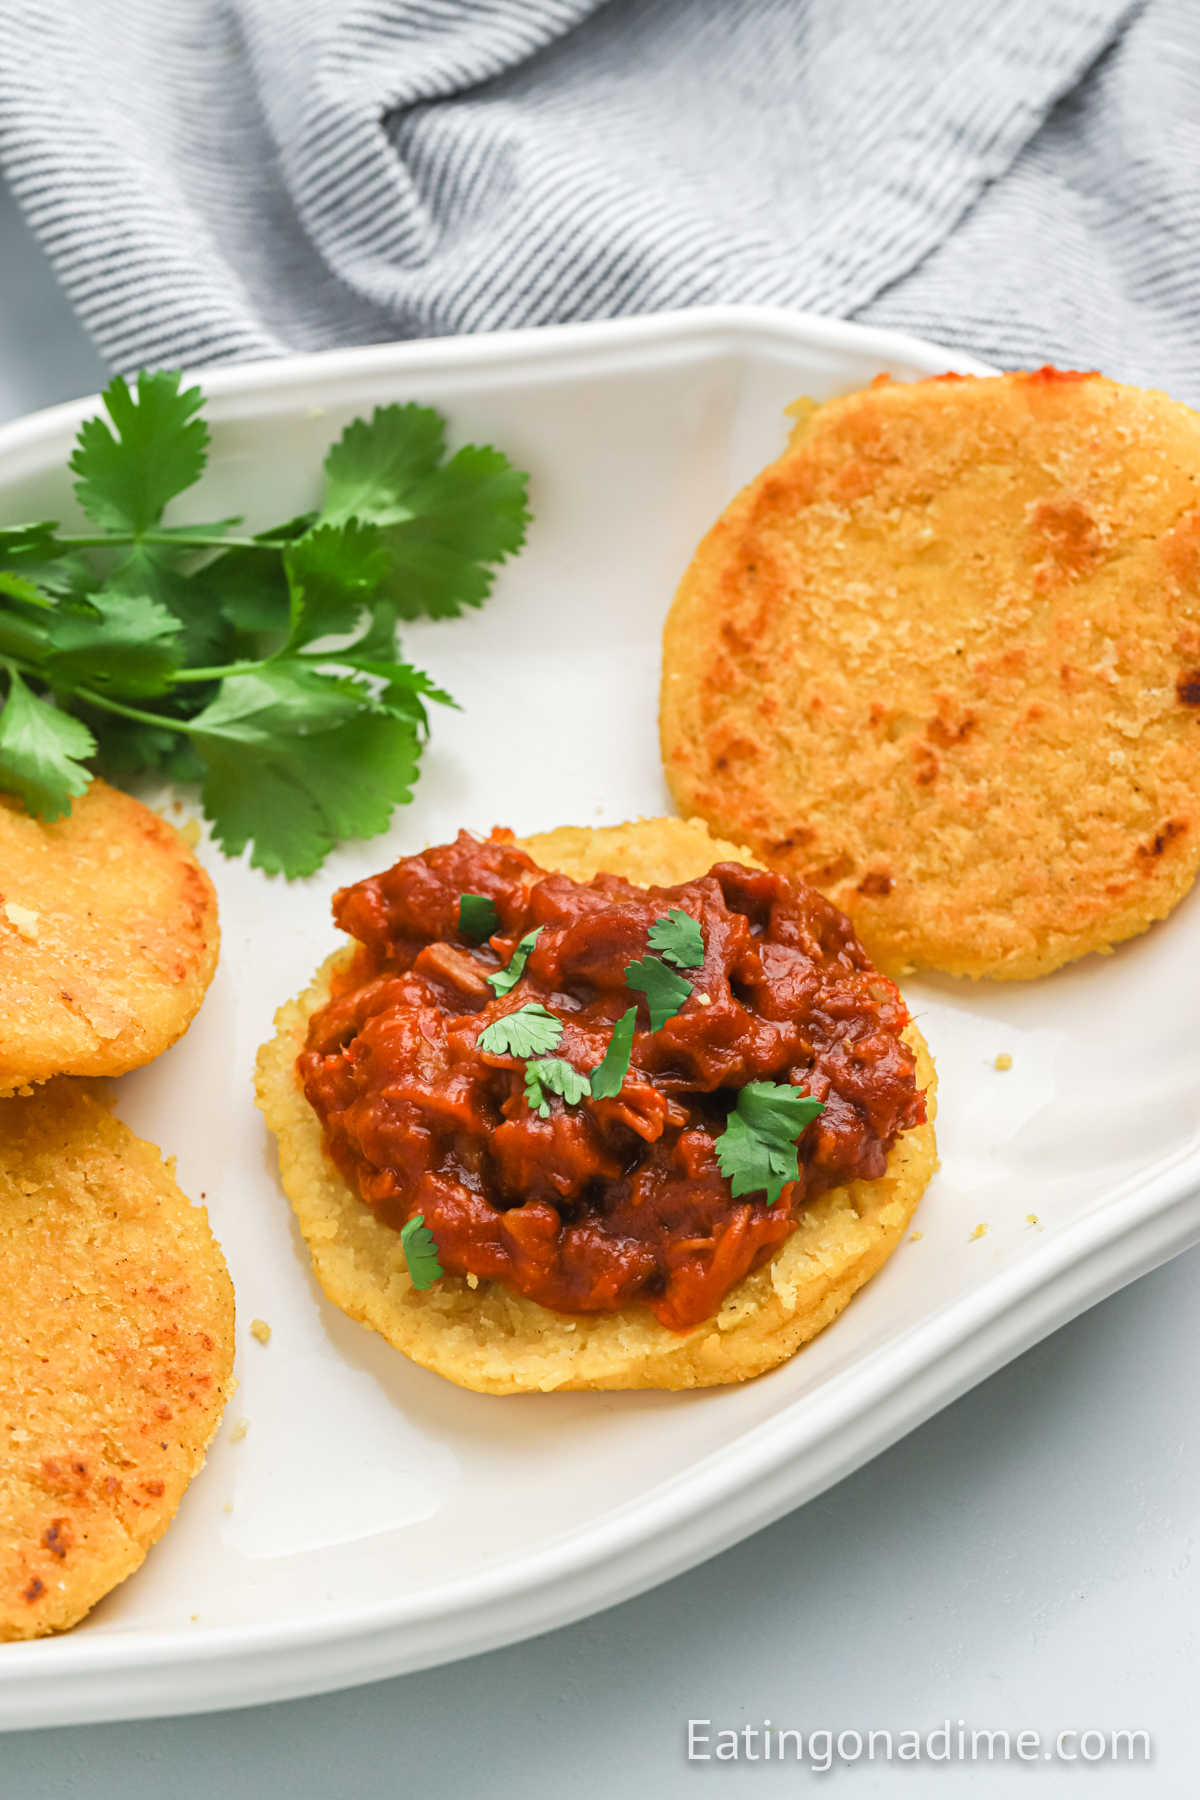
Slice each arepa through the middle to make a pocket, then fill it up. Here are some of our favorites:
- Scrambled eggs — our go-to for breakfast. Stir in a little diced tomato and onion for the Venezuelan version, called perico.
- Black beans and cheese — a classic, inexpensive combo. Use our [slow cooker black beans] or a drained can.
- Shredded beef — we love this [shredded beef recipe] for a filling, hearty dinner.
- Chicken and avocado salad — shredded chicken mixed with mashed avocado and a little mayo. In Venezuela this is called reina pepiada.
- Ham and cheese — simple and kid-friendly. Tuck the cheese in while the arepa is still warm so it melts.
- Butter and shredded cheese — the easiest option for picky eaters.
This is also a great way to use leftovers. Leftover taco meat, pulled pork, or rotisserie chicken all make an easy arepa filling.
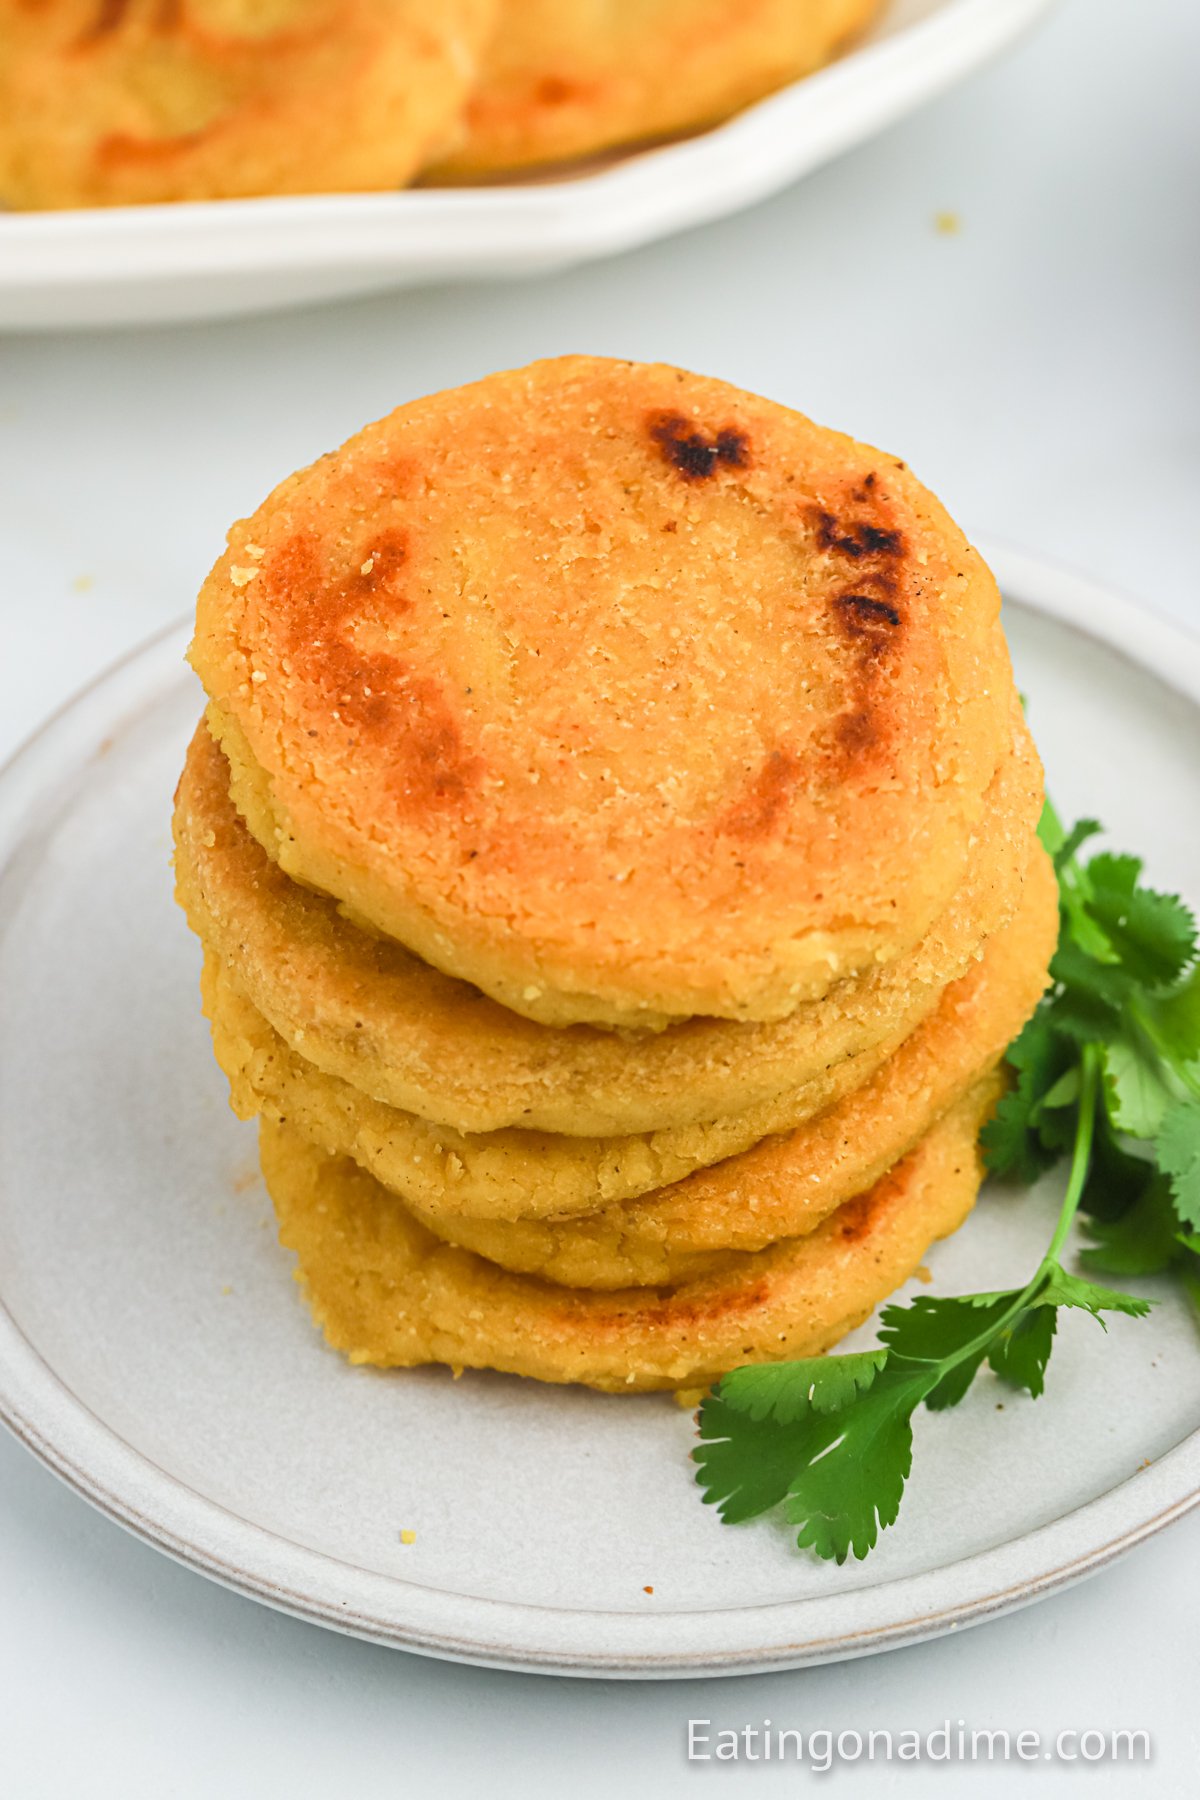
What to Serve with Arepas
Arepas work like a dinner roll or a sandwich bread, so they fit right in with all kinds of easy meals.
- Pulled Pork — pile it inside for a sandwich or serve it on the side.
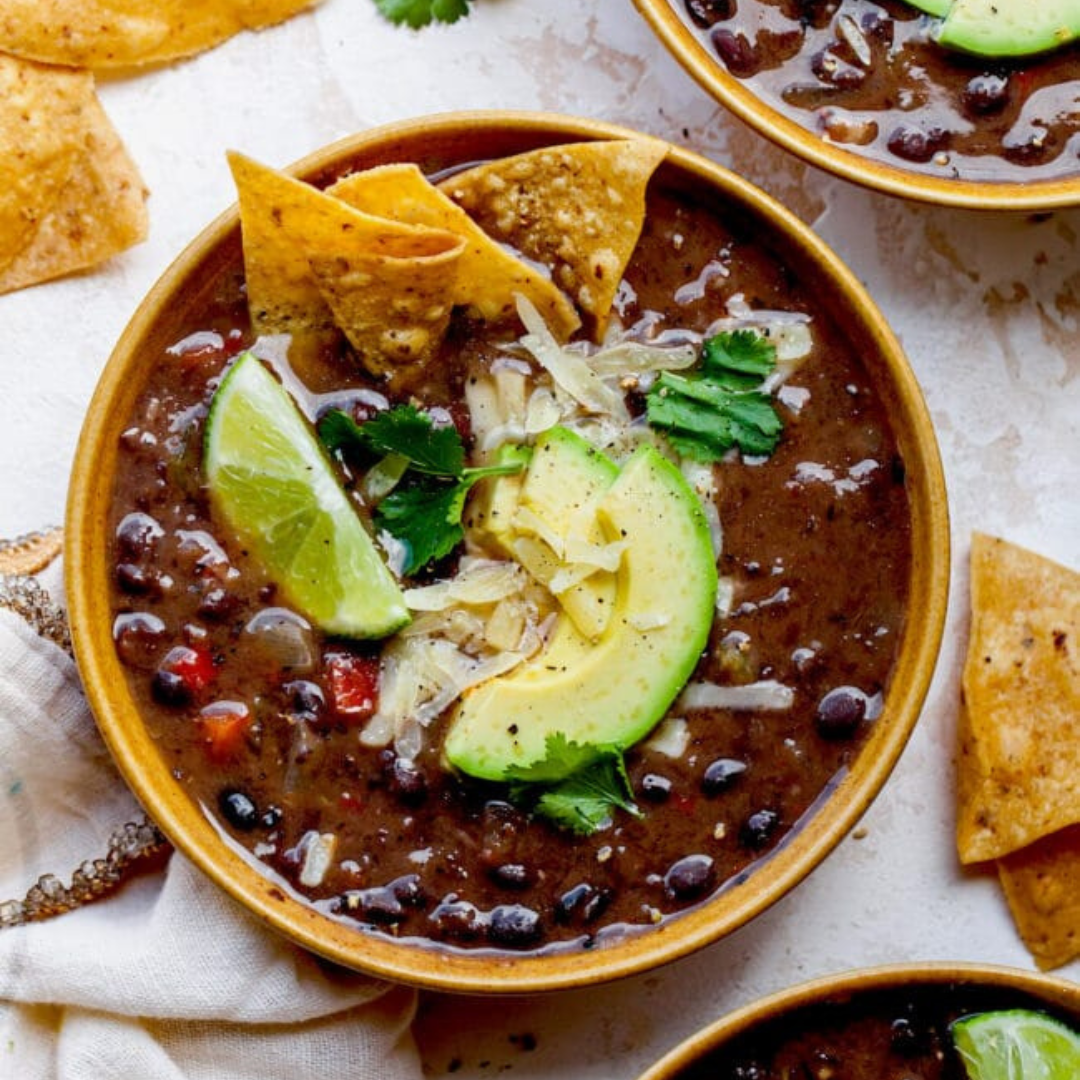
- Soups and stews — split arepas are perfect for dipping into a bowl of chili or black bean soup.
- Fried eggs and fruit — an easy, filling breakfast or breakfast-for-dinner.
- A simple salad — arepas are light, so a big green salad with avocado makes it a complete meal.
Frequently Asked Questions
Use pre-cooked corn flour — look for masarepa or PAN brand in the Latin foods aisle at most grocery stores.
Crispy and golden on the outside with a soft fluffy inside — similar to an English muffin but made from corn.
Yes! Pre-cooked corn flour is naturally gluten-free making arepas a great bread alternative for anyone avoiding gluten.
Yes! Make the full batch, cool completely, and store in an airtight container for up to 3 days or freeze for up to 3 months.
Yes. Cook the full batch, let them cool completely, and store them in an airtight container in the fridge for up to 3 days or the freezer for up to 3 months. Reheat in a 350°F oven until warm and crisp.
No. Masa harina and cornmeal are made differently and won’t form a smooth arepa dough. Look for a bag labeled “pre-cooked corn flour” or “masarepa,” like P.A.N.
They should have a firm, golden crust on both sides and sound slightly hollow when you tap them. If you split one and the center looks wet or gummy, finish the batch in the oven for a few more minutes.
The dough is a little too dry. Knead in more lukewarm water, 1 tablespoon at a time, until the dough feels like soft play dough and a flattened ball has smooth edges.
Storage and Reheating Tips
- Storing – Arepas are best fresh, but leftovers keep in an airtight container in the fridge for up to 3 days. Store fillings separately so the arepas don’t get soggy.
- Freezing – Let the arepas cool completely, then freeze them in a single layer on a baking sheet. Once firm, move them to a freezer bag for up to 3 months.
- Reheating – Bake at 350°F for about 10 minutes (a few minutes longer from frozen) until warm and crisp. You can also warm them in a dry skillet. A toaster works too — just use a toaster bag if you cooked them in butter. We skip the microwave because it makes them soft and chewy.
More Easy Bread Recipes

We love hearing from you. If you make this Arepas Recipe, please leave us a comment or a star review.
Arepas Recipe
Ingredients
- 2 cups pan corn flour
- 2.5 cups water
- 1 tsp salt
- 1 tbs olive oil
See how we calculate recipe costs.
Instructions
- Preheat oven to 350 Degrees Farenheight.
- In a large bowl, stir the salt and olive oil into the lukewarm water. Slowly add the pre-cooked corn flour, stirring until no lumps remain.
- Knead for 1–2 minutes until the dough is smooth and soft like play dough. Cover and rest 5 minutes.
- Divide into 8 portions. With damp hands, roll into balls and flatten into disks about 3–4 inches wide and ½ inch thick.
- Heat a griddle or skillet over medium heat with 1 teaspoon butter or oil. Cook arepas about 5 minutes per side until golden and they sound hollow when tapped. Work in batches.
- Optional: bake at 350°F for 5–10 minutes to make sure the centers are cooked through.
- Cool 1–2 minutes, slice through the middle to make a pocket, and fill as desired.

When you toast these they drip butter into your toaster, might want to put the bread in those toaster bag.
oh great tip – Thank you for sharing!
I read a lot of posts that are interesting here. You spend a whole lot of time writing, Thanks for sharing!
Best regards,
Boswell Valenzuela