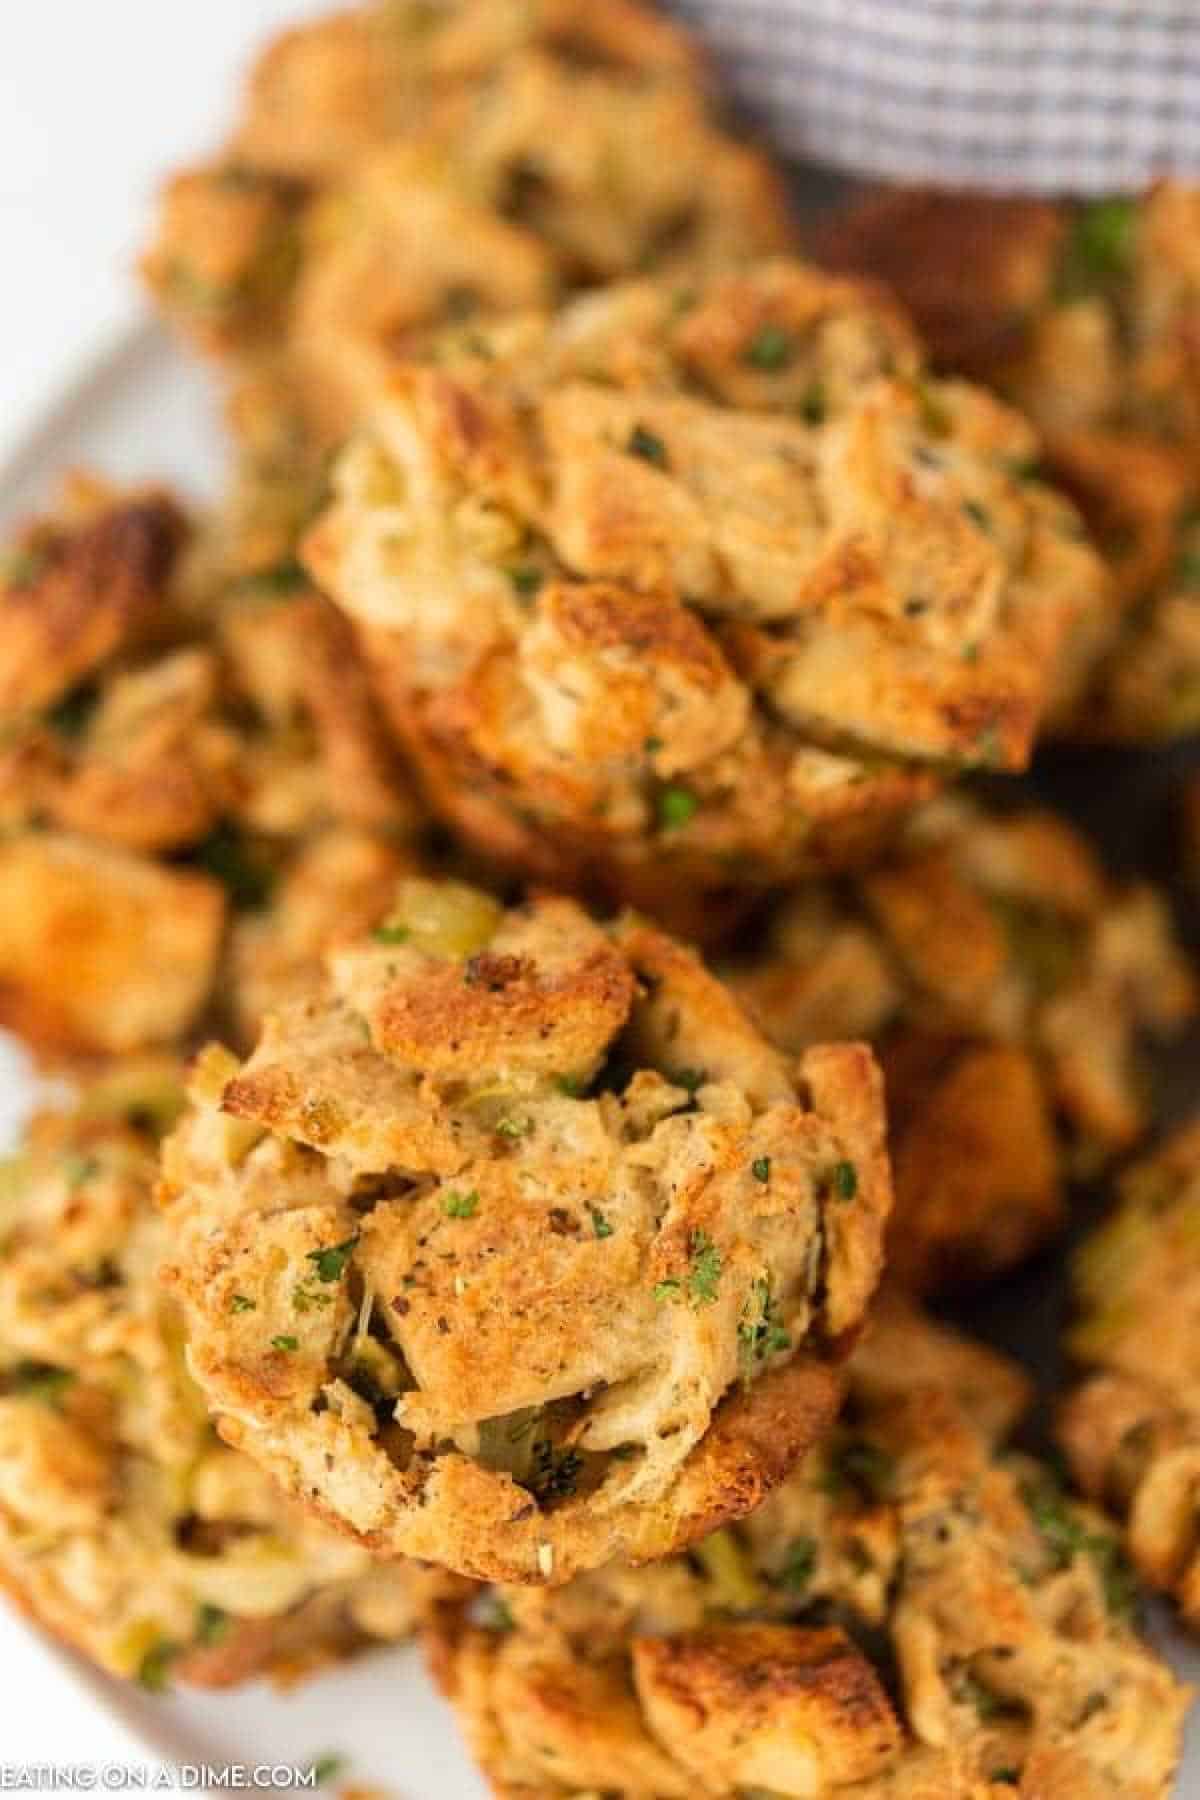
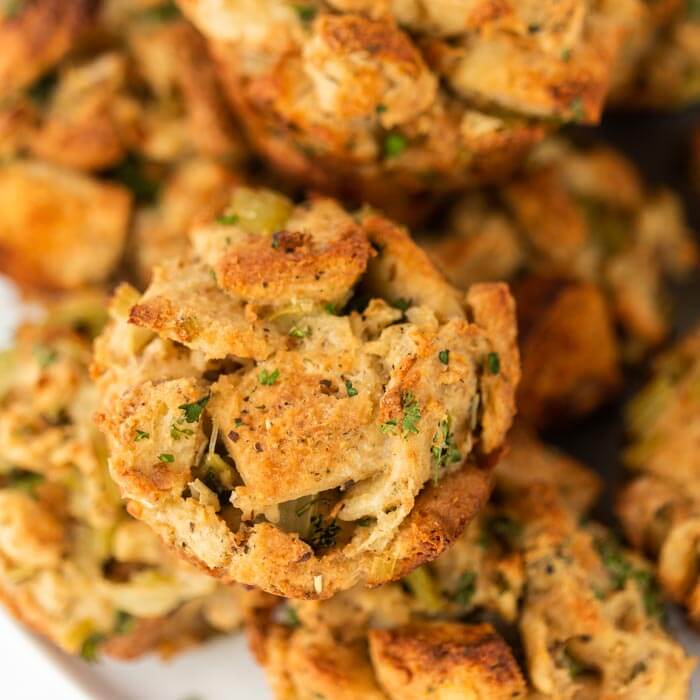
Turn pantry staples into Stuffing Muffins that are flavorful and delicious. They are so easy to make and always a hit.
I love making these stuffing muffins to serve with our Thanksgiving dinner. Being a mom of 8, I can usually get my kids to eat stuffing when I make these stuffing muffins. They are the perfect size for little hands.
Add this stuffing recipe to your other Thanksgiving Recipes this holiday. They are delicious with roasted turkey. Make sure to also check out this Easy Stuffing Recipe, Cornbread Stuffing or Best Crock Pot Stuffing Recipe for a delicious traditional stuffing recipe.
Why We Love Stuffing Muffins
These stuffing muffins are the perfect size to serve with your holiday meal. The ingredients are simple and even your kids can help make it. My kids like tearing up the bread into bread cubes to make this stuffing.
Make this portion control stuffing this holiday season for your Thanksgiving table.
Ingredients
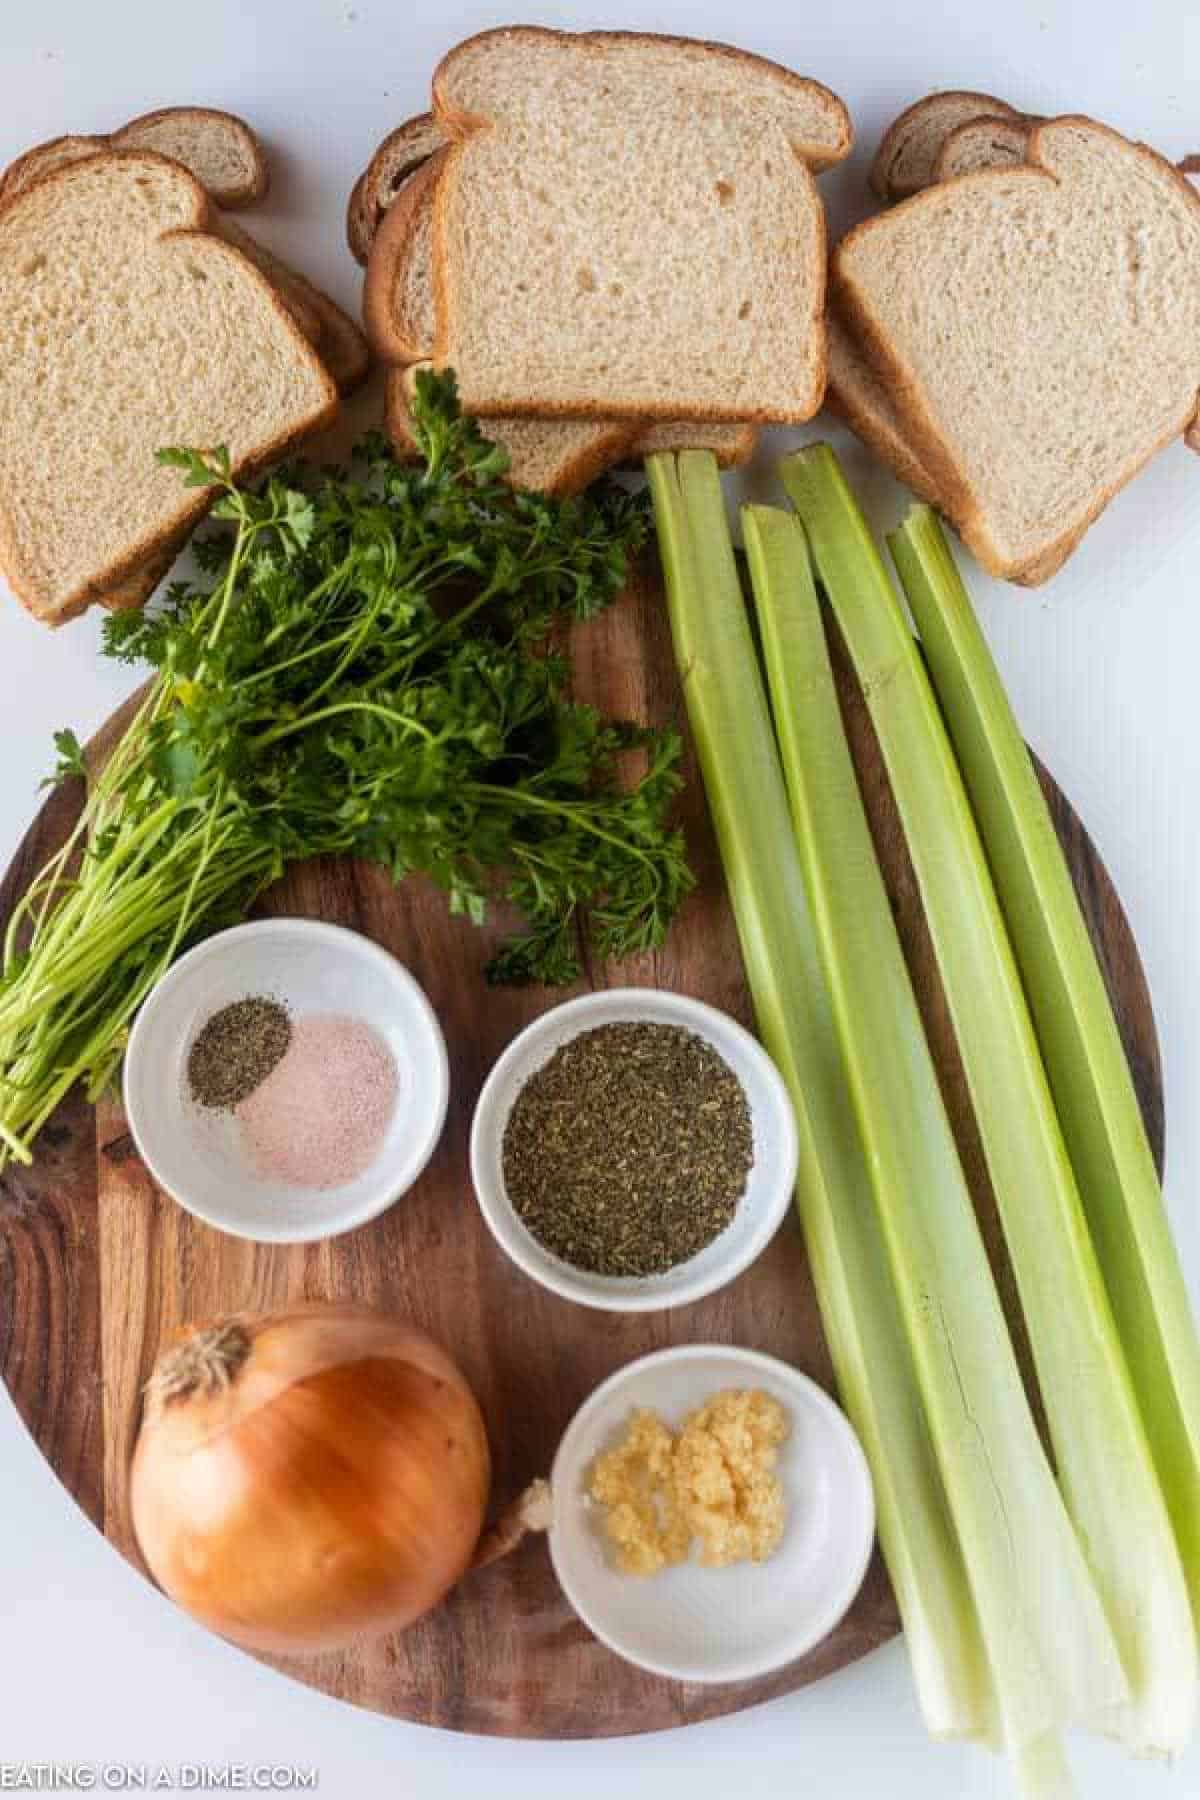
For the full recipe and ingredients, scroll to the bottom of the post for the recipe card.
Substitutions and Additions
- Add Meat – Add leftover crockpot turkey breast, bacon or ground sausage. Just don’t add too much because you want the stuffing mixture to stick together. It’s a great way to use leftovers.
- Variation of Bread– We used a loaf of white sandwich bread but you can use whatever you have on hand. Wheat bread is a good option. You can also use leftover bread from the bakery such as French bread or even rolls cut into cubes. See Best Bread for Stuffing
- Veggies – Other veggies to try include carrots and water chestnuts. I love the crunch both of these give to the stuffing cups.
- Fruit – diced apples, cranberries and raisins all make great additions. Just use what you have and love.
- Mini Size – Use a mini muffin pan to make small stuffing muffins. Kids love these and they are perfect for little hands.
Step by Step Instructions
- Step 1 – Cut the slices of bread into small pieces. I suggest about 1 inch pieces.
- Step 2 – Once the bread is cut, bake for 15 to 20 minutes until the bread has dried out. Set aside.
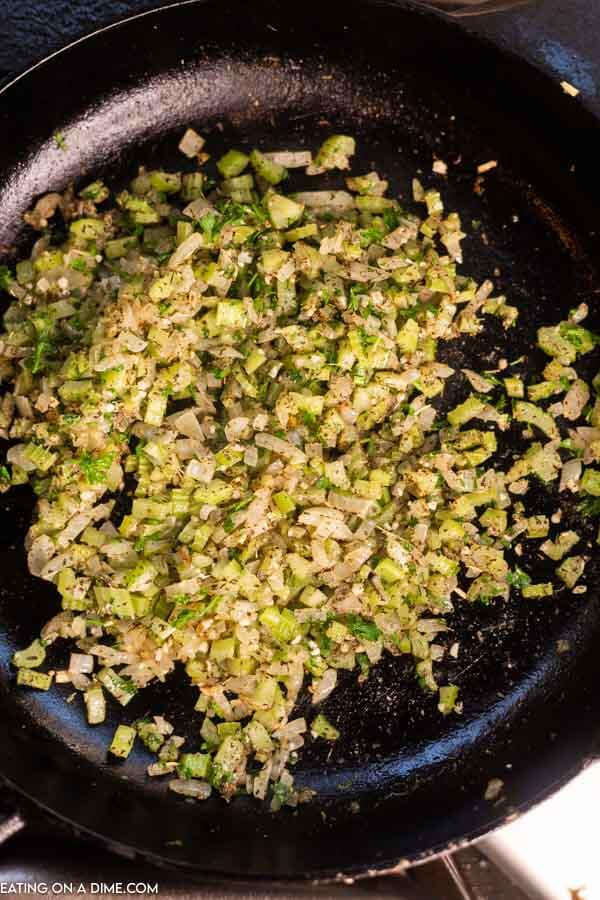
Step 3 – Add butter to a skillet. Melt over medium heat. Once the butter has been melted, add in the celery and onions. Allow the veggies to sauté for 4 to 5 minutes until they are tender. Add in seasoning to the mixture.
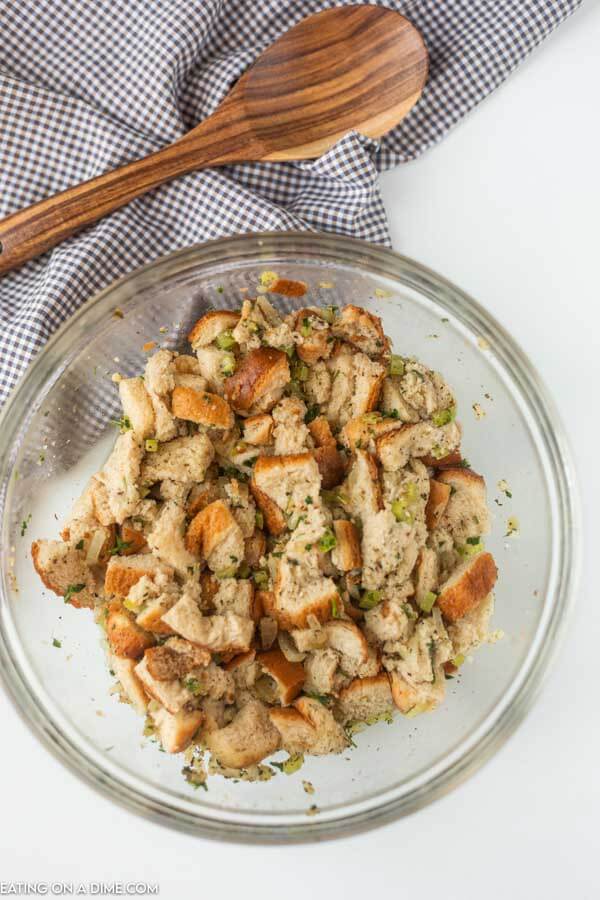
Step 4 – In a large bowl and whisk together the eggs with the chicken broth. Gently toss in the bread and stir until it is coated with the broth mixture. Add the onion and celery mixture to the bread and combine.
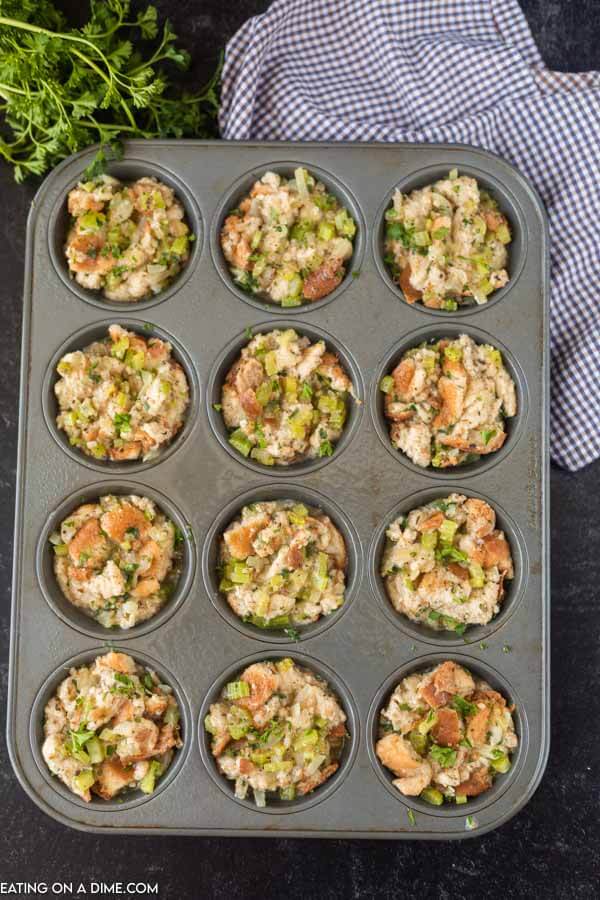
Step 5 – Prepare Muffin Tin then put the stuffing in the muffin tin. Just divide the mixture evenly between all 12 muffin cups.

Step 6 – Bake until the tops are golden brown and crispy edges. Let cool for a few minutes but serve warm.
Expert Tips
- Adding Ingredients – Be careful to not add too many extra ingredients to this recipe. If you add to much seasoning it could cause the muffins to not hold their shape.
- Rest Mixture – Let the mixture sit for 10 to 15 minutes to give the bread time to absorb all of that yummy broth and vegetable mixture. Stir this occasionally.
- Prepare Muffin Tin – You will need a greased muffin tin with 12 cups. Spray this with cooking spray and preheat the oven as well.

Frequently Asked Questions
If you want to make ahead, prepare as directed and store in the fridge. When you are ready to serve, bake in the oven and then serve.
Put leftovers in the refrigerator in an air tight container for up to 4 to 5 days.
You can freeze leftover stuffing muffin cups to enjoy later. Let them cool completely and place in a freezer bag or freezer container up to a month. Thaw and reheat in the oven or microwave.
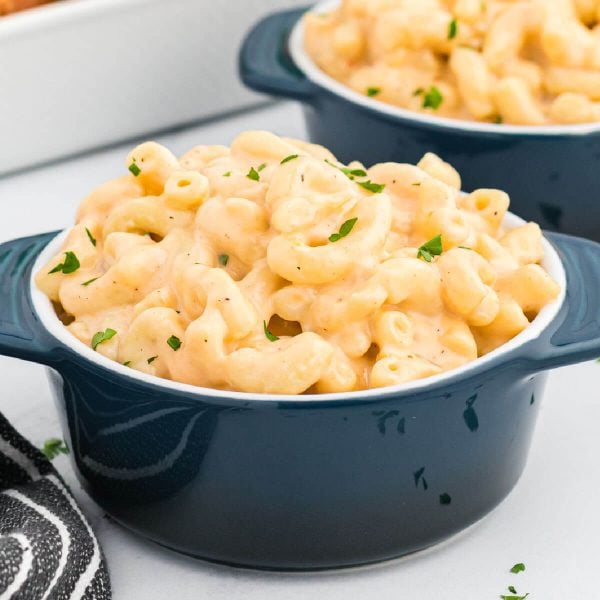
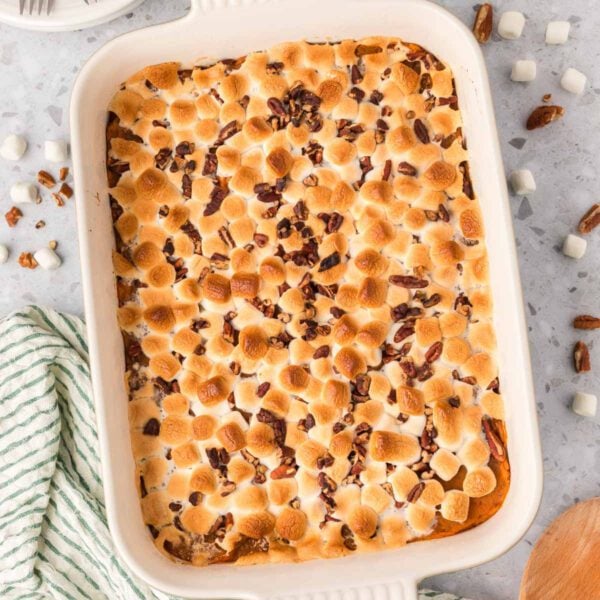
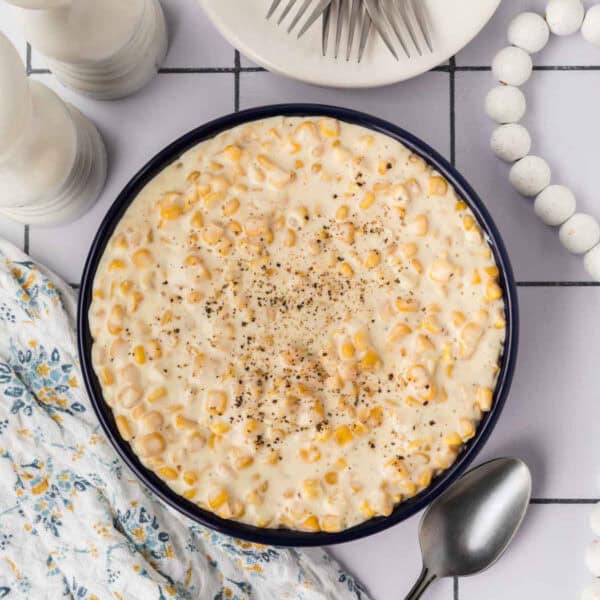
More Easy Side Dish Recipes
If you make these Stuffing Muffins Recipe, make sure to leave us a comment. We love hearing from you.
Stuffing Muffins
Ingredients
- 1 Loaf of White Bread 20 oz
- ½ cup Butter
- ½ Sweet Onion Diced
- 4 stalks of Celery . diced
- 1 Tbsp minced garlic
- ½ tsp Pepper
- ½ tsp Salt
- 2 tsp Italian Seasoning
- ¼ cup Fresh Parsley chopped
- 2 cups Chicken Broth
- 2 eggs
See how we calculate recipe costs.
Instructions
- Cut 1 loaf (20 oz) white bread into approximately 1-inch pieces. Bake the bread pieces at 325 degrees F for 15-20 minutes until the bread is dried out.
- Heat a skillet over medium heat and add ½ cup butter. Once melted, add ½ diced sweet onion and 4 diced celery stalks. Sauté for 4-5 minutes, stirring frequently, until the vegetables are tender. Stir in 1 tablespoon minced garlic and cook for 1 additional minute.
- Remove from heat and stir in ½ teaspoon pepper, ½ teaspoon salt, 2 teaspoons Italian seasoning, and ¼ cup chopped fresh parsley.
- In a large bowl, whisk together 2 eggs and 2 cups chicken broth.
- Toss in the bread and gently stir until the bread is coated with the chicken broth mixture.
- Pour the onion and celery mixture over the bread and toss well to combine.
- Then let the mixture sit for 10 minutes so that the bread can absorb the moisture stirring occasionally.
- Preheat the oven to 375 degrees F and spray a 12 cup muffin tin with a non stick cooking spray.
- Divide the stuffing mixture evenly amount the muffin cups. Bake for 30-40 minutes until the tops are golden brown and crusty.
- Let cool for 5 minutes and then serve warm. Enjoy!
- Refrigerate the leftovers in an air tight for up to 4-5 days.

Can these be made ahead of thanksgiving?
Yes they can.
Love the simplicity of this! I’m thinking of throwing the whole batch into one big pan! HA Gimme a fork when it’s done!
Can you use poultry seasoning instead of Italian seasoning.
Yes, you can.
Could you use boxed stuffing mix?
I haven’t tried that yet so I’m not sure. If you try it, please let me know how it turns out!