These Butter Mints are perfect for any occasion. This old fashioned butter mints candy is full of flavor and made with simple ingredients.
Butter mints in a white bowl.
Want to save this?
Just enter your email and I’ll send it right to you, plus great new recipes weekly!

We love making these Butter Mints anytime we are hosting a party or a bridal shower. Their soft and creamy texture makes them a crowd favorite. They melt in your mouth and offer the perfect after dinner sweetness.

This tiny candy is so addicting like these dessert recipes – Quick and Easy Rolo Pretzels and our 3 Ingredient Pecan Rolo Pretzels.

Why We Love This Recipe

We love this recipe because of how simple it is to prepare. Feel free to change the color to what you prefer and enjoy these tasty soft mints for any wedding or baby shower.

They are the perfect addition to any celebration or as easy after dinner mints.

What Are Butter Mints?

Butter mints are an old-fashioned American candy made with butter, powdered sugar, cream, and peppermint extract. These small, pastel-colored candies melt quickly in your mouth and are often called wedding mints or dinner mints. They have been served at weddings, baby showers, church gatherings, holiday parties, and bridal showers for generations.

Homemade butter mints are also budget friendly. A full batch costs much less than store-bought mints and gives you more candy with fresh homemade flavor.

Ingredients

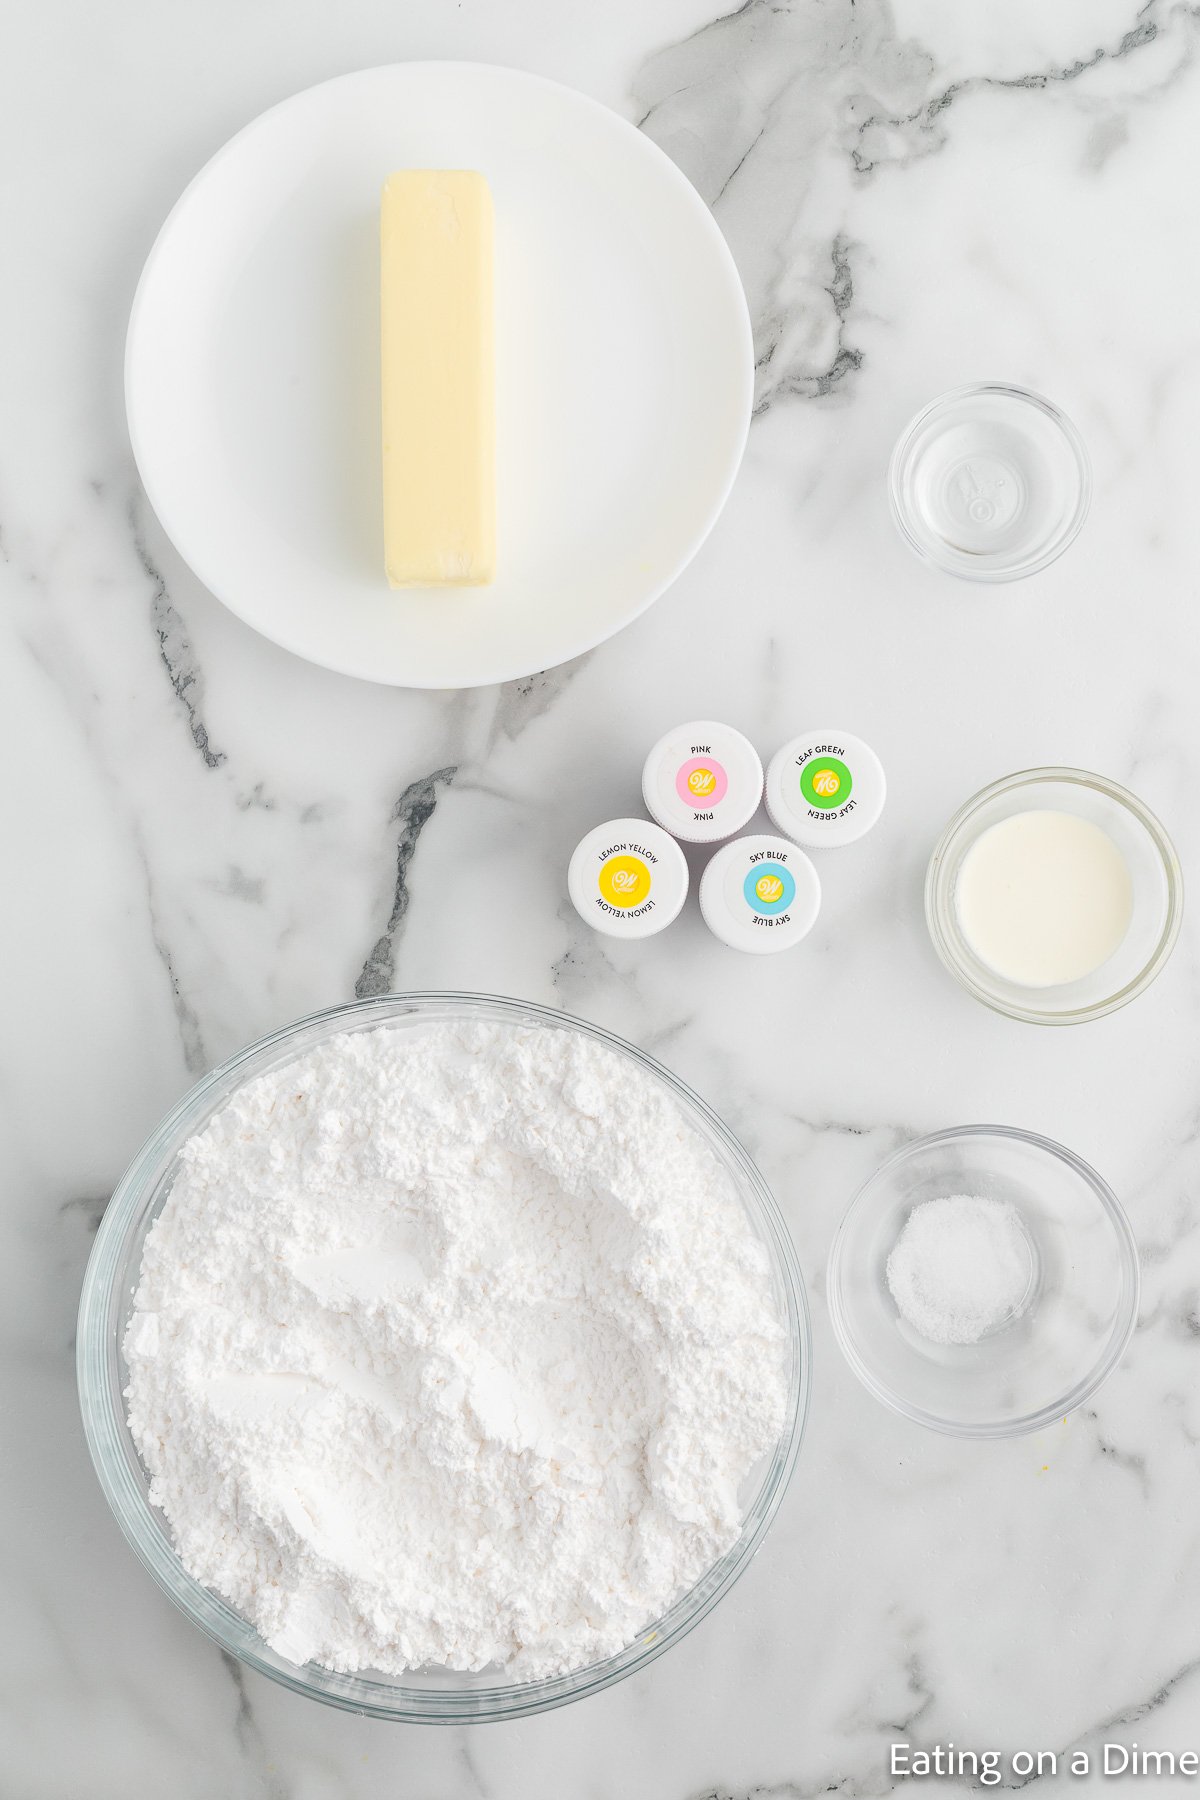
Ingredients for recipe: butter, heavy cream, salt, peppermint extract, powdered sugar, food coloring.
  • Unsalted butter, softened — the star ingredient that gives butter mints their signature rich creamy flavor and smooth melt-in-your-mouth texture. Always soften to room temperature before beating — cold butter will not cream properly and gives you a lumpy dough
  • Heavy whipping cream — adds just enough moisture to bring the dough together without making it sticky. A little goes a long way — just 1 tablespoon is all you need
  • Salt — balances the sweetness of the powdered sugar and enhances the peppermint flavor throughout. Do not skip — even a small pinch makes a noticeable difference
  • Peppermint extract — the signature flavor that makes these butter mints. Always use peppermint extract rather than peppermint oil — see the Peppermint Extract vs Oil section above for the important difference between the two
  • Powdered sugar — gives the mints their structure and sweetness. The amount you need may vary slightly depending on how you measure — add a tablespoon at a time until the dough is smooth and pliable but not sticky
  • Food coloring — completely optional but what gives butter mints their signature pastel appearance. Gel food coloring gives the most vibrant color with the fewest drops — liquid food coloring works but may require more drops to achieve the same depth of color

Peppermint Extract vs Peppermint Oil — What Is the Difference?

These two ingredients are not interchangeable and using the wrong one can completely overpower your butter mints. Here is what you need to know:

Peppermint extract — what this recipe uses. It is diluted in alcohol and has a milder more balanced peppermint flavor that is perfect for candy making. Most grocery stores carry it in the baking aisle.

Peppermint oil — significantly stronger and more concentrated than extract. If you want to substitute peppermint oil for peppermint extract use about ¼ teaspoon of oil for every 1 teaspoon of extract called for in the recipe. Using a full teaspoon of peppermint oil instead of extract will make your butter mints overwhelmingly strong.

Bottom line — always use peppermint extract for this recipe unless you specifically have peppermint oil and are using the reduced amount.

How to Make Butter Mints

Follow my simple instructions to learn how you can make your own butter mints at home.

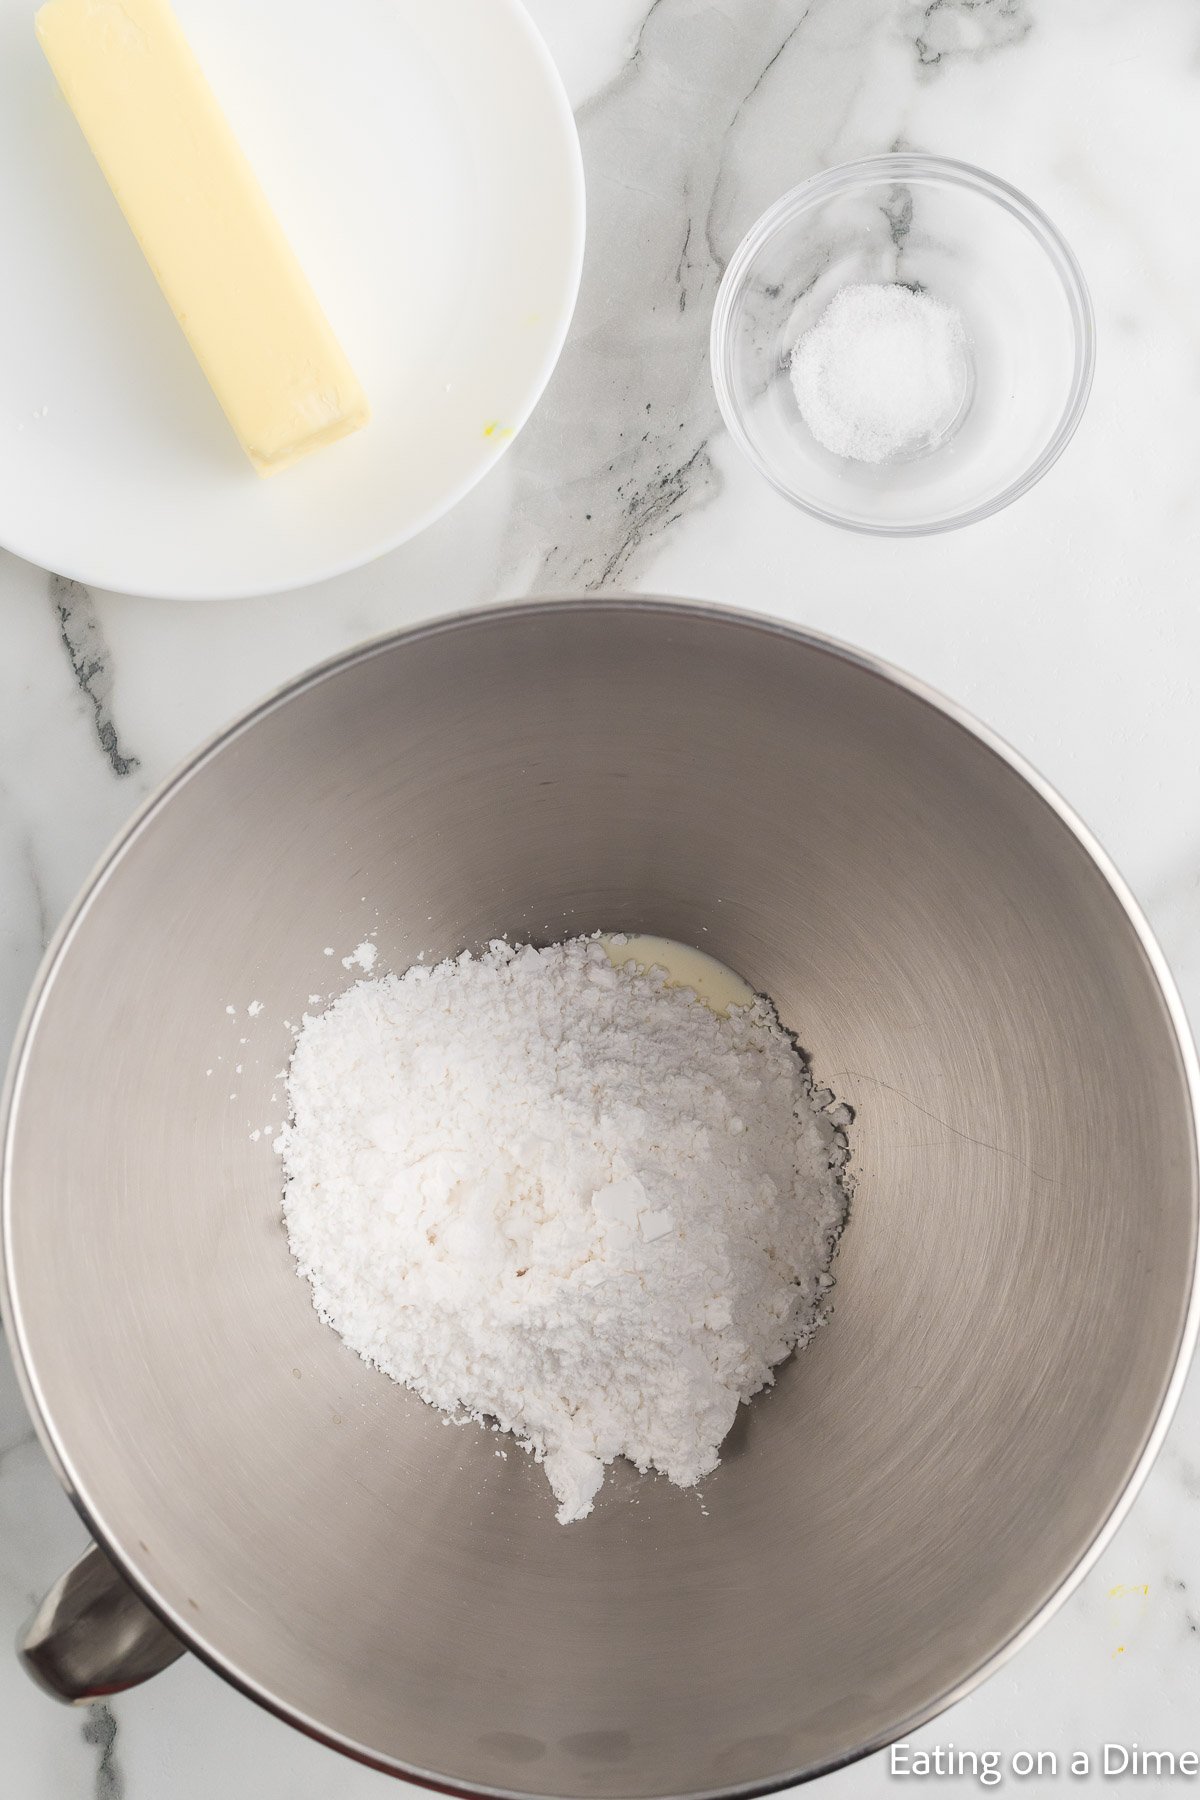
Mixing the heavy cream, salt, extract and powdered sugar together.

Step 1 – Beat together the butter, heavy whipping cream, salt, peppermint extract and 1 cup of powdered sugar together with a hand held mixer or stand up mixer until smooth and creamy.  

Adding the powdered sugar to the butter mixture.

Step 2 – Slowly add in the remaining powdered sugar, 1 cup at a time, scraping down the sides of bowl after each addition.  Beat for 2-3 minutes. 

Dough divided into 4 bowls.

Step 3 – Divide the mixture evenly into 4 bowls.  Dye one green, one yellow, one pink and one blue with food coloring.  Add 3-4 drops and mix in until the mixture is the color you prefer. 

Dough bowl divided in a bowl dyed with food coloring.

Step 4 – Cover the bowls and refrigerate for at least 1 hour for the dough to become firm. 

Dough ball with a portion rolled into a rope.

Step 5 – Once chilled, remove one bowl and divide the mixture into 6 sections.  Sprinkle a work surface with powdered sugar.  Roll each into a rope that is approximately ½ inch thick.  Then cut each rope into ½ inch long pieces. 

Finished outcome in the parchment paper.

Step 6 – Place the mints on a baking sheet lined with parchment paper. Let the mints sit at room temperature for 24-48 hours until they are completely dried out. Then serve and enjoy!  

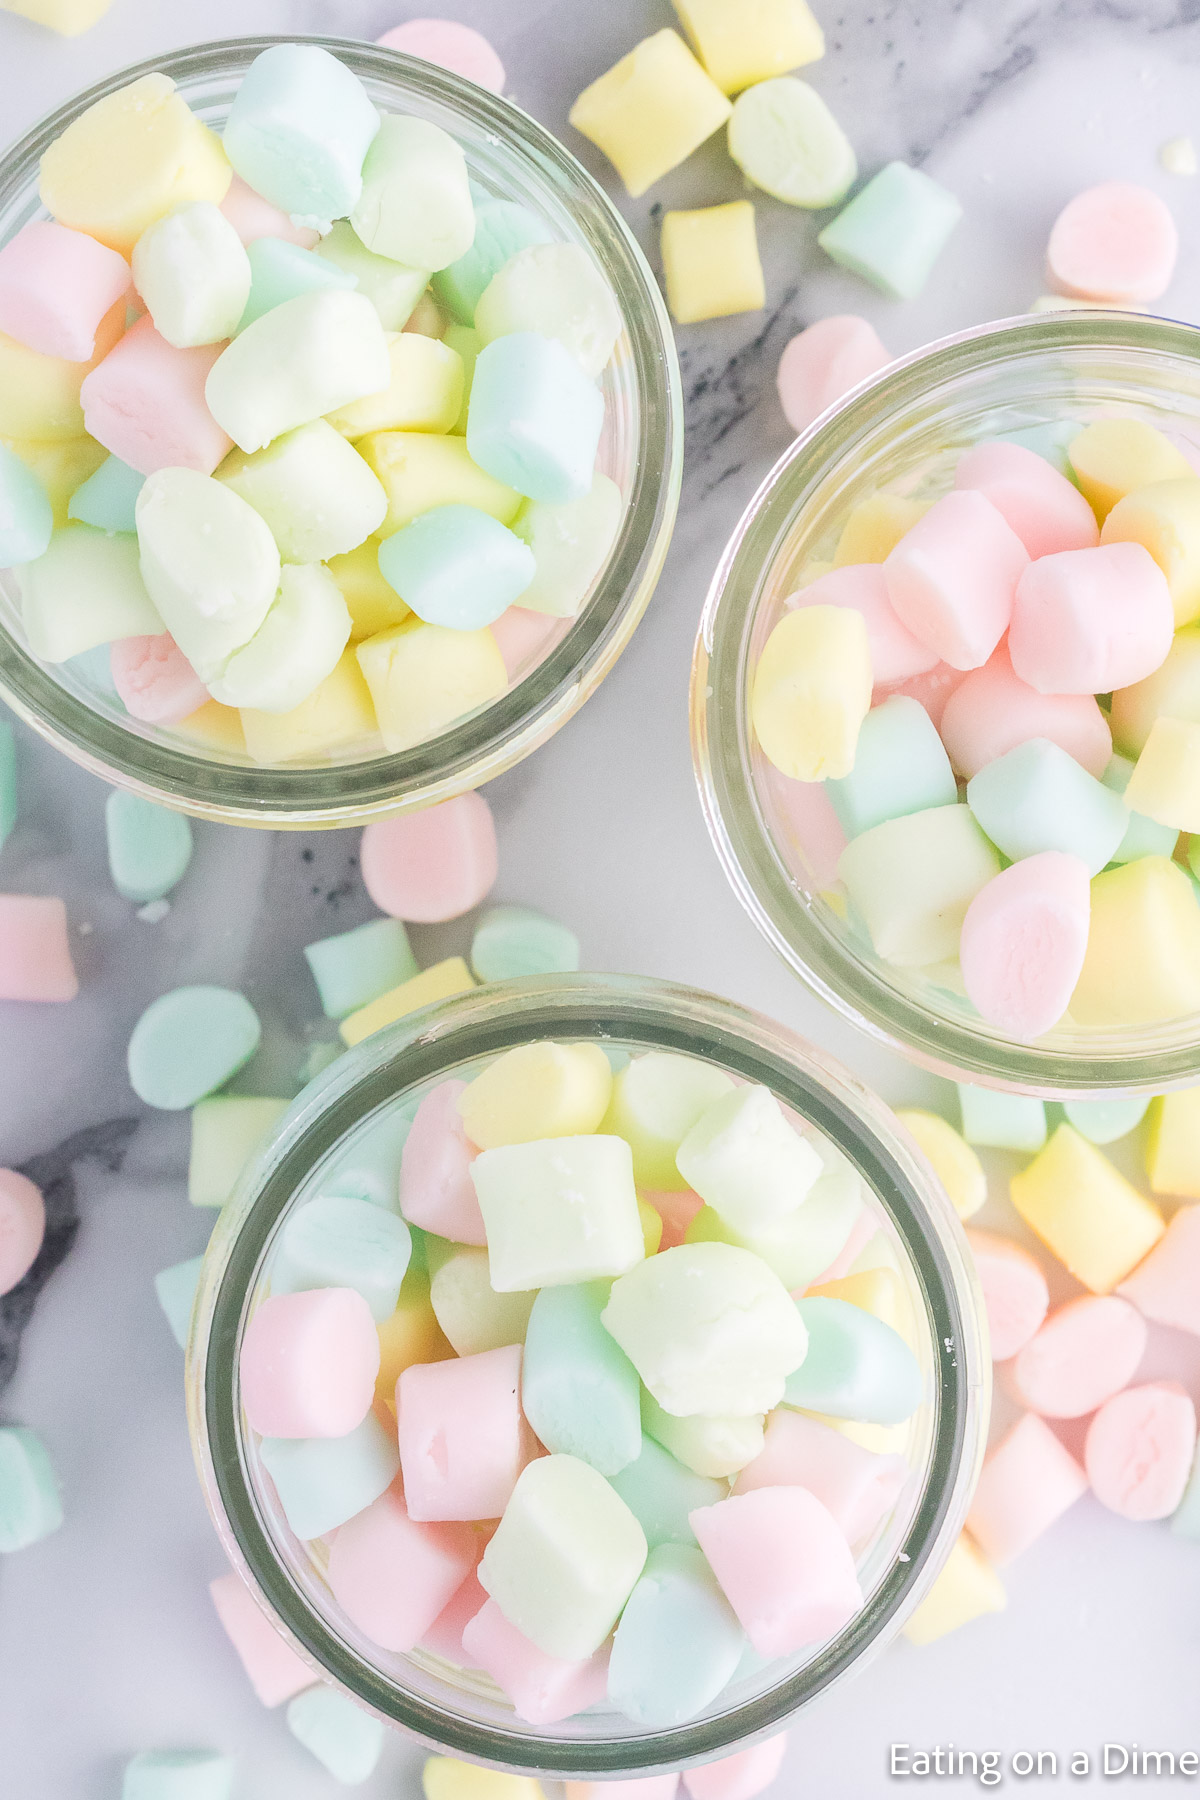
Mints in a jar.

Recipe Tips

  • Combining Ingredients – Combine the ingredients in a bowl of a stand mixer with the paddle attachment.
  • Desired Consistency – Add in powdered sugar to get the right consistency you prefer.
  • Cutting the mints – We recommend using a sharp knife to cut the butter mint dough.
  • What if my dough is too dry? – Add a few drops of heavy cream at a time — just 3 to 4 drops — and beat again until the dough comes together. Powdered sugar measures differently from person to person so a small liquid adjustment is completely normal and does not mean anything went wrong.
  • What if my dough is too sticky? – Add powdered sugar one tablespoon at a time and beat until the dough is smooth and pliable but no longer sticking to your hands. The dough should feel similar to soft Play-Doh — firm enough to roll into ropes without sticking to the work surface.
  • Cover the bowls you aren’t currently working with using a damp paper towel. This keeps the dough from drying out or cracking while you finish rolling and cutting the other colors.

Variations and Substitutions

Food Coloring — Match Any Occasion – Change the color to match any celebration — pink and white for baby showers blue and silver for weddings green and red for Christmas pastel yellow and lavender for Easter. Gel food coloring gives the most vibrant result — start with 2–3 drops and add more until you reach your preferred shade.

Shapes — Get Creative – You can roll the dough into balls press into flat mint buttons with your thumb or use small mini cookie cutters for a more decorative shape. Keep the pieces small — larger shapes take significantly longer to dry and may not fully set in the 24–48 hour window. The traditional ½ inch piece is the right size for complete drying.

Flavor Variations – Swap the peppermint extract for a teaspoon of vanilla extract for a classic vanilla mint. Lemon extract gives a bright citrusy version that is beautiful at spring and summer parties. Orange extract or almond extract both give elegant sophisticated flavor profiles that work beautifully at weddings and showers. Always use the same amount as the peppermint extract called for in the recipe.

Kool-Aid packets – stir in a packet of unsweetened Kool-Aid mix instead of extract and food coloring for a fun, kid-friendly way to add both flavor and color in one step.

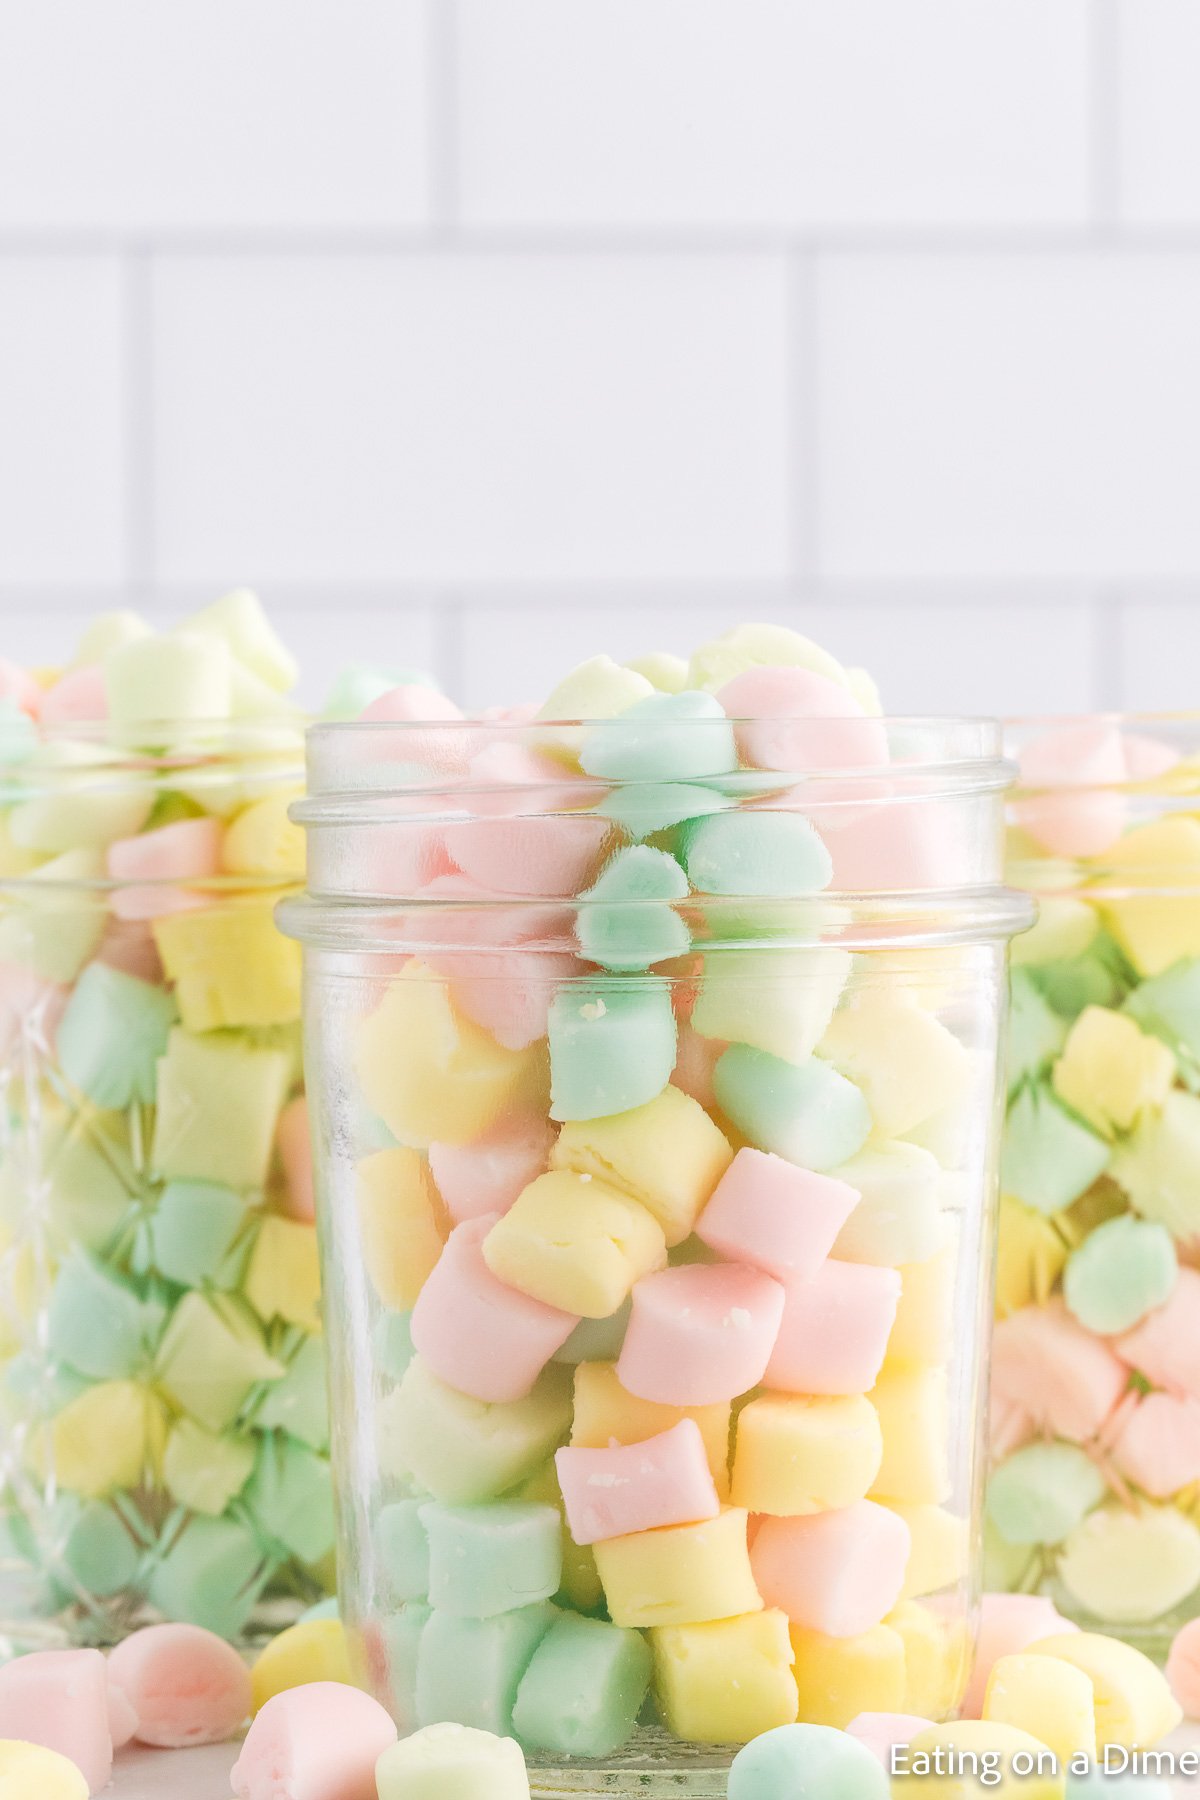
Butter Mints in a jar.

Storage and Freezer Instructions

Room Temperature

  • Store in an airtight container at room temperature for up to 2–3 weeks. Separate layers with wax paper or parchment paper to prevent the mints from sticking together. Always make sure the mints are completely dried for the full 24–48 hours before storing or they will stick
  • In a hurry? Skip the 24-48 hour dry time and refrigerate the shaped mints instead until ready to serve. They’ll be softer than the traditional dried version, but still delicious — a good option if you’re short on time.

Freezer

  • Freeze in a freezer-safe airtight container with layers separated by wax paper for up to 3 months. Thaw at room temperature for 30–60 minutes before serving. Never thaw in the microwave as the mints will melt

Make-Ahead
Butter mints are one of the best make-ahead party candies — make them up to 2–3 weeks before any event and store at room temperature. For weddings and large events make 2–3 batches over several weekends and freeze so everything is done well in advance

Frequently Asked Questions

What are butter mints made of?

Butter mints are made with just 5 simple ingredients — softened butter heavy cream salt peppermint extract and powdered sugar — plus optional food coloring for the classic pastel appearance.

Do butter mints need to be refrigerated?

No — once fully dried for 24–48 hours butter mints store perfectly in an airtight container at room temperature for up to 2–3 weeks without refrigeration.

What if my butter mint dough is too dry or too sticky?

If too dry add a few drops of heavy cream at a time and beat again. If too sticky add powdered sugar one tablespoon at a time until the dough is smooth and pliable but no longer sticking to your hands.

Why won’t my mints fully dry and harden?

A few things can cause this: liquid food coloring can add extra moisture (switch to gel), a humid or warm kitchen slows drying significantly, or the dough may have been slightly too wet to begin with. If your mints are still soft after the full 24-48 hours, spread them out in a single layer with more space between pieces and give them another 24 hours — most fully set with a bit of extra time.

More Easy Mint Recipes

We love hearing from you. If you make these Homemade Butter Mints Recipe, please leave us a comment or a star review.  

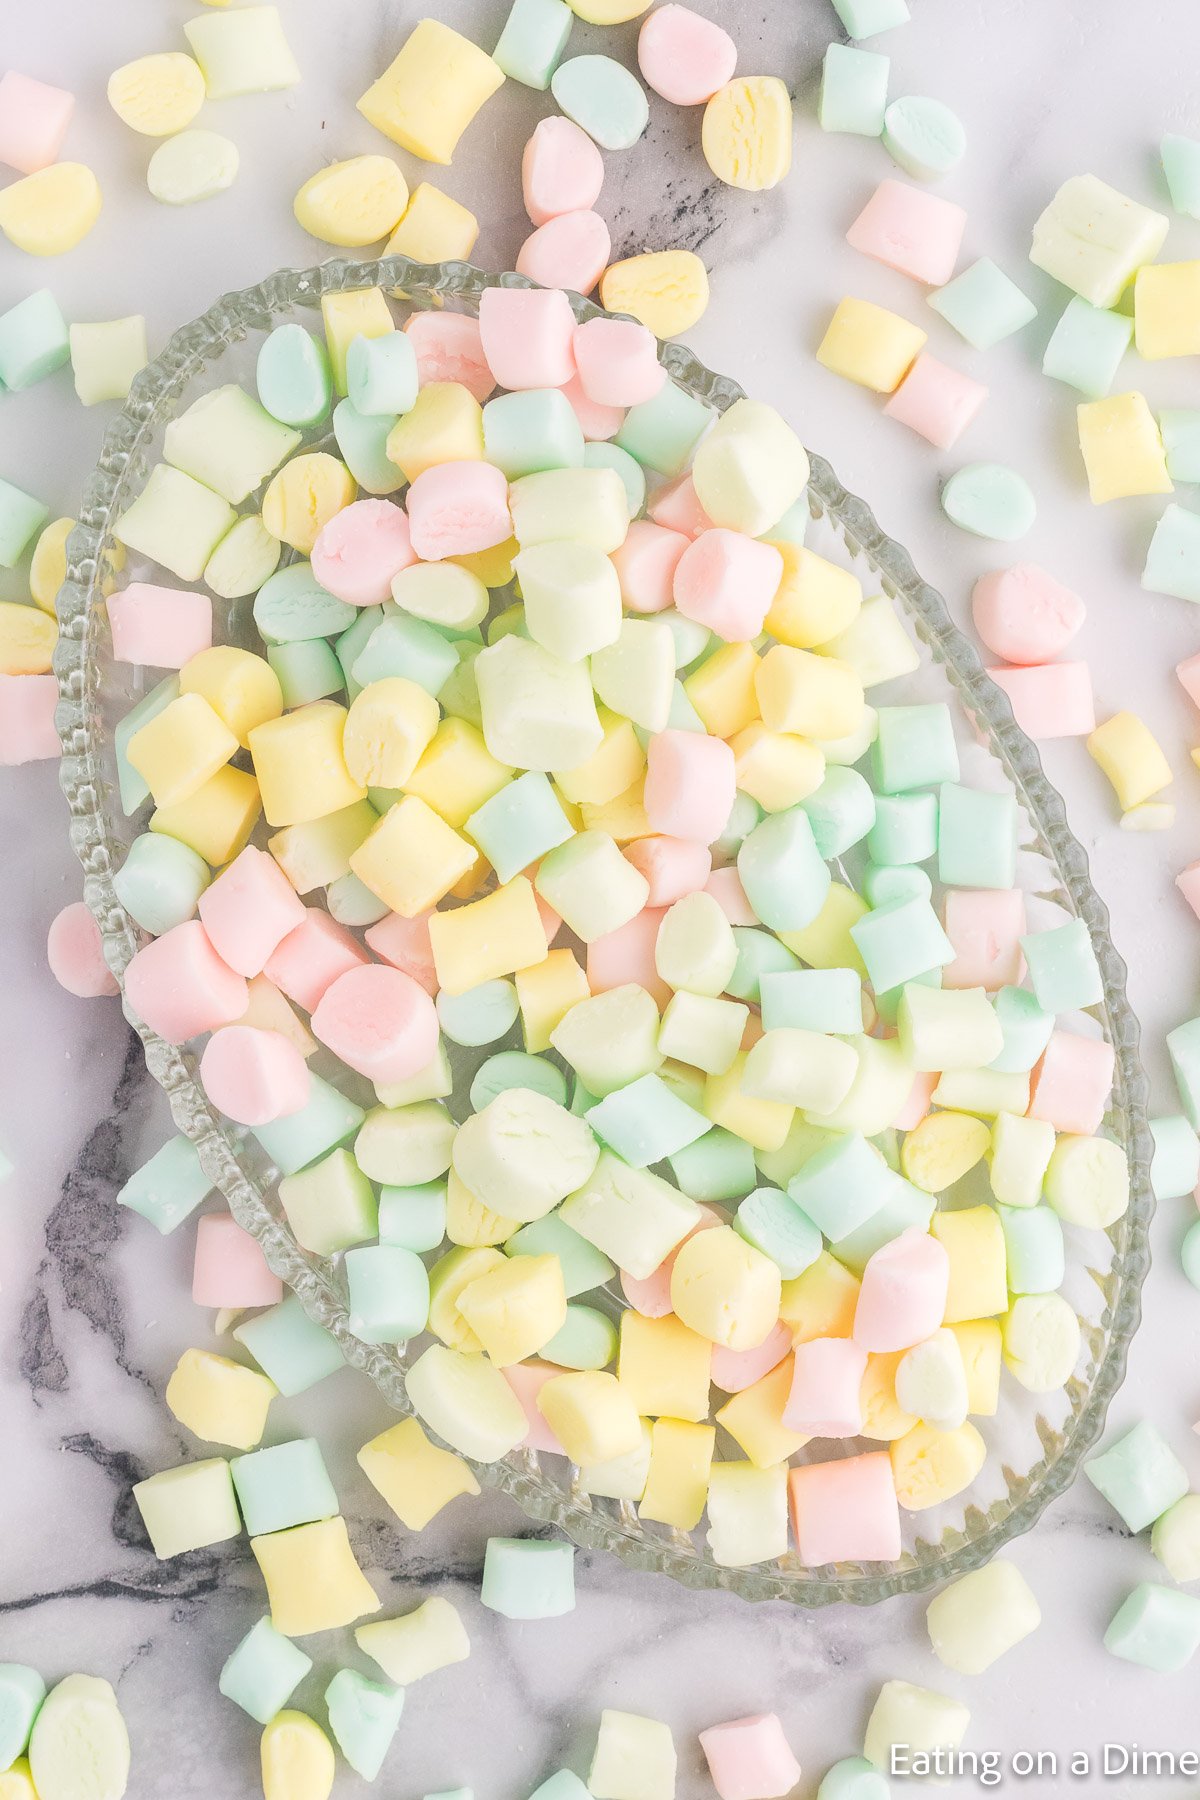
A glass platter filled with pastel-colored mini marshmallows and butter mints, mostly in shades of pink, yellow, green, and blue, rests on a marble surface with some sweets scattered around it.

Butter Mints

5 from 2 votes
Estimated Cost: $3.00, $0.25 per Servings
These Butter Mints are perfect for any occasion. This old fashioned candy are full of flavor and made with simple ingredients.
Prep Time 1 hour 30 minutes
Let the mints sit at room temperature 1 day
Total Time 1 day 1 hour 30 minutes
Servings 12
Cuisine American
Course Dessert
Calories 73
Want to save this?
Just enter your email and I’ll send it right to you, plus great new recipes weekly.

Ingredients

  • ½ cup Unsalted Butter softened
  • 1 Tablespoon Heavy Whipping Cream
  • ¼ teaspoon Salt
  • 1 teaspoon Peppermint Extract
  • 4 cups Powdered Sugar
  • Food Coloring optional

See how we calculate recipe costs.

Instructions

  • Beat together the butter, heavy whipping cream, salt, peppermint extract and 1 cup of powdered sugar together with a hand held mixer or stand up mixer until smooth and creamy.
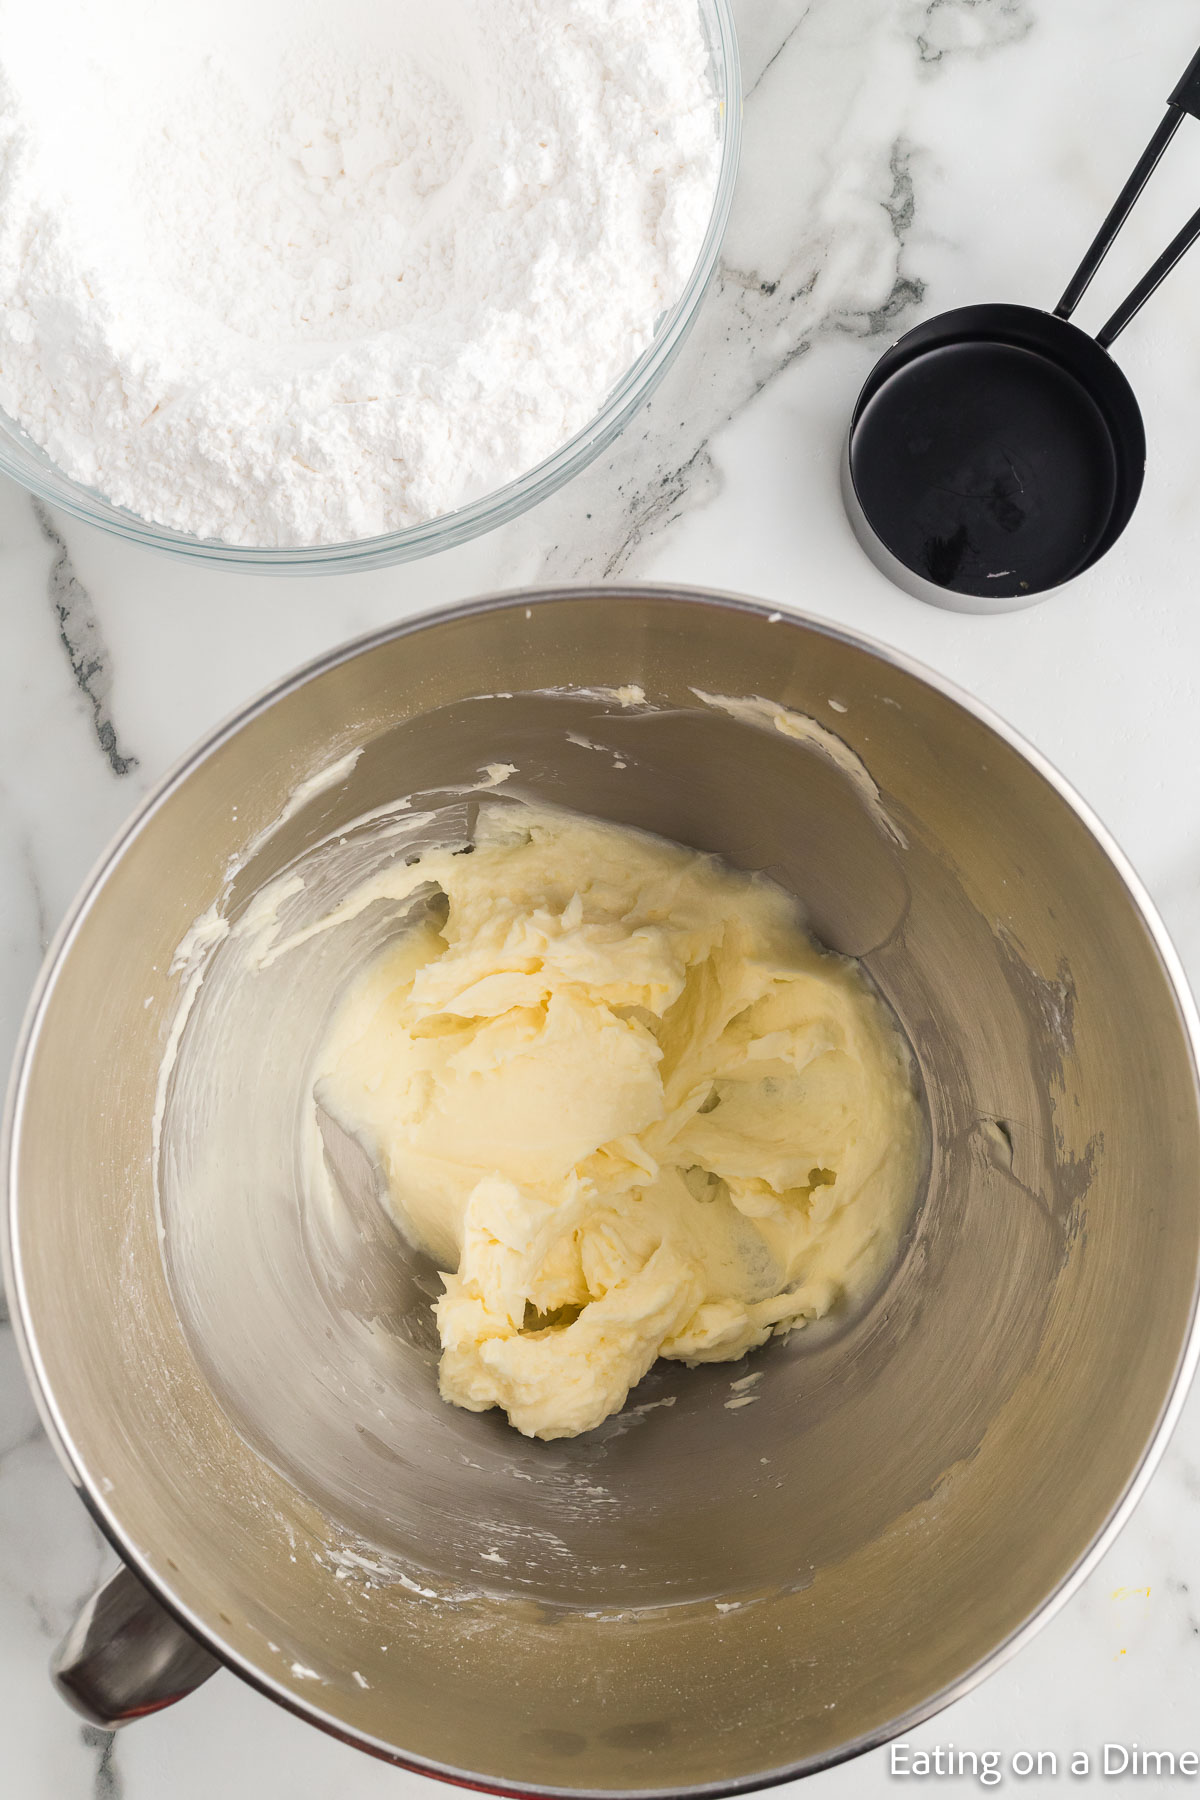
  • Slowly add in the remaining powdered sugar, 1 cup at a time, scraping down the sides of bowl after each addition.  Beat for 2-3 minutes.
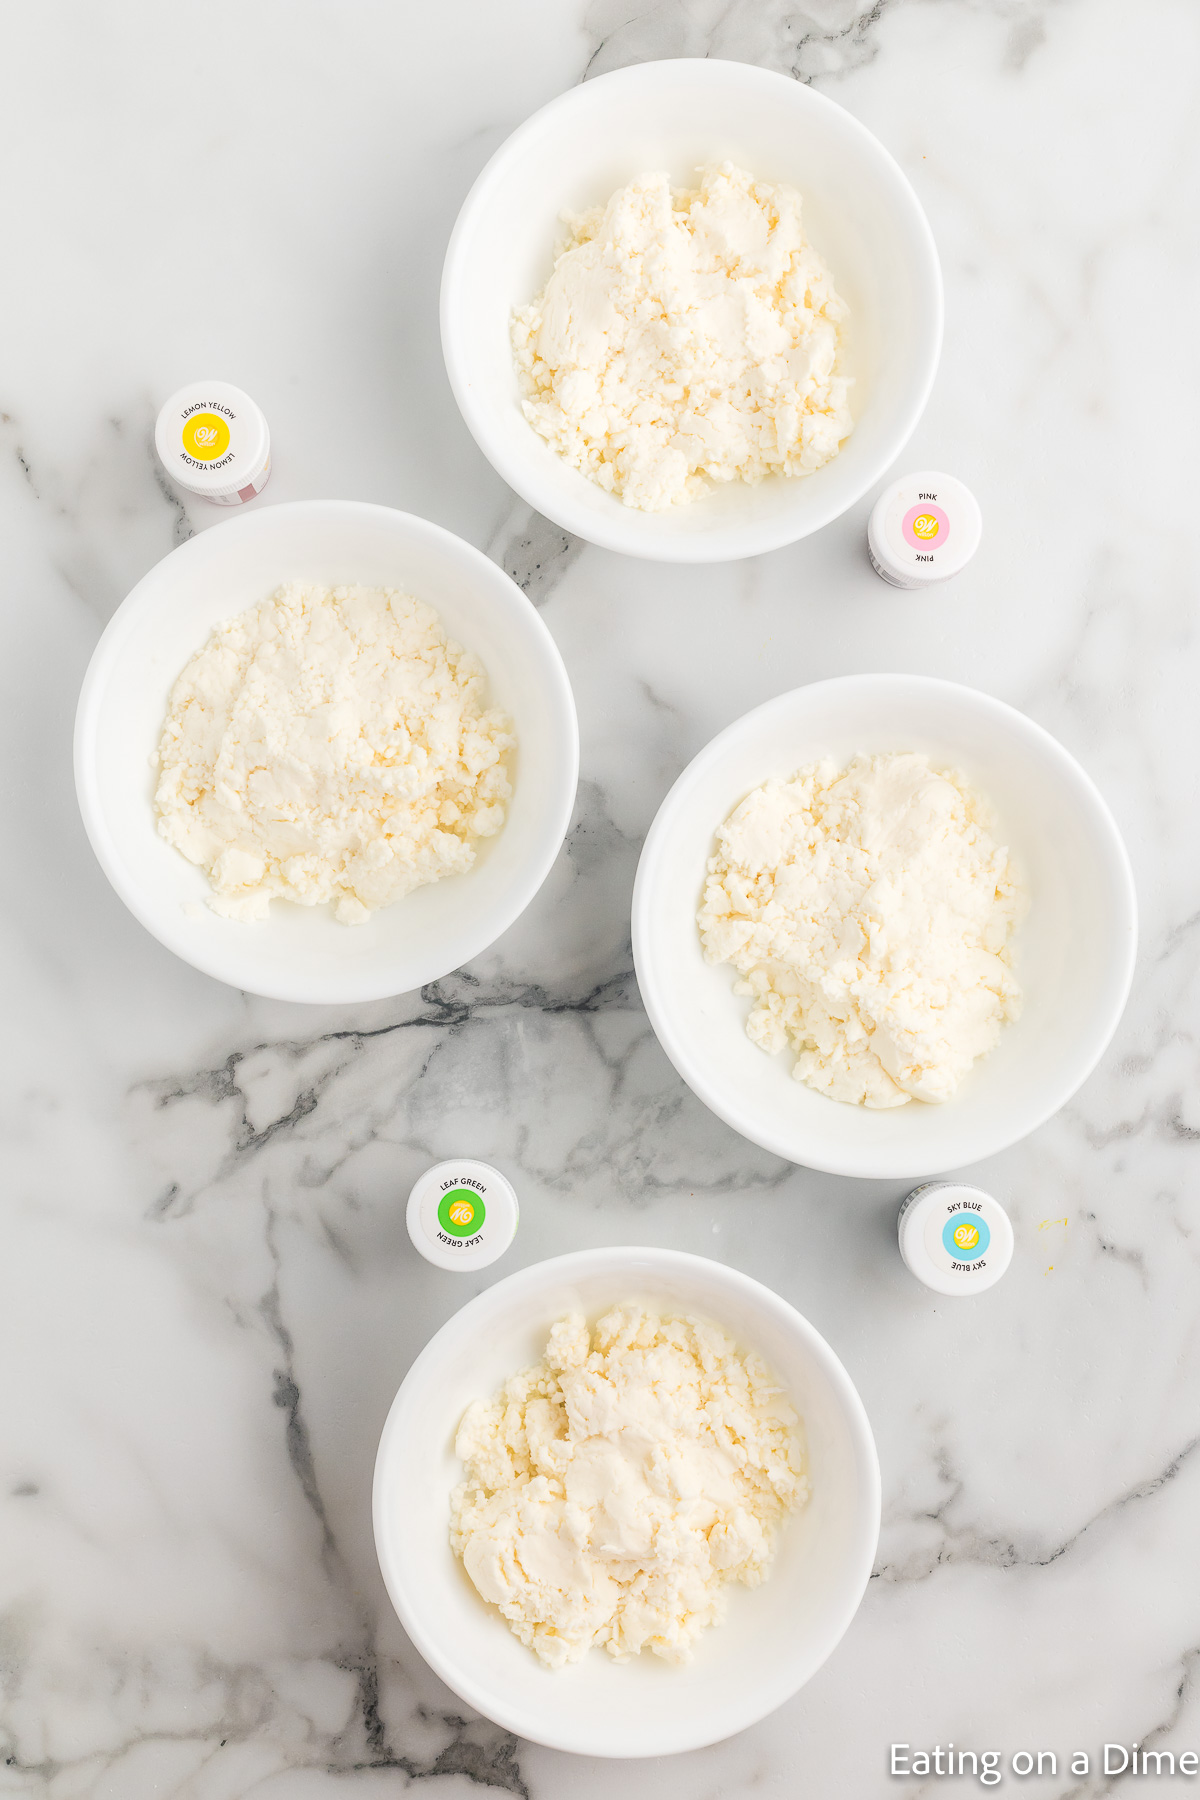
  • Divide the mixture evenly into 4 bowls.  Dye one green, one yellow, one pink and one blue with food coloring.  Add 3-4 drops and mix in until the mixture is the color you prefer.
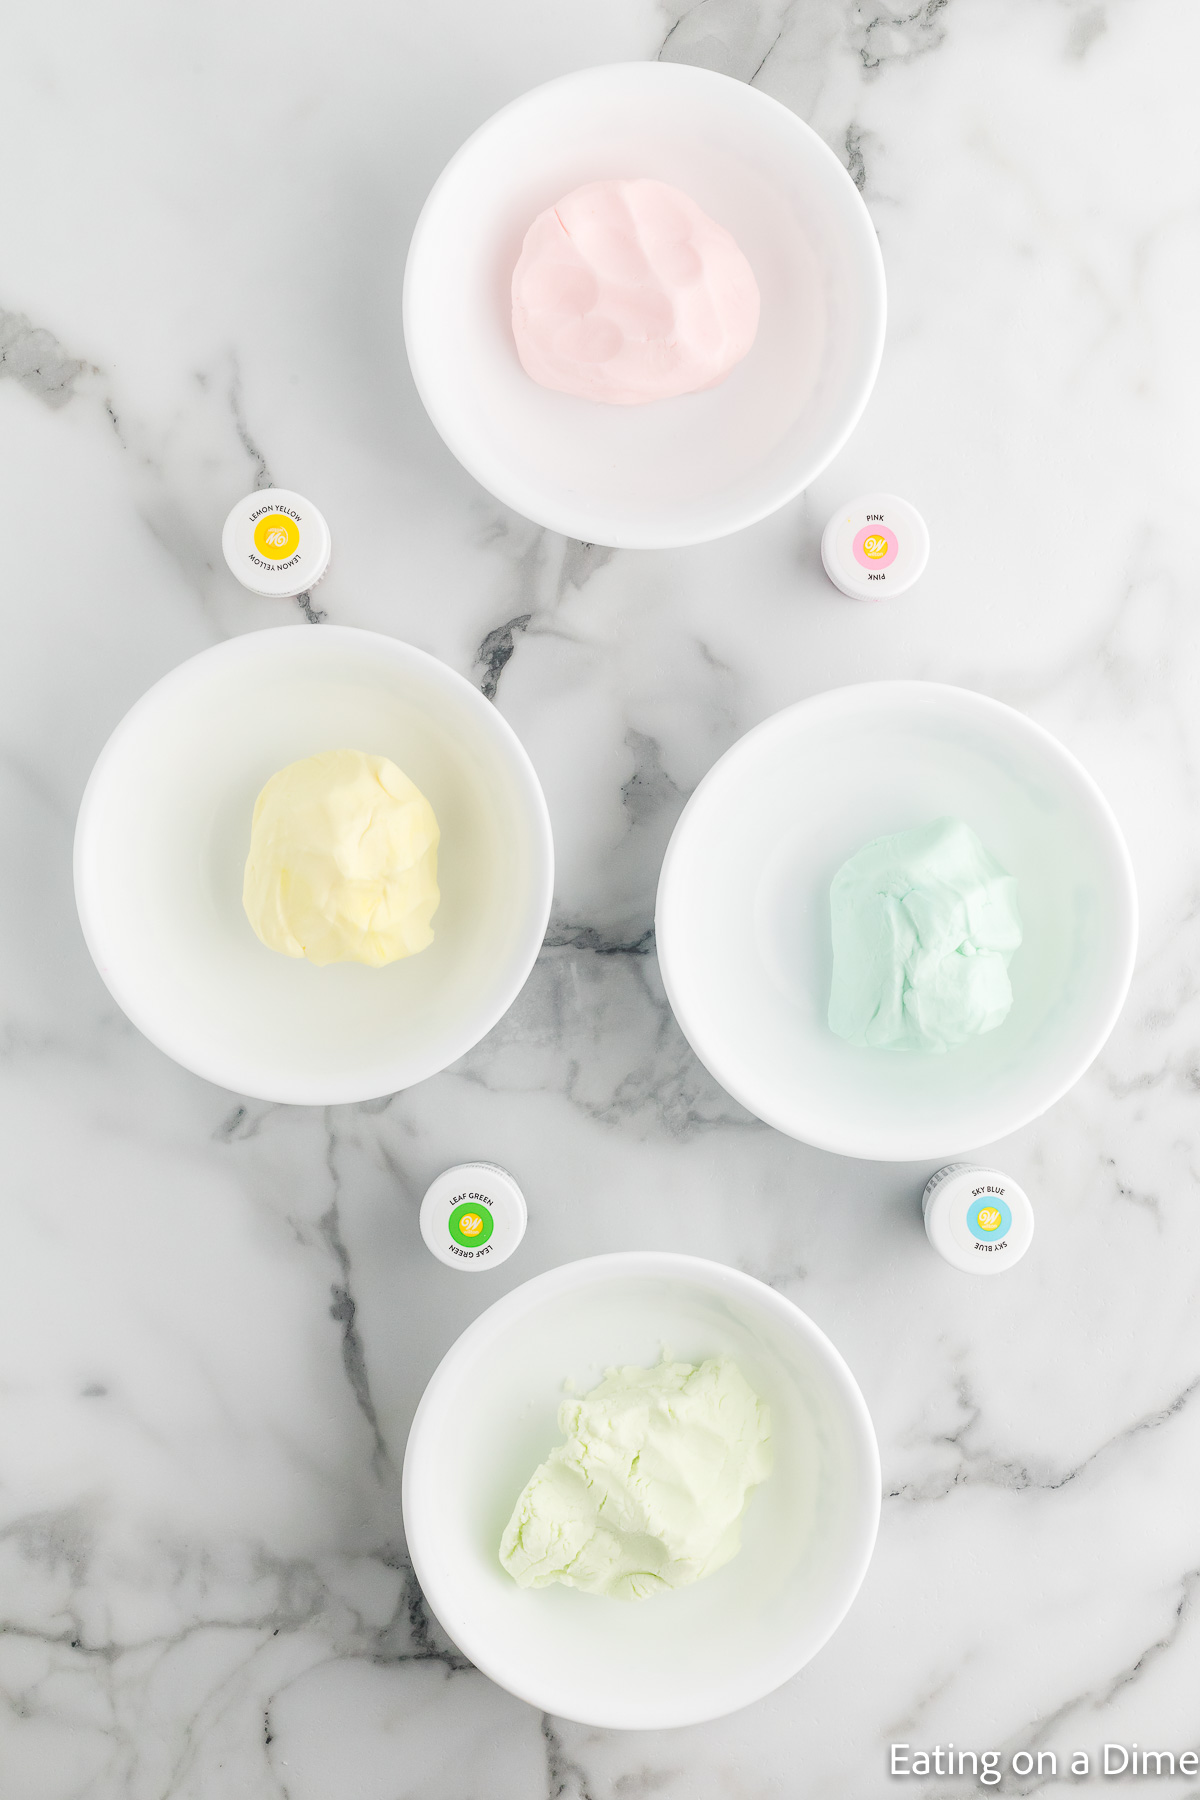
  • Cover the bowls and refrigerate for at least 1 hour for the dough to become firm.
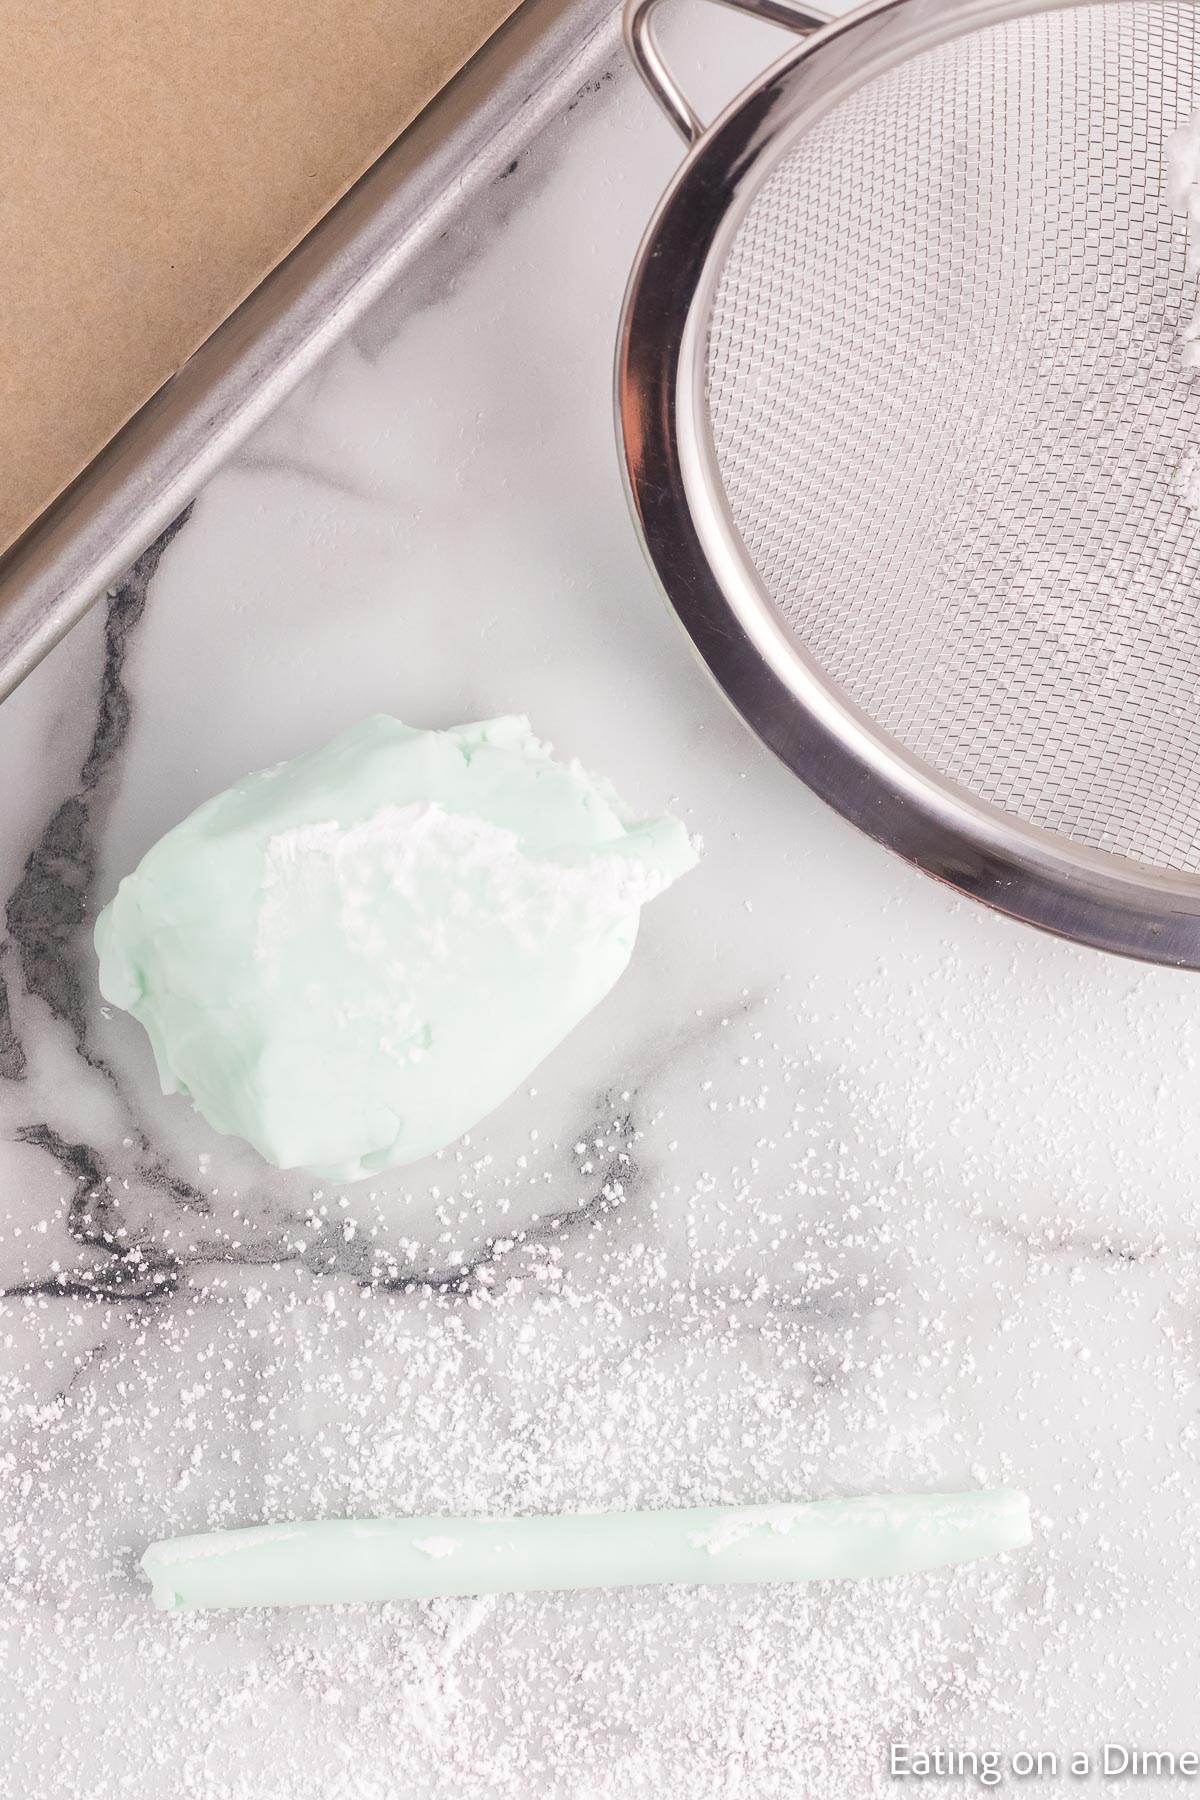
  • Once chilled, remove one bowl and divide the mixture into 6 sections.  Sprinkle a work surface with powdered sugar.  Roll each into a rope that is approximately ½ inch thick.  Then cut each rope into ½ inch long pieces.
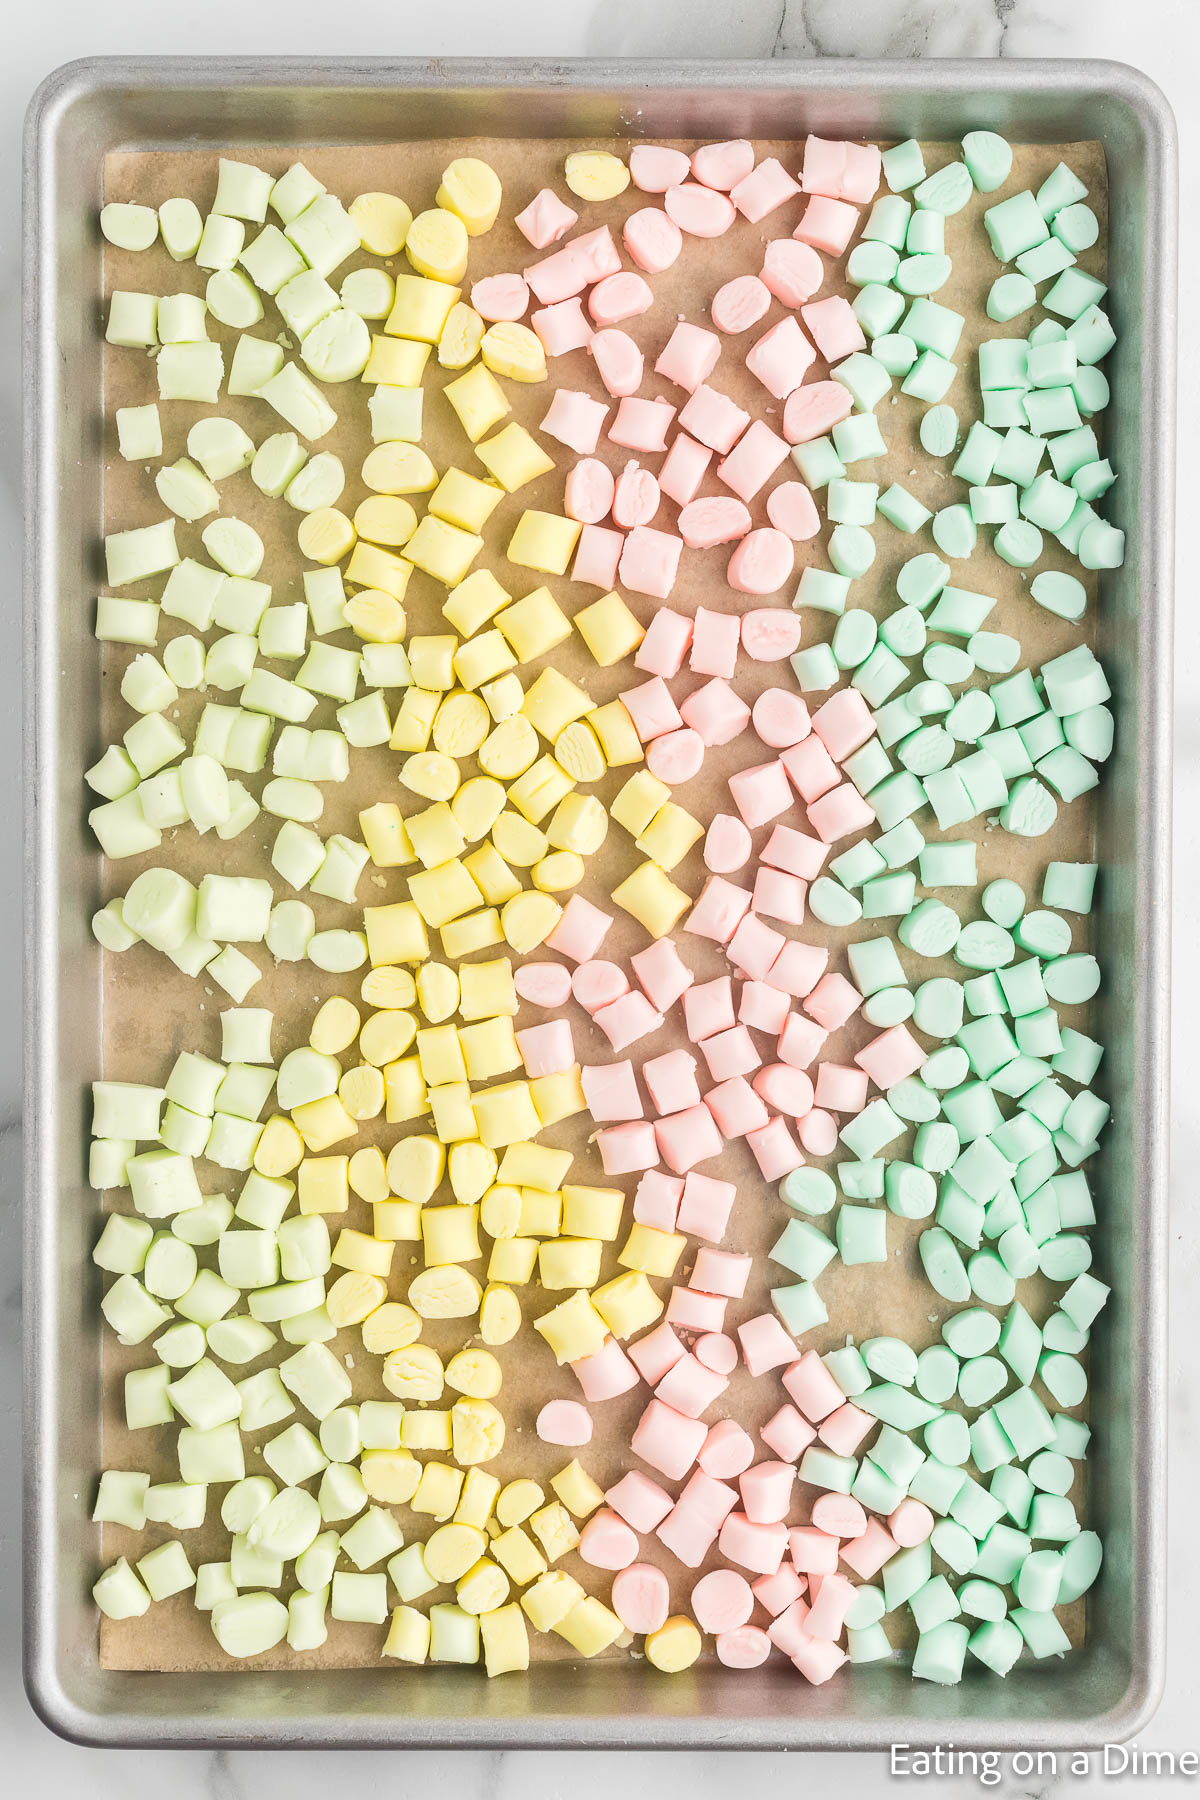
  • Place the mints on a baking sheet lined with parchment paper.
  • Continue this process with the remaining bowls.
  • Let the mints sit at room temperature for 24-48 hours until they are completely dried out.
  • Then the mints are ready to serve and enjoy!

Recipe Notes

Store the leftover mints in an airtight container or bag at room temperature for 2-3 weeks.

Nutrition Facts

Calories 73kcal, Carbohydrates 42g, Protein 0.1g, Fat 8g, Saturated Fat 5g, Polyunsaturated Fat 0.3g, Monounsaturated Fat 2g, Trans Fat 0.3g, Cholesterol 22mg, Sodium 50mg, Potassium 4mg, Sugar 0.1g, Vitamin A 255IU, Vitamin C 0.01mg, Calcium 3mg, Iron 0.003mg

Pin This Now to Remember It Later

Pin Recipe

Share this recipe!

Pin

About the Author

Hi, I’m Carrie Barnard — a professional food blogger with over 14 years of experience helping busy families make dinner fast, easy, and affordable.

At Eating on a Dime, I share simple, budget-friendly recipes that are tested in my own kitchen and approved by my 8 kids. With millions of readers each month, I’m here to help you cook real food for real families — without the stress.

5 from 2 votes (2 ratings without comment)

Leave A Review

Your email address will not be published. Required fields are marked *

Recipe Rating