Cream Cheese Mints is a classic treat that is easy to make. Perfect mints to serve at a baby or wedding shower. This decadent treat only requires a few ingredients.

Old Fashioned Cream Cheese Mints are a staple treat at many Easter, graduation parties, baby showers and bridal showers. But now you can easily make these holiday treat at home with easy ingredients. Also try Butter Mints.
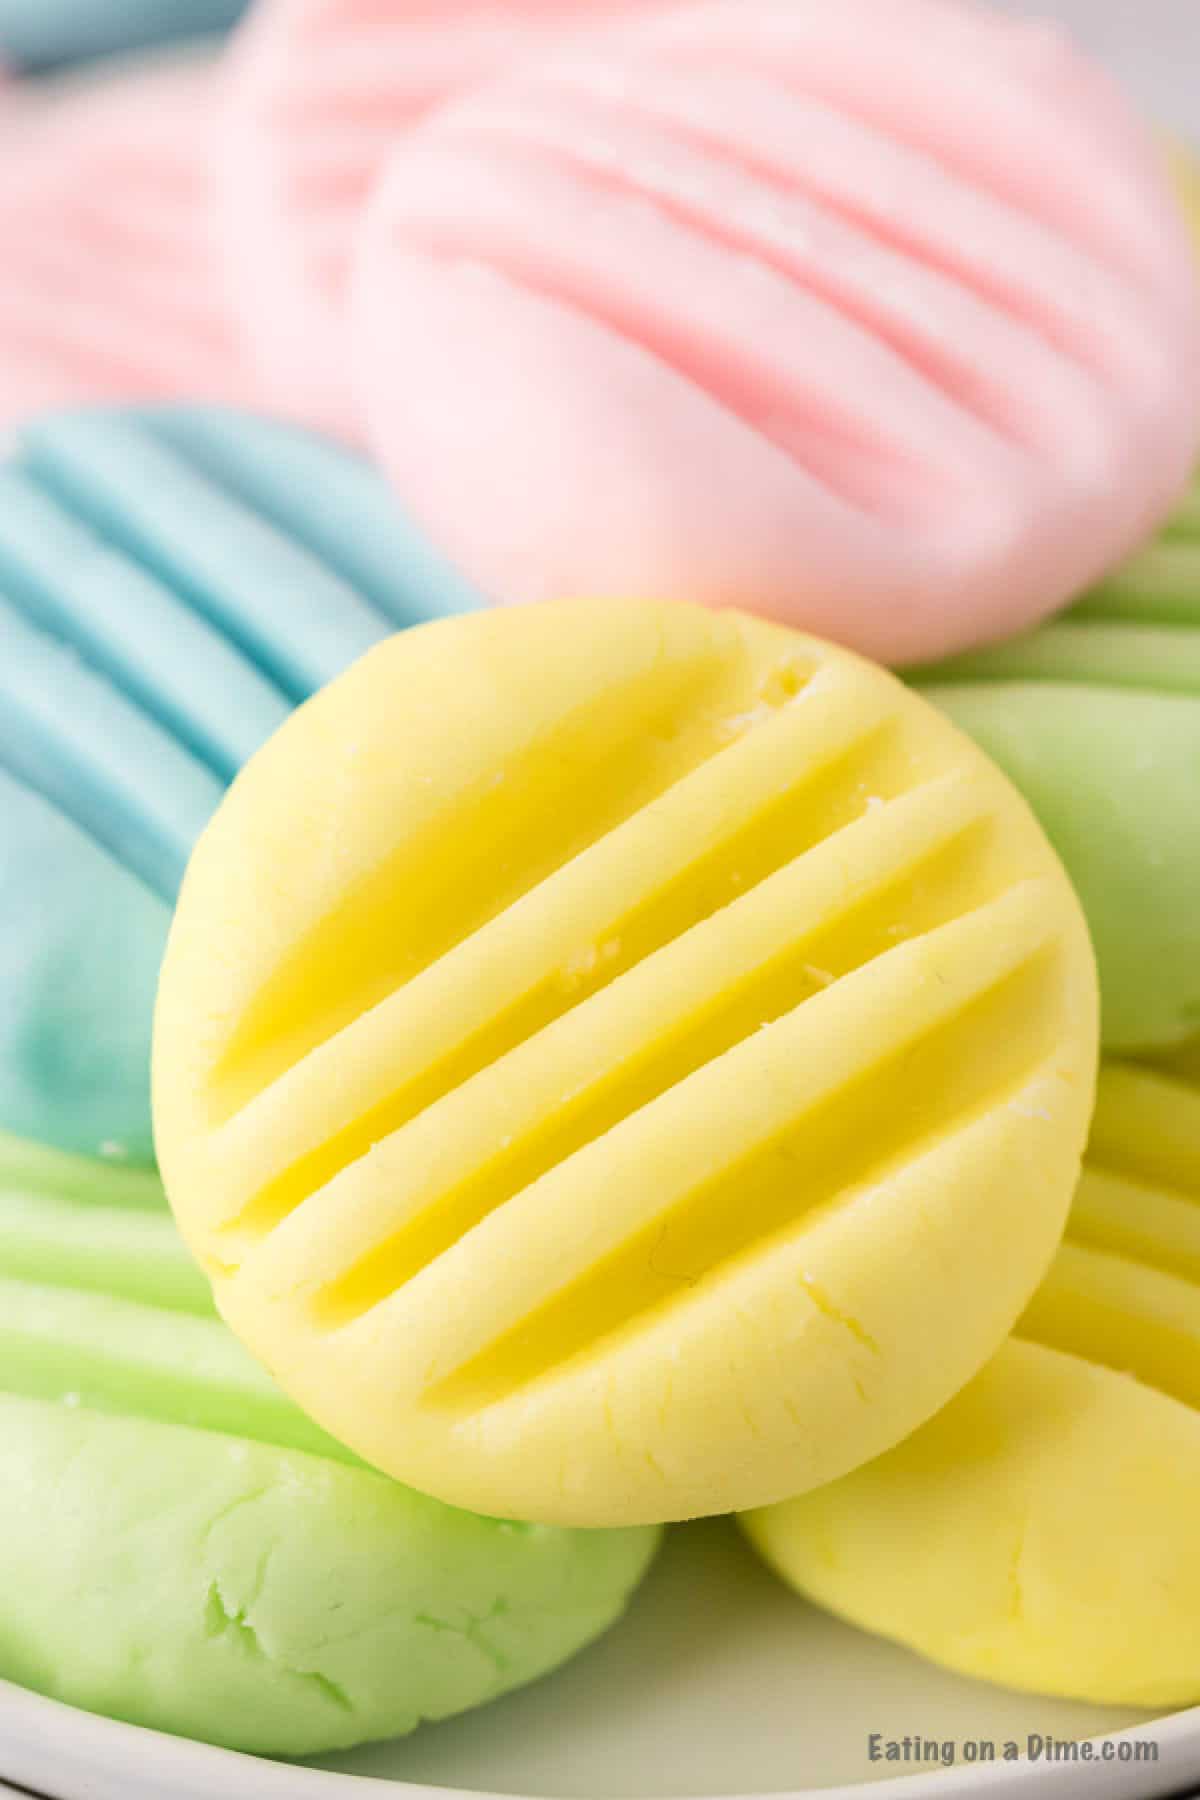
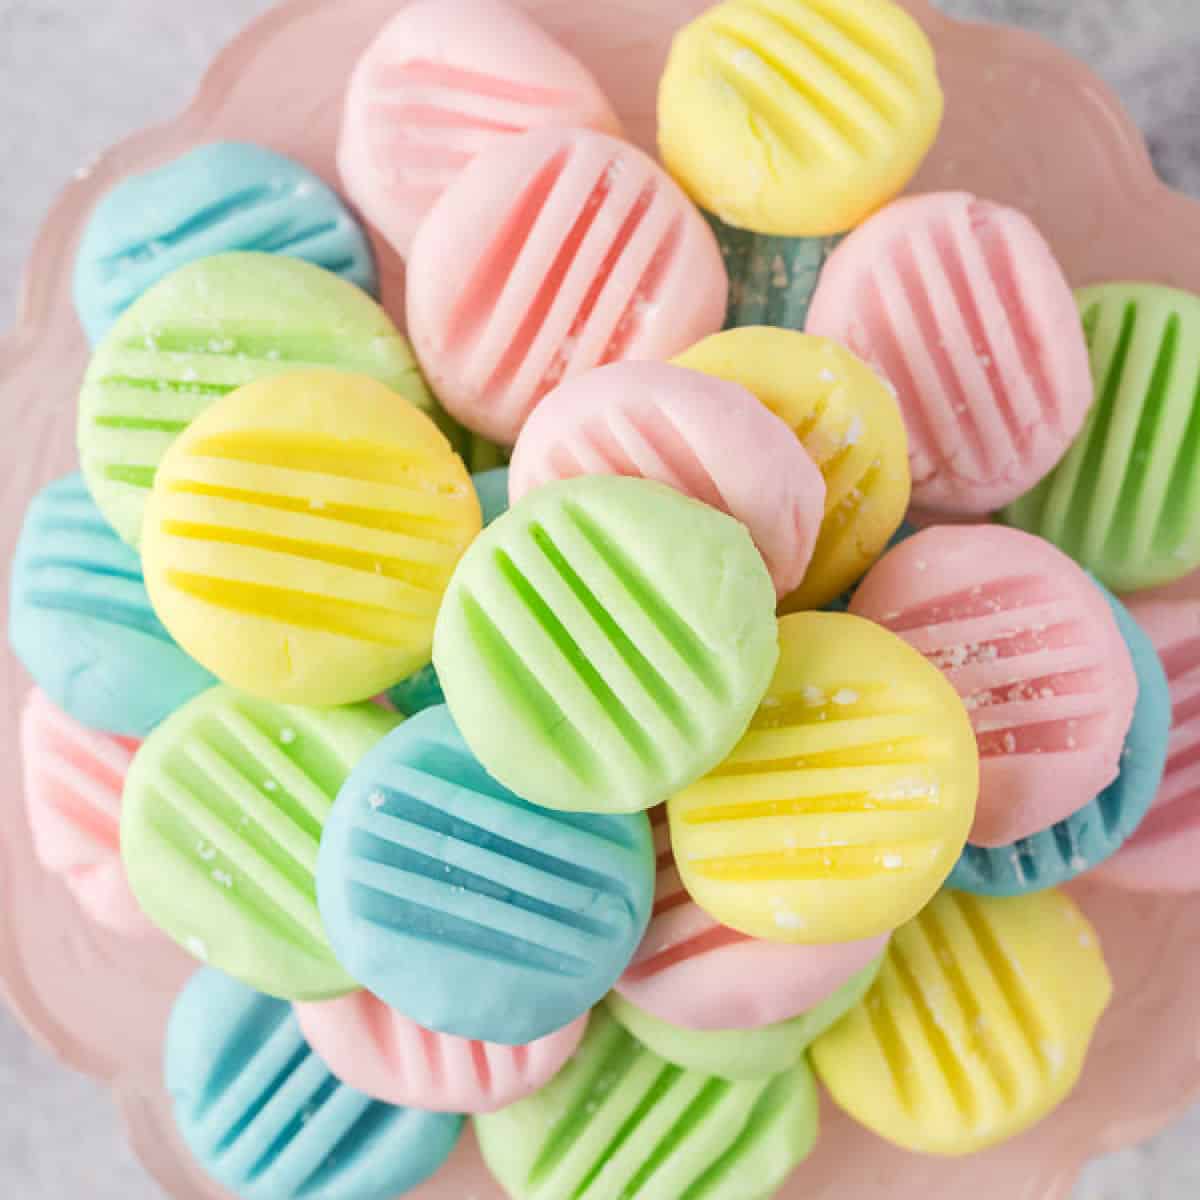
These mints melt in your mouth and are firm on the outside and have a creamy center. The color of the mints can be changed to any color you want, which makes them the perfect and easy dessert recipe to serve year round. Make sure to check out these 45 Best Cream Cheese Desserts.
Table of Contents
Are Cream Cheese Mints the same as Wedding Mints?
Yes, they are the same. These cream cheese butter mints have many different names. They have been called wedding mints, baby shower mints, special occasion mints, and butter mints.
They are the perfect after dinner mint also. This recipe makes a large portion, so they are perfect to wrap up in to-go bags for friends and family.
Ingredients
- Softened Cream Cheese
- Unsalted Butter, Softened
- Powdered Sugar, shifted
- Peppermint Extract – You can also use vanilla extract or almond extract
- Gel Food Coloring
- Powdered Sugar for rolling the mints
Scroll to the bottom for the full list of ingredients in the recipe card.
Step by Step Instructions
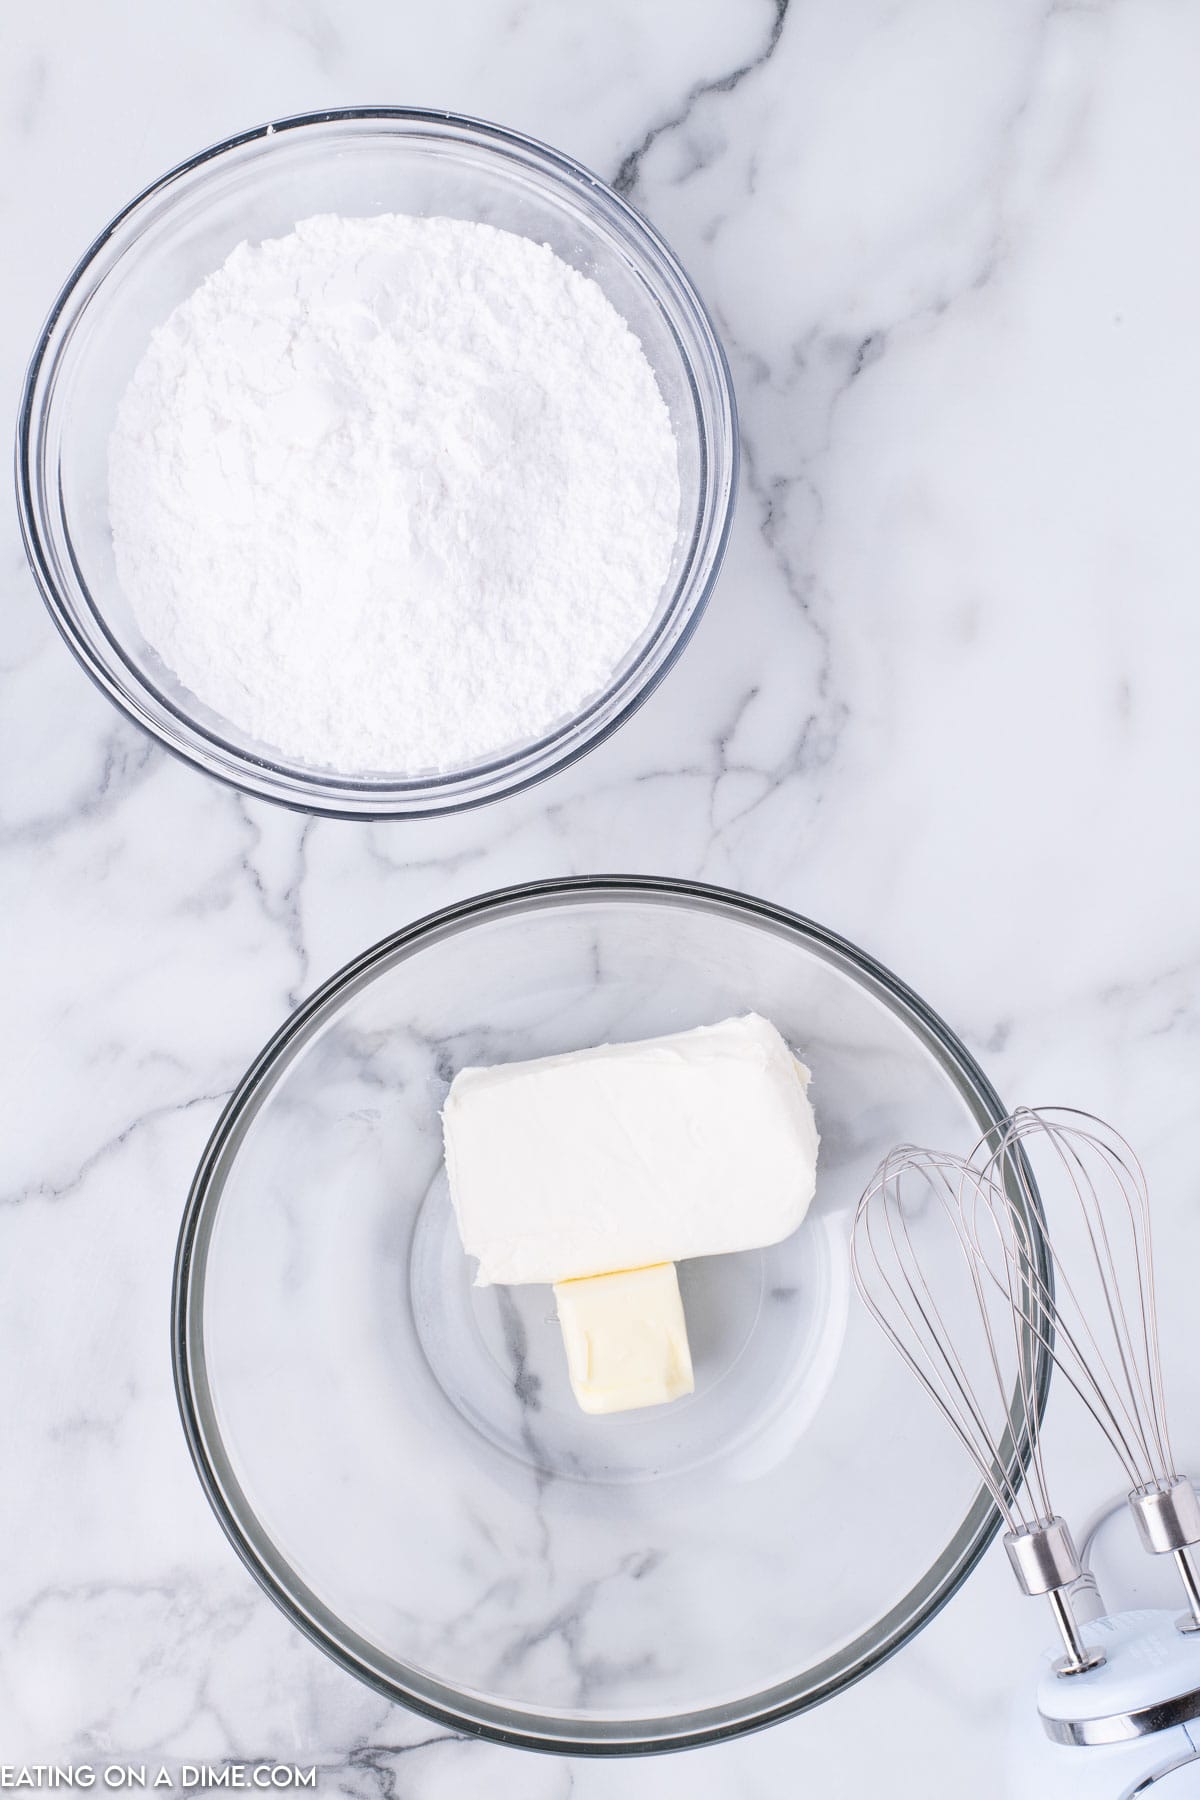
Step 1 – Combine cream cheese and butter – Cream together the cream cheese and butter with a hand held electric mixer or stand up mixer until smooth and creamy.

Step 2 – Add Powdered Sugar – Then add in 1 cup of the powdered sugar. Mix together until well combined in a bowl of a stand mixer or a hand mixer.
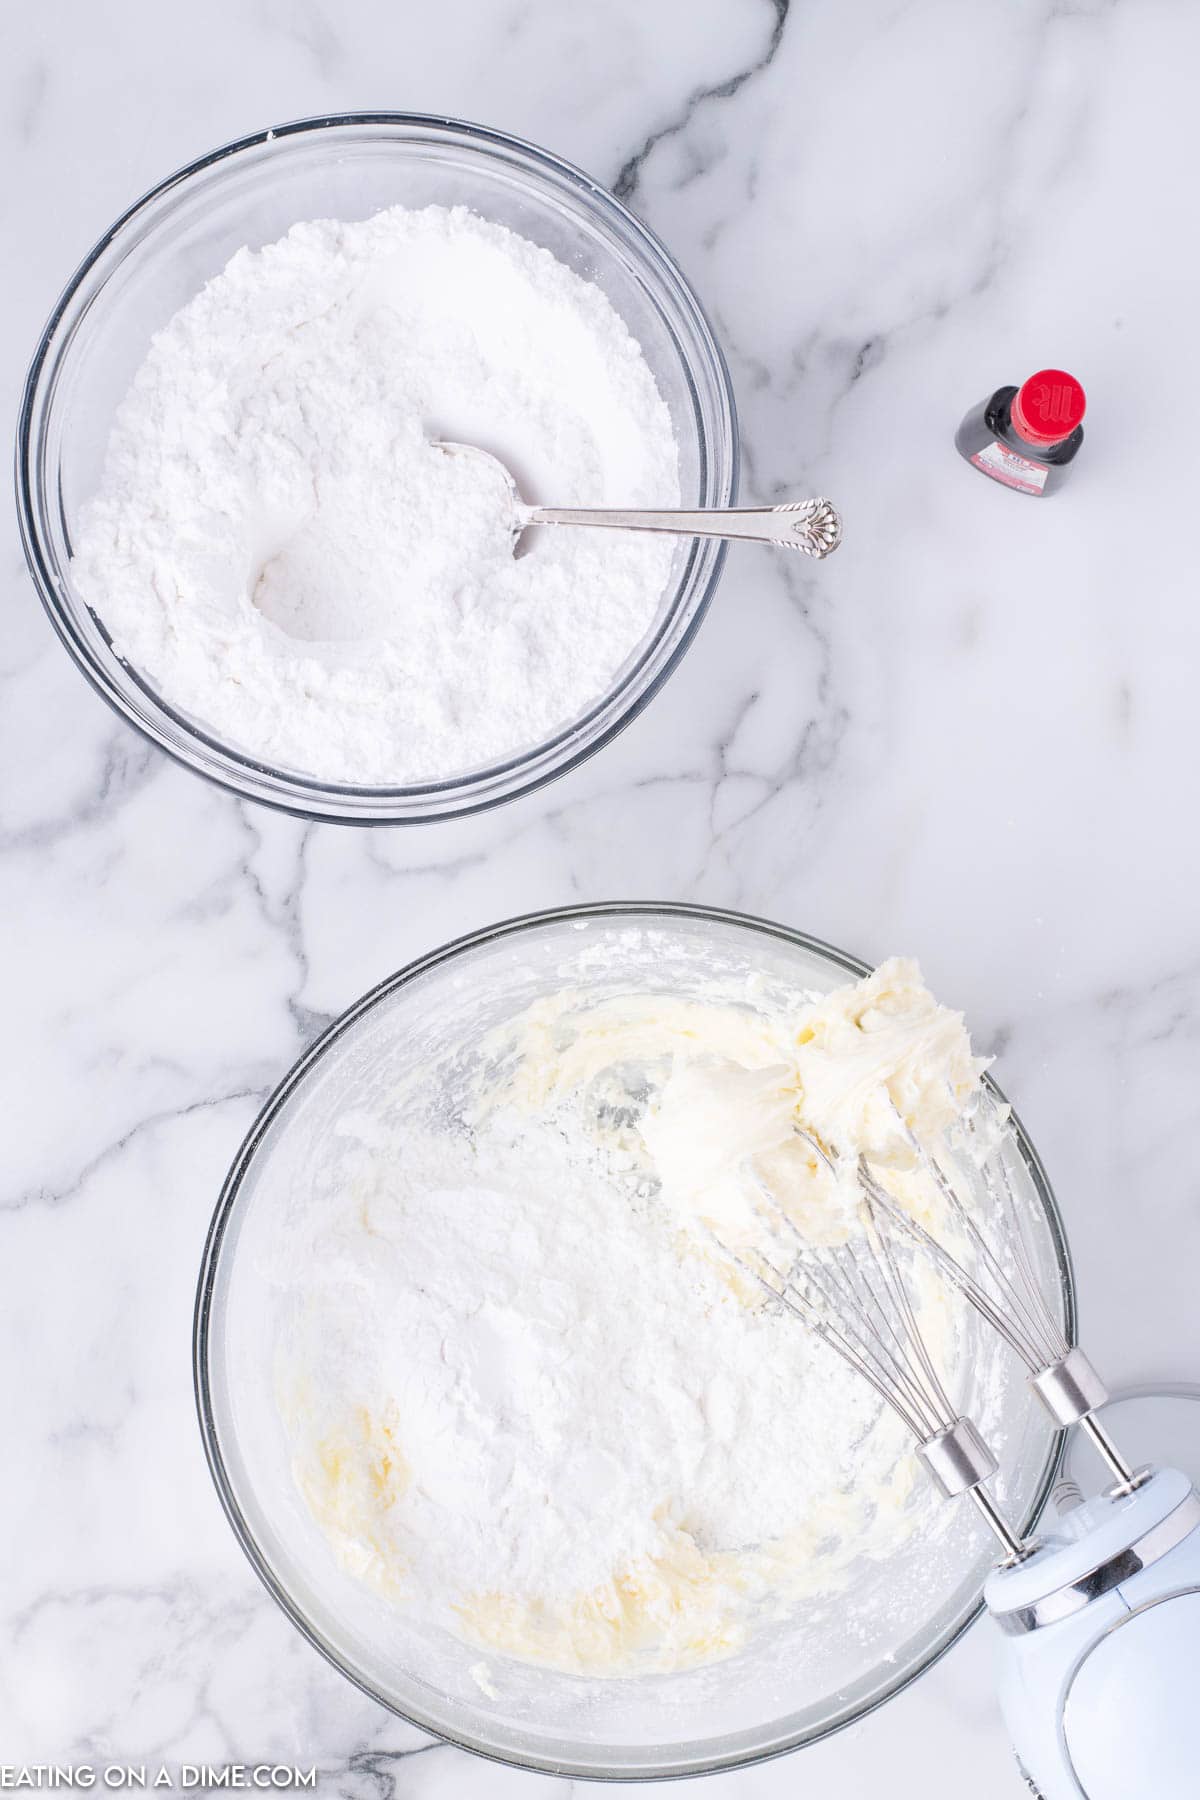
Step 3 – Mix in Peppermint – Then mix in the peppermint extract. Then place the mixer on low and gradually add in the remaining powdered sugar, 1 cup at a time, scraping down the sides of the bowl after each cup is added in.
Step 4 – Dough Consistency – The dough should be thick (play-dough like consistency) and not sticky. If the dough is still sticky and not thick enough add in more powdered sugar.
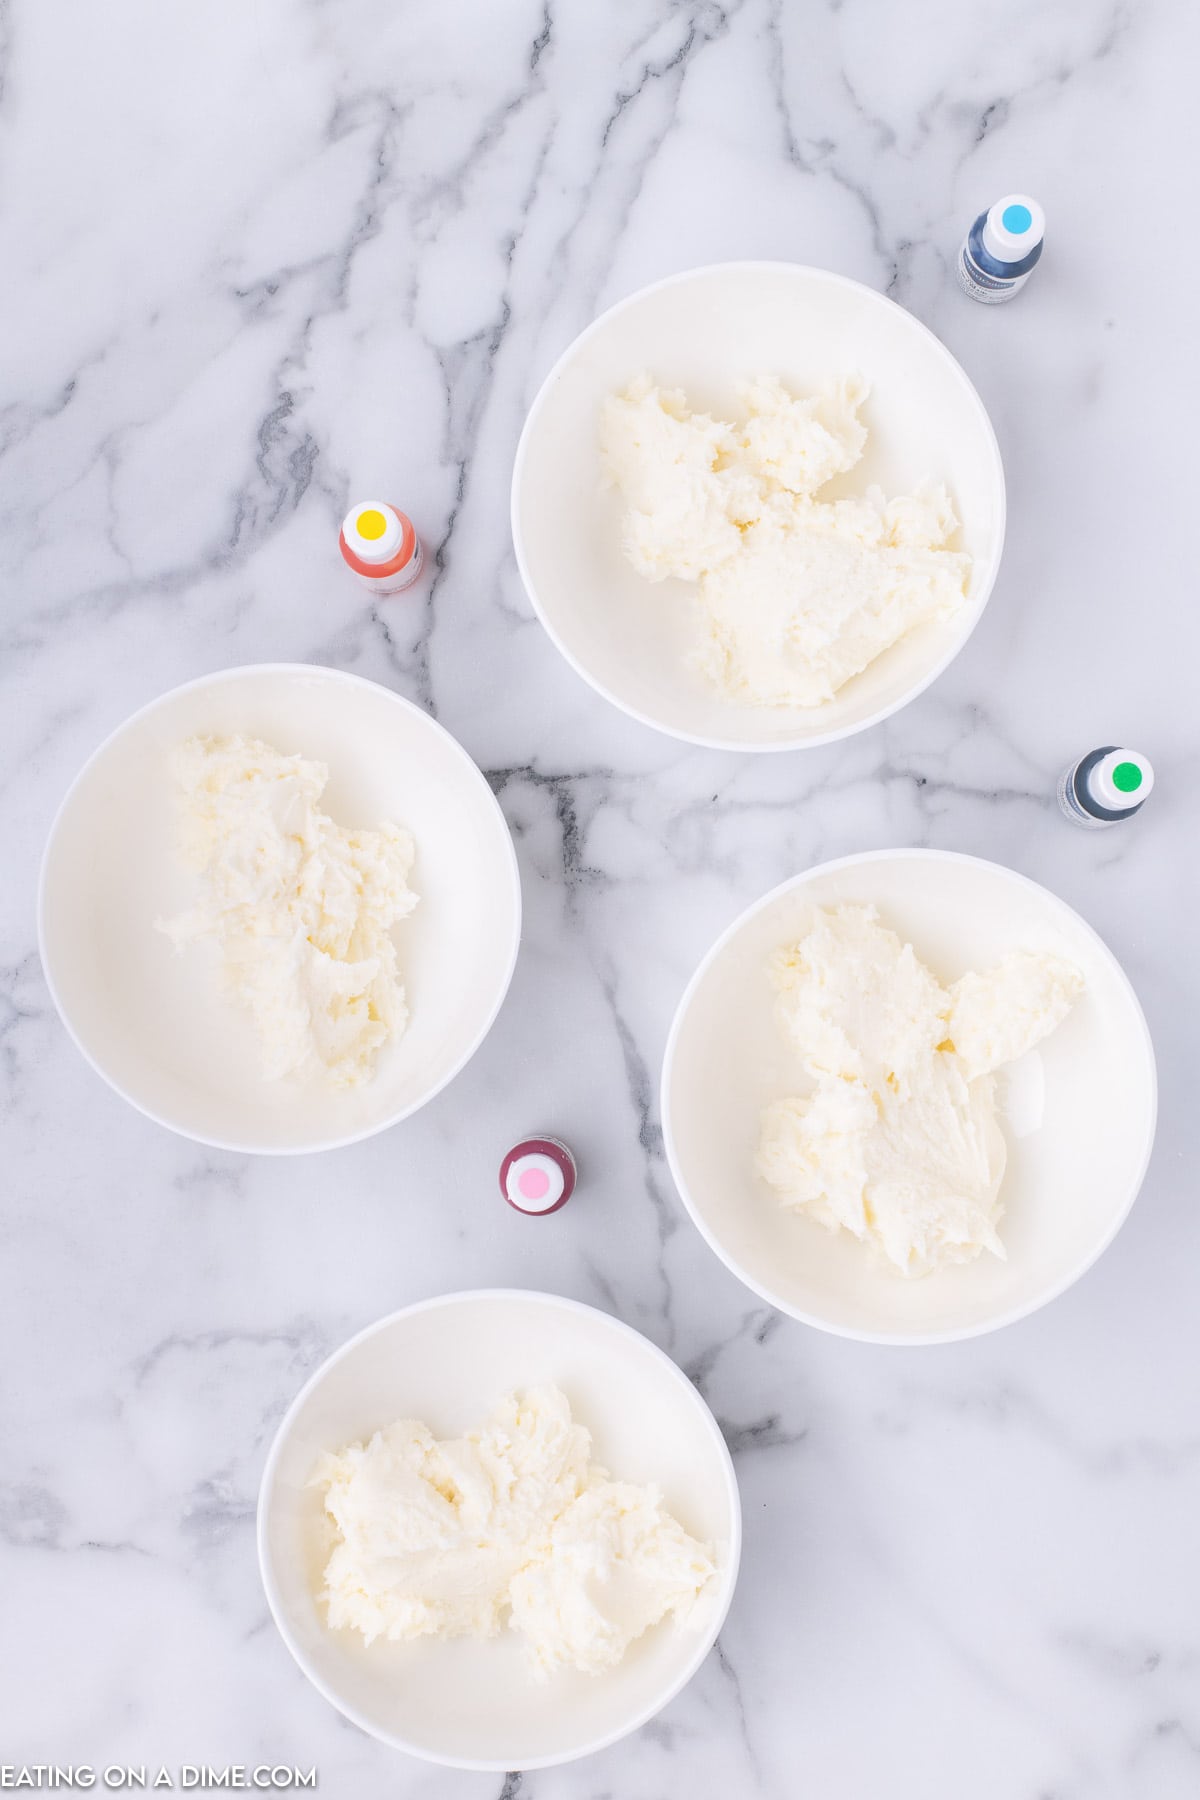
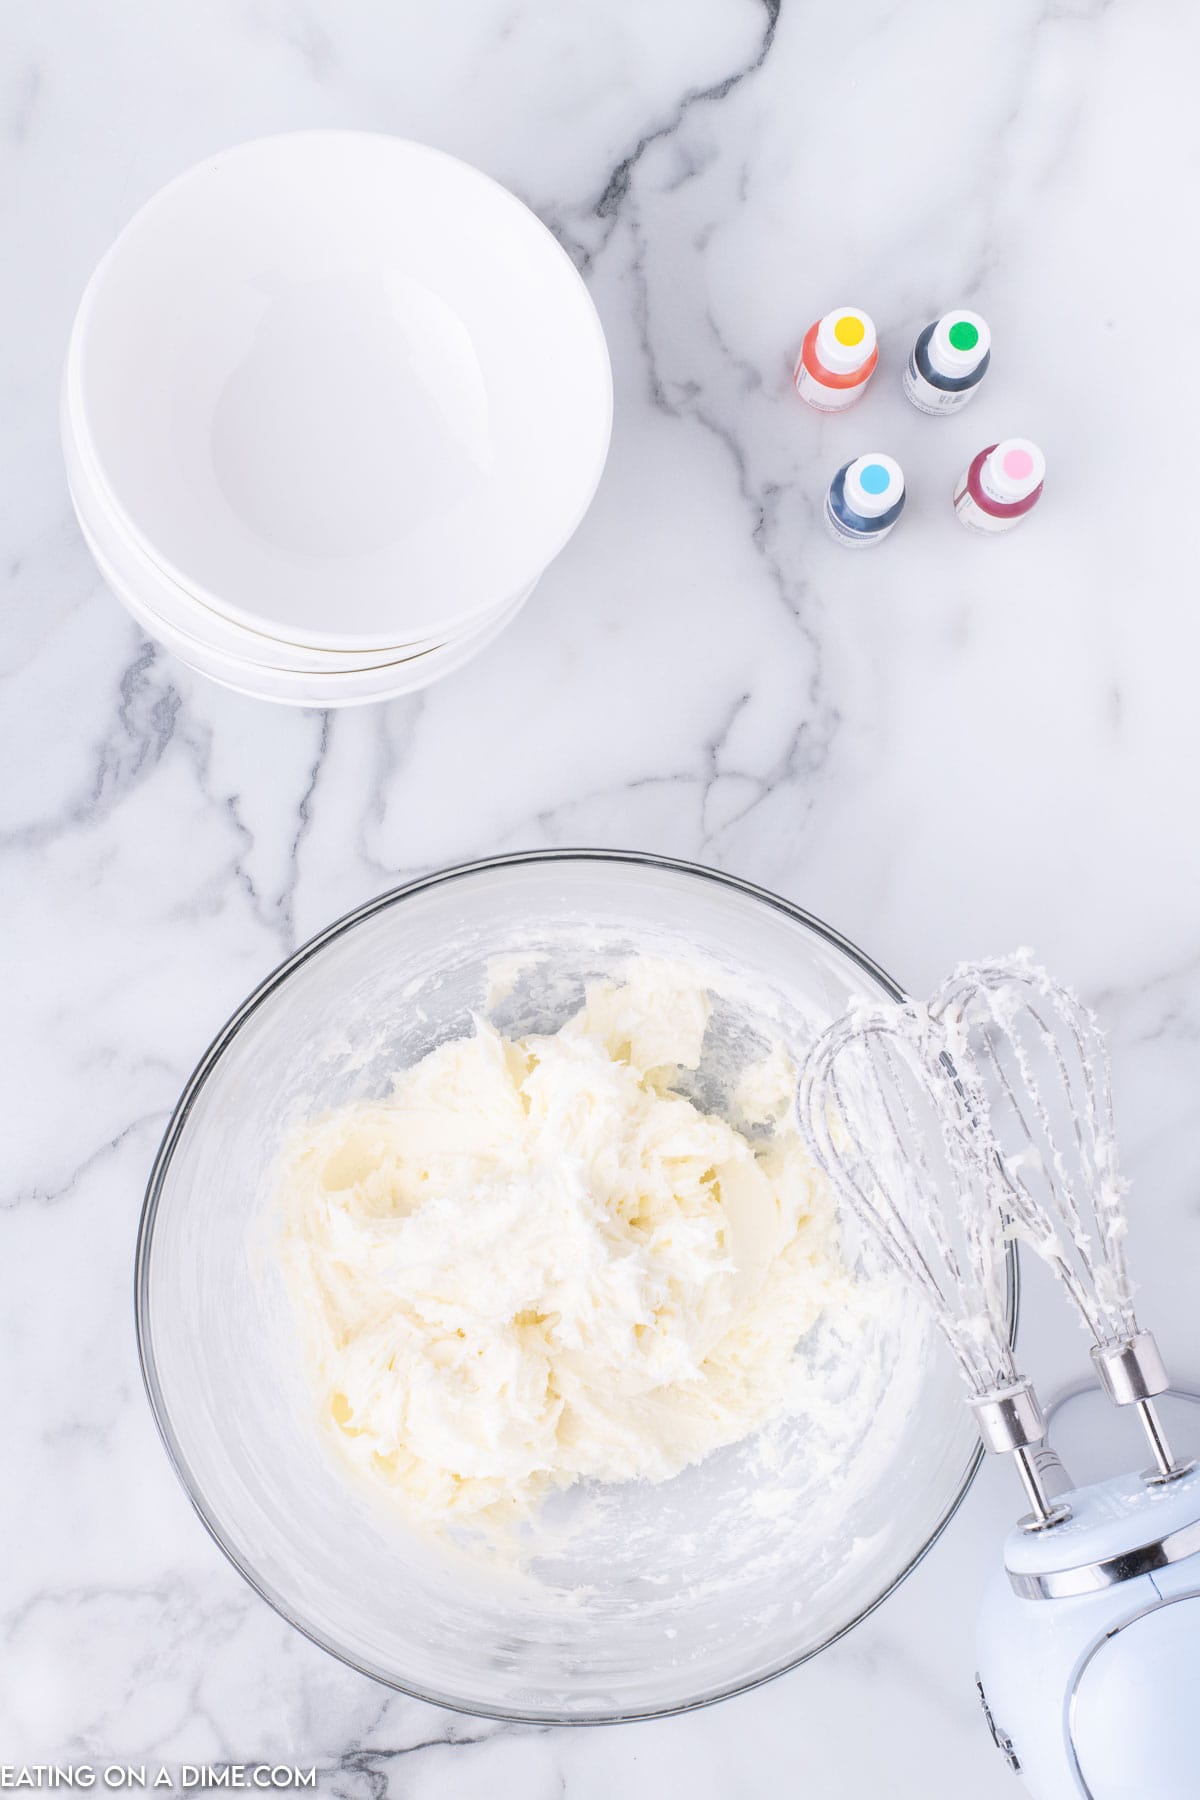
Step 5 – Divide Dough – Then divide the dough into 4 separate bowls.
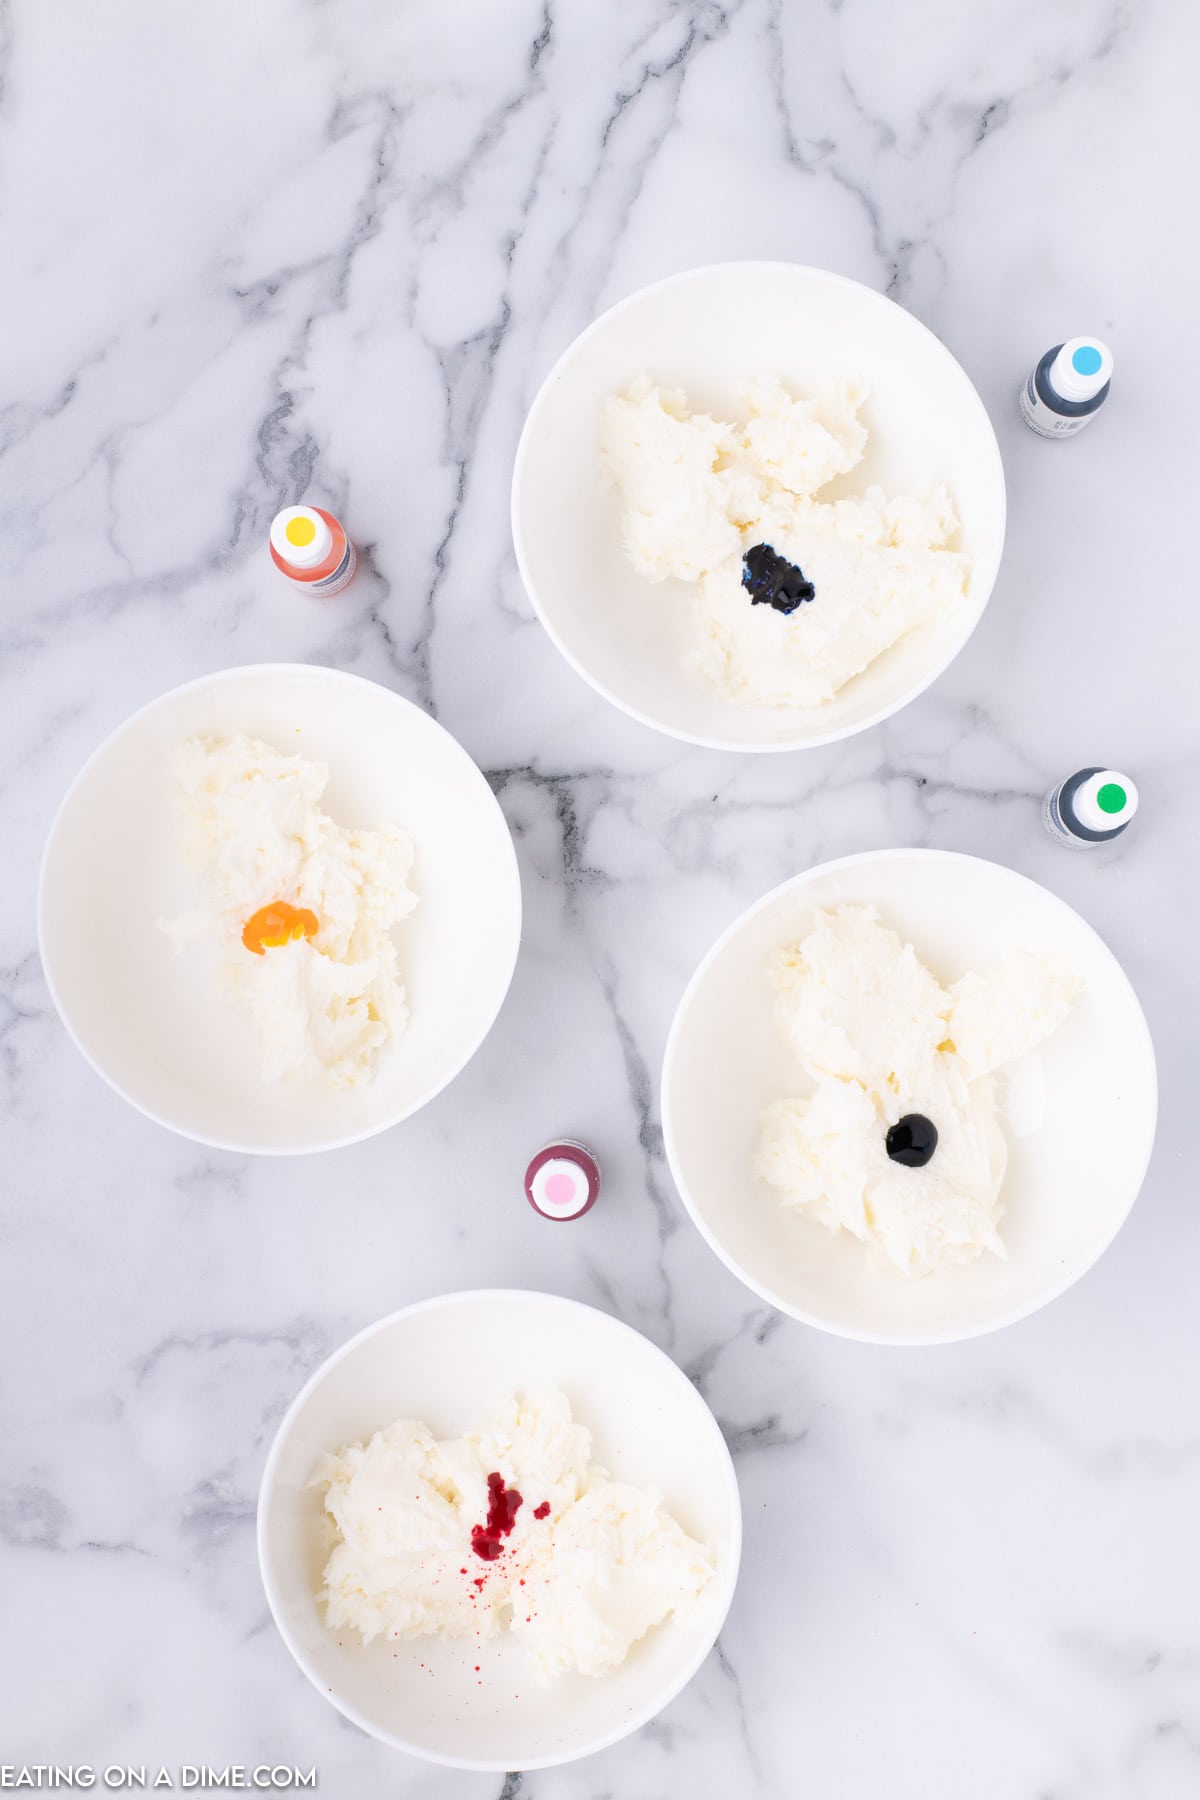
Step 6 – Mix Liquid Food Coloring – Add pastels food coloring to each bowl and mix well until you reach the desired colors. Cover and refrigerate the dough for 2 hours.
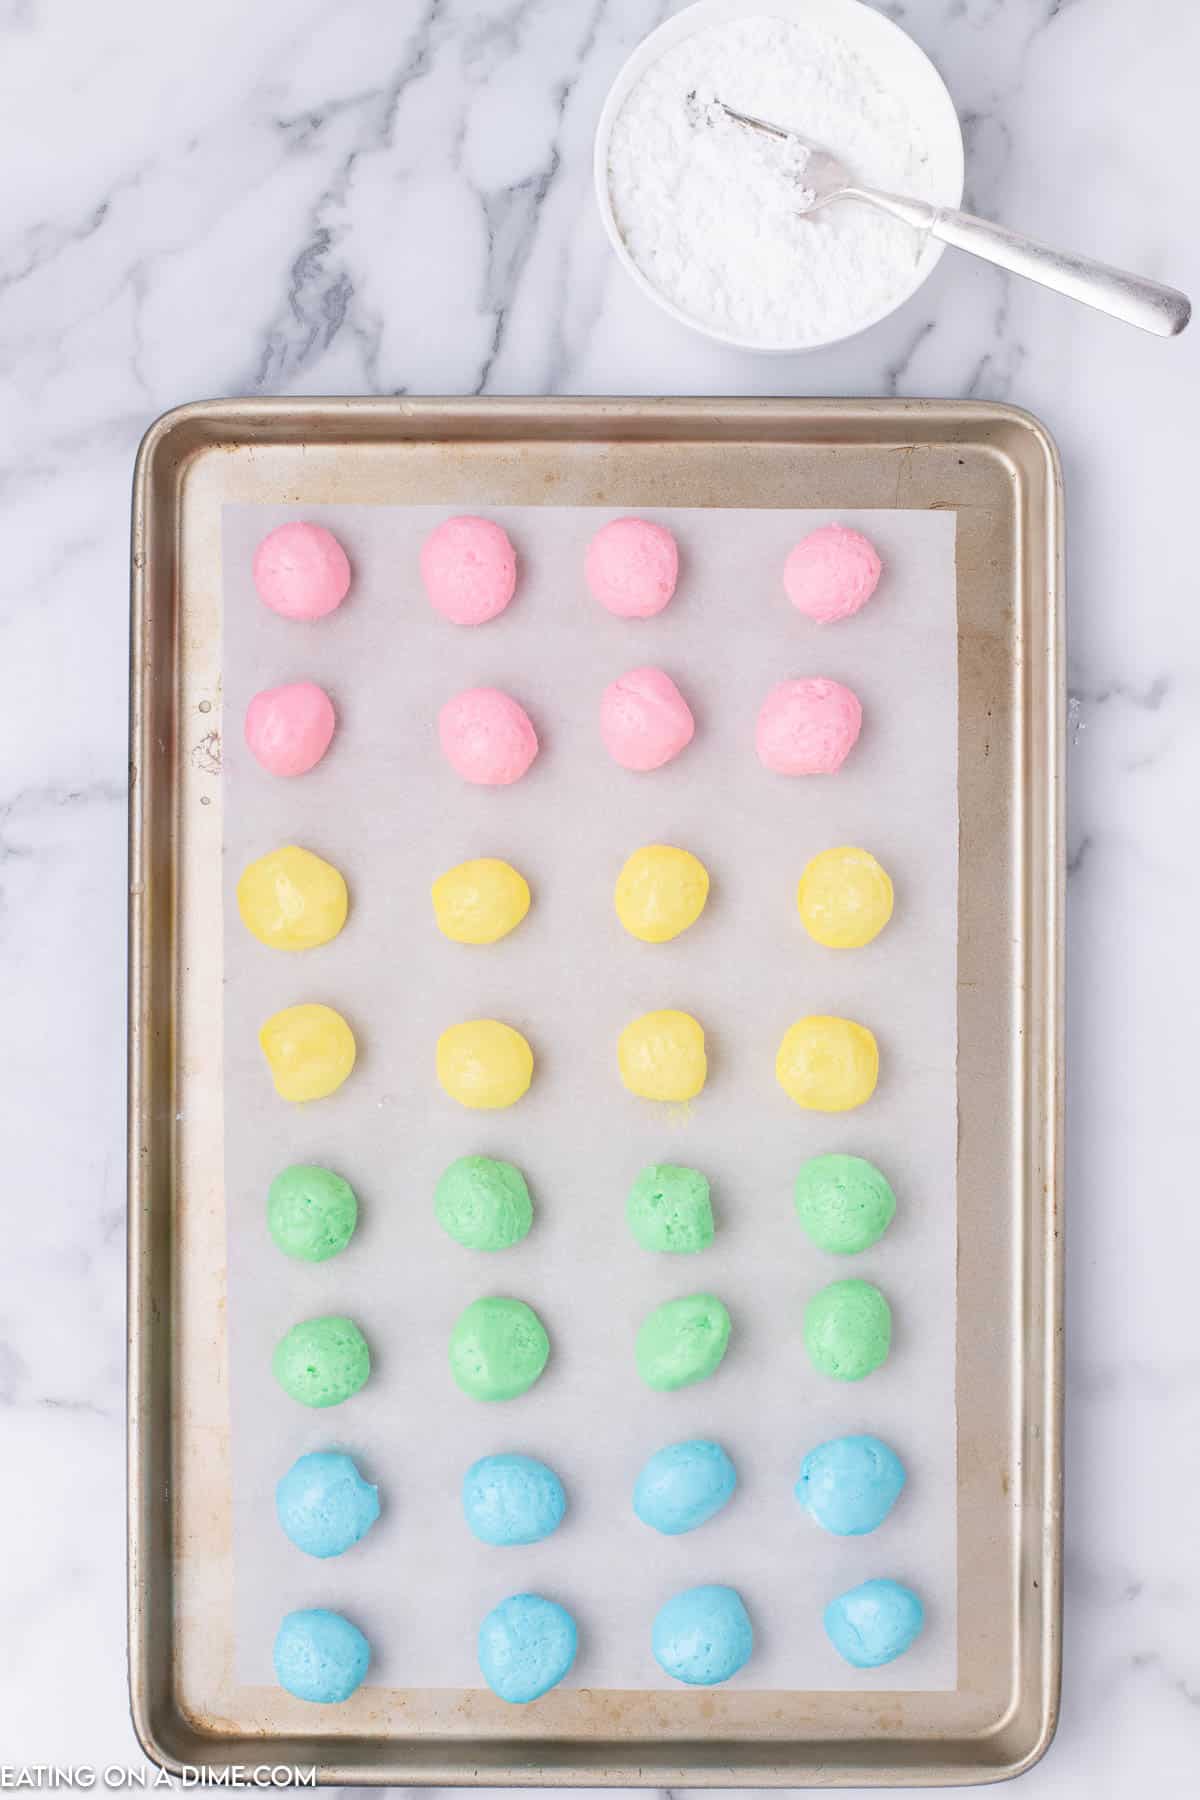
Step 7 – Prepare Baking Sheet Then line 2 baking sheets with parchment paper or wax paper. Roll the dough in between your palms to form approximately 1 inch balls. Then place the balls on the baking sheets.
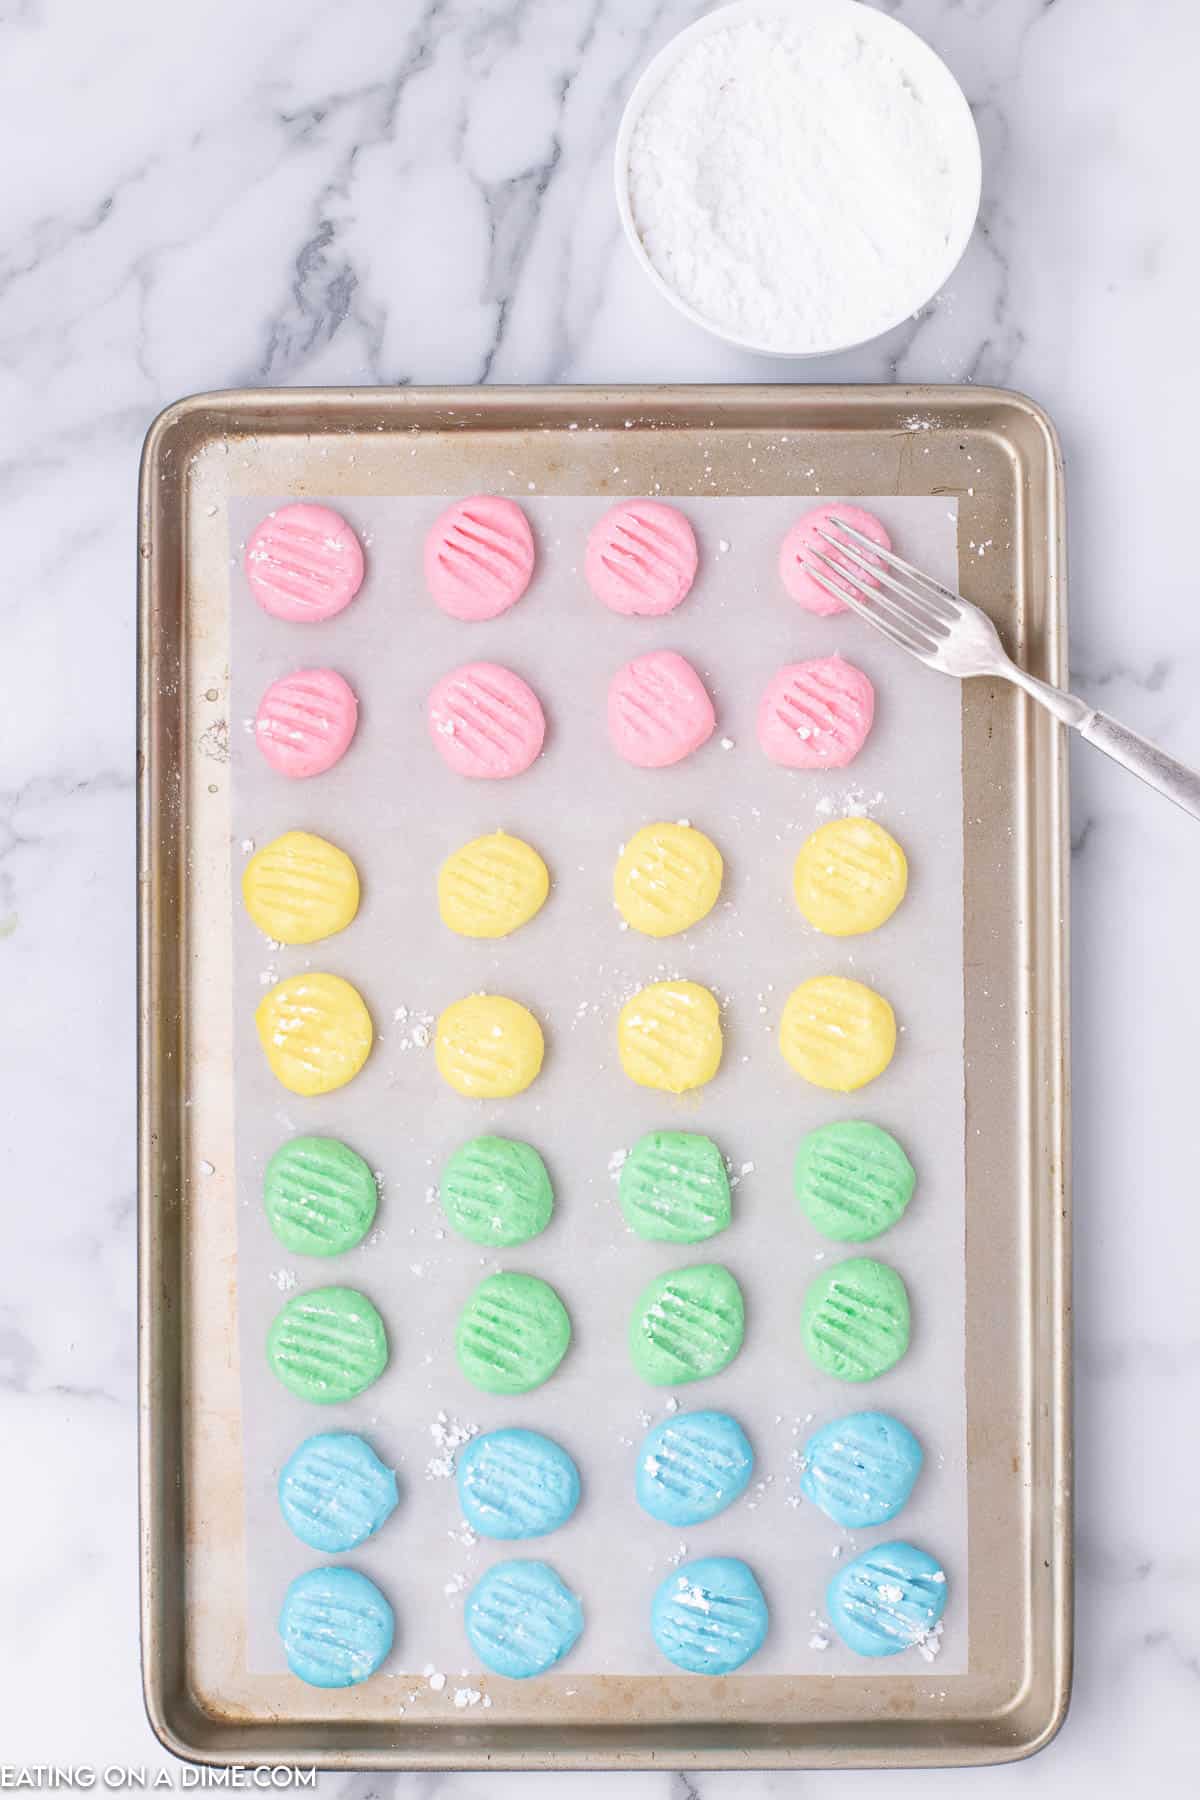
Step 8 – Dip fork into powdered sugar – Dip the tines of a fork in the ½ cup powdered sugar. Then gently press the fork down onto each mint to flatten them out and make a line pattern on the mints.
- Step 9 – Continue until mints marked – Follow this process until all the mints are formed and keep dipping the fork in the powdered sugar when forming the mints.
- Step 10 – Let Mints Hardened – Then allow the mints to sit at room temperature until they have fully hardened (4-6 hours). They should be hard on the outside and soft on the inside.
- Step 11 – Store Mints – Store in an airtight container in single layers with a sheet of wax paper between each layer in the refrigerator for up to 2 weeks.
Wedding Mint Tips
- Cream Cheese – We recommend using full fat cream cheese for these mints. You also want to use brick style cream cheese. Do not use the type in the tubs or any whipped variety.
- Butter – Make sure the butter is real butter and not margarine. Before using the butter it needs to be softened.
- Peppermint extract is a must. Don’t substitute this extract for mint extract or it will have a similar taste to toothpaste.
- Other Extract – If you don’t not want the mint flavor, you can use other extract such as almond, cherry or orange.
- Powdered sugar – After you have formed the balls, we recommend not using excessive amount of powdered sugary. The mints will absorb the white and you will not see much of it.
- Food coloring – If you prefer to use food coloring, get creative and use the coloring for your event.
- Use a cookie scoop – If you are having trouble getting the mints uniform, use a small cookie scoop.
- Glass Bottom – You can use the bottom of a glass to flatten the mints instead of using a fork.
- You can cut this recipe in half – If you don’t need a ton of mints, reduce the recipe.
- Ingredients should be room temperature – It is much easier to combine the dough mixture if the butter and cream are softened at room temperature.
- Granulated Sugar – You can top the mints with granulated sugar. This adds a little sparkle to the candy treat.

Do Cream Cheese Mints need to be Refrigerated?
Cream Cheese Mints do require refrigeration. If stored in an air tight container they will last about 2 weeks.
Do I Need to Use a Candy Mold?
No, there is no need to use a candy mold for this recipe. These steps will help make this easy candy recipe without a lot of work.
Frequently Asked Questions
These Cream Cheese Mints will last up to 2 weeks in the fridge if stored properly. The mints are so delicious to grab a couple for a snack or when you want something sweet.
If your cream cheese mints are sticky, you will need to add more powdered sugar to the mixture. Slowly add in a tablespoon at a time to improve the consistency.
Place the mints inside an air tight container. Make sure to put the mints in a single layers with a sheet of wax paper between each layer. This will help them from sticking to each and also keep the mints in good shape.
More Holiday Treats
We love hearing from you. If you make these Cream Cheese Mints Recipe, please leave us a comment.
Cream Cheese Mints
Ingredients
- 8 oz Cream Cheese Softened at room temperature
- 4 Tbsp Butter Softened
- 9 cups Powdered Sugar shifted
- 2 tsp Peppermint Extract
- Gel Food Coloring
- ½ cup Powdered Sugar for rolling the mints
See how we calculate recipe costs.
Instructions
- Cream together the cream cheese and butter with a hand held mixer or stand up mixer until smooth and creamy.
- Then add in 1 cup of the powdered sugar. Mix together until well combined.
- Then mix in the peppermint extract.
- Then place the mixer on low and gradually add in the remaining powdered sugar, 1 cup at a time, scraping down the sides of the bowl after each cup is added in. Continue until all the powdered sugar has been added. The dough should be thick (play-dough like consistency) and not sticky. If the dough is still sticky and not thick enough add in more powdered sugar.
- Then divide the dough into 4 separate bowls. Add food coloring to each bowl and mix well until you reach the desired colors.
- Cover and refrigerate the dough for 2 hours.
- Then line 2 baking sheets with parchment paper or wax paper. Roll the dough in between your palms to form approximately 1 inch balls. Then place the balls on the baking sheets.
- Dip the tongs of a fork in the ½ cup powdered sugar and then gently press the fork down onto each mint to flatten them out and make a line pattern on the mints. Follow this process until all the mints are formed and keep dipping the fork in the powdered sugar when forming the mints.
- Then allow the mints to sit at room temperature until they have fully hardened (4-6 hours). They should be hard on the outside and soft on the inside.
- Store in an air tight container in single layers with a sheet of wax paper between each layer in the refrigerator for up to 2 weeks.