
This Arepas Recipe comes straight from my father’s Venezuelan wife. It is an authentic recipe made with just 4 simple ingredients that you can stuff with anything your family loves.
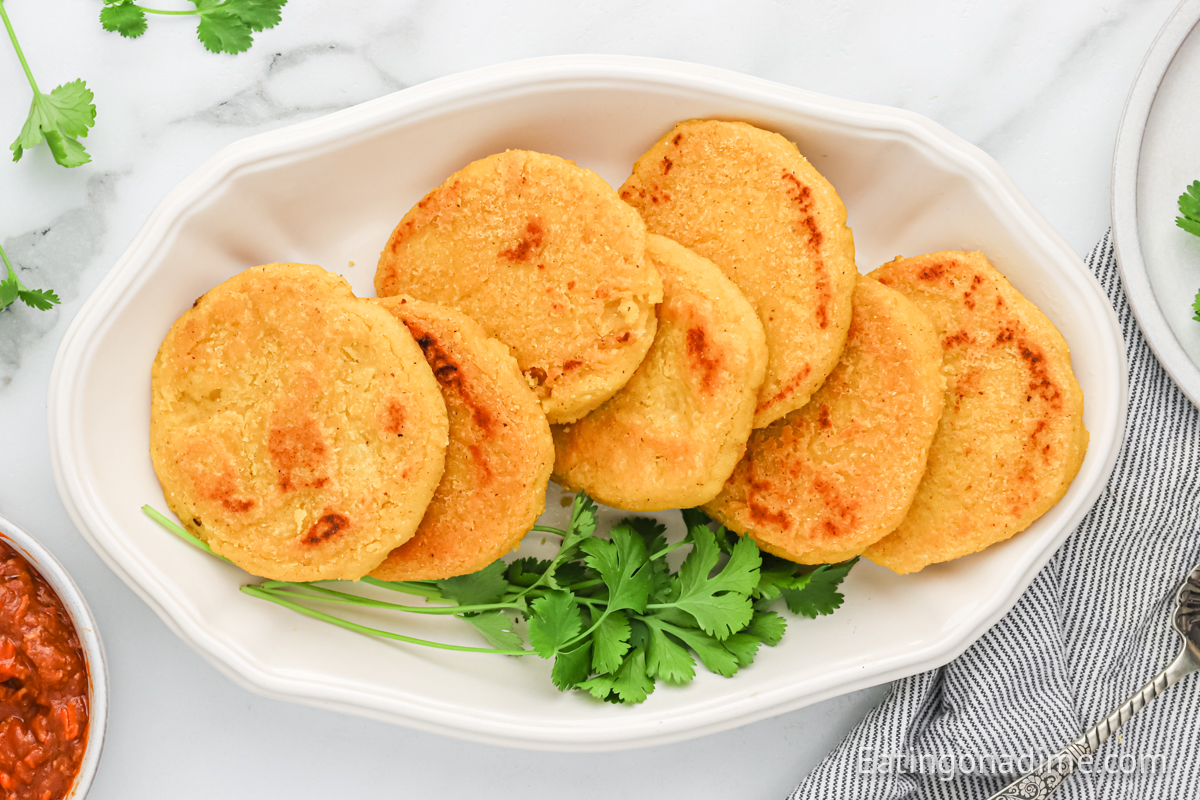
This Arepas Recipe is the real thing and not a version of it. Once I started making them at home I realized just how easy and affordable they are and now they are a regular part of our meal rotation.
Why You’ll Love This Recipe!

- Just $0.25 per arepa
- Authentic Venezuelan recipe
- Only 4 ingredients!
- Naturally gluten-free — a great bread option for anyone avoiding gluten
- A great addition to any meal
What are Arepas?
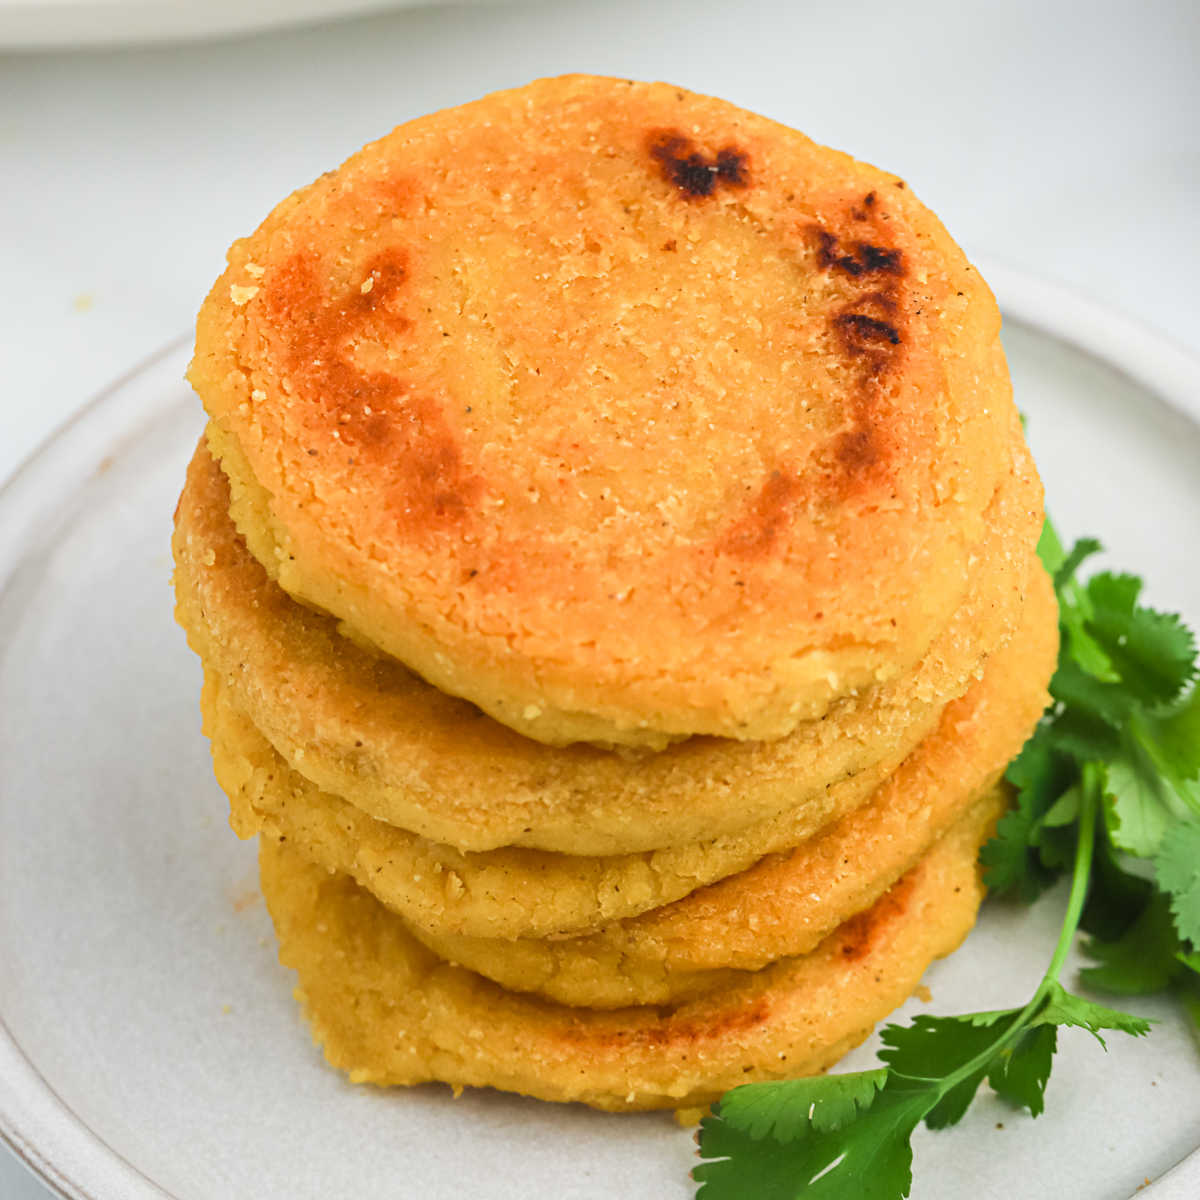
Arepas are a traditional cornmeal flatbread that originated in Venezuela and Colombia and have been a staple food in South America for centuries. They are made from pre-cooked corn flour mixed with water and salt, shaped into rounds, and cooked on a skillet until golden and crispy on the outside with a soft fluffy inside.
They can be split open like a pita and stuffed with fillings or eaten plain alongside a meal. Every Venezuelan family has their own way of making them — this version comes directly from my father’s Venezuelan wife and is as authentic as it gets.
Ingredients
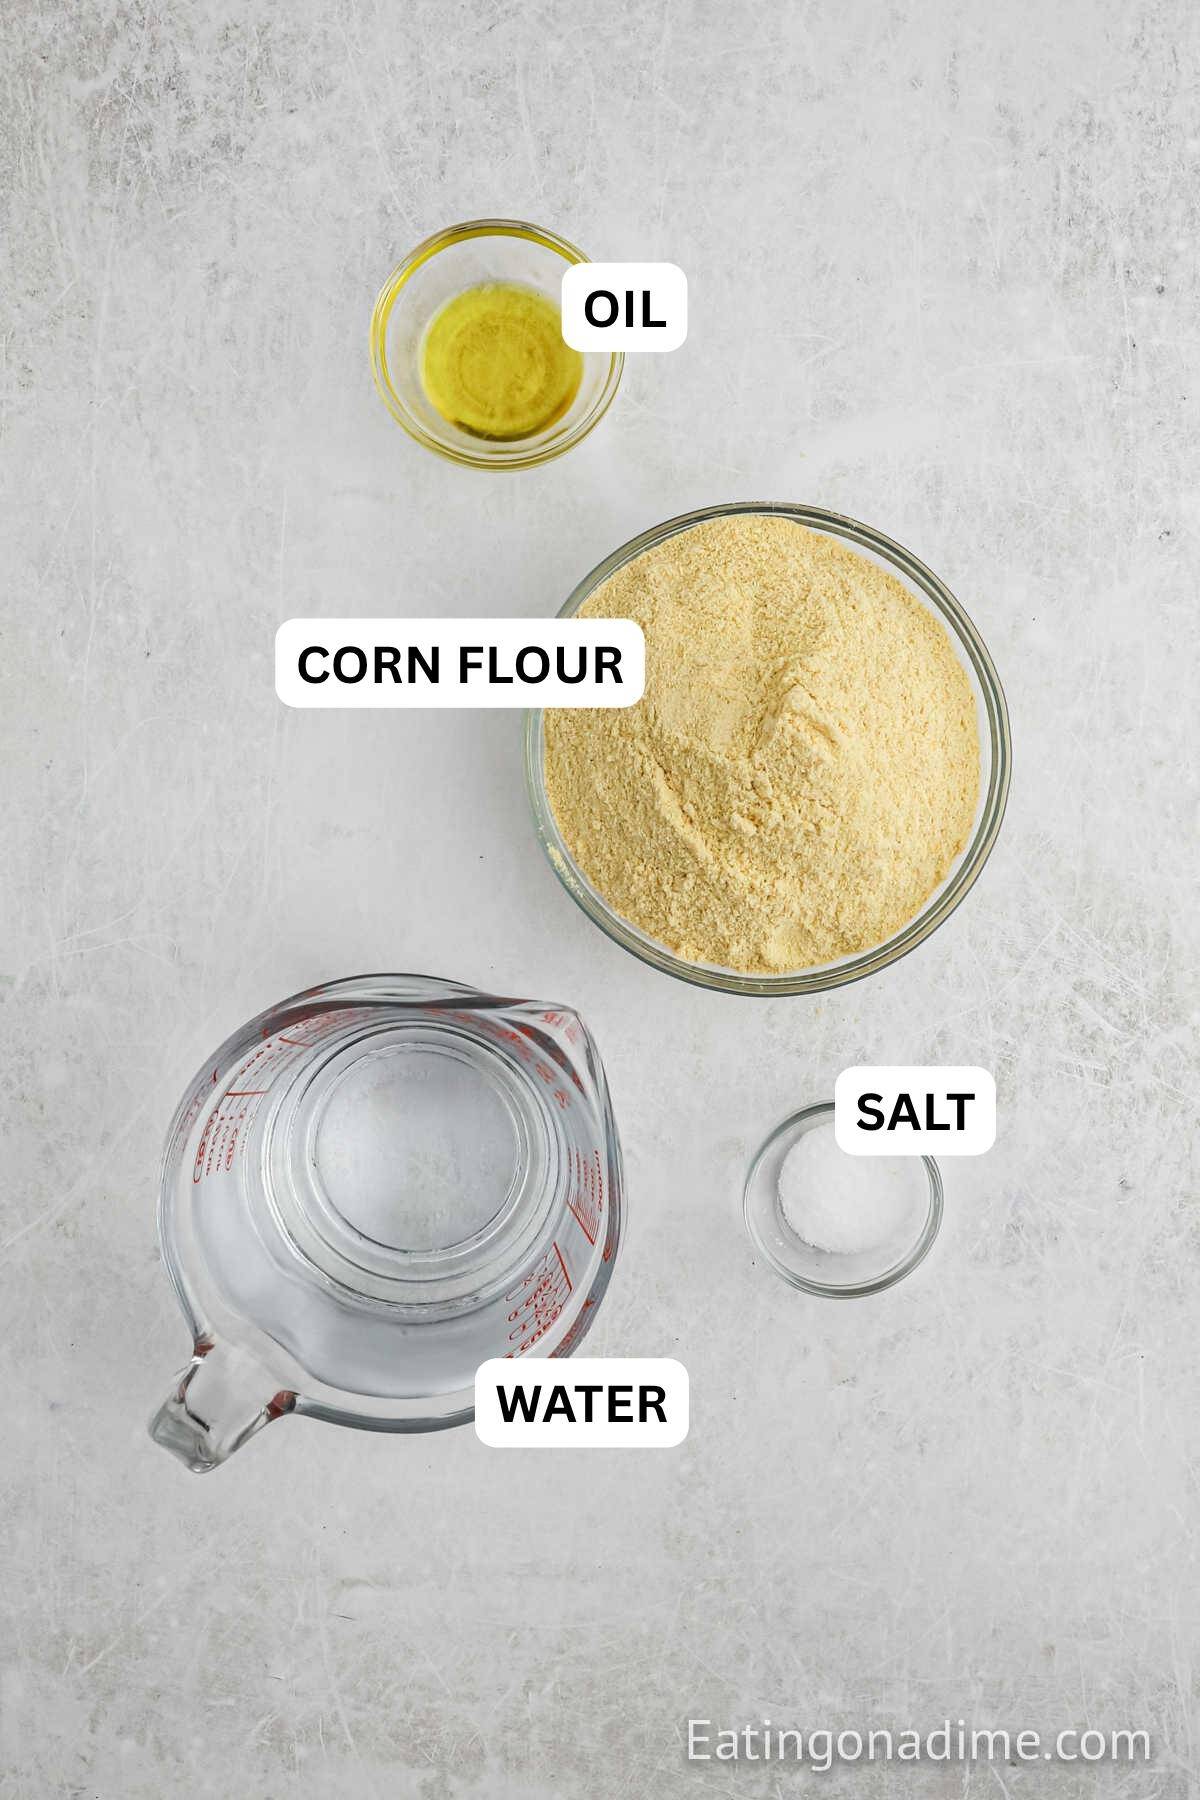
- Pre-cooked corn flour (masarepa) — this is the essential ingredient and what makes arepas different from regular cornbread. Look for brands like PAN or Goya in the Latin foods aisle. Make sure it says pre-cooked — regular cornmeal will not work for this recipe
- Lukewarm water — lukewarm water helps the dough come together smoothly. Cold water makes the dough harder to knead
- Salt — simple seasoning that makes a noticeable difference in the final flavor
- Olive oil — adds a subtle richness and helps keep the dough from sticking to your hands. Vegetable oil also works
How to Make Arepas

Step 1 – Slowly stir the pre-cooked cornmeal flour into warm water until smooth and adding salt and oil in a large bowl.

Step 2 – Knead until the dough mixture is smooth until dough forms and no longer sticky. Make sure to let the dough rest for 5 minutes. Next, divide the arepa dough into about 8 portions.

Step 3 – You can use oil or water on your hands to keep the dough from sticking to your hands. Shape into balls and flatten with palms of hands to form a large patty shape or disk.

Step 4 – Now it is time to cook these in a griddle or cast-iron pan with a tablespoon of butter or oil. Cook until they have a golden brown crust. Place on parchment paper lined baking sheet when done cooking. You may need to work in batches.
Step 5 – This is optional but you can also place on oven rack for 5 minutes to finish cooking.
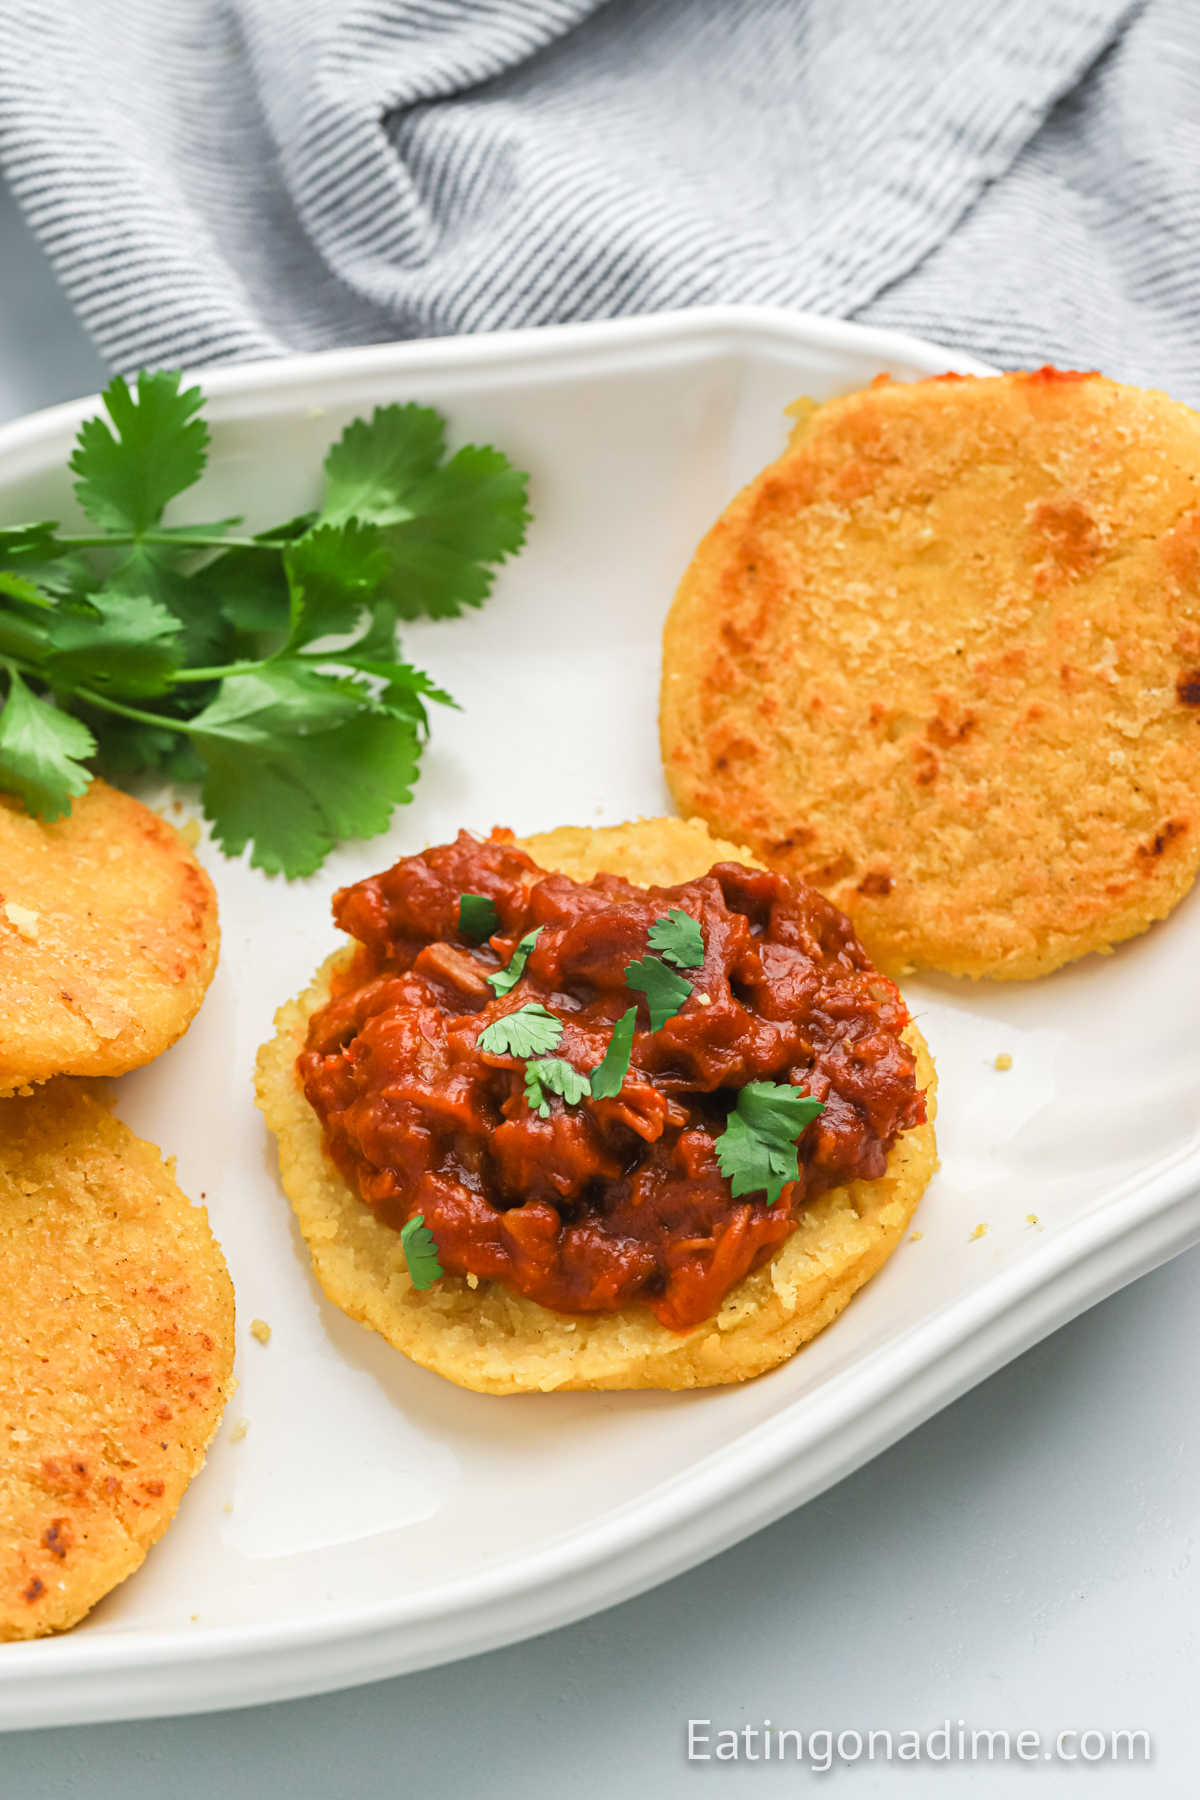
Step 6 – When finished, cut these South American Arepas in half lengthwise and stuff with anything you want – beef, chicken, cheese, or deli meat.
Tips for Success
- Use pre-cooked corn flour — not regular cornmeal. This is the most important tip. Regular cornmeal will not hydrate properly and will not give you the right texture.
- Let the dough rest. Five minutes of resting after kneading lets the flour fully hydrate and makes the dough much easier to shape
- Wet your hands when shaping. A little water or oil on your hands prevents the dough from sticking and helps you shape smooth even rounds
- Cook low and slow. Medium heat gives you that golden crispy exterior without burning before the inside is cooked through. High heat burns the outside while leaving the center raw
- Finish in the oven for the best result. The optional 5-minute oven step fully cooks the inside and gives you that authentic fluffy center that Venezuelan arepas are known for
Fillings Ideas
Slice the arepas with a knife to make a pocket or cut in half. To add these delicious fillings.
- Scrambled Eggs
- Ham or Shredded Beef (We like this shredded beef recipe.)
- Black Bean for delicious black bean arepas recipe
- Stuffed with Cheese
- anything you like
Think outside the box. This is a great way to use leftovers and turn what you already have into a new meal.
What to Serve with Arepas?
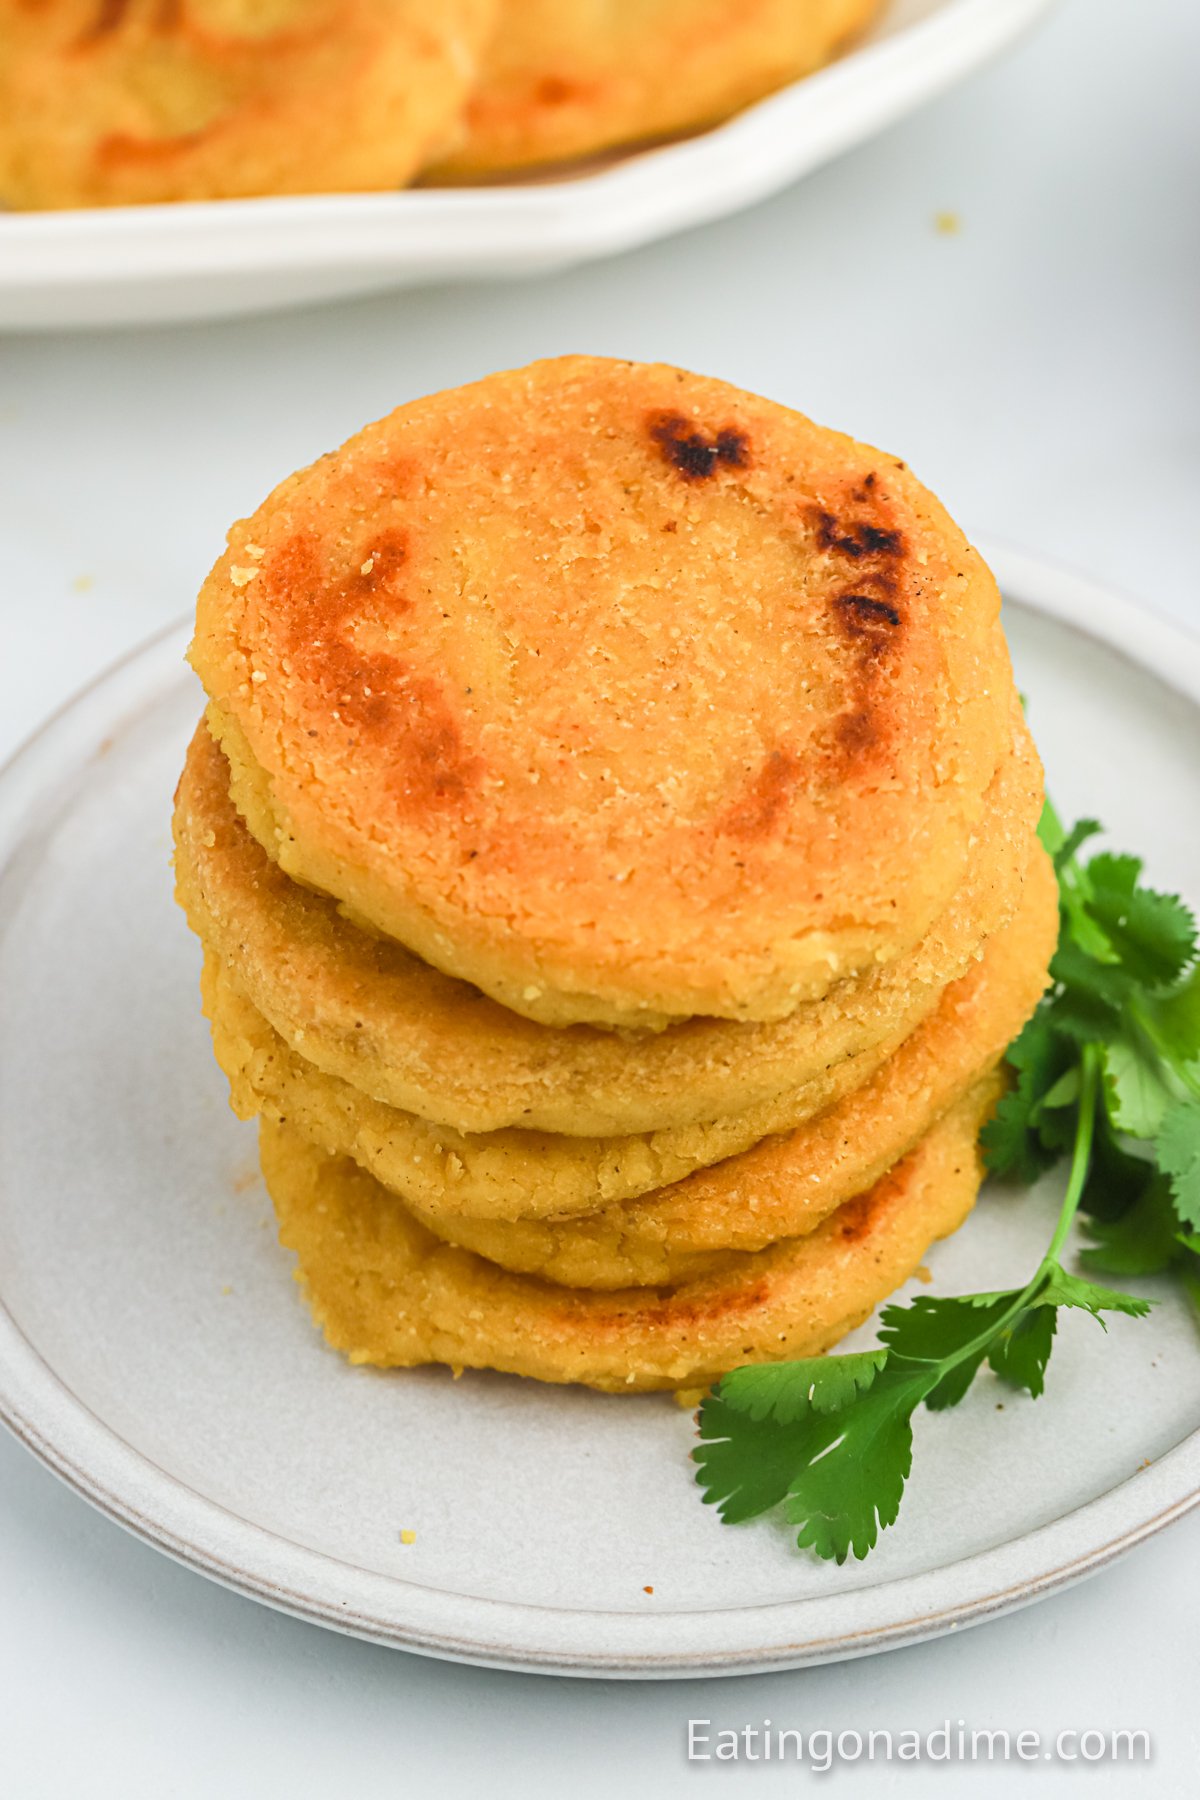
You can easily serve these arepas with many different sides. They can be Mexican dishes or American Dishes. These are some of our suggestions.
- Pulled Pork – Easy to make pulled pork to add to these Arepas. Make a sandwich or just as a side.
- Shrimp – Add your favorite shrimp recipe.
- Chicken Avocado Salad – Since arepas are a light bread, they would be perfect served with a salad.
Frequently Asked Questions
Use pre-cooked corn flour — look for masarepa or PAN brand in the Latin foods aisle at most grocery stores.
Crispy and golden on the outside with a soft fluffy inside — similar to an English muffin but made from corn.
Yes! Pre-cooked corn flour is naturally gluten-free making arepas a great bread alternative for anyone avoiding gluten.
Yes! Make the full batch, cool completely, and store in an airtight container for up to 3 days or freeze for up to 3 months.
Storage and Reheating Tips
- Storing – Arepas are best served fresh. But you can store them for up to 3 to 4 days. Place in the fridge in an airtight container for best results.
- Freezing – Store the cooled Arepas in a freezer safe container for up to 1 months.
- Reheating – When ready to reheat the leftovers, place in an oven that has been preheated to 350 degrees. Heat Arepas until they are warm, about 10 minutes.
More Easy Bread Recipes

We love hearing from you. If you make this Arepas Recipe, please leave us a comment or a star review.
Arepas Recipe
Ingredients
- 2 cups pan corn flour
- 2.5 cups water
- 1 tsp salt
- 1 tbs olive oil
See how we calculate recipe costs.
Instructions
- Slowly mix pan corn flour into water until smooth. Add salt and olive oil.
- Knead the mixture until a smooth dough forms and let the dough rest for 5 minutes.
- Divide the dough into 8 equal portions.
- Use a little oil or water on your hands to prevent the dough from sticking.
- Shape each portion into a ball, then flatten with your palms into large patty shapes.
- Place the arepas on a griddle or skillet with a small amount of butter or oil. Cook over medium heat for about 5 minutes per side until golden and cooked through.
- If needed, place the cooked arepas directly on an oven rack in a 300 degree oven for 5 minutes to finish cooking.
- Cut each arepa in half lengthwise and fill with your favorite fillings such as beef, chicken, cheese, or deli meat.

When you toast these they drip butter into your toaster, might want to put the bread in those toaster bag.
oh great tip – Thank you for sharing!
I read a lot of posts that are interesting here. You spend a whole lot of time writing, Thanks for sharing!
Best regards,
Boswell Valenzuela