
My homemade marshmallows recipe is made with the perfect amount of sweetness. They taste better than store bought marshmallows and are made with pantry ingredients.
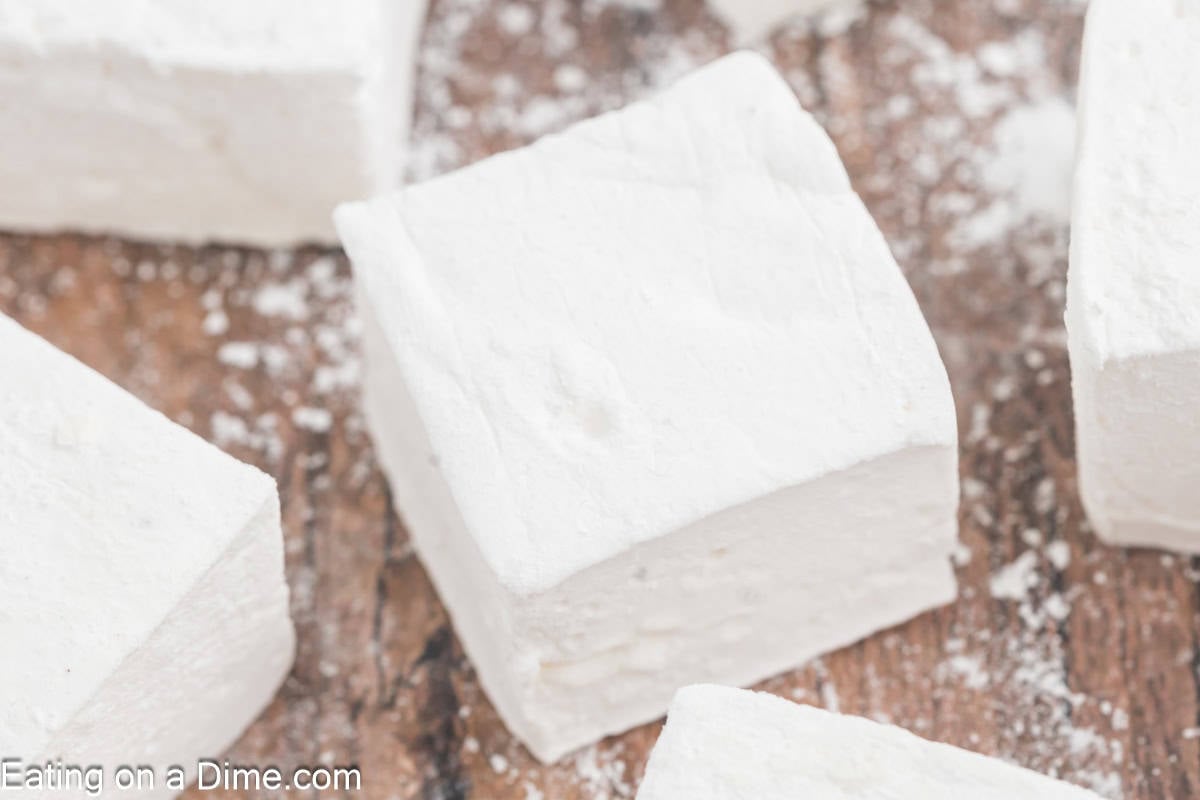
Making homemade marshmallows is worth the time and effort to achieve soft, sweet and fluffy marshmallows. They make a great addition to all your hot drinks and desserts.
Follow these tips so you can achieve the best marshmallows and avoid any sticky situations.
Why Make This Recipe
We love making homemade vanilla marshmallows for a delicious addition to our hot chocolate. It melts perfect and adds a delicious hint of vanilla with every drink.
The simple ingredients and simple steps make it worth the extra time to create homemade marshmallows that everyone loves.
Ingredients
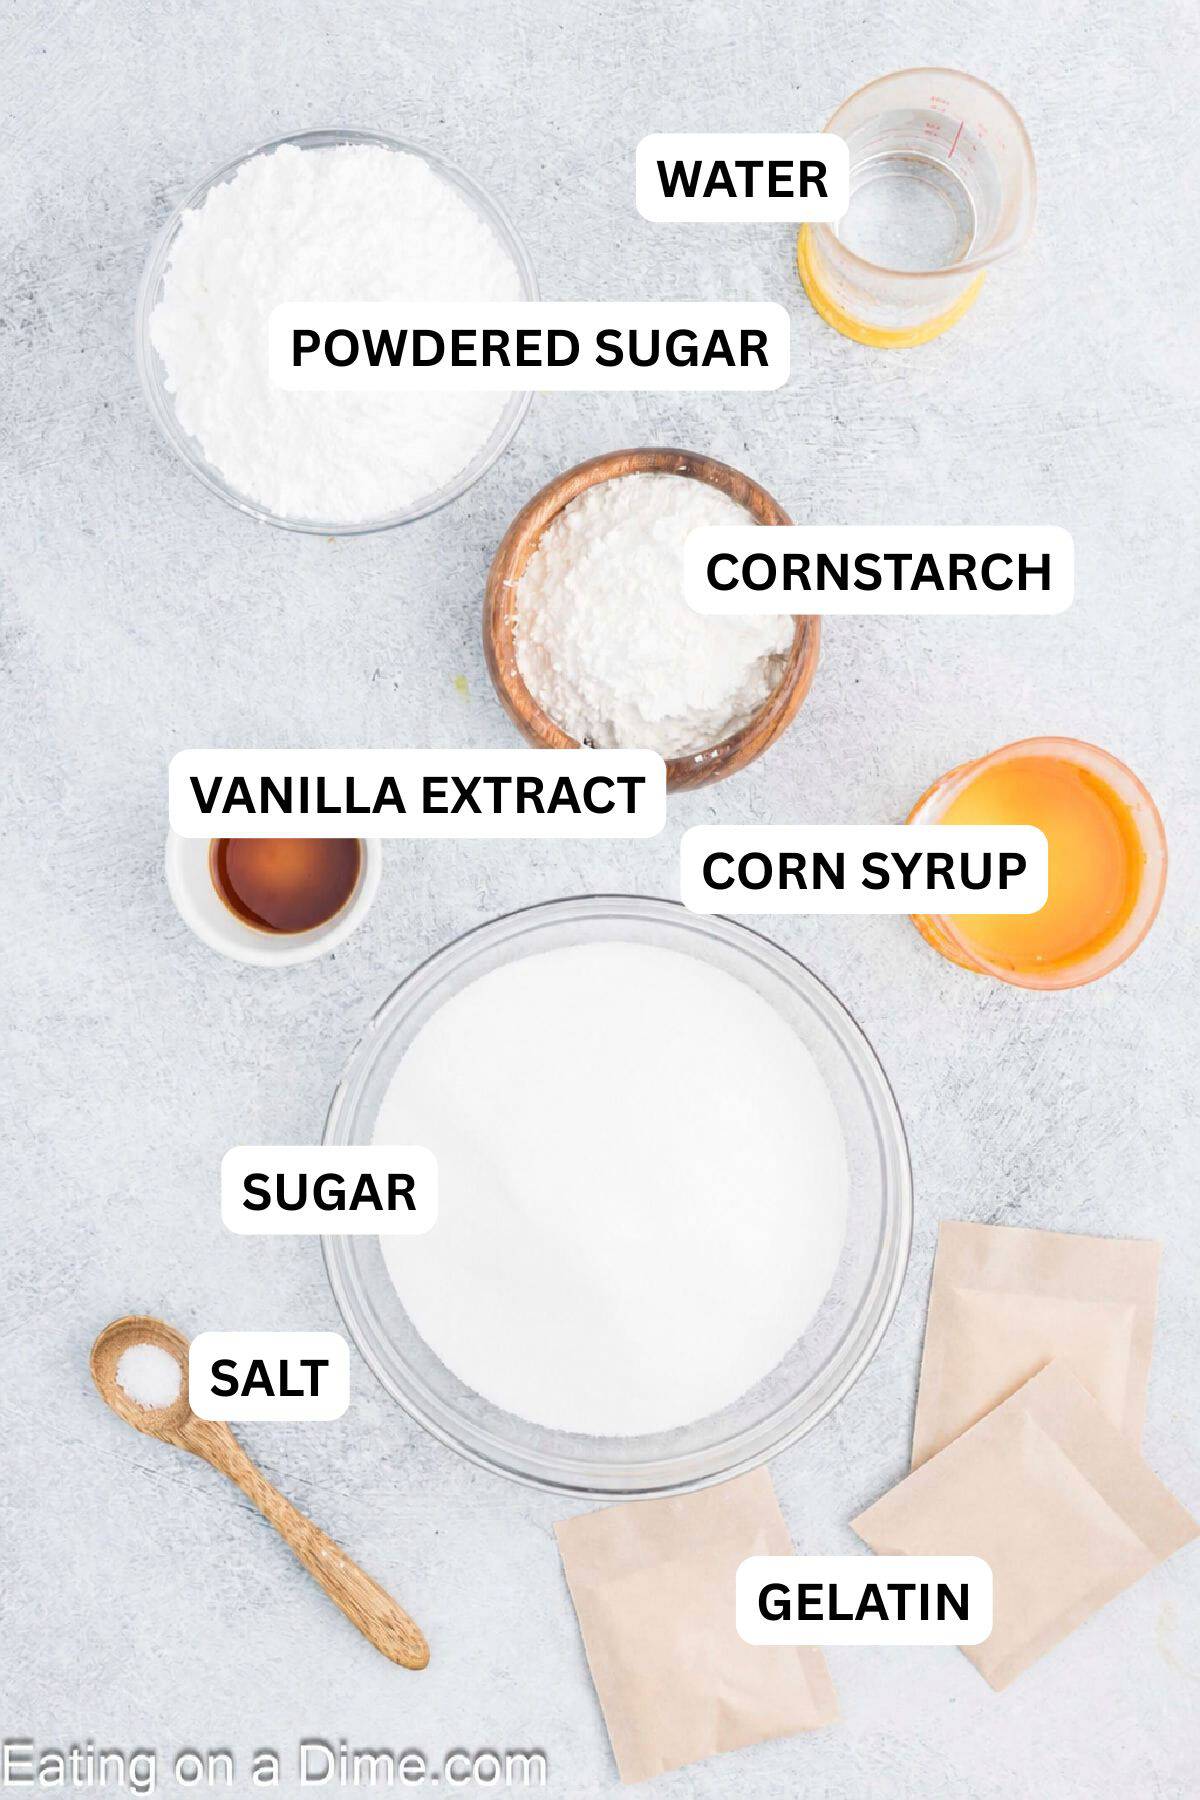
- Cornstarch – Helps prevent the marshmallow from sticking.
- Granulated Sugar – Creates the sweet base of the marshmallows.
- Light Corn Syrup – Helps keep the sugar syrup smooth and prevents crystallizing.
- Water – Use to mix with the gelatin and make the sugar syrup.
- Unflavored Gelatin – Gives the marshmallows their soft, springly texture.
- Salt – Balances the sweetness.
- Vanilla Extract – Adds classic marshmallow flavor.
For Dusting:
- Powdered Sugar – Coats the marshmallows and keeps them from sticking together.
- Cornstarch – Mixes with the powdered sugar for a light, dry coating.
Scroll to the bottom for the full recipe in the recipe card.
Equipment Needed
- Stand Mixer
- Candy Thermometer
- 9×9-inch pan
- Parchment paper or wax paper
Addition Ideas
To change the flavor of the marshmallows, you can easily add different extracts. Make sure you are adding in extracts and not oil. Try these options for a delicious variation.
- Cinnamon
- Nutmeg
- Peppermint Extract
- Mint
- Orange
- Lemon
Add the extracts once you have the marshmallow mixture combined.
Do I Need a Candy Thermometer?
A candy thermometer is the easiest way to get the syrup to the right temperature, but you can also use the cold water test. Drop a small amount of syrup into cold water. It should form a firm ball that holds it shape when pressed.
How to Make Homemade Marshmallows

Step 1 – Line a 9 X 9-inch baking dish with parchment paper or wax paper and spray the paper with a nonstick cooking spray or vegetable oil. Carefully dust the paper in the pan with cornstarch to help keep the marshmallows from sticking to the pan and the liner.

Step 2 – Place the gelatin in the bowl for a stand mixer. Pour ½ cup of the water on top. Set aside and let the water soak into the gelatin.

Step 3 – While the gelatin is setting, combine the remaining water, corn syrup, and sugar in a small saucepan. Stir together the sugar mixture and bring the mixture to a boil over medium heat. If you see sugar crystals form on the side of the pot, just wipe down with a wet pastry brush. Boil for about 5 minute or until the sugar has dissolved and the mixture reaches 240 degrees F (check with a candy thermometer).

Step 4 – Pour the hot sugar syrup mixture into the bowl with the gelatin. Beat in a bowl of a stand mixer with the whisk attachment. Mix for 10-12 minutes on high speed until stiff peaks are easily formed in the mixture.

Step 5 – Add in the salt and vanilla extract and mix until combined.

Step 6 – Pour the mixture into the prepared pan. The mixture will be sticky, so make sure to grease a spatula and wet your fingertips to prevent the mixture from sticking.
Step 7 – Cover the pan with plastic wrap and let it sit at room temperature for 4 hours until the marshmallows are set.
Step 8 – In a separate shallow bowl, whisk together the powdered sugar and cornstarch for dusting the marshmallows. We recommend using a fine mesh sieve to dust the marshmallows.
Step 9 – Carefully remove the marshmallow slab from the pan and place the slab on a cutting board dusted with the dusting mixture.
Step 10 – Use a large oiled kitchen knife (to prevent it from sticking) to cut the marshmallow slab into 1-inch squares. We have even oiled a pizza cutter and utensils for great results.
Step 11 – Roll the marshmallows in the dusting mixture so that they do not stick together. Then they are ready to serve and enjoy!
Troubleshooting Homemade Marshmallows
- Sticky marshmallows: Humidity or not enough coating can make them sticky. Toss the homemade marshmallows well in the powdered sugar mixture.
- Soggy marshmallows: The sugar syrup may not have cooked long enough. Make sure it reaches the correct temperature before whipping.
- Hard marshmallows: The syrup may have cooked too long or reached too high a temperature.
- Too thick to spread: Work quickly once the mixture is whipped because it begins to set fast.
Recipe Tips
- Candy Thermometer – To get an accurate temperature with the syrup, we recommend using a candy thermometer.
- Prepare Baking Dish – For best results, we recommend lining the baking dish with parchment paper with cooking spray. Marshmallow mixture is very sticky, and if the pan is prepared properly, you will be able to easily remove the marshmallows to cut.
- Cutting Marshmallows – To easily cut the marshmallows, it is best to use a knife that has been oiled. Another option is to powder it with sugar and cornstarch. The cornstarch mixture will help to cut clean lines.
Can I Make Without Corn Syrup?
Corn syrup is the key ingredient for the perfect fluffy marshmallow and to prevent crystallization. But if you are out, you can easily substitute with brown rice syrup, cane syrup, or maple syrup.
Using these substitutes could change the texture, flavor, and color of your marshmallows.

How to Serve Them
Homemade marshmallows are even better topped on your favorite hot chocolate recipe. We serve it on Crockpot Peppermint Hot Chocolate, Grinch Hot Chocolate, and Christmas Hot Chocolate.
It is even delicious to make a classic S’mores Campfire Cones or a S’mores Parfait Recipe. They even work well to toast over a fire or to use in our homemade Rice Krispie treats!
Frequently Asked Questions
Yes, we think they are worth it because you know exactly the ingredients that you are adding. They are delicious, tender, and have a moist texture. You will love the flavor.
We think that homemade marshmallows taste better than store-bought marshmallows. They are sweet with a hint of vanilla flavor and a spongy texture.
Store the leftover marshmallows in an airtight container at room temperature. They will stay fresh for up to 3 weeks. We recommend placing wax paper or parchment paper in between the layers to prevent them from sticking to each other and to keep their shape.
The main ingredients are gelatin, sugar, and corn syrup, along with water. Vanilla is added flavor.
Not with this recipe. Gelatin gives the marshmallows their soft, springy texture and cannot be swapped with another ingredient.
Yes. Use the cold water test by dropping a little syrup into cold water. It should form a firm ball that holds its shape.
Yes. Store them in an airtight, freezer-safe container for up to 2 to 3 months. Let them thaw at room temperature before serving.
Yes. Add a few drops of food coloring while combining the marshmallow mixture until you reach the color you want.

More Easy Dessert Recipes


We love to hear from you. If you make this recipe, please leave us a comment or a star review.

Homemade Marshmallows
Ingredients
- ⅛ cup Cornstarch
- 2 cups Granulated Sugar
- ⅔ cup Light Corn Syrup
- ¾ cup Water divided
- 3 packets Unflavored Gelatin 0.25 ounces each
- ⅛ teaspoon Salt
- 1 ½ teaspoons Vanilla Extract
For Dusting:
- 1 cup Powdered Sugar
- ¼ cup Cornstarch
See how we calculate recipe costs.
Instructions
- Line a 9×9-inch baking dish with parchment or wax paper. Spray with nonstick cooking spray and lightly dust with cornstarch.
- Add the gelatin to the bowl of a stand mixer. Pour part of the water over the gelatin and let it sit while preparing the sugar mixture.
- Combine the remaining water, corn syrup, and granulated sugar in a saucepan. Bring to a boil and cook until the sugar dissolves and the mixture reaches 240°F on a candy thermometer.
- Carefully pour the hot sugar mixture into the bowl with the gelatin.
- Using the whisk attachment, beat until the mixture becomes thick and forms stiff peaks.
- Add the salt and vanilla extract and mix until combined.
- Transfer the marshmallow mixture to the prepared pan and spread it into an even layer. Use a greased spatula or damp fingertips as needed to prevent sticking.
- Cover the pan with plastic wrap and let the marshmallows set at room temperature for at least 4 hours.
- In a shallow bowl, whisk together the powdered sugar and cornstarch for dusting.
- Remove the marshmallow slab from the pan and place it on a cutting board coated with the dusting mixture.
- Using a lightly oiled knife, cut the marshmallows into squares.
- Coat each marshmallow in the dusting mixture to prevent sticking, then serve and enjoy.

These homemade marshmallows taste better than the store bough marshmallows. I love the sponge-like texture and the simple ingredients the recipe calls for.
Easy and fun , thanks
These level up my hot chocolate every time! Totally worth it!
So fun to make and the perfect amount of sweetness!
Amazing! The best easy delicious!