If you’ve ever wanted to bake Homemade Sourdough Bread without buying packets of yeast, this simple Sourdough Starter Recipe is where it begins. Made with just flour and water, this beginner-friendly method shows you step-by-step how to create a strong, bubbly starter at home. No fancy tools or expensive ingredients required.
Sourdough baking doesn’t have to be intimidating or complicated. With a little patience and simple pantry staples, you can build a healthy starter that lasts for years and helps you bake affordable, from-scratch bread anytime.
I’ll be honest, I used to think sourdough was only for serious bakers with special scales and complicated routines. But once I learned how simple it actually is, I realized this is one of the most budget-friendly kitchen skills you can have. All you need is flour, water and time. That’s it!
If your starter takes 8 days or even 14 days, that’s completely normal. Mine did too! The key is consistency, not perfection. For even more tips, see our Beginners Guide to Sourdough.
Why You’ll Love Making Your Own Starter
- Costs pennies to make
- No commercial yeast needed
- Helps stretch your grocery budget
- Lasts indefinitely with simple feeding
- Creates flavorful homemade bread
- No complicated ingredients
Recipe Snapshot
- Prep Time: 5 minutes daily
- Total Time: 7–14 days
- Ingredients: Flour and Water
- Skill Level: Beginner
- Cost: Extremely Budget-Friendly
- Maintenance: Feed daily or weekly
Ingredients

- Unbleached All-Purpose Flour – Unbleached flour works best because it contains more natural microorganisms. King Arthur is reliable, but any unbleached brand works.
- Filtered Water – Chlorine in tap water can slow yeast growth. If you don’t have filtered water, let tap water sit out overnight before using. Depending on the weather we always use room temperature water instead of warm water or cold water.
Supplies Needed
- Glass Bowl – Metal can affect bacteria and yeast growth
- Wooden Spoon – You can also use a silicone spatula
- Tea Towel – Or you can use a clean kitchen cloth
- Warming Mat – This is optional if you live it is cold out
Day-by-Day Sourdough Starter Schedule
Day 1
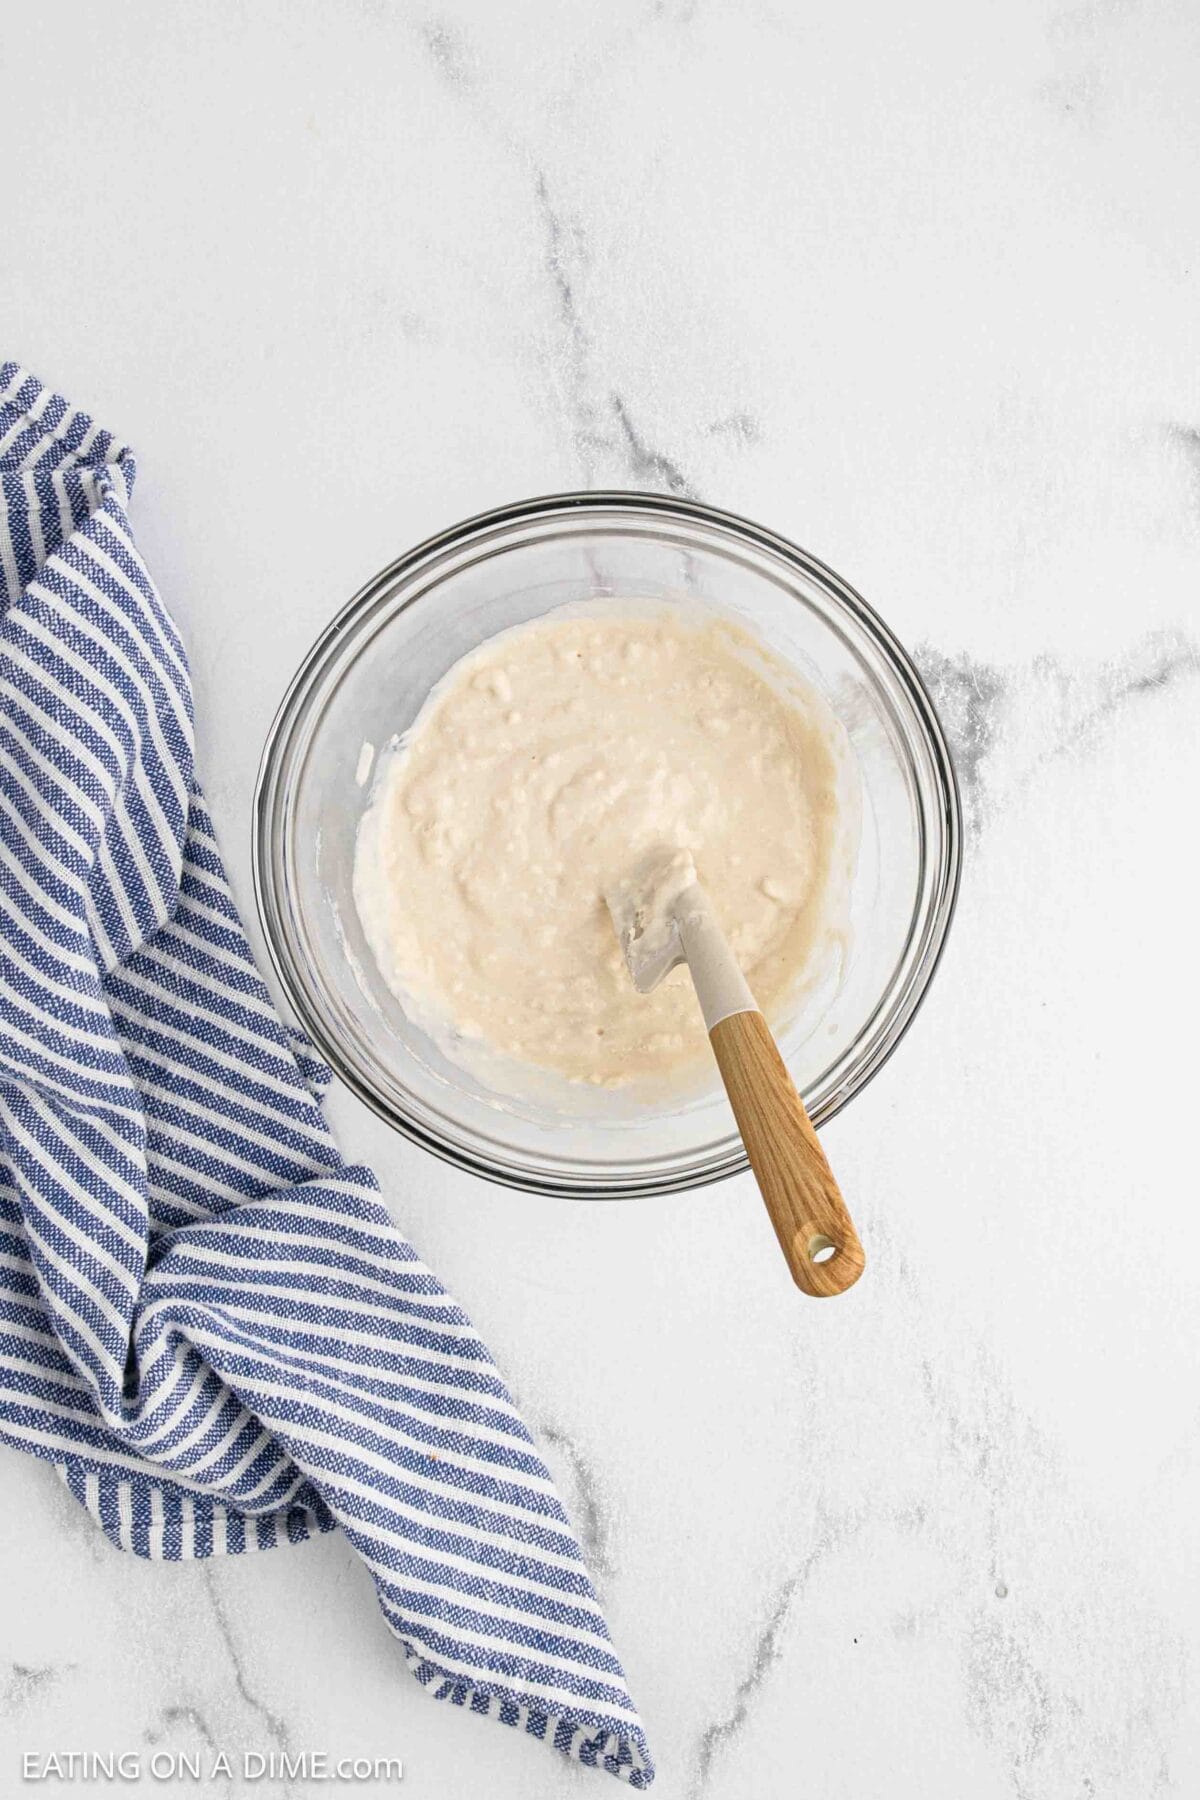
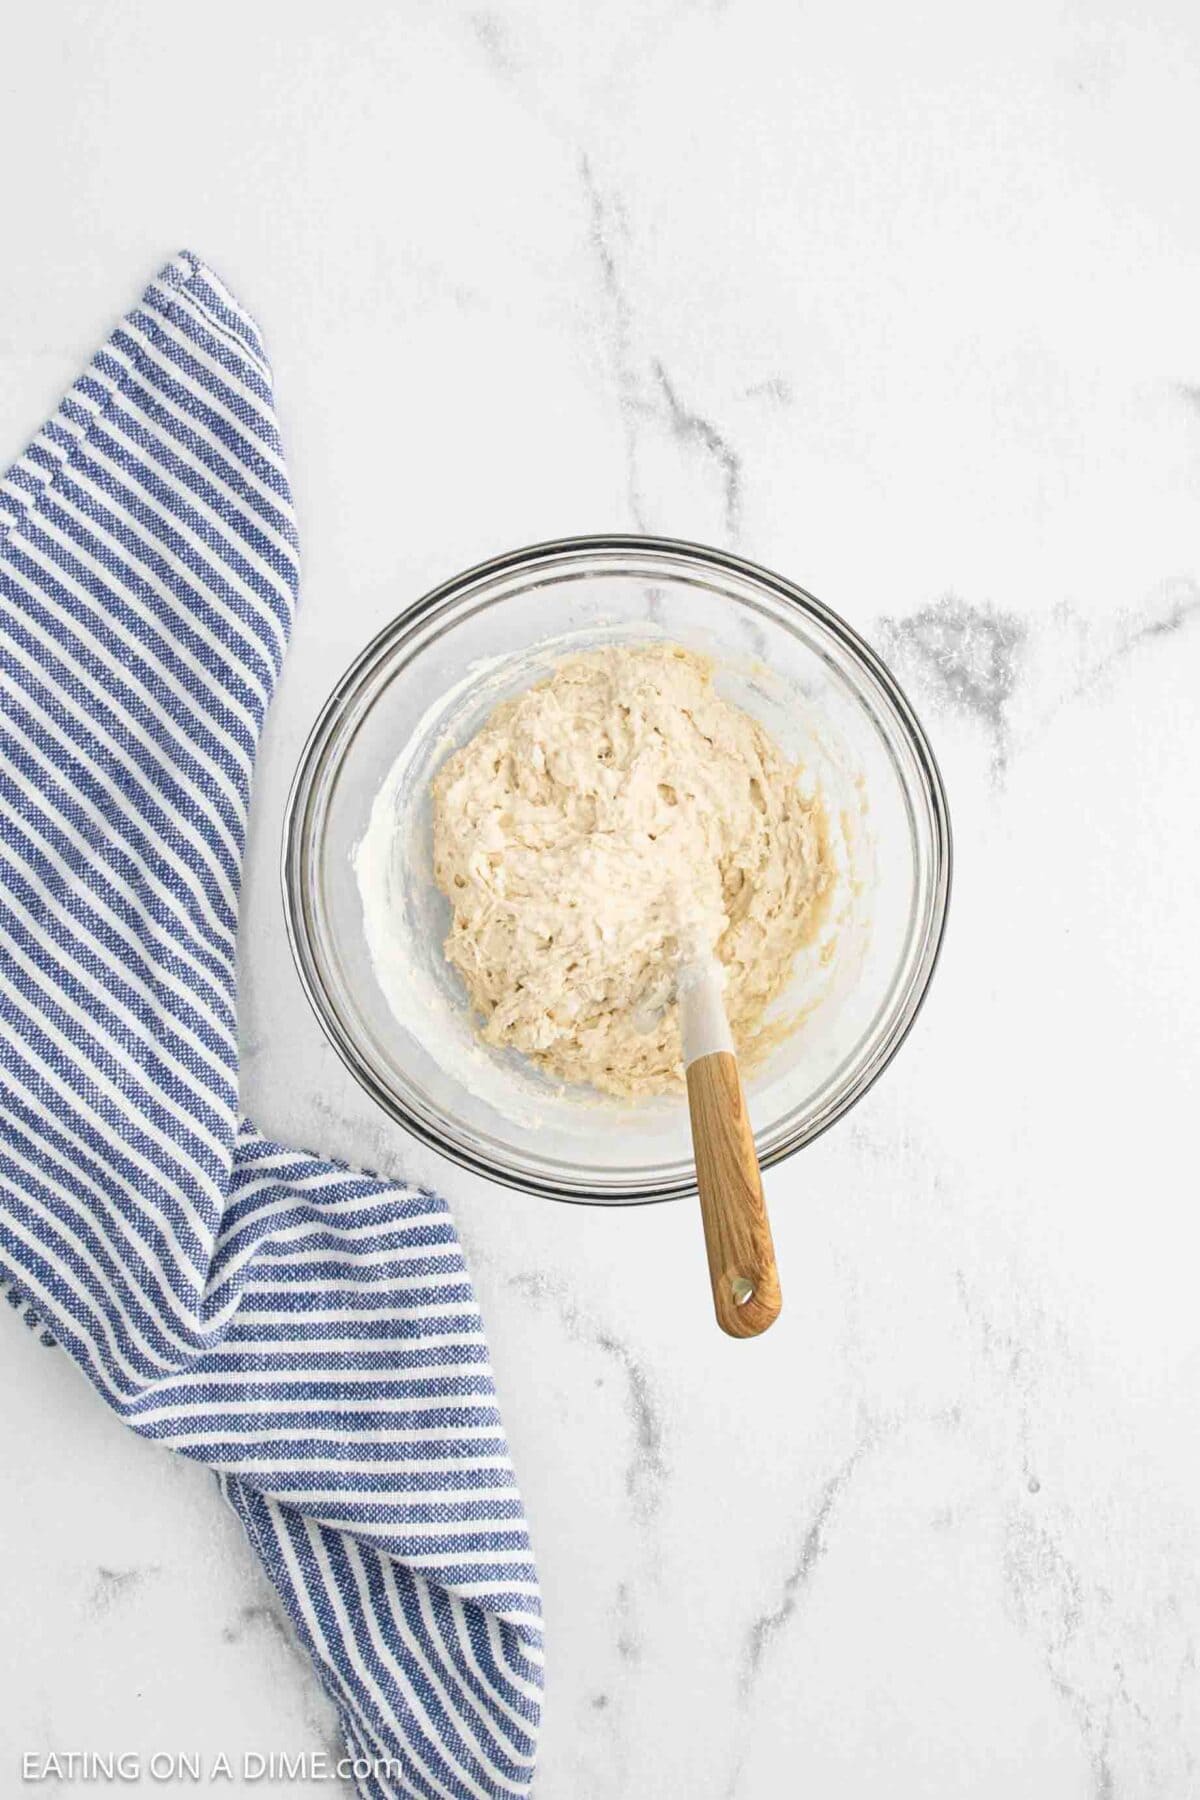
Step 1 – Combine fresh flour and water in a clean glass bowl or jar with a lid. Stir thoroughly, scrape the sides to fully mix.
Step 2 – Cover with a tea towel and let sit at room temperature or a warm spot for 24 hours.
Days 2–5
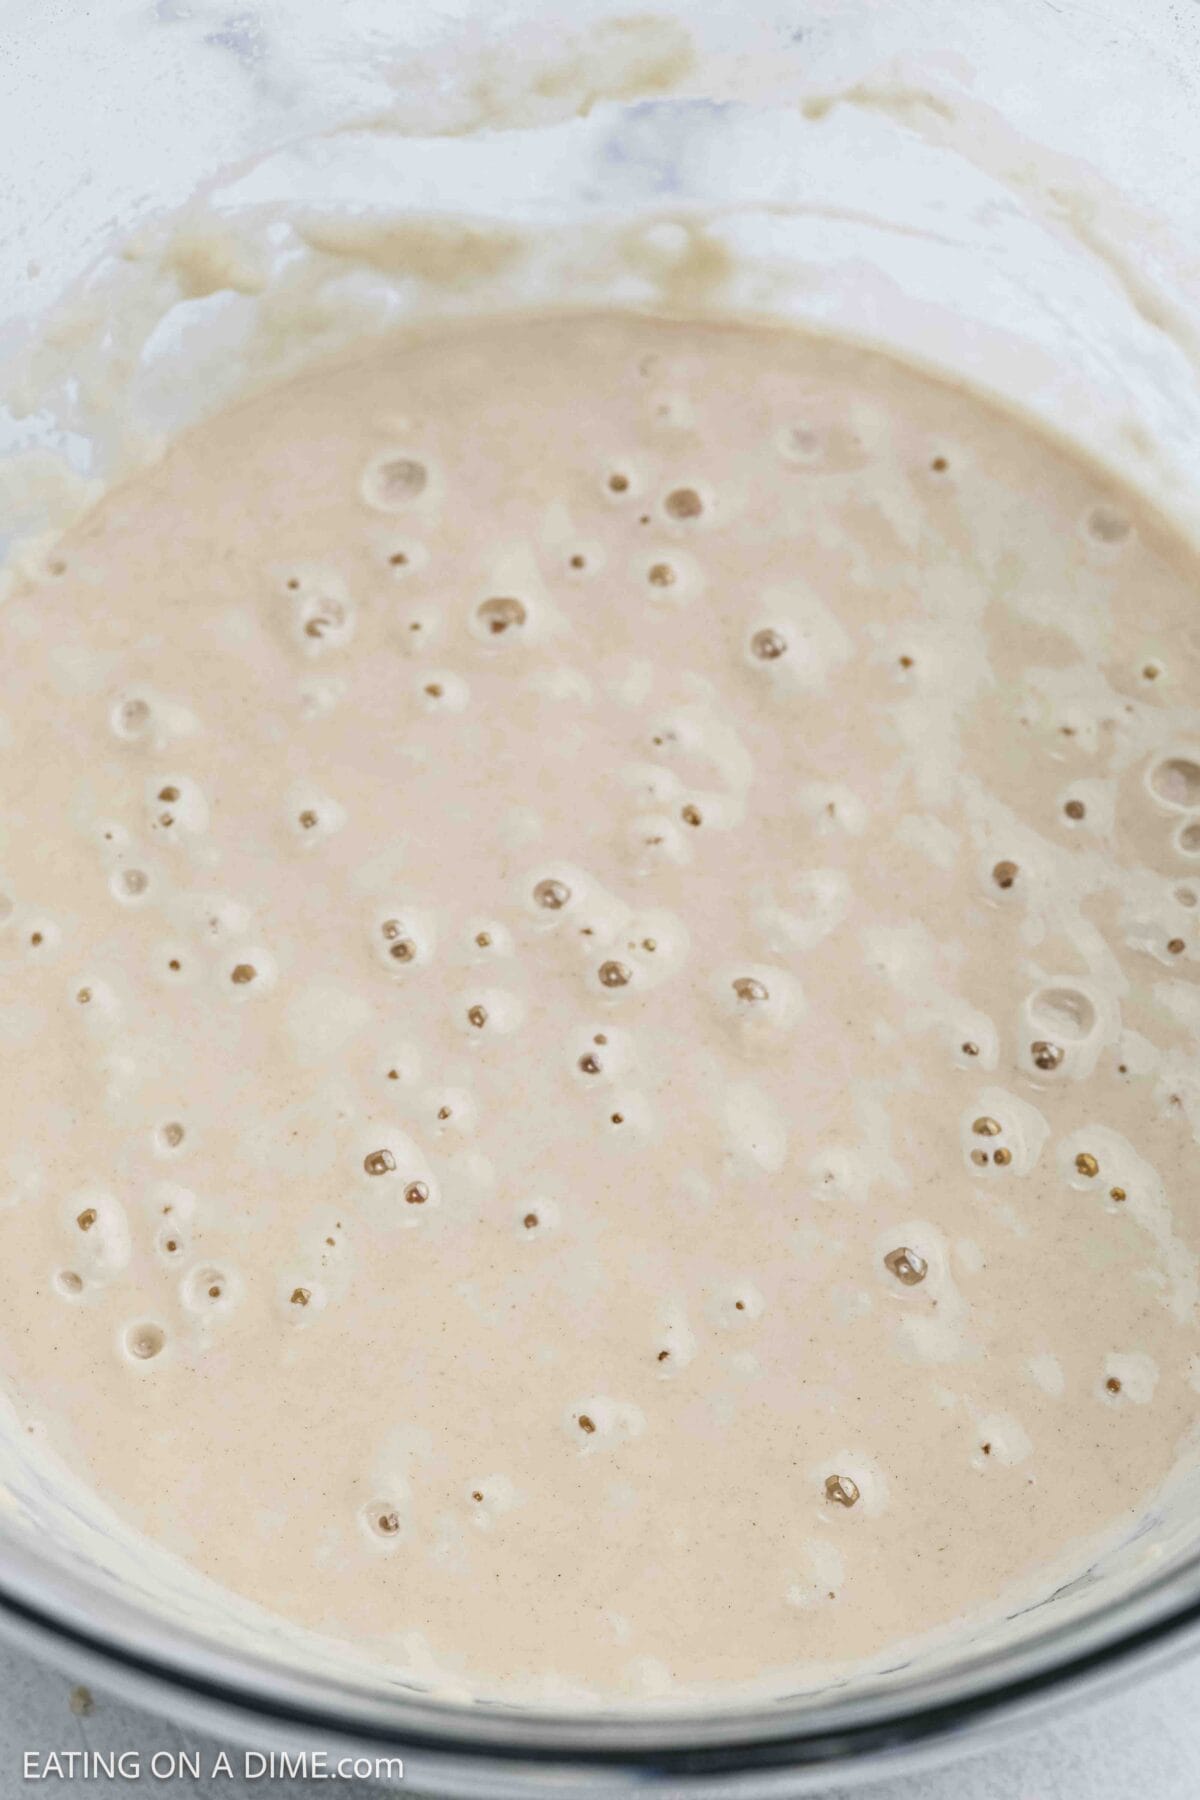
Things you may notice during days 2-5, small bubbles, slight sour smell and thin consistency.
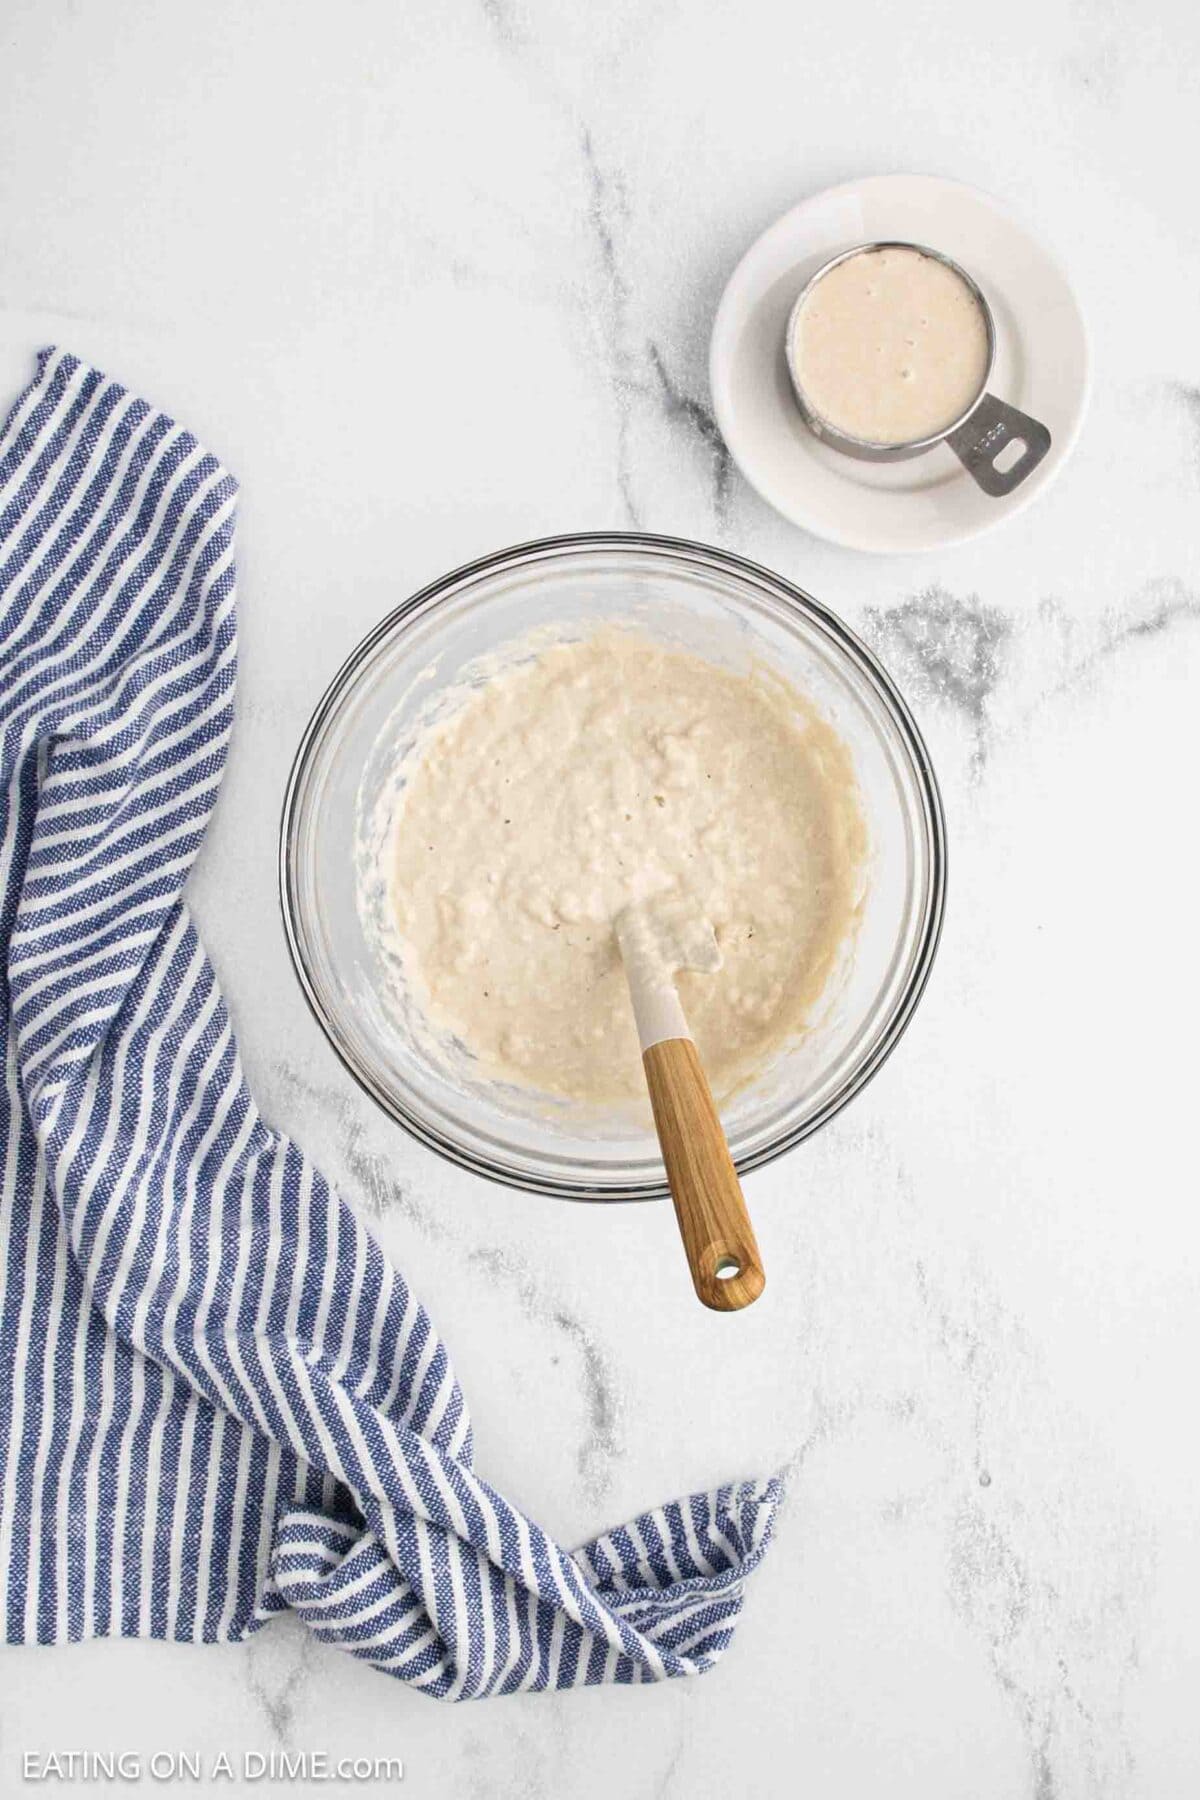
Step 3 – Discard half of your starter each day or move to a separate container. Feed the remaining ratio starter with 1 cup flour and 1 cup water. Make sure to keep jar clean.
Step 4 – Stir mixture well, cover, and let rest for 24 hours.
Days 6–7
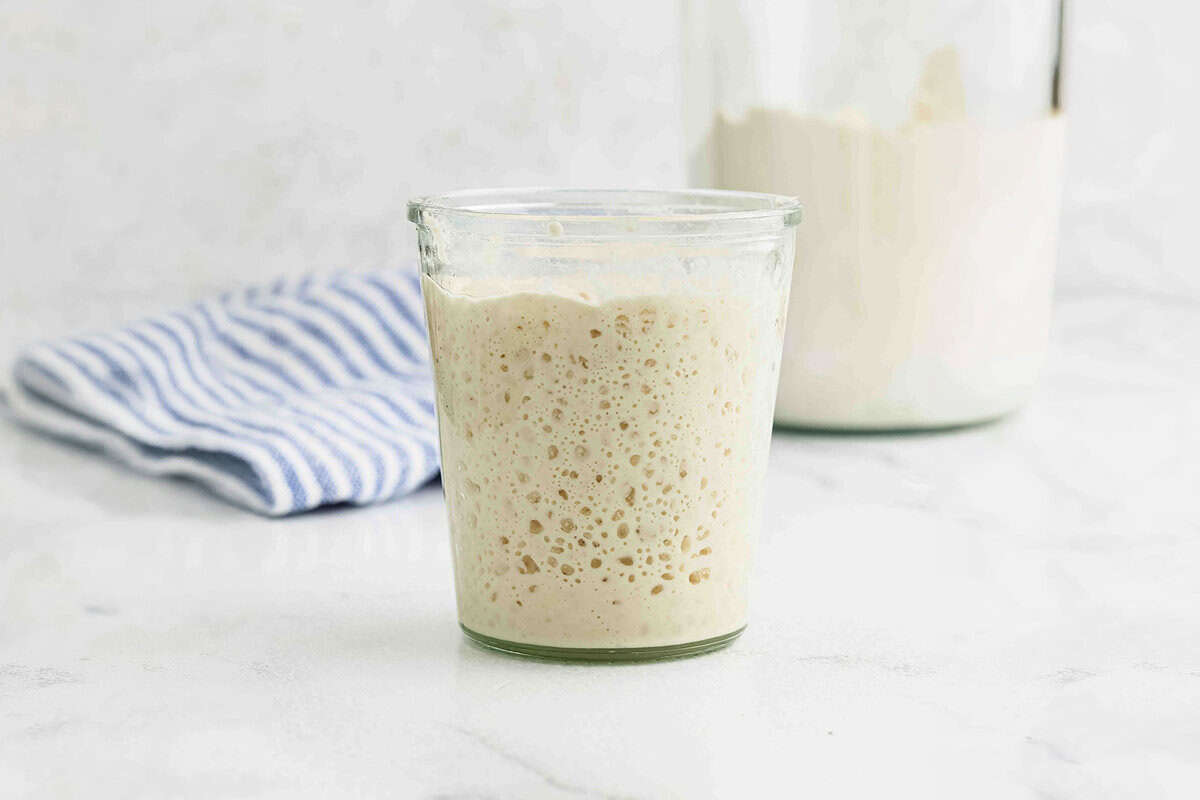
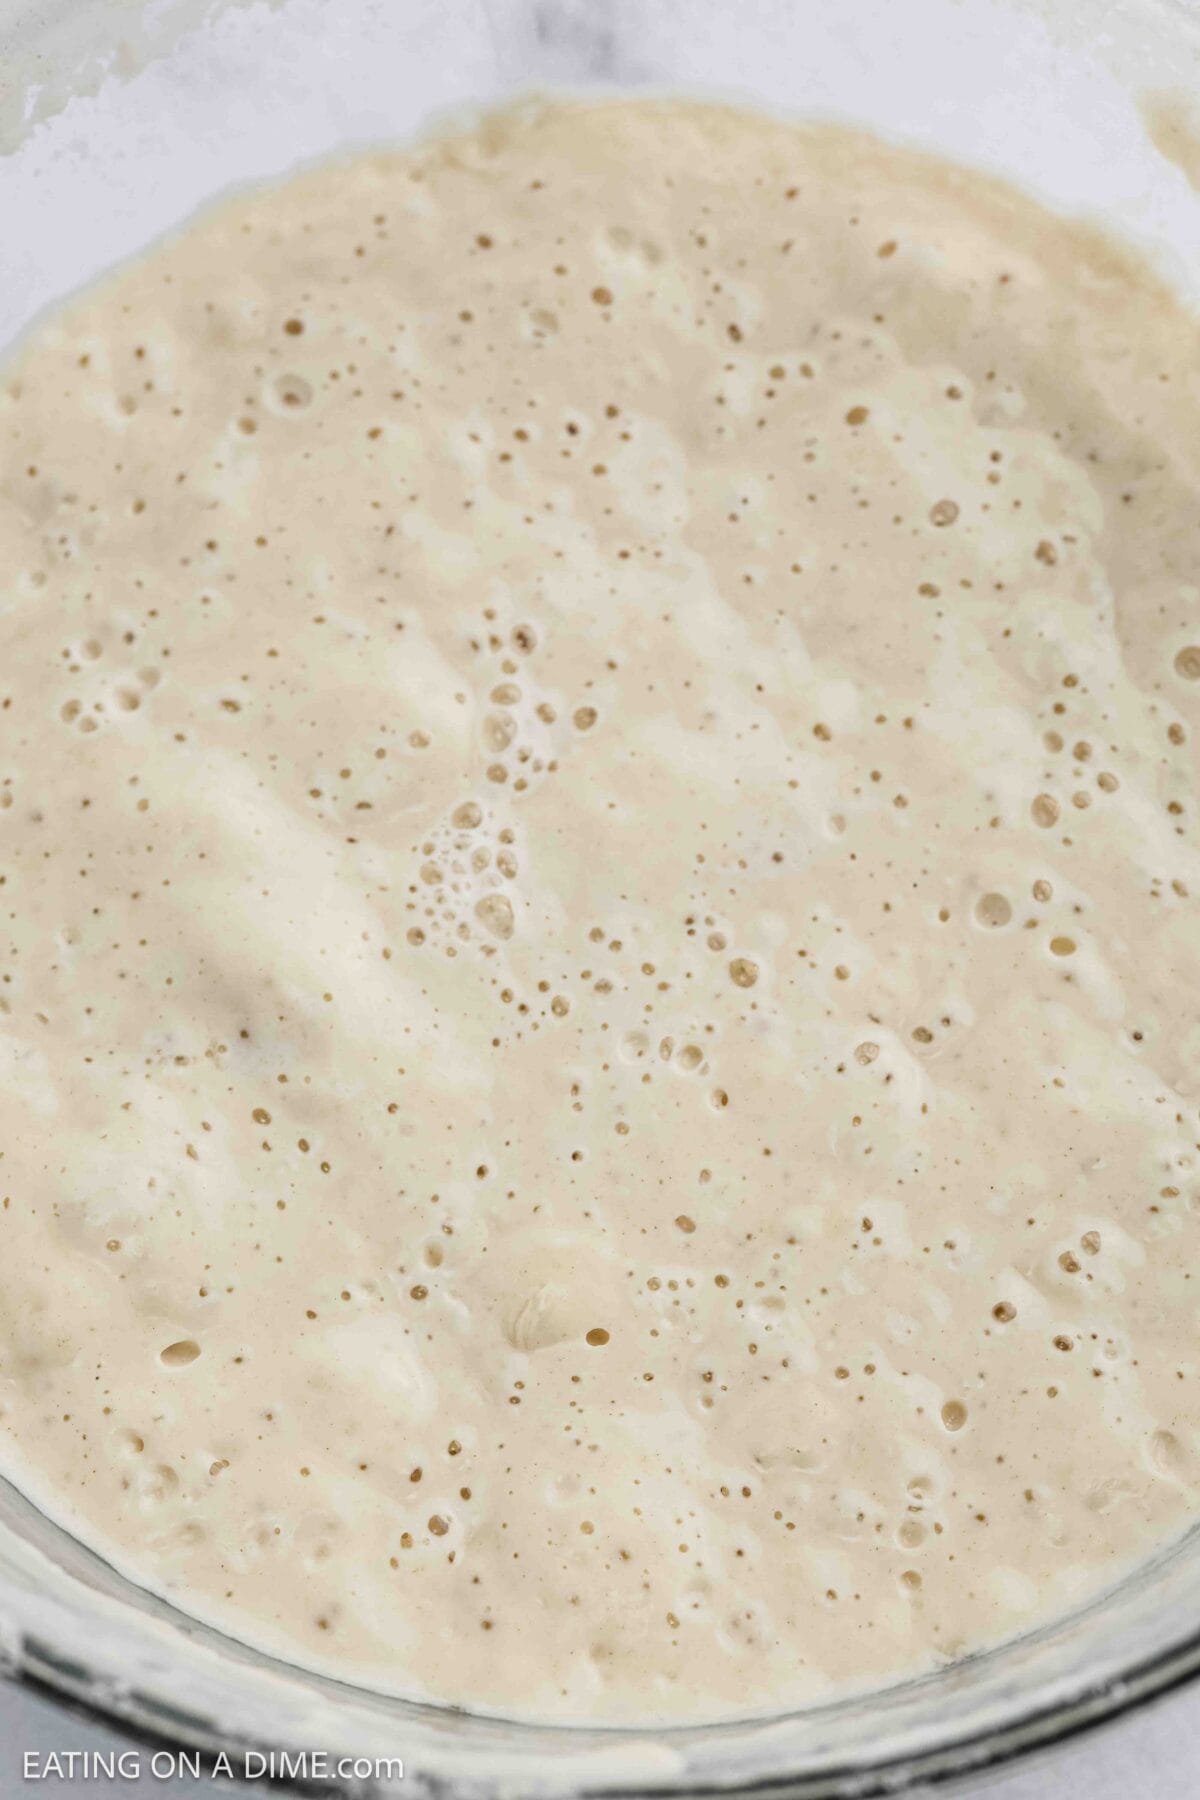
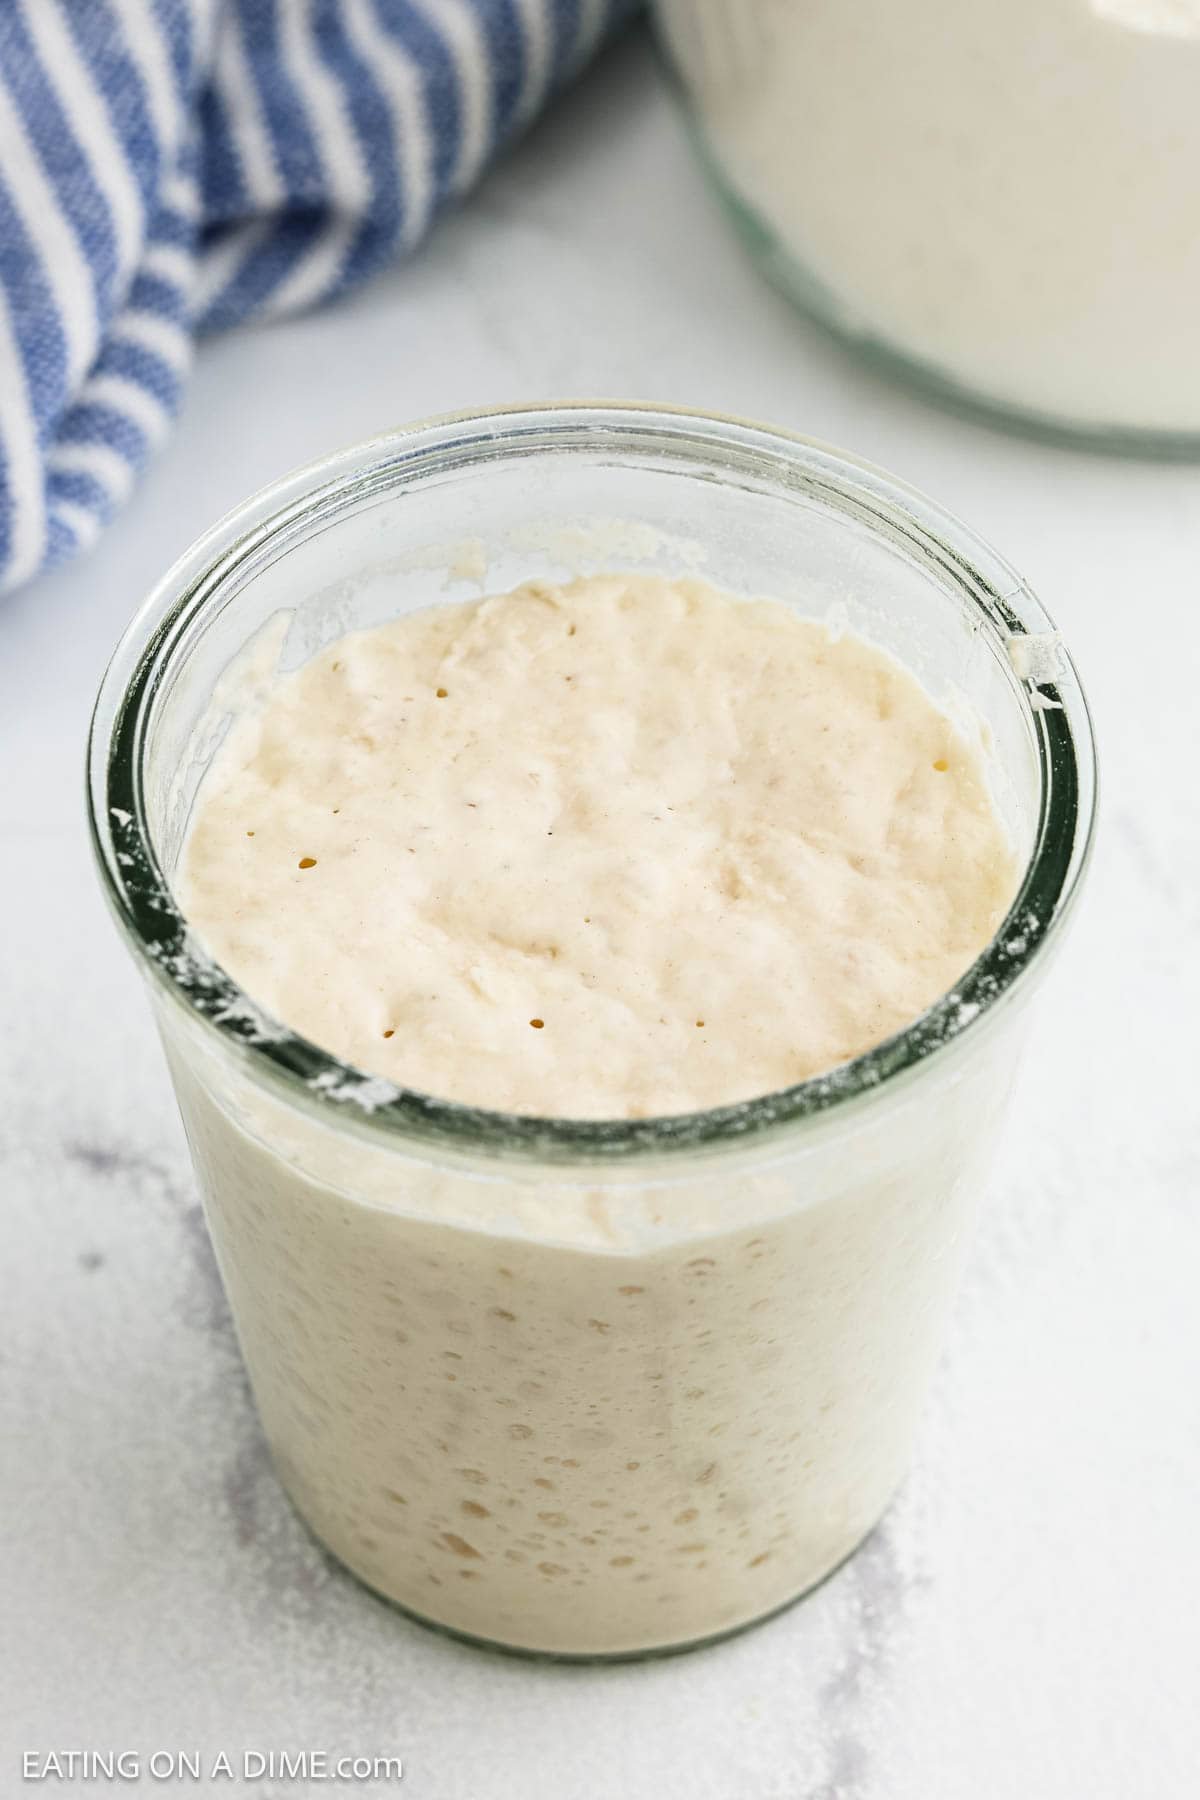
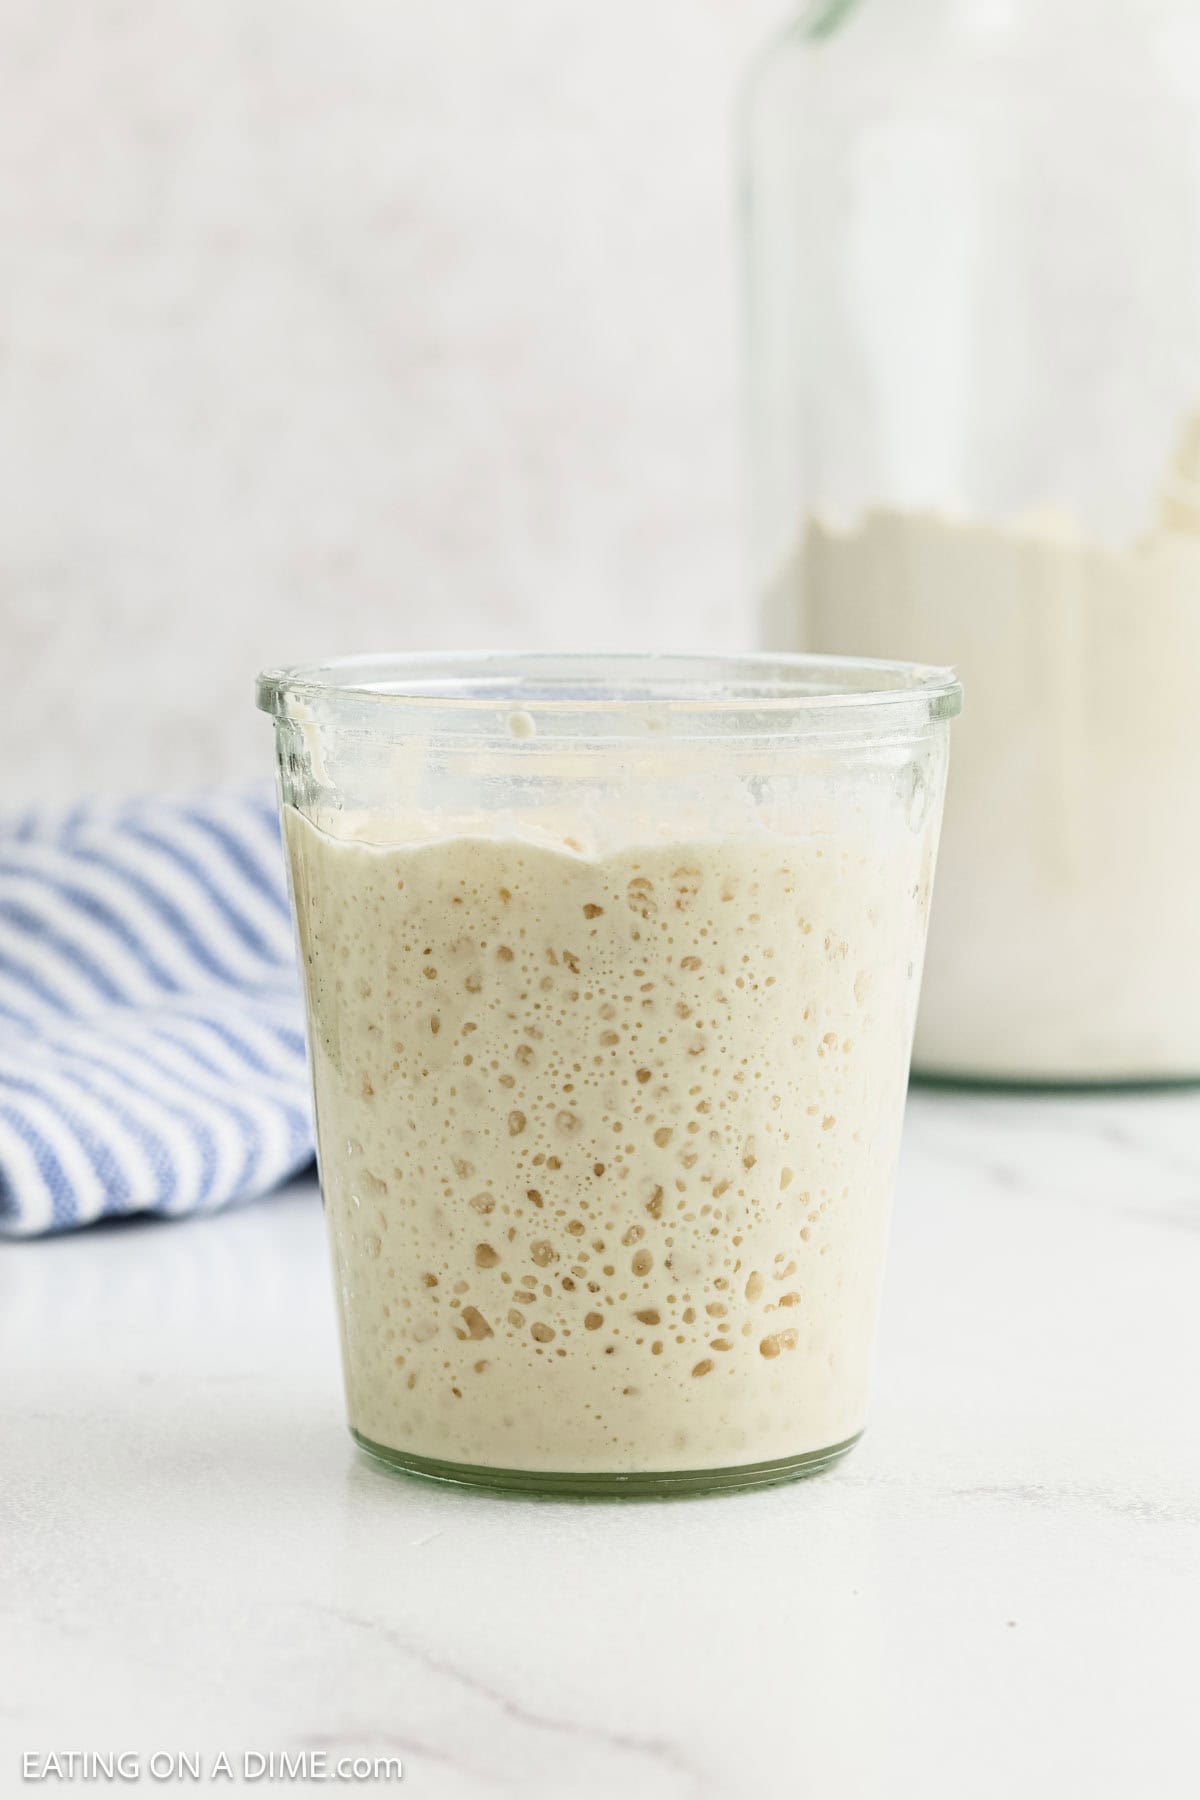
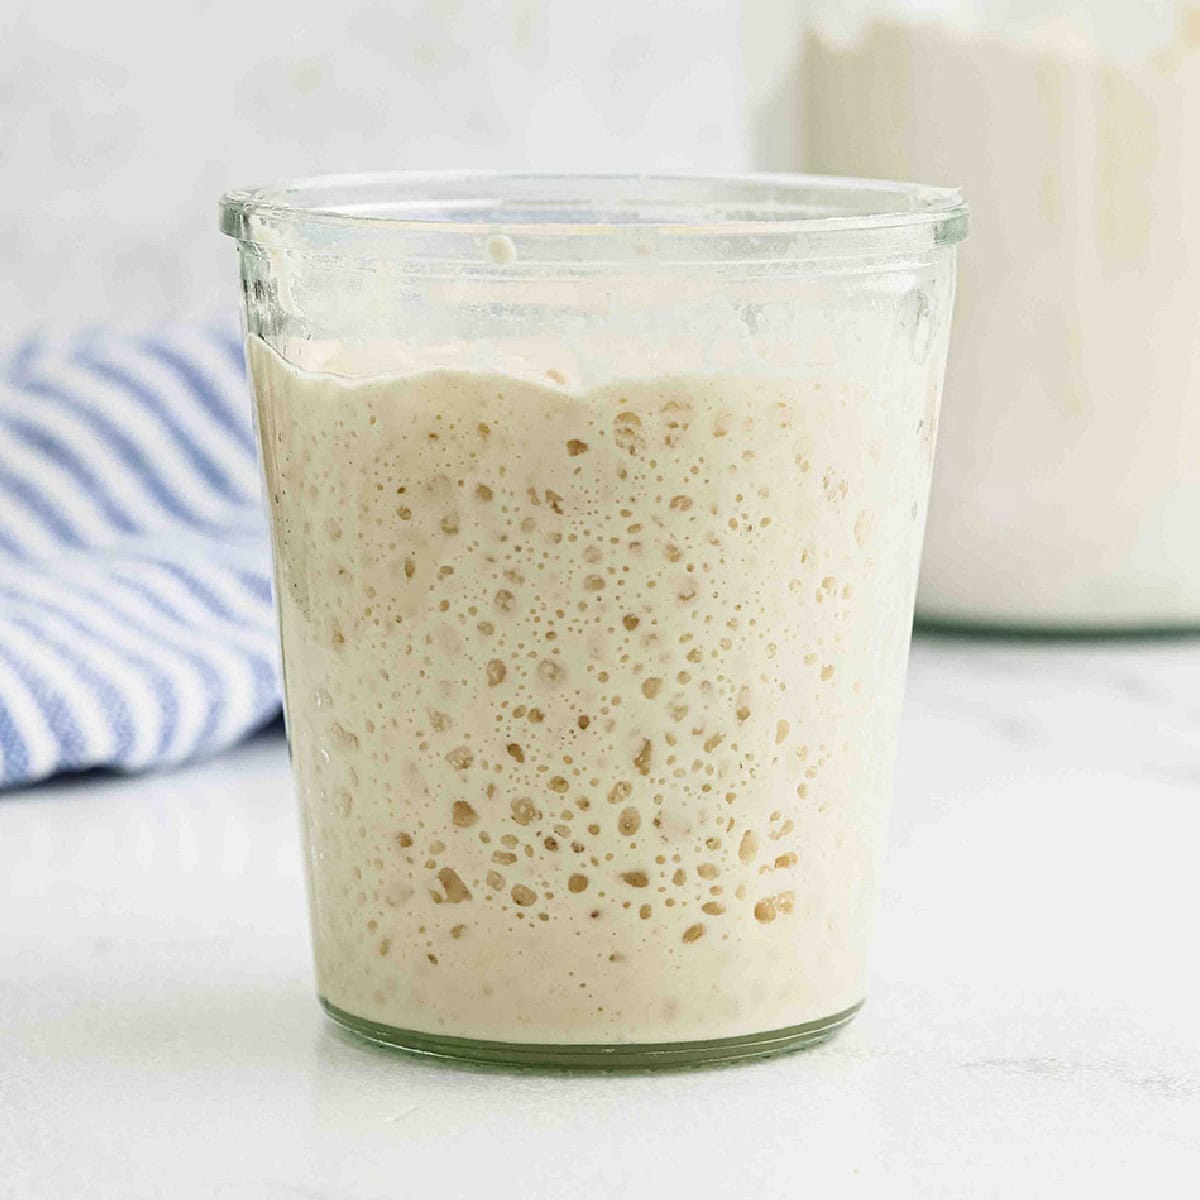
By day 7 your starter should be bubbly throughout, double in size after feeding and smell pleasantly tangy.
Step 5 – Feed the starter every 12 hours instead of once per day.
Step 6 – Continue discarding half and adding 1 cup each of flour and water at each daily feedings.
By Day 7
Step 8 – The starter should be bubbly, active, and roughly double in size after feeding. The bread dough is ready for baking, your Sourdough Bread.
What if my Starter is not ready on Day 7?
My starter took until day 8 but it’s not uncommon to take 14 days.
If your starter isn’t ready on day 7, this is actually very common. Sourdough starters can take longer depending on your kitchen temperature, the flour you used, and the activity of the yeast and bacteria. Here’s what you can do:
- Continue feeding every 12 hours.
- Keep it warm (75–80°F is ideal).
- Try adding some whole wheat or rye flour.
- Be patient — some take 10–14 days.
Steps to Help It Get Ready
Continue Feeding Regularly
- Keep discarding half and feeding 1 cup flour + 1 cup water every 12 hours (like Days 6–7).
- Consistency is key; the starter needs regular food to build strength.
Keep It Warm
- Yeast activity is faster at warmer temperatures (around 75–80°F).
- Place the starter somewhere warm in your kitchen, like near a stove or on top of the fridge.
Use the Float Test and Bubbling as Indicators
- Look for bubbles throughout the starter, not just on the surface.
- Do the float test: if it floats, it’s ready. If it sinks, keep feeding.
Switch Flours (Optional)
- If your starter is sluggish, try using a mix of all-purpose and whole wheat flour, bread flour or rye flour.
- Whole grain flours have more natural yeast and nutrients, which can speed up activity.
Patience
- Some starters take 10–14 days to become strong enough for baking.
- Keep feeding daily and monitoring; it will eventually become bubbly, rise well, and pass the float test.
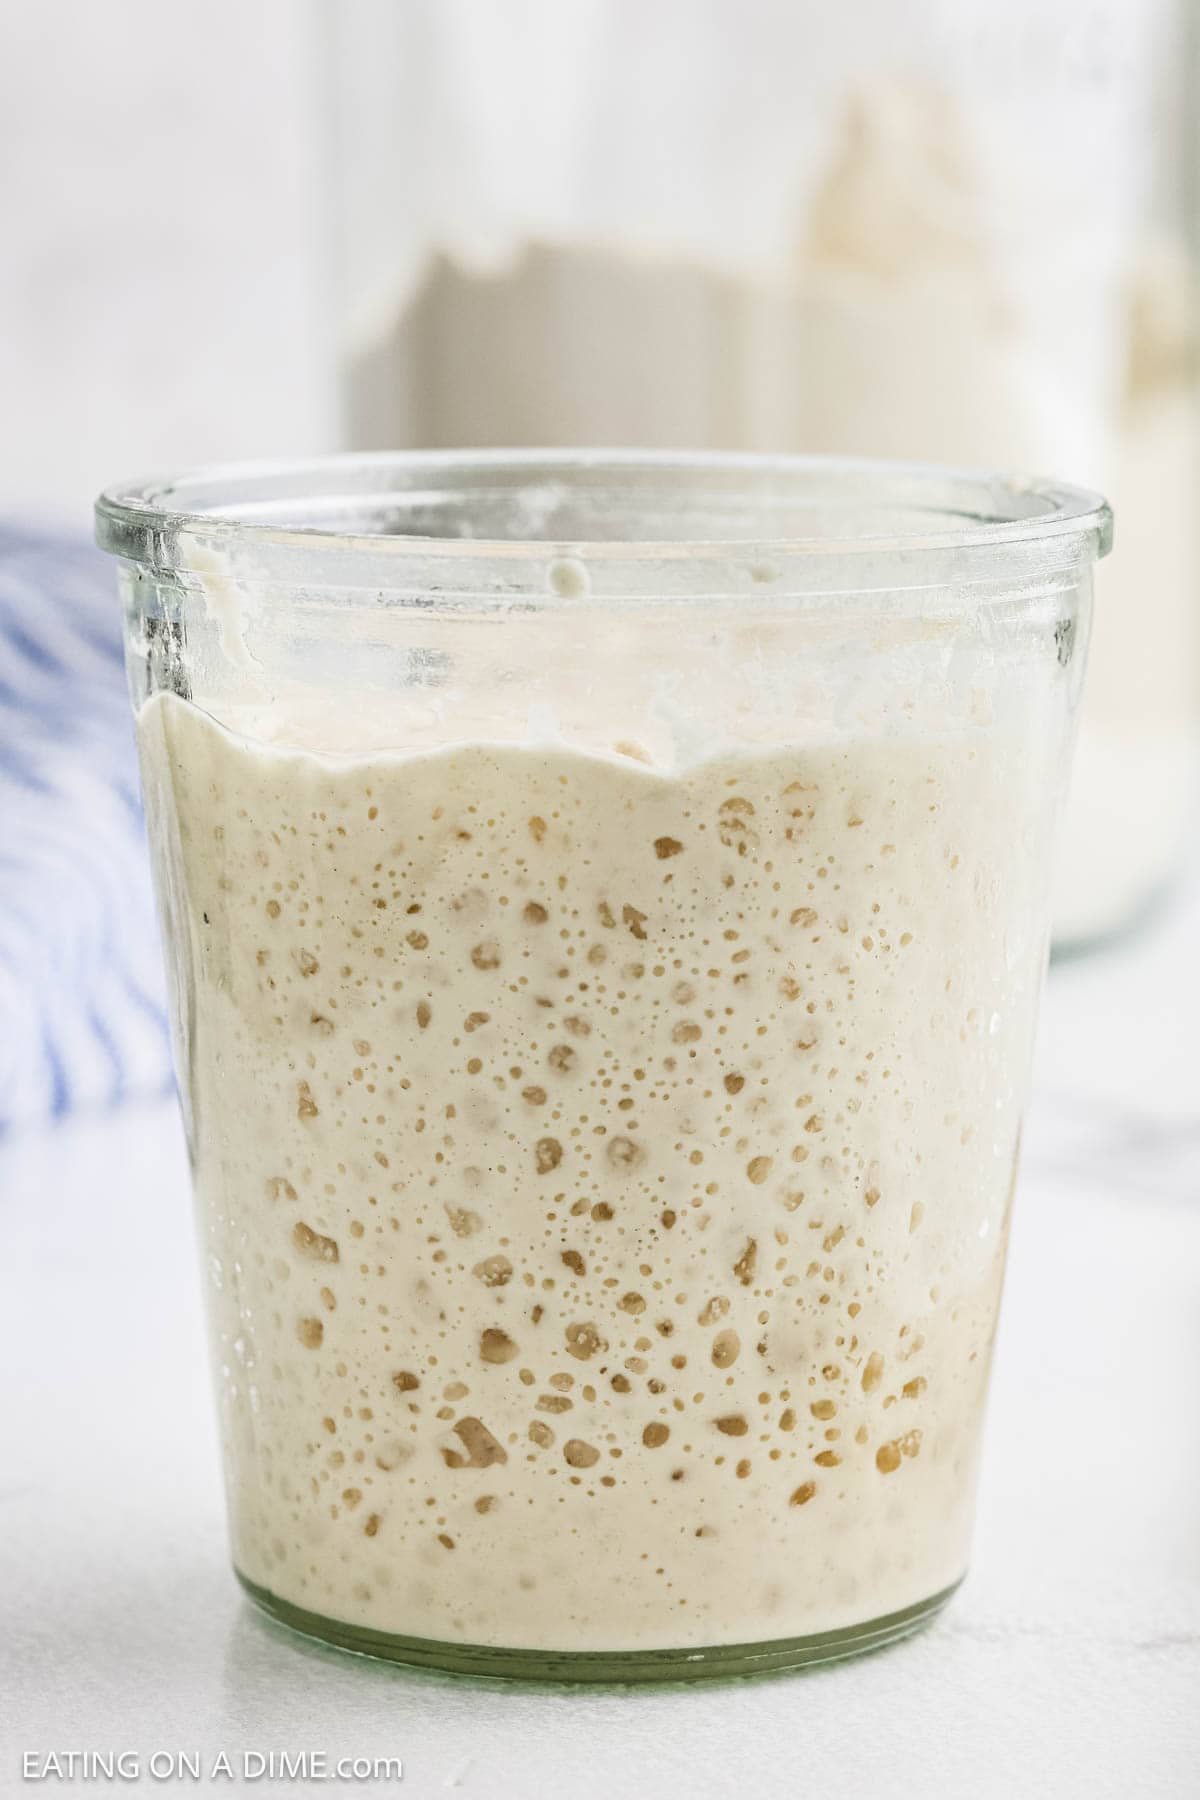
How to Know If Your Starter Is Ready
- Mark the Level – Place a mark or use a rubber band on the container after feeding. If the starter doubles in a few hours, it’s ready.
- Bubbles Throughout – Look for activity on sides and bottom, not just surface.
- Float Test – Drop a small dollop (about a quarter-size) into room-temperature water. If it floats, the starter is active; if it sinks, it needs more time.
How to Store Sourdough Starter
At Room Temperature
- Feed daily
- Keep loosely covered
- Ideal if baking often
In the Refrigerator
- Feed weekly
- Store in airtight container
- Remove 1–2 days before baking to reactivate
Maintenance Tip: Clean the container occasionally to prevent crust buildup.
Beginner Tips for Success
- Always discard before feeding.
- Don’t panic over smell changes — sour is normal.
- Avoid metal containers long-term.
- Whole wheat or rye speeds activity.
- Warmer kitchens ferment faster.
- Thicker starter = slower fermentation.
- Thin starter = faster fermentation.
Common Sourdough Starter Problems (And How to Fix Them)
My Sourdough Starter Isn’t Bubbling
- Cause: Too cold or too early.
- Fix: Move to a warmer spot (75–80°F) and keep feeding every 12 hours.
There’s Liquid on Top (Gray or Brown Layer)
- Cause: Starter is hungry.
- Fix: Stir it in or pour it off, then feed right away.
My Starter Smells Bad
- Normal: Sour, tangy, vinegary, or yeasty.
- Not Normal: Rotten or moldy smell.
- Fix: If it smells truly foul, discard and restart.
Not Rising or Doubling?
- Cause: Needs more time or thicker consistency.
- Fix: Slightly reduce water and continue regular feedings.
Mold on Top?
- Look for: Fuzzy black, green, pink, or orange spots.
- Fix: Discard immediately and start over.
Frequently Asked Questions
Most starters take 7–14 days to become strong enough for baking.
Discarding keeps the starter manageable and prevents it from growing too large while maintaining proper balance.
Yes, but chlorine may slow fermentation. Letting it sit overnight helps.
This is called “hooch.” It means your starter is hungry. Feed it.
Yes, if neglected for long periods without feeding. But most can be revived with consistent feedings.
No. It needs airflow during feeding. Use a loose cover.
How to Make a Sourdough Starter
Equipment
- Glass bowl (metal can affect bacteria and yeast growth)
- Wooden spoon
- Tea towel or clean kitchen cloth
Ingredients
- 1 cup unbleached all-purpose flour King Arthur recommended
- 1 cup filtered water
See how we calculate recipe costs.
Instructions
Day 1:
- Combine 1 cup of flour and 1 cup of water in a clean glass bowl.
- Stir thoroughly, scraping the sides to fully mix.
- Cover with a tea towel and let sit at room temperature for 24 hours.
Days 2–5:
- Discard half of the starter each day.
- Feed the remaining starter with 1 cup flour and 1 cup water.
- Stir well, cover, and let rest for 24 hours.
Days 6–7:
- Feed the starter every 12 hours instead of once per day.
- Continue discarding half and adding 1 cup each of flour and water at each feeding.
By Day 7:
- The starter should be bubbly, active, and roughly double in size after feeding. It’s ready for baking.
Recipe Notes
Easy Homemade Bread Recipes


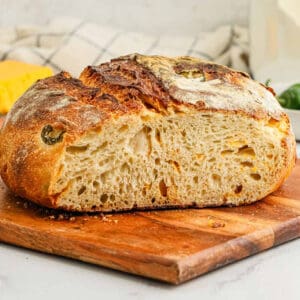
Learning how to make a sourdough starter is one of the most affordable and rewarding kitchen skills you can have. Once you build it, it can last for years — feeding your family homemade bread without relying on store-bought yeast.
If you try this method, leave a comment and let me know how many days yours took to get bubbly!

Instead of throwing away half can you use it to start a new starter. Just wondering why waste?
yes you can. We throw away half to make room for the starter to grow in the jar or bowl. We will have discard recipes coming soon that you can make with the discard.
I wonder if I can use gluten free flour to make a starter??
I haven’t tried it yet but I think it’ll work great! If you try it out, please come back and let me know how it works!
I’ve read the starting flour should be whole wheat, then ongoing white. Do you know if that’s true, or does it not matter? Thanks!
Elona – I haven’t heard that. I used all purpose flour at the beginning and all days and it worked great!
I really enjoy your recipes, Carrie, I find them to be most reliable, and I am always confident when I make them. Thank you for sharing. I can’t wait to try this starter.
Thank you so much Carole! This means so much to me!
Hi Carrie. After the starter is ready, what is the recipe for the bread? Also, I remember my Mom always sharing starter with her friends. Would this consist of one of the daily “discards” and if so, which day is best to share? Can’t wait to try this, my hubby LOVES sourdough bread. Thank you for sharing!
Amy – Our recipe for sour dough bread is coming soon and will be live on 2/24, so I hope you will come back for this recipe!
On sharing the discards, you can share as long as your sourdough is mature and healthy (so toward the end of the process) so that it will help others make a great sourdough starter as well! Don’t share newer discards or if the sourdough hasn’t been feed in a while as that likely wouldn’t make the best starter for someone else. I hope you start your starter so you’ll be ready to make some bread when our next post goes live!