This post may contain affiliate links. If you make a purchase through links on our site, we may earn a commission.
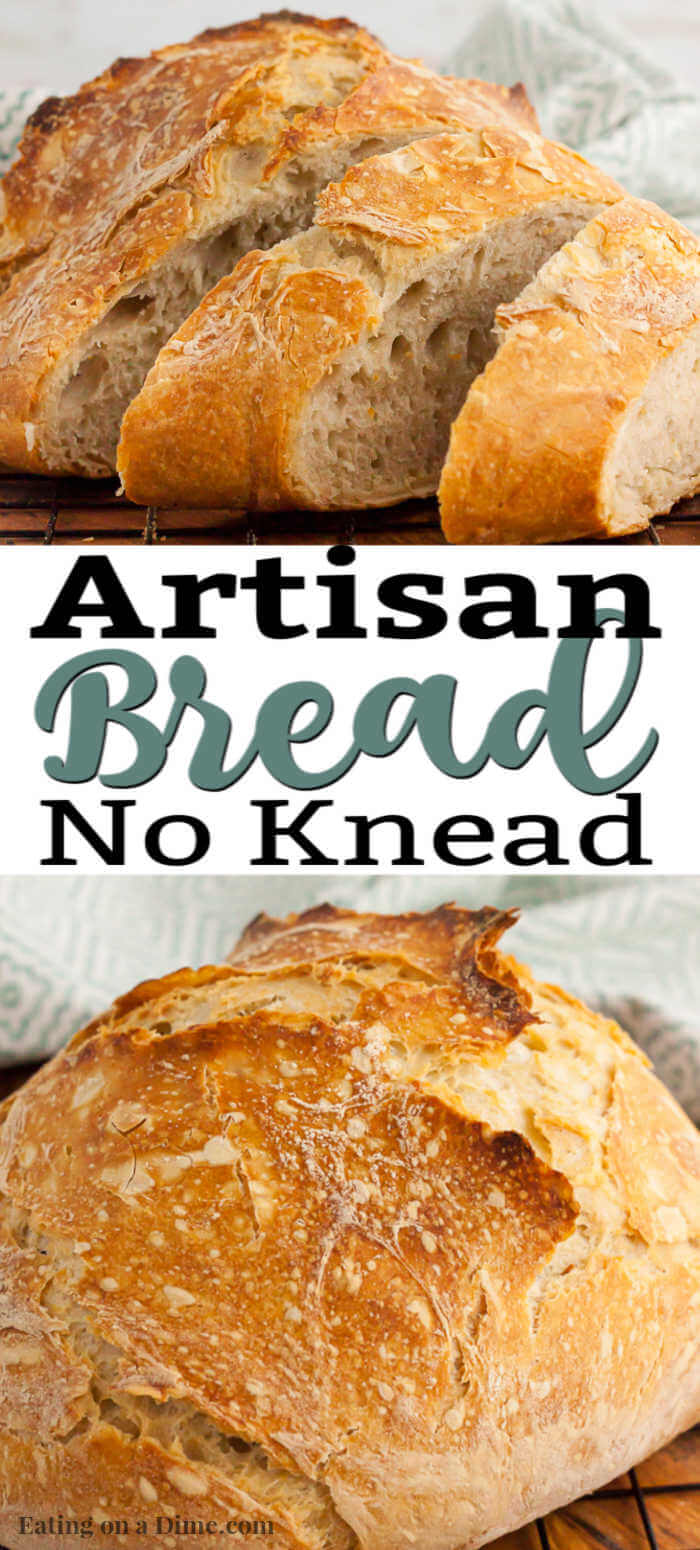
Artisan Bread Recipe only requires 3 simple ingredients and you can have homemade bread at home with little effort. Enjoy this artisan sourdough bread recipe with dinner and see just how easy and delicious it is!
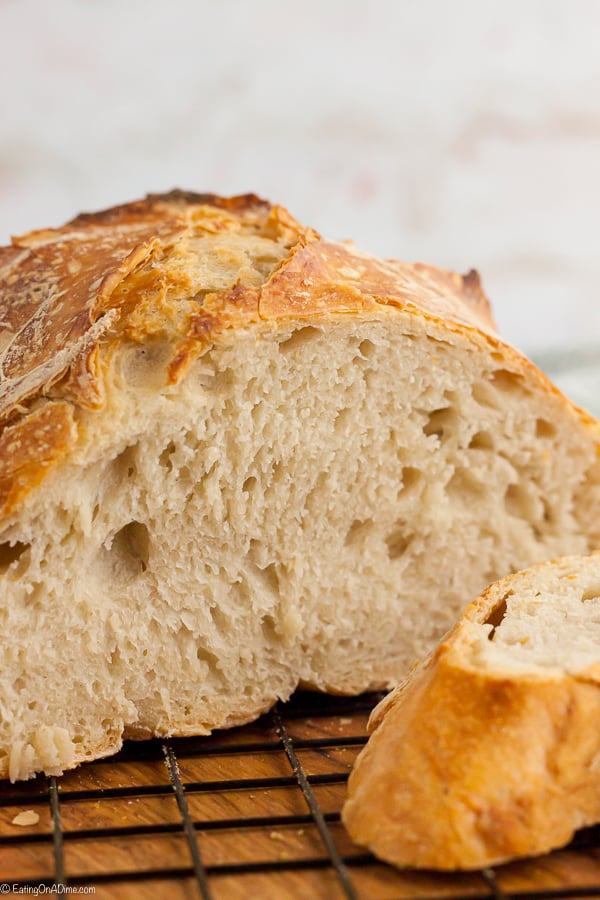
Artisan Bread Recipe:
There is something so comforting about bread with a meal and this Artisan Bread Recipe does not disappoint. You are going to be amazed just how easy it is to make homemade bread.
This simple bread comes together with just a few ingredients and very little work. Your house will smell amazing as this bakes. If you have never made homemade bread before then this recipe is for you.
Once you give this a try, you will see how much better it tastes than those store bought bread mixes. You are going to save money and have the best artisan bread ever! Check out more quick bread recipes.
What is Homemade Artisan Bread?
Artisan bread is a type of bread that generally is made by hand and has a short term shelf life. It looks rustic and usually has a dusting of flower on top. It is perfect to enjoy with your meals or for a snack.
This is the perfect bread to make for beginners. There is only 3 ingredients needed and you can have fresh baked bread for your favorite Italian meal.
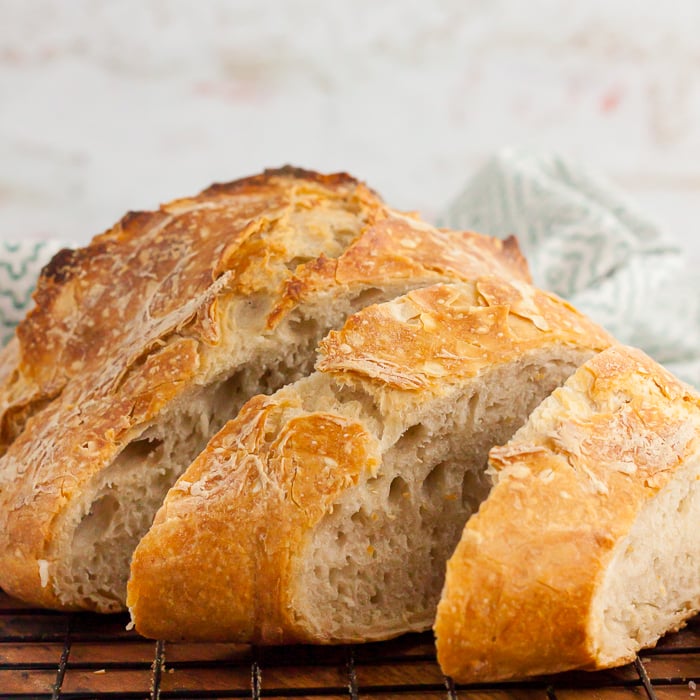
What Makes Artisan Bread Different?
Artisan Bread is different because of how simple it is to make and the ingredients. It only requires 3 ingredients to make this bread. There is no kneading or no real shaping is required.
No need for complicated bread machine when you make this Artisan Bread. The ingredients are mixed together by hand. Delicious flavor, crispy texture and tender on the inside.
This Artisan Bread recipe will be your next homemade rustic bread recipe. There is no need to hit the bakery shop when you can make this delicious bread at home. If you like making bread, also try Indian Fry Bread recipe.
It only uses natural ingredients and is typically hand crafted and made on a smaller scale. It is not generally mass produced.
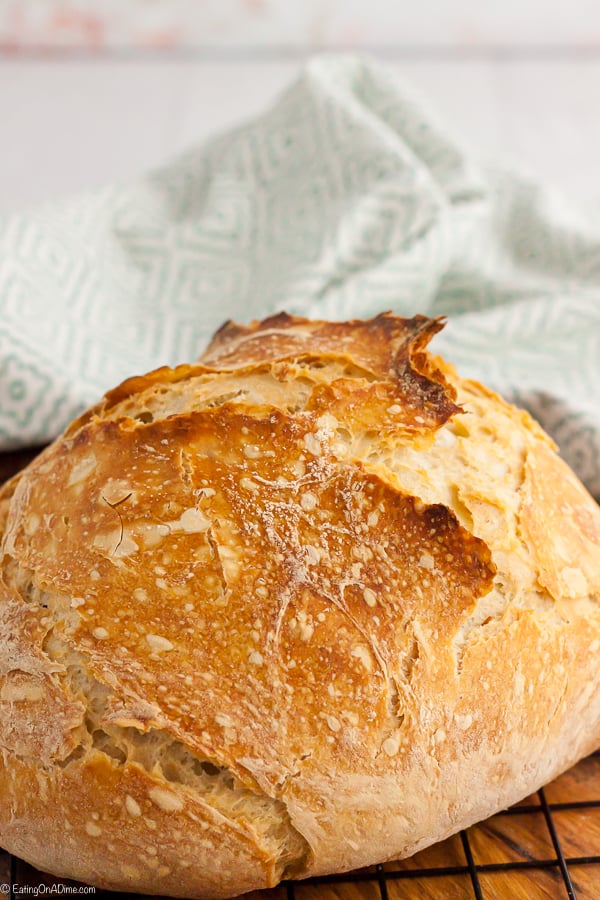
Easy Bread Recipe:
We love serving bread when we make Italian dishes, soups, dips, sauces and any comforting dish. This is the perfect bread to start if you have never made bread before.
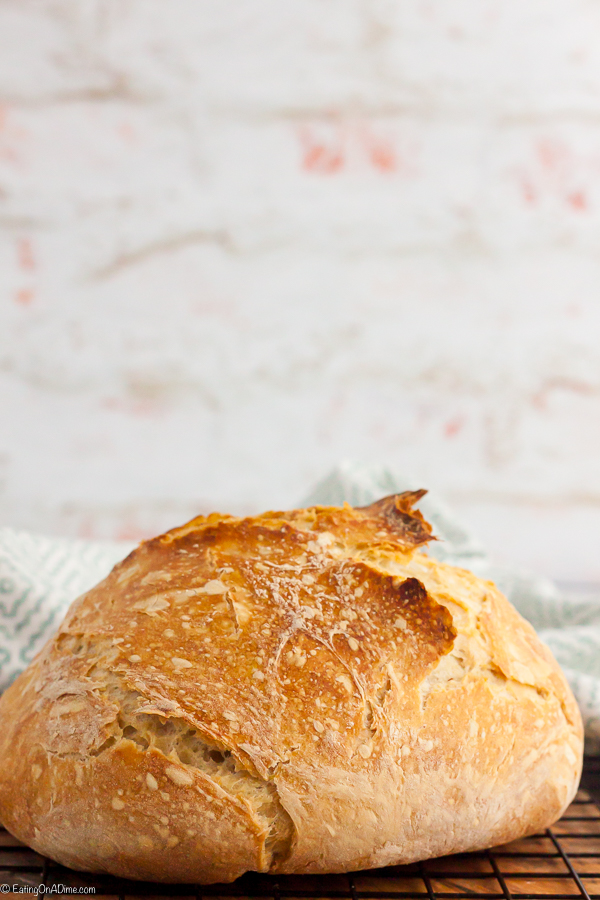
This bread is full of fresh flavor, chewy, and easy to make. The bread basically makes itself. We like to use a dutch oven when making this bread but there really is no need for an special pans.
Since there is no kneading involved, you can keep the mixer in the cabinet. The 3 ingredients are simple bread ingredients. But feel free add in your favorite fresh herbs, cheeses, or spices for added flavor.
Fresh baked bread is always a good addition to any meal. Since this recipe is so easy to make we find every reason to make it.
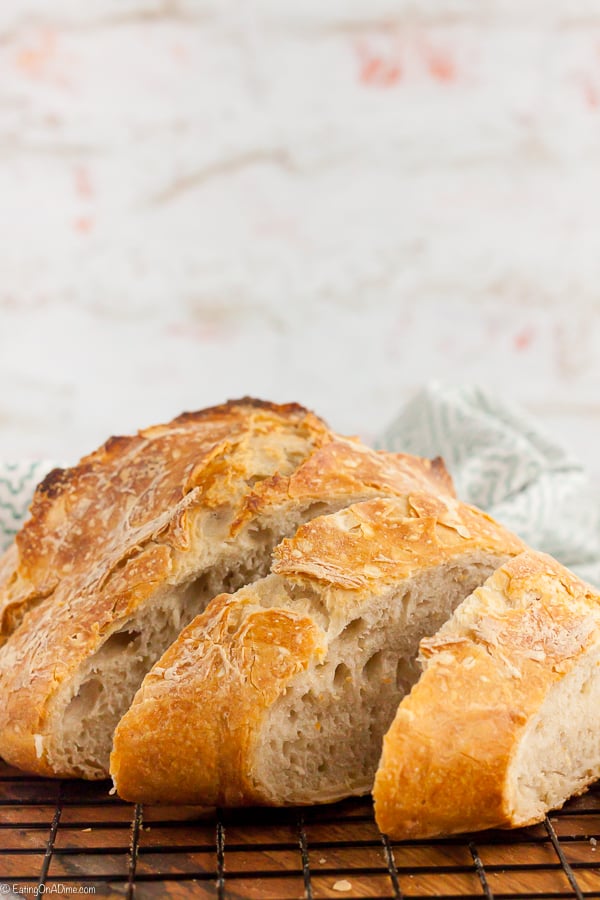
Ingredients for No Knead Artisan Bread:
Artisan bread is a chewy, crusty bread that is made with simple ingredients. There is no need for eggs or milk, just simple bread ingredients that makes this Artisan bread so delicious.
- Flour – We used all purpose flour in this recipe, but you can also use bread flour. Using bread flour does result in a stronger, chewier bread.
- Salt – We recommend using a course salt instead of a table salt in this recipe. This makes for a better bread and flavor.
- Yeast – Instant Yeast is the best yeast for this recipe. You can also use active yeast any quick rise or instant yeast can be used for this recipe. Just use what you have.
- Water – We recommend using room temperature water. This allows the ingredients to mix the together. The cooler water the longer it takes for the bread to rise.
Can you believe that you need so little to make homemade bread?! This recipe is so easy!
How to Make Artisan Bread Recipe:
- Step 1 – In a large mixing bowl, combine flour, salt and instant yeast.
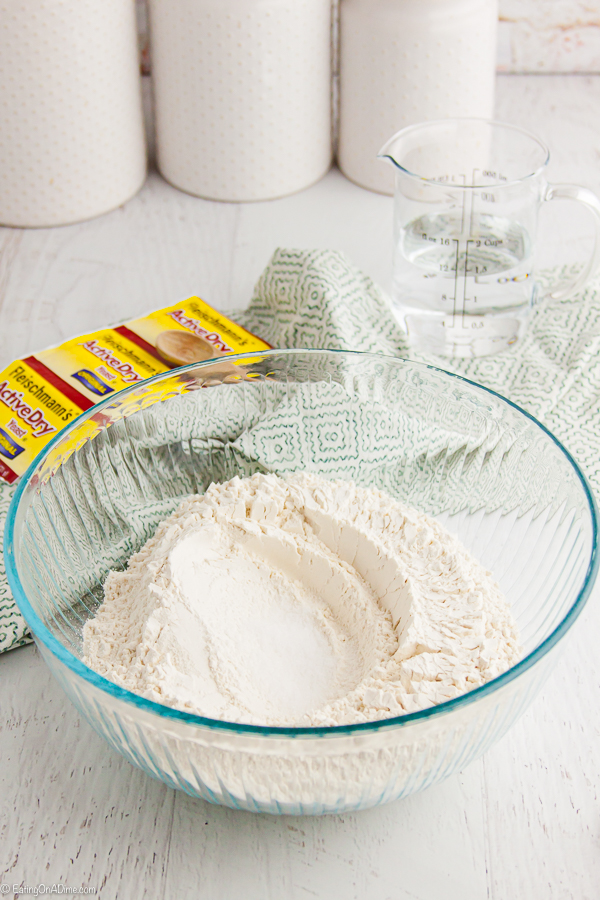
- Step 2 – It is totally optional, but you can add seasonings to the bread. While you are mixing the ingredients together add any additional ingredients. Some ideas include cheese, raisins or any seasonings you like.
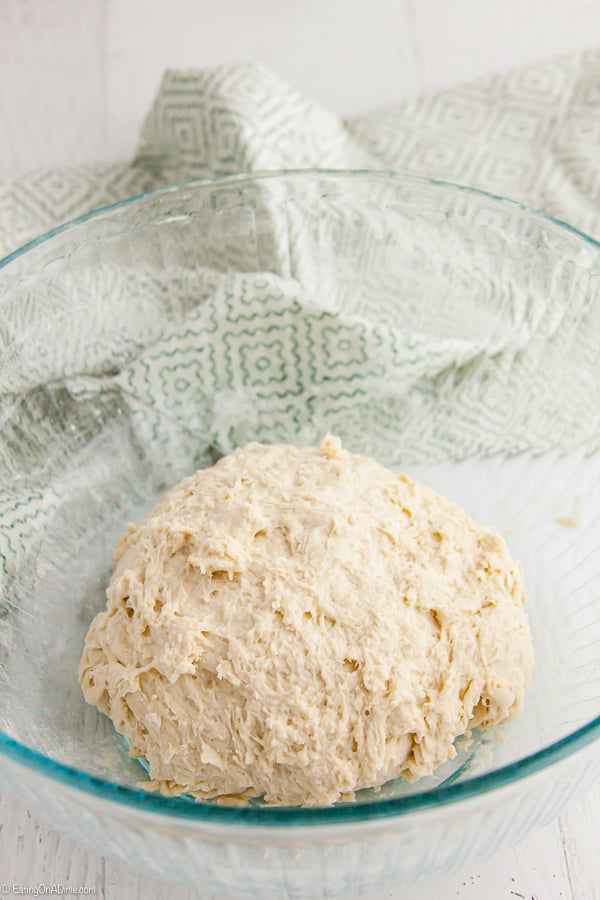
- Step 3 – Stir in warm water. The dough will be very sticky but this is ok.
- Step 4 – Cover the bowl with plastic wrap and let it set out for 12-18 hours. I know it seems like a long time, but it will be worth it and the bread will be amazing!
- Step 5 – Preheat the oven to 450. Artisan bread calls for baking the bread in a cast iron pot with a lid (such as a Le Creuset).
- Step 6 – I do not have one of these fancy pots (though I’d love one). So I used an old crockpot liner. Please don’t ask why I have an old crockpot liner, that’s a whole other story.
- Step 7 – Anyway, this worked great for baking this bread. I did remove the handle from the lid since it is plastic. Place the pot and lid in the heated oven. Let sit in the oven for 30 minutes.
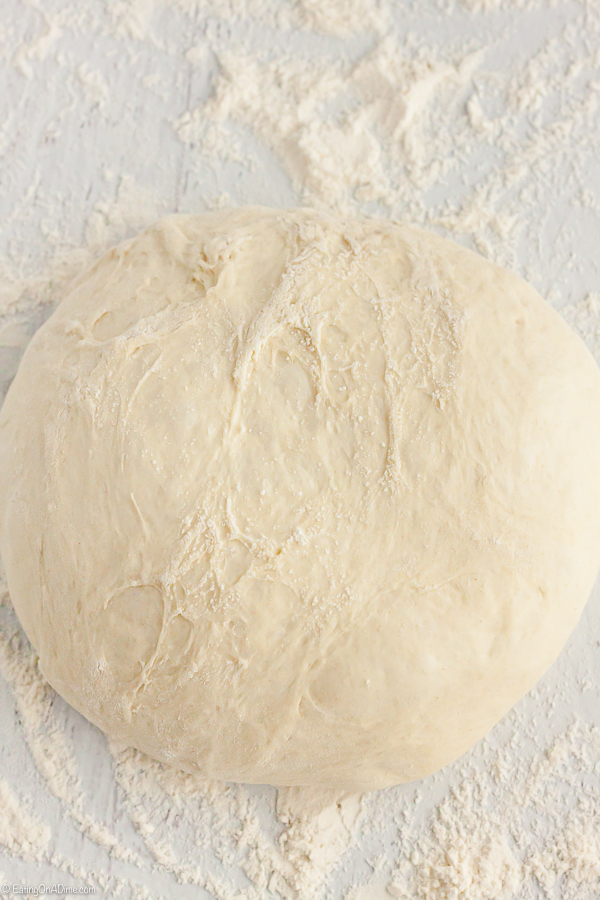
- Step 8 – While the pot is heating through, take the super sticky dough out of the bowl. Place on a very floured surface. Shape into a ball (do not knead it). Cover with the plastic wrap you were using earlier.
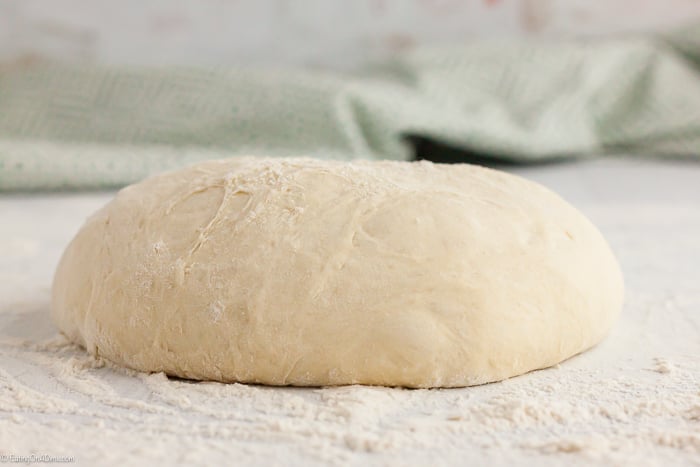
- Step 9 – Once the pot is ready, remove it from the oven. Place the super sticky dough in the HOT, HOT pot. Please be very careful.
- Step 10 – Put the lid on top. I am using the old crockpot liner without the handle on the lid. I put my lid on upside down for easier removal later. Bake at 450 F for 30 minutes.
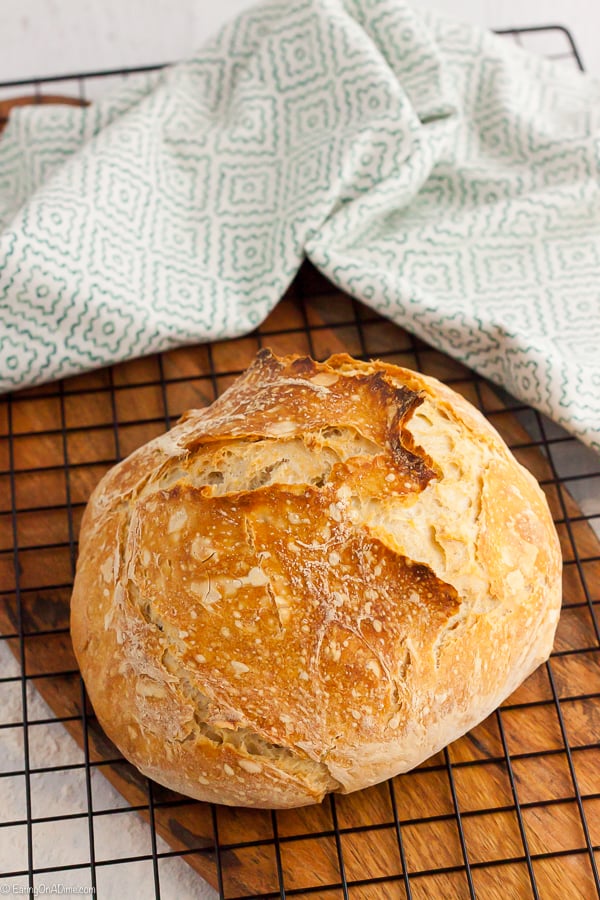
- Step 11 – Your bread will look beautiful with the texture being golden brown. Remove the lid and bake another 15 minutes.
- Step 12 – Wala! Remove the bread from the pot and let cool on a wire rack. Your house should smell wonderful and you should feel very proud. What a creation. Enjoy!
Do I need to Refrigerate Dough?
If you have the time, we recommend refrigerating the dough after the dough has risen. This slows down the fermentation of the yeast which means the dough stops rising.
This creates a flavorful bread by letting the dough rise and then refrigerate.
Measuring the Flour:
This recipe calls for 3 cups of flour. Make sure to measure accurately by using a measuring cup to measure the flour. This make sure that you do not add to much flour.
If adding to much flour it could leave to dense bread. Use a knife to flatten the top of the bread before adding it to the mixing bowl.
What to Serve with Crusty Artisan Bread:
- Homemade Butter – There is nothing better than homemade butter when you make fresh bread.
- Soups – We love having fresh bread when we make our favorite soups. Top with butter, for dipping, or to crumble in the soup.
- Stews – Beef stew is our favorite stew to serve with this Artisan Bread.
- Italian Food – Make a large pot of spaghetti or lasagna and serve some of this fresh bread.
Recipe Tips:
- Flour – We used all purpose flour for this recipe but you can also use bread flour. Substitute 1:1 for bread flour if you prefer. We do not recommend using whole wheat flour, but you can the texture may be a little different.
- Yeast – You can use instant or active dry yeast in this recipe. But we recommend a quick rise yeast. Using quick rise yeast allows for the bread to rise faster, active dry yeast will take longer.
- Salt – We recommend using course salt in this recipe instead of table salt. The flavor is a little different but use what you have.
- Water – Use cool water when mixing the ingredients.
- Loaf Shape – We like to shape the dough in a round loaf and then place in a dutch oven. You can also separate the dough into two parts.
- Dutch Oven – We like to use a dutch oven to bake the bread in. But any pot will work. Line the pot with parchment paper to prevent from sticking to the pot.
- Pizza Stone – You can bake your bread on a pizza stone. Preheat the pizza stone in the oven, then place the round shaped dough and bake accordingly.
- Nonstick Pan – If you are using a nonstick pan, line with parchment paper. Make sure to double check how high the temperature of your oven can be to bake with parchment paper. You may need to lower the temperature of your oven.
- Add in Flavor – You can add in flavor to this basic bread recipe. Fresh herbs such as minced garlic cloves, chopped rosemary, or any of your favorite herbs. You can also add in cheese, sliced jalapenos, cranberries, nuts or garlic powder. Really anything you prefer.
- Work Surface – As you are preparing the dough, flour the work surface. Make sure that you do not get a lot of flour in the dough as it could change the texture.
- Sharp Knife – Make sure to cut bread with a sharp knife on a cutting board.
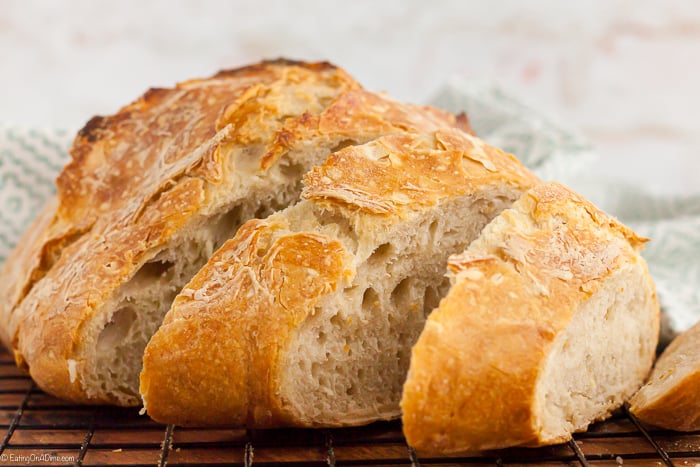
What is the Best Flour to use for Artisan Bread?
We used all purpose flour for this recipe, but bread flour is always a good option. Bread flour gives the bread a chewy texture and amazing flavor.
We did have good results with all purpose flour as that was all we had so use what you have.
How to Make Ahead:
This is the perfect bread to make ahead of time. You can make the bread and wrap and place in the refrigerator. The bread will stay fresh up to 3 days if stored properly.
I like it warm it in the microwave and top with butter before serving.
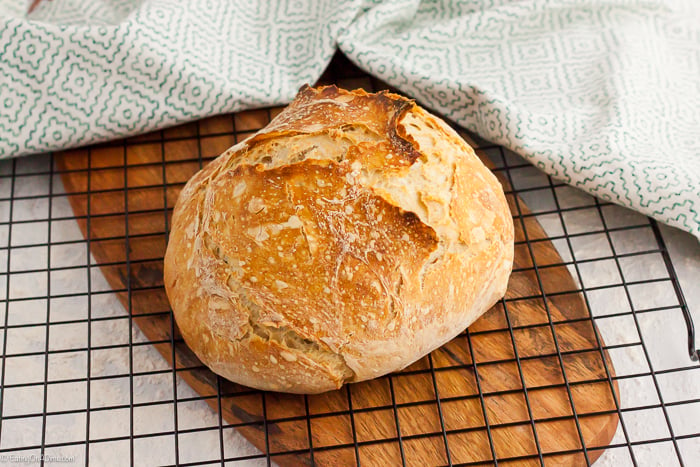
Shaping the Bread:
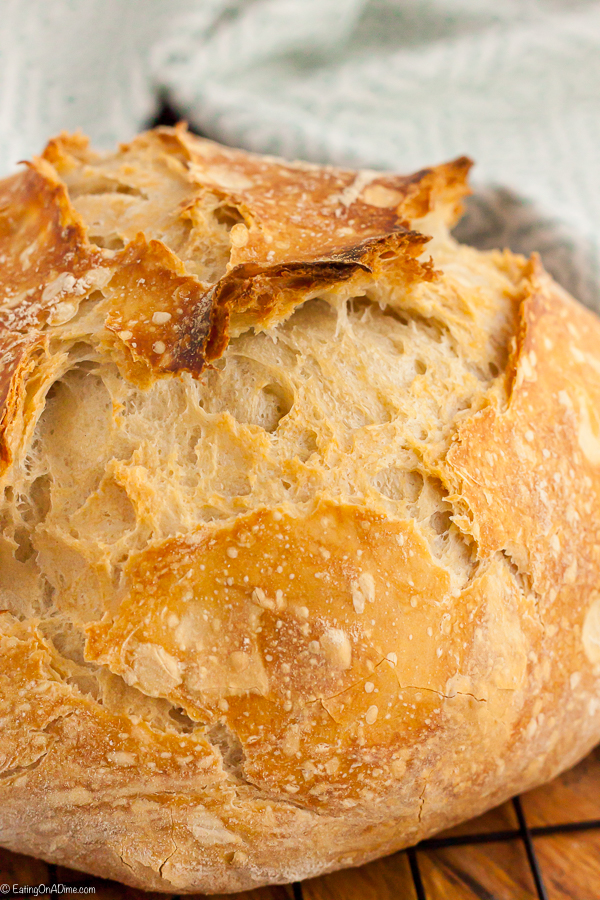
There is no need to worry about the shape of the bread. Since it is Artisan bread we love the rustic look it gives when it is baked.
Uneven parts of the bread gives it the crispy texture.
Freezing Instructions:
There are two ways that you can freeze this bread. You can freeze the bread after it is made or freeze the dough.
Freezing the Cooked Artisan Bread:
- Bake bread as directed and cool completely.
- Cover bread with plastic wrap and aluminum and place in the freezer.
- The bread will stay fresh for up to 3 months.
- Thaw the dough in the refrigerator and heat and serve.
Freezing the Dough:
- If you prefer you can freeze the dough.
- Prepare the dough as directed and wrap in plastic wrap.
- Place in a freezer friendly container or zip lock bag.
- It will freeze well for up to 3 months.
- When ready to bake, thaw dough overnight in the refrigerator.
- Bake as directed and serve.
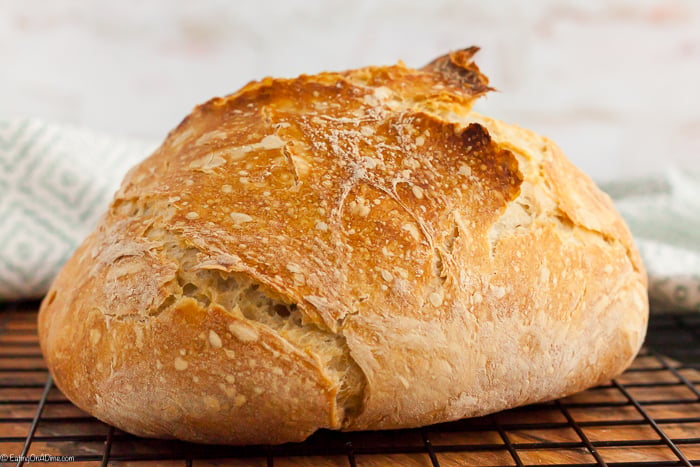
Why we Love Artisan Bread:
- Easy to Make – This Artisan Bread recipe is the easiest bread recipe that you will ever make. With only 3 ingredients you can have fresh bread any day of the week.
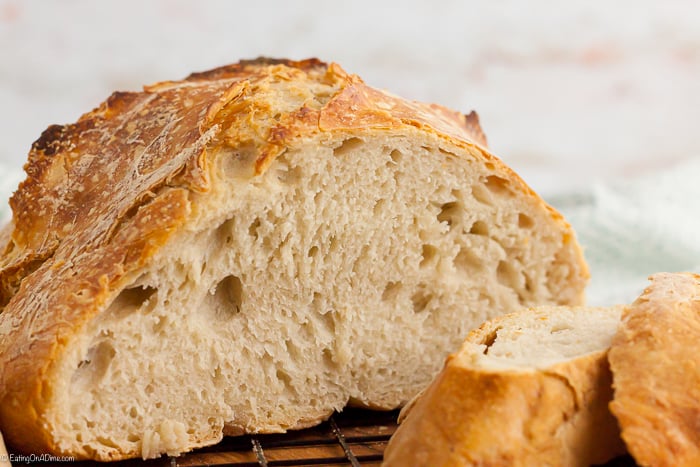
- Amazing Texture – This bread is crusty, chewy, soft and delicious.
- Shape – You can shape bread any way you would like.
- No Equipment needed – There is no need for a bread machine or any special mixer. You can prepare this bread with a simple bowl and a wooden spoon.
- Simple Ingredients – You will be amazed that these 3 simple ingredients are just what you need to make an amazing bread recipe.
The Best Bread Recipe:
Bread is a must when we are making soups, stews, really any type of comfort food. We don’t always make homemade bread but when we do, my family thinks I spent all day on it.
It is worth the time and mixing the ingredients and allow the dough to rise to have fresh baked bread. I love fresh out of the oven bread and this recipe doesn’t disappoint.
Top with oil, butter or your favorite homemade jelly recipe. Use it for dipping in your favorite sauce or make a grilled cheese sandwich. Top with cheese and broil for a few minutes for a delicious cheesy bread.
This would be the perfect bread to make for the holidays or for a weeknight meal.
Print this Artisan Sourdough Bread Recipe below:
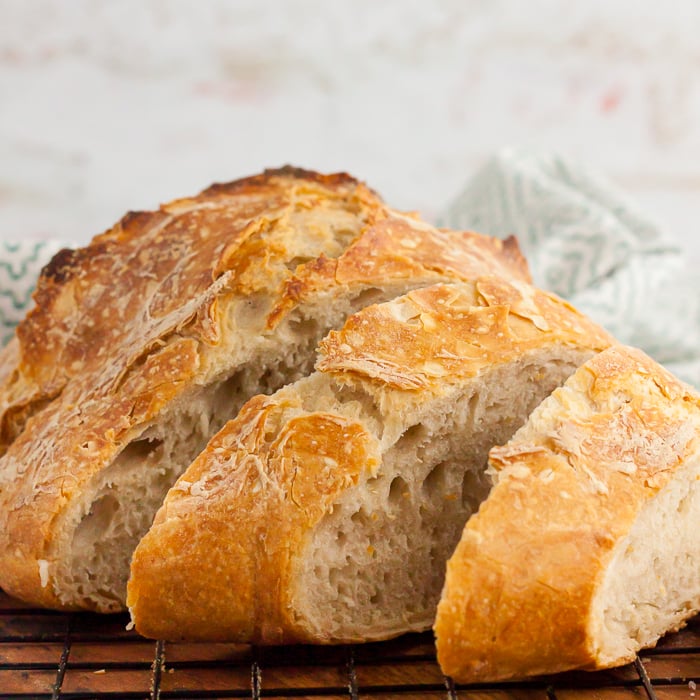
Crusty Artisan Bread
Ingredients
Instructions
- In a large mixing bowl, combine flour, salt and yeast.
- **If you want to add anything to the bread (seasonings, cheese, raisins) add it in now.
- Stir in water. The dough will be very sticky.
- Cover the bowl with plastic wrap and let set out for 12-18 hours. I know it seems like a long time, but it will be worth it!
- Heat oven to 450 F (or 230 C). Now here is where the original recipe differs from what I did. The original recipes uses a cast iron pot with a lid (such as a Le Creuset). I do not have one of these fancy shmancy pots (though I’d love one!), so I used an old crockpot liner. Please don’t ask why I have an old crockpot liner, that’s a whole other story. Anyway, this worked great for baking this bread! I did remove the handle from the lid since it is plastic!! Now back to the recipe – place the pot and lid in the heated oven. Let sit in the oven for 30 minutes.
- While the pot is heating through, take the super sticky dough out of the bowl and place on a very floured surface. Shape into a ball (do not knead it). Cover with the plastic wrap you were using earlier.
- Once the pot is ready, remove it from the oven. Place the super sticky dough in the HOT, HOT pot. Please be very careful!! Put the lid on top. (Since I am using the old crockpot liner without the handle on the lid, I put my lid on upside down for easier removal later.) Bake at 450 F for 30 minutes.
- Your bread will look beautiful. Remove the lid and bake another 15 minutes.
- Wala! Remove the bread from the pot and let cool on a wire rack. Your house should smell wonderful and you should feel very proud. What a creation. Enjoy!
Nutrition Facts
Find more easy bread recipes:
- How to make Naan Bread
- Indian Fry Bread Recipe
- Kings Hawaiian Rolls recipe
- Homemade Pretzel Bites
- Irish Soda Bread Recipe



That is a great idea!
I don’t have a fancy shmancy pot, BUT I, too, had an old crockpot liner … so I gave it a try. I’m never successful with bread, but this time I think I hit it out of the park. This recipe is a keeper.
Yes I would
Does the pot need to be greased before adding the dough to bake?
I just pulled it out of the oven and tasted it with a little avocado butter…MMMMMMmmmmm!!!
One addition I made was adding 2 TBS of Everything But The Bagel seasoning! YUMMM!!!
Effortless & delicious!
A dutch oven would work great for this recipe.
What if u don’t have an old crock pot liner. I have a crock pot but I don’t buy liners to go in it. Unless u are talking about the pot that u take out to take to the table.
I want to buy a cast iron pot to make this in. What size is recommended?
You’re welcome – I’m so glad you enjoyed it!
Made the dough last night substituted garlic salt for regular salt added 2 tablespoons of Italian seasoning and 1/2 cup grated parmesan cheese and 1 teaspoon minced garlic and 1 teaspoon onion powder…baked this morning in my Dutch oven on parchment paper…rubbed 1 tablespoon of olive oil on top before baking…perfect and yummy..a new favorite in our home..can’t wait to switch it up and try new seasonings..thank you
Thank you! I hope you enjoy it!
Can’t wait to consume ?
Let us know how it turns out. Mine was a little sticky so I think adding a bit more water was a great idea.
When I added the water, the dough seemed very dry, not wet and sticky the way you made it sound. I added a tad more water and I’m hoping the consistency changes after letting it rest.
Amazing bread! Small correction…it’s voilà, not wala. 🙂
I’m glad you liked it – Thanks for sharing!
Simple process and great results.
I used a saucepan with 8.5″ diameter and 4.5″ deep with metal handles and a glass lid. The flour was strong white bread flour.
Very happy with the outcome.
Thank you for sharing.
Oh no, I haven’t had that issue. I would add 1/2 cup of more flour and see if that helps. Thank you!
I followed the recipe exactly as written, using water at a temperature of 72 degrees, as that was the room temperature in my home. But I didn’t get a ball of dough after mixing; it was very watery and not formed at all. What did I do wrong? Should I have added more flour? The 3 cups that the recipe called for didn’t seem to be enough and their was no rise in the dough (and I used rapid rise yeast). Help please!