This post may contain affiliate links. If you make a purchase through links on our site, we may earn a commission.
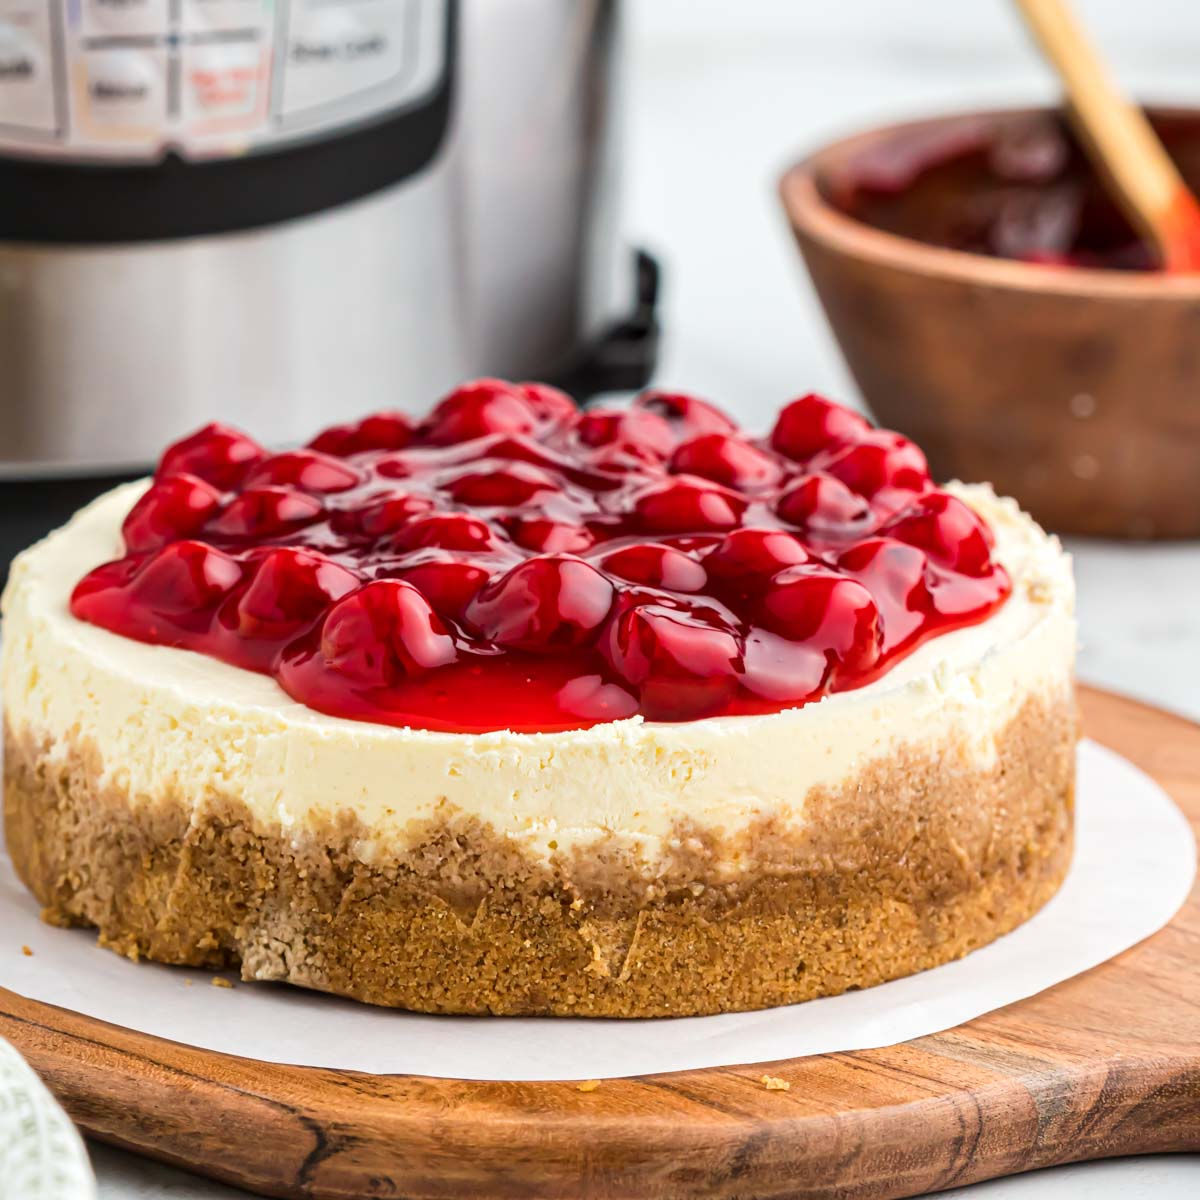
Instant Pot Cheesecake Recipe is super easy to make and turns out rich and creamy. Add your favorite topping for a delicious dessert everyone will love.
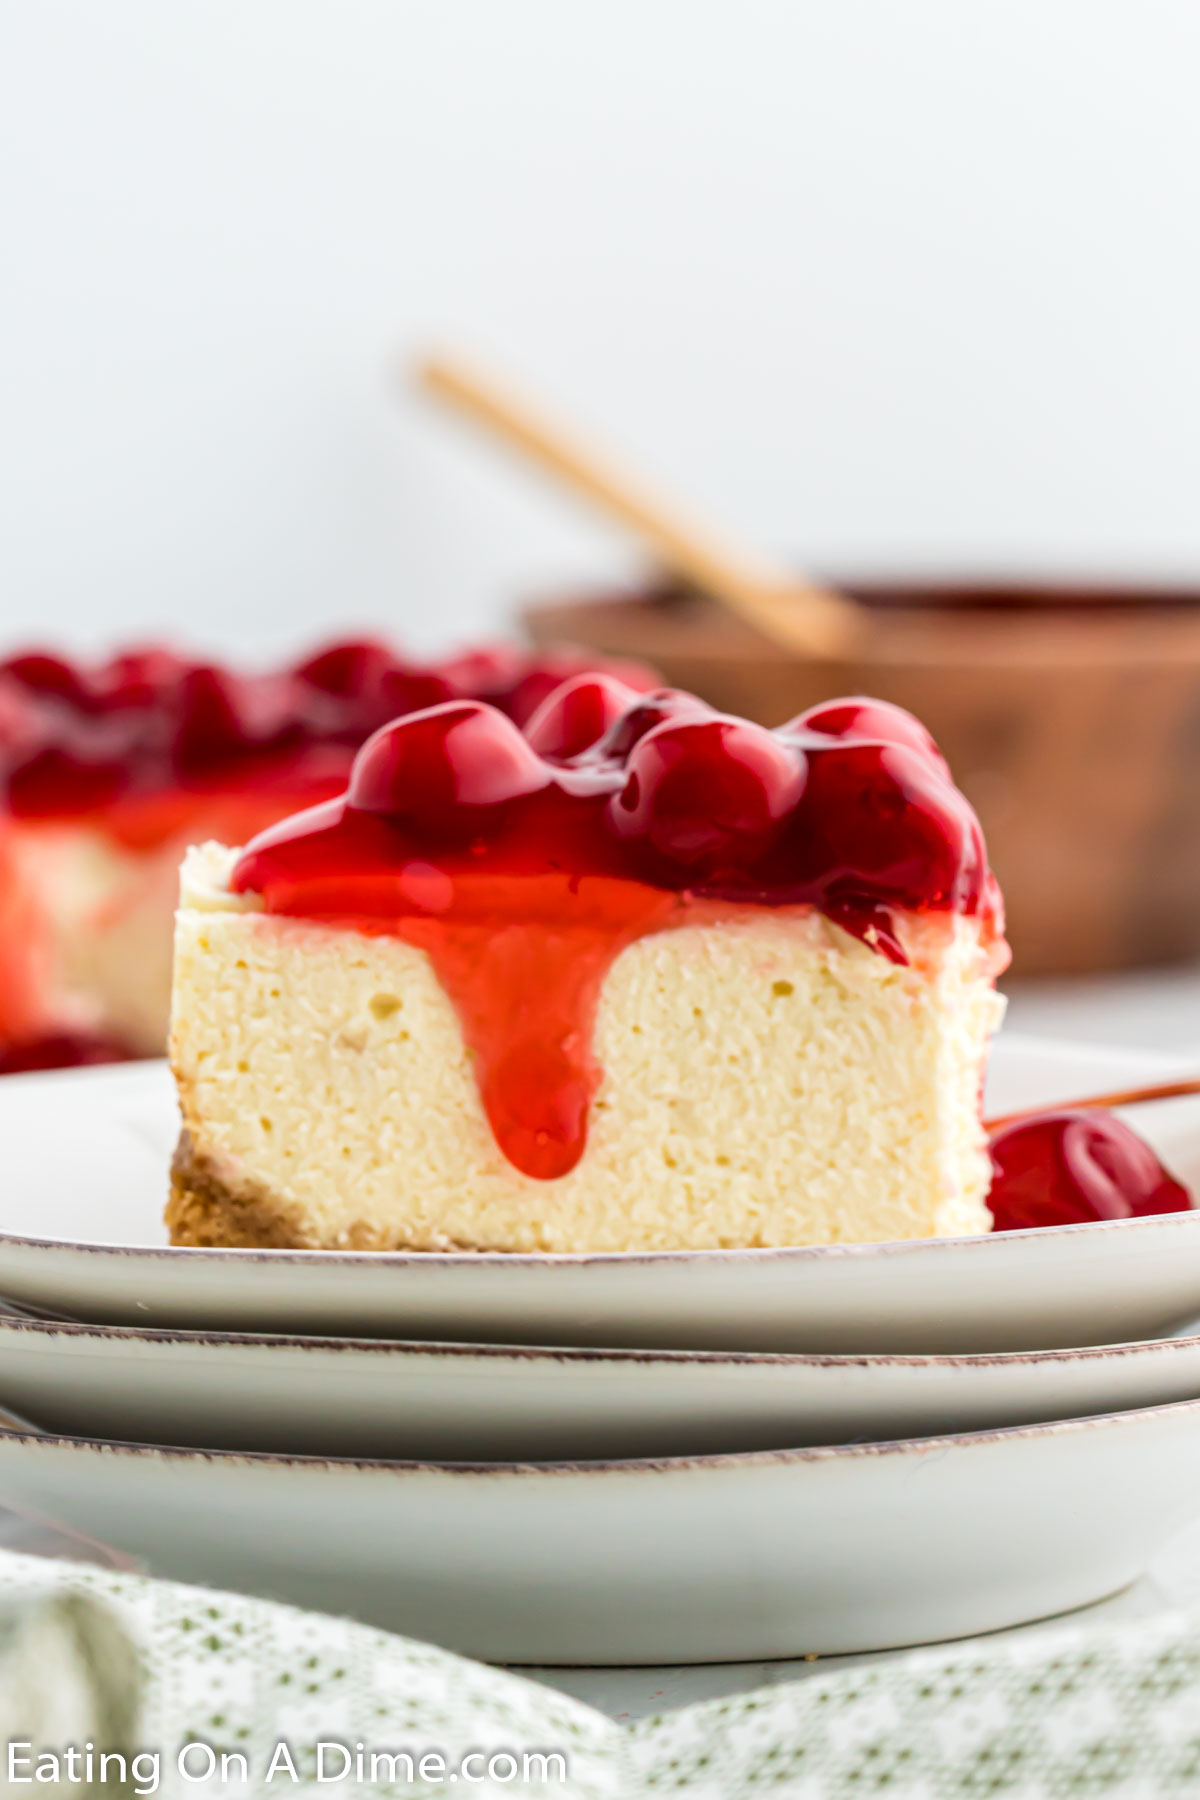
We are going to show you how to make the perfect cheesecake in the pressure cooker. It is actually very simple to make and the steps are very easy to follow.
Give these simple steps a try to make a rich and creamy cheesecake. This is one of our favorite dessert recipes. The pressure cooker is actually very forgiving when making this type of dessert.
If you love cheesecake as much as I do, make these Cheesecake Tacos.
What's in this post: Instant Pot Cheesecake Recipe
- Why Make a Cheesecake in the Instant Pot?
- Can I Use Springform Pan in Instant Pot?
- Ingredients
- Step by Step Instructions
- Expert Tips
- How to Know the Cheesecake is Fully Cooked
- Cheesecake Topping ideas
- How to Store Leftovers
- Frequently Asked Questions
- More Easy Cheesecake Desserts
- Instant Pot Cheesecake Recipe
Why Make a Cheesecake in the Instant Pot?
- You don’t need a water bath. If you don’t like this step, the pressure cooker is the way to go.
- The steam inside the insert is very forgiving and helps to keep the crust from drying. It also makes a decadent creamy cheesecake.
Can I Use Springform Pan in Instant Pot?
You do not need to get a special pan to make a cheesecake in the pressure cooker. You can use a springform pan as long as it will fit inside.
The pan just needs to fit so that it is far enough away from the sides to allow steam to rise.
It is not complicated at all to make cheesecake in a pressure cooker.
Here are some guidelines we follow as a point of reference.
- 3 Quart instant pot. This size can usually accommodate a 5″ spring form pan inside.
- 6 Quart instant pot. You can fit a 7″ spring form pan inside this size instant pot.
- 8 Quart pressure cooker. This will fit an 8″ spring form pan inside.
Just keep in mind these are general guidelines but may not work in every situation.
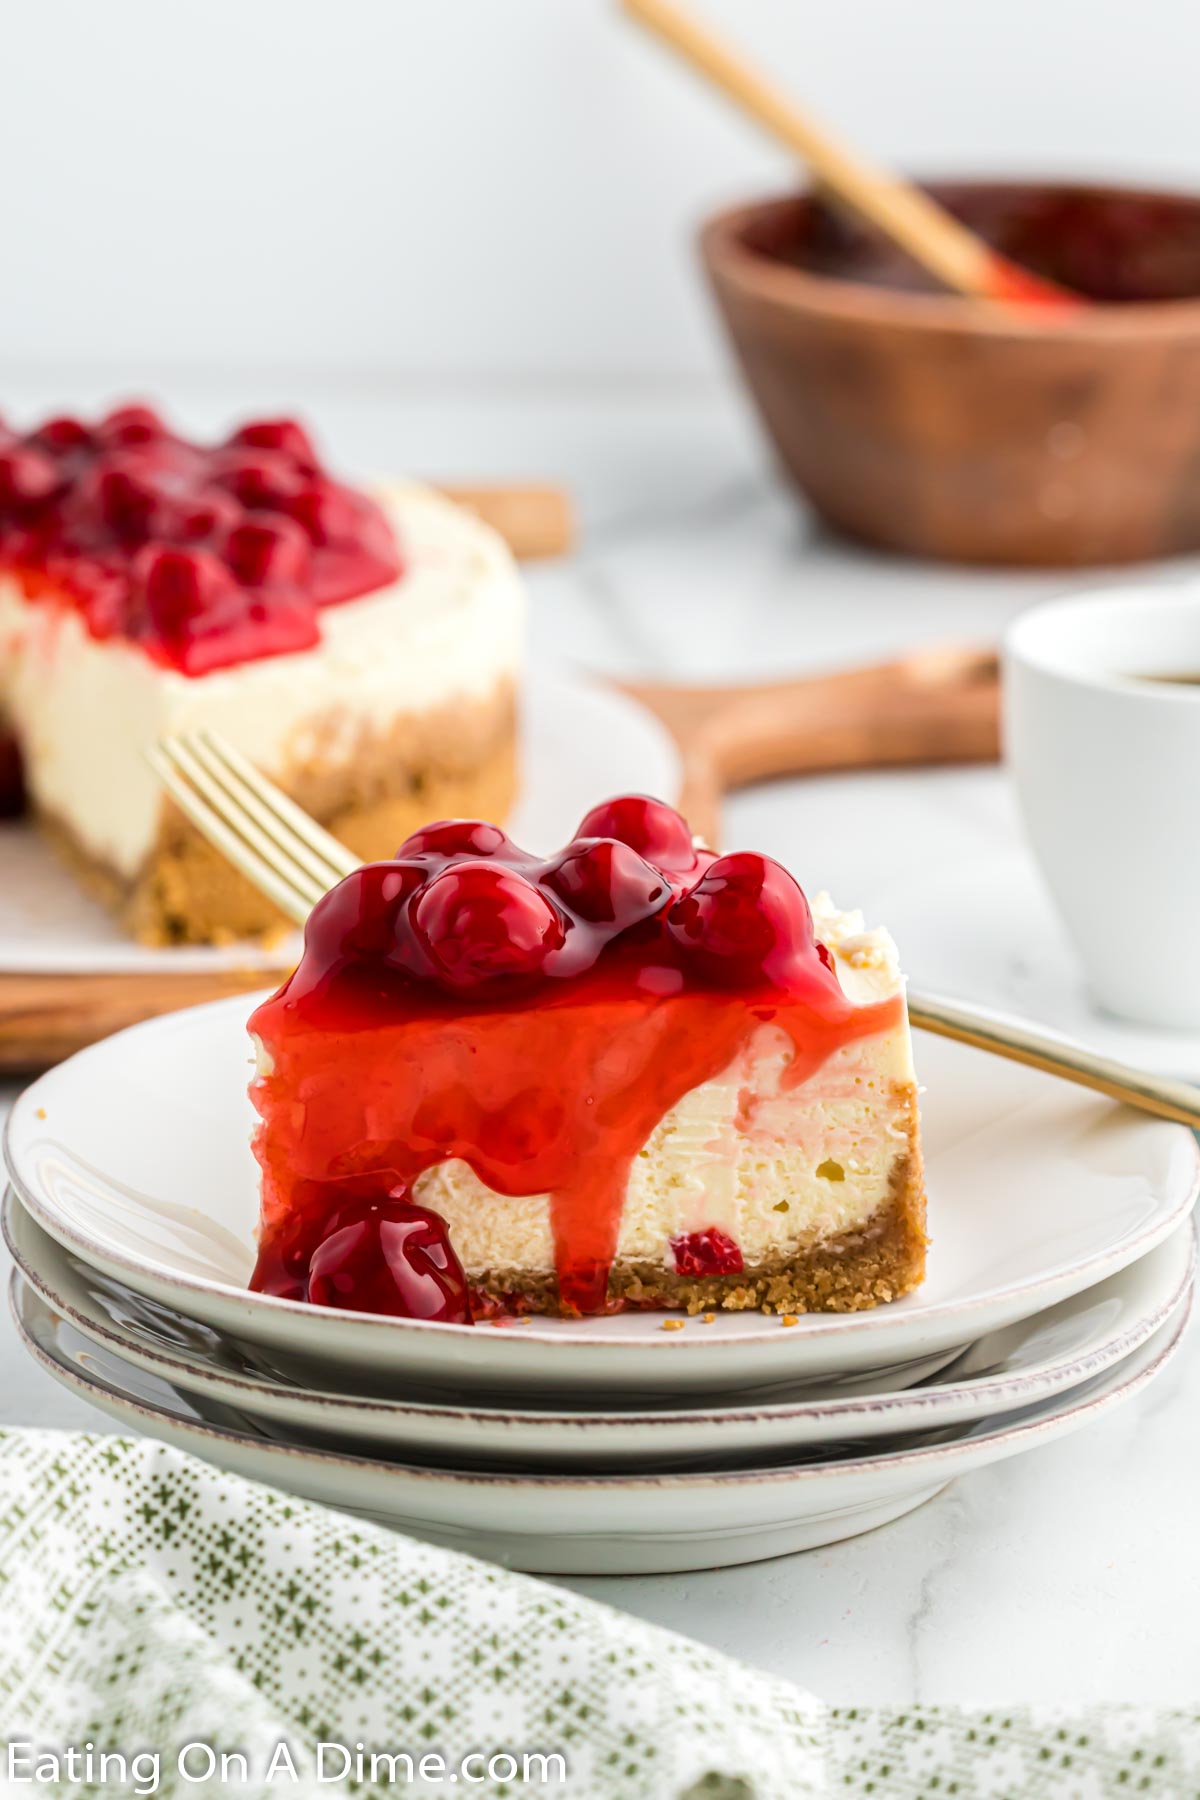
Ingredients
For the Crust
- Graham Cracker Sheets
- Butter, melted
- Brown Sugar
For the Cheesecake Layer
- Cream Cheese, softened at room temperature
- Sugar
- Vanilla Extract
- Large Eggs, room temperature
- Cornstarch
- Sour Cream
For the Topping
- Cherry Pie Filling
Scroll to the bottom for the full recipe and ingredients in the recipe card.
Step by Step Instructions
- Step 1 – Prepare the pan. Spray a 7-inch springform pan with a non-stick cooking spray and make sure that the springform pan will fit in your instant pot. Then set it aside.
- Step 2 – Crush the graham cracker crumbs to make the crust. Place the graham cracker sheets in a food processor and process until they are formed into small crumbs. If you do not have a food processor, place the graham crackers in a sealed ziplock bag and roll with a rolling pan to crush the graham crackers.
- Step 3 – Combine the butter and crumbs. Place the crumbs in a large mixing bowl and then stir in the melted butter and brown sugar until well combined.
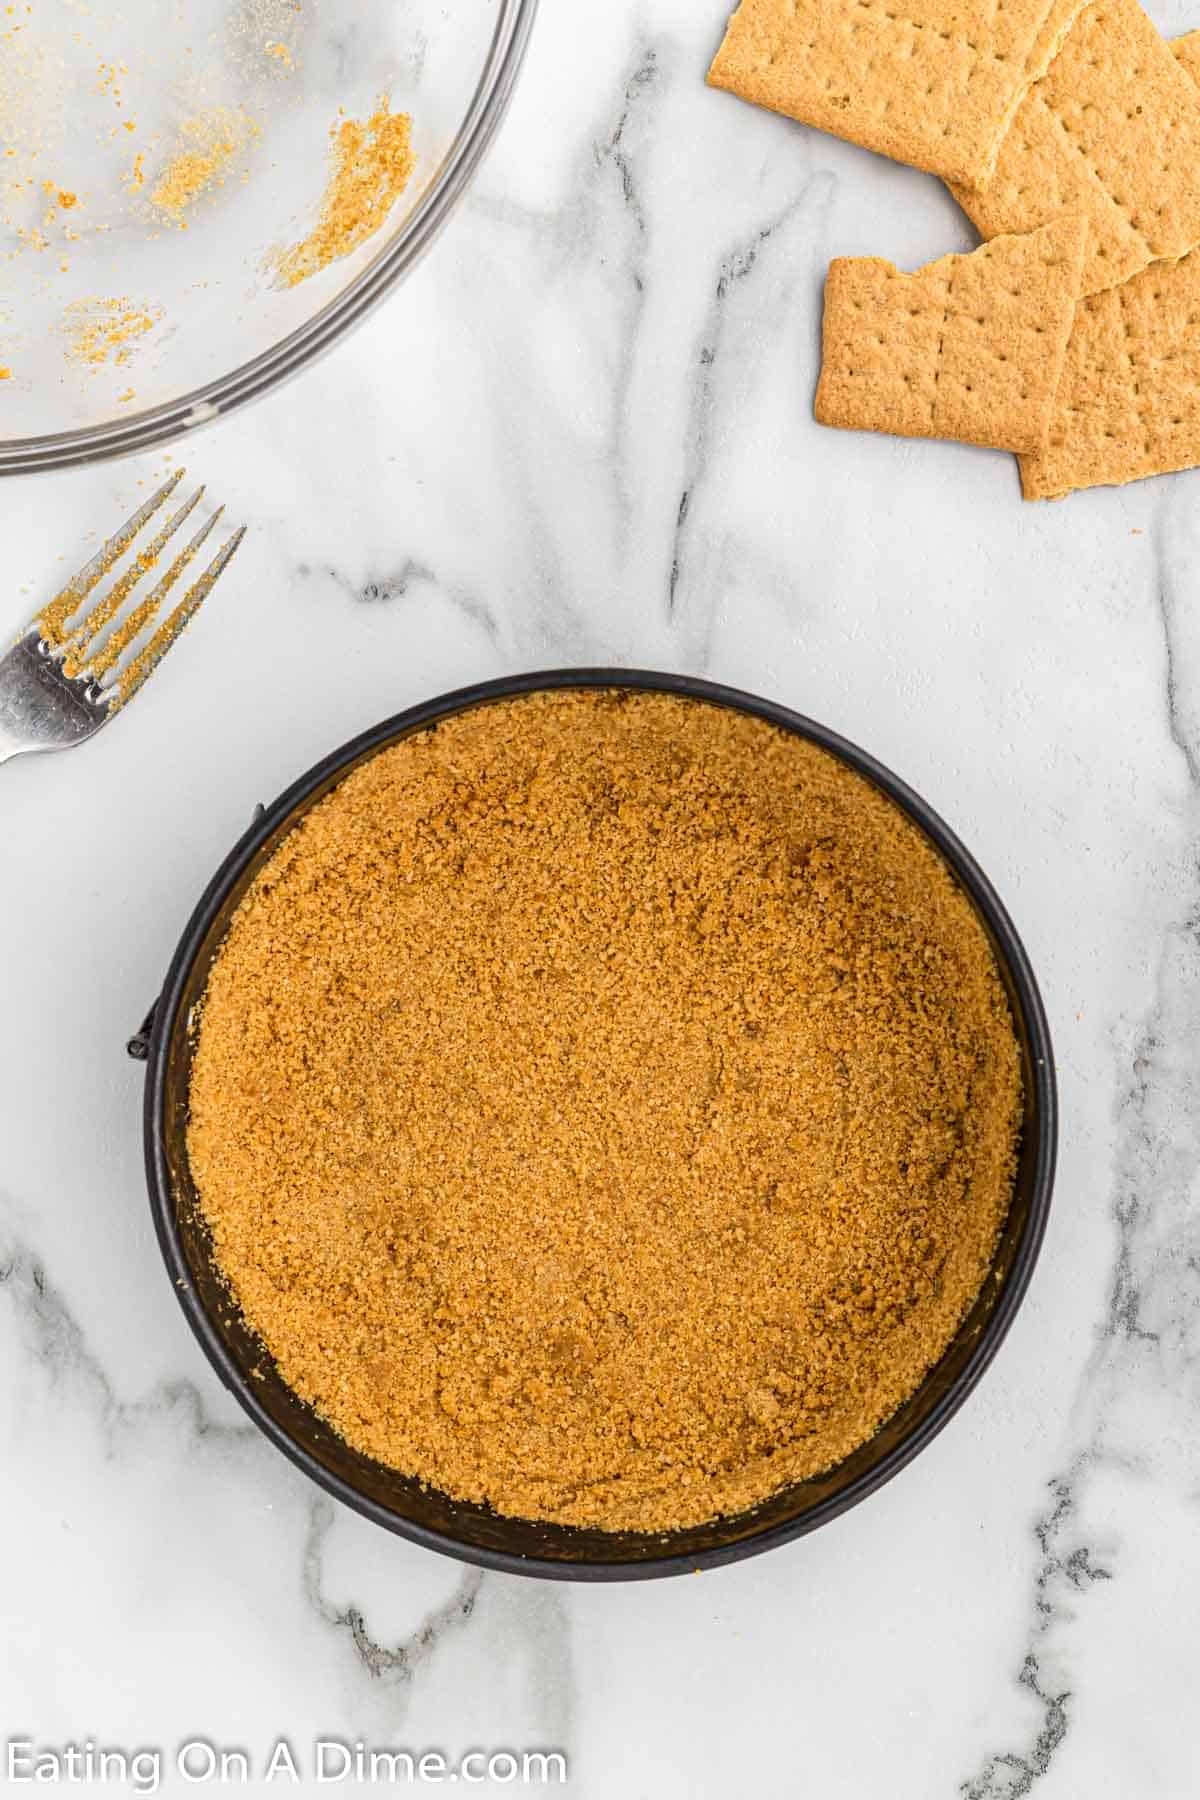
Step 4 – Form the crust. Then press this mixture into the bottom of your springform pan and push the mixture down. It should form a single layer at the bottom of the pan and go up the sides of the pan approximately 1 inch. Do not go any higher than an inch with the crust. Place this mixture into the freezer while you form the cheesecake layer.
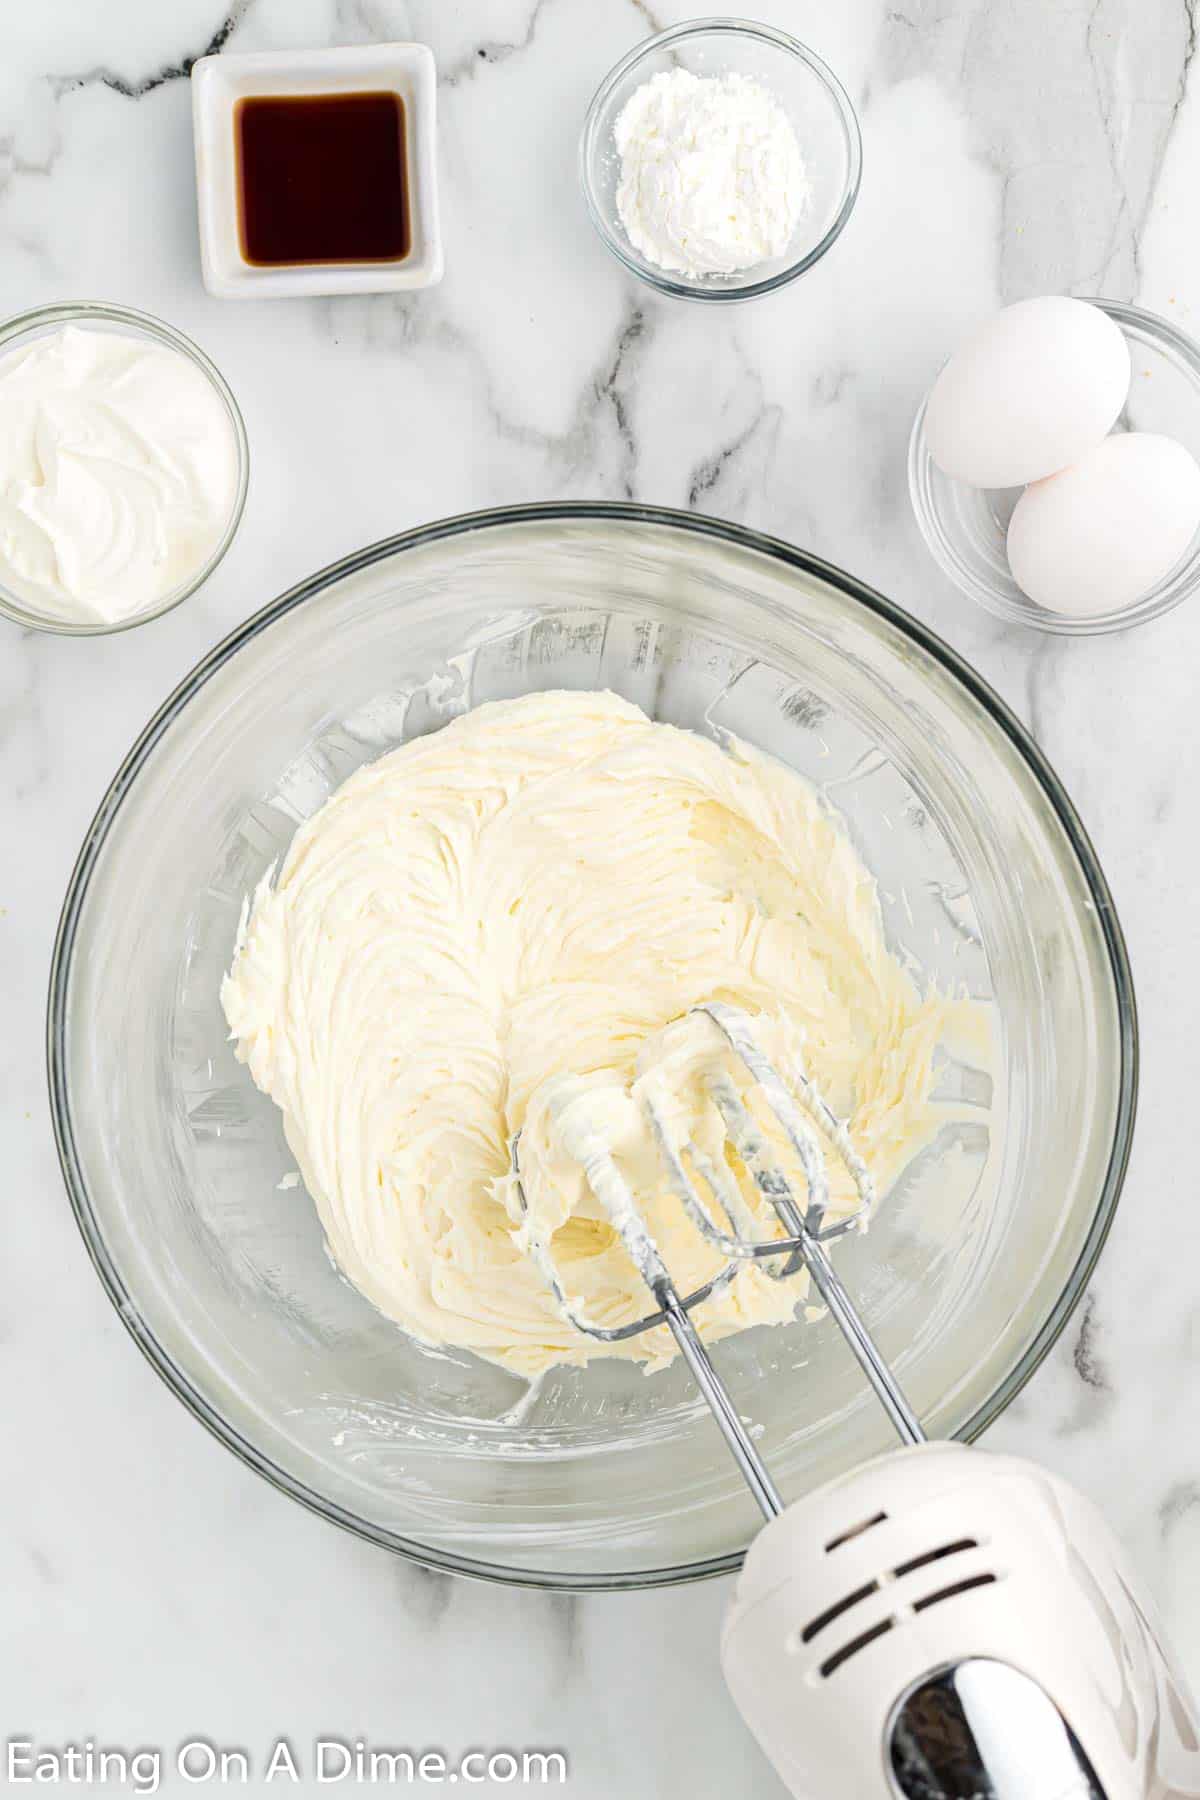
Step 5 – Beat the cream cheese. Combine this with the sugar in a large stand up mixer or with a hand mixer in a large bowl until the mixture is light and fluffy.
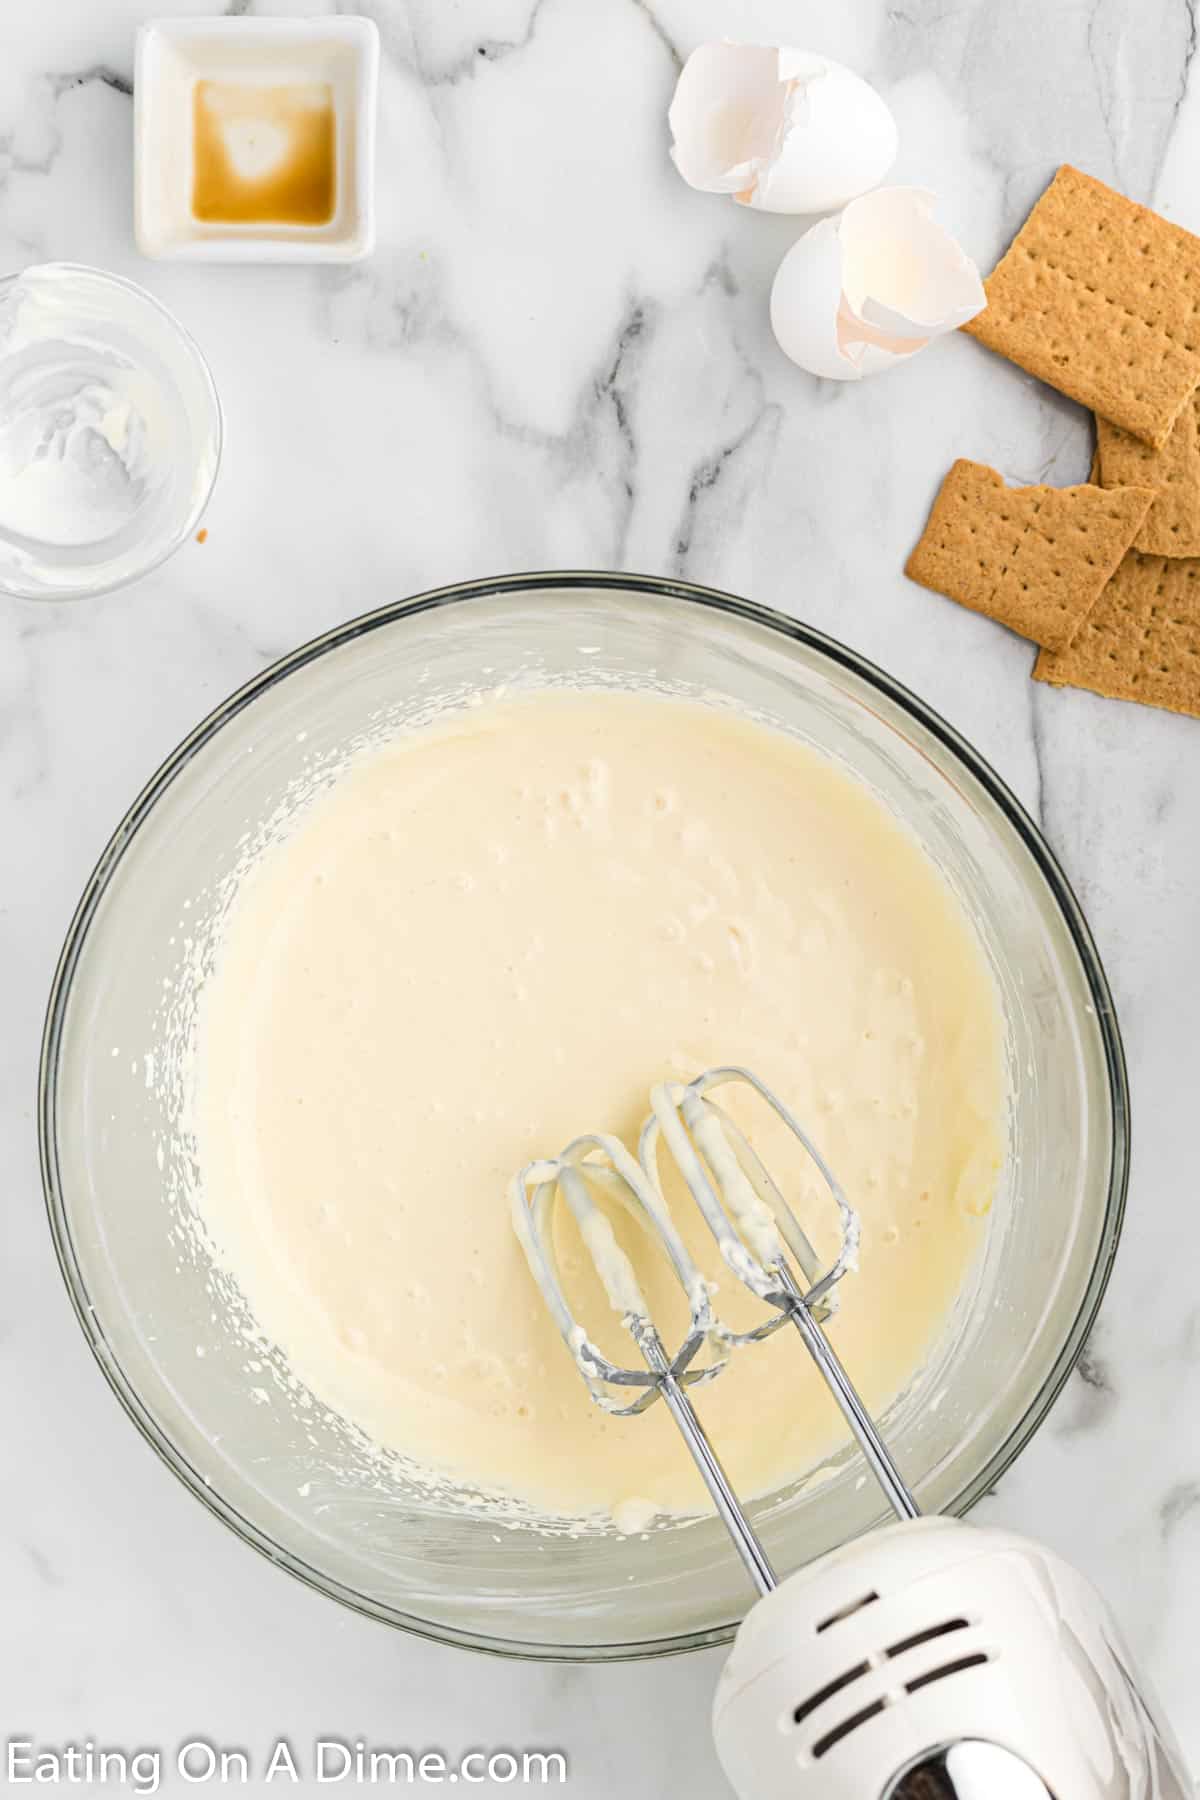
Step 6 – Combine the remaining ingredients. Then add in all of the ingredients for the cheesecake layer and mix until creamy and combined.
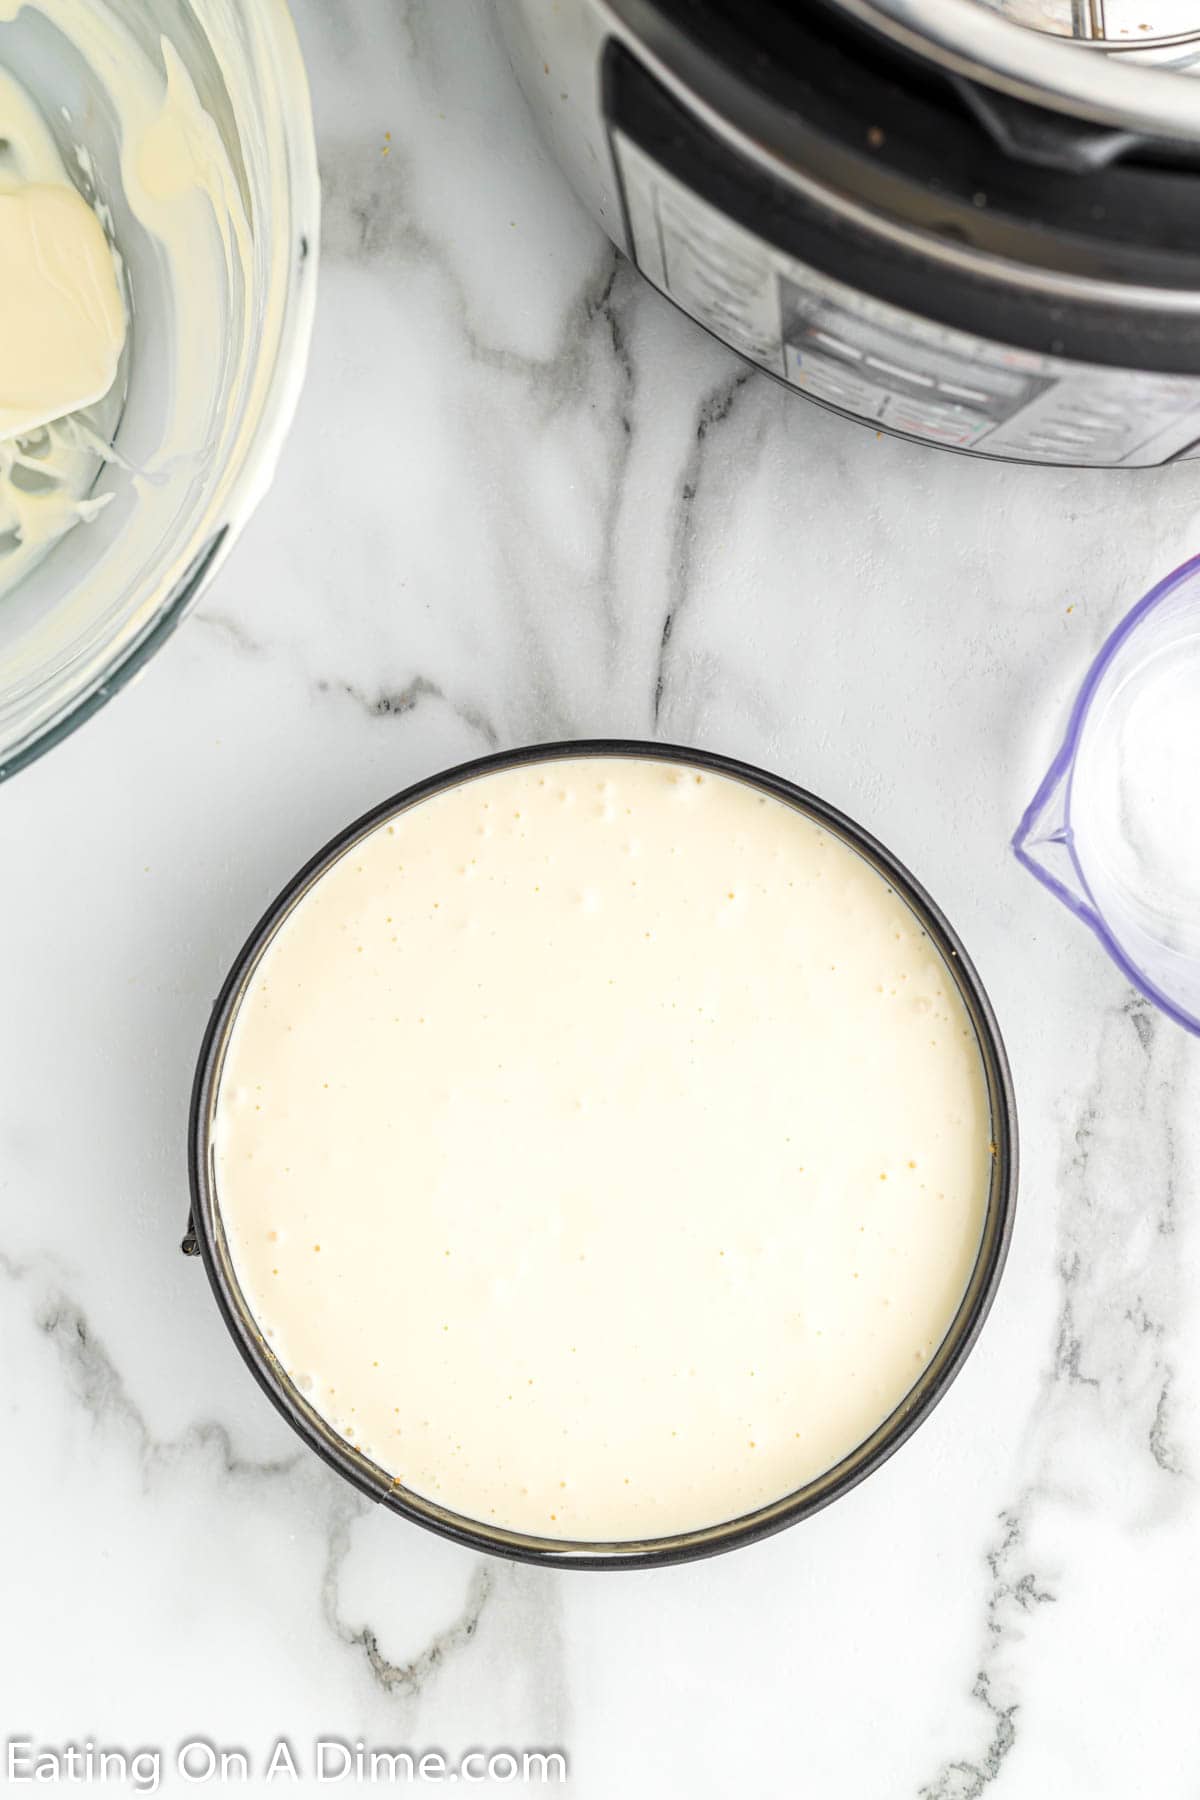
Step 7 – Fold the cheesecake batter into the crust. Then remove the pan from the freezer and pour the cheesecake layer mixture on top evenly. Tap the bottom of the pan on the counter to make sure that there are no air bubbles and to ensure that the layer is even.
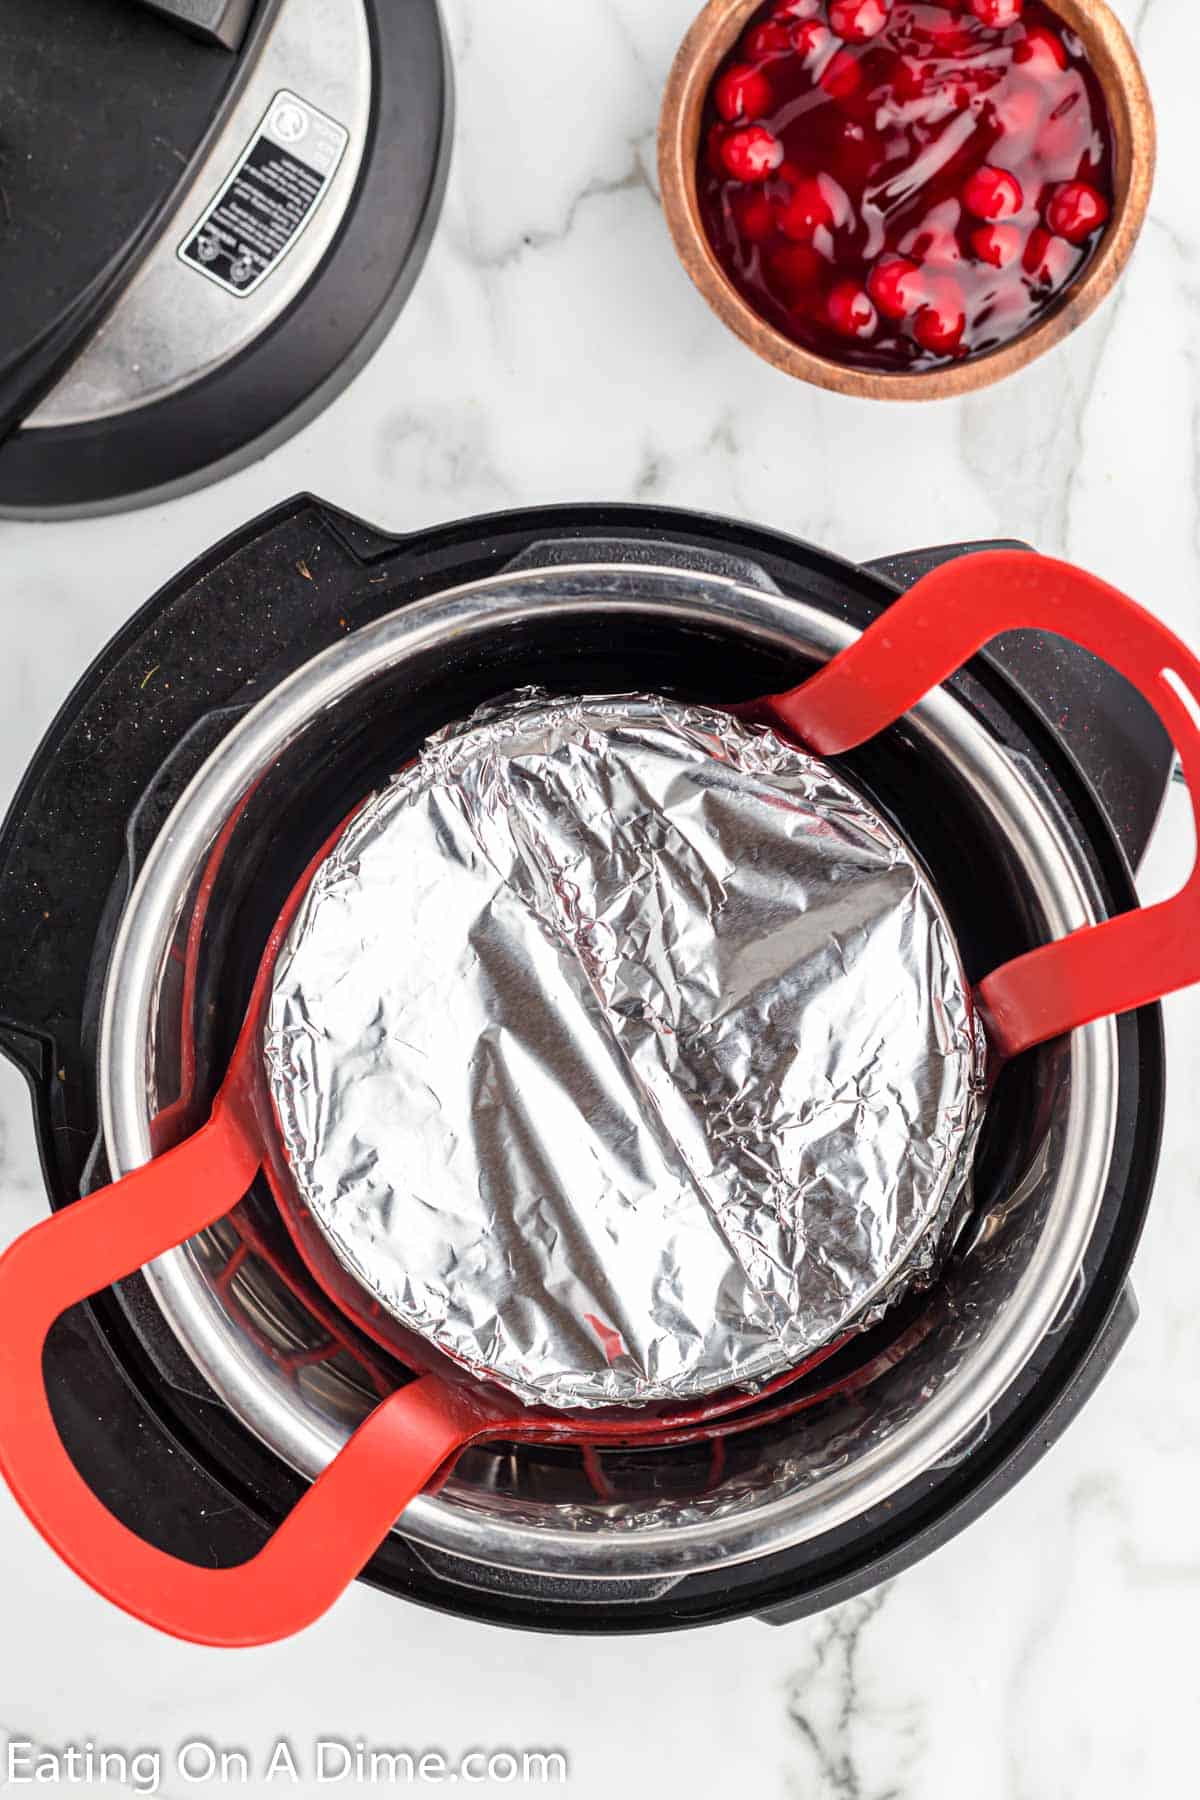
Step 8 – Get out the trivet insert. Place the trivet that came with a 6 quart instant pot to the bottom of an instant pot. Then add in 1 ½ cups water. Gently place the springform pan on top of the trivet in the instant pot. Then cover the springform pan with a piece of aluminum foil. Secure it on the sides so that the foil does not move while it’s cooking.
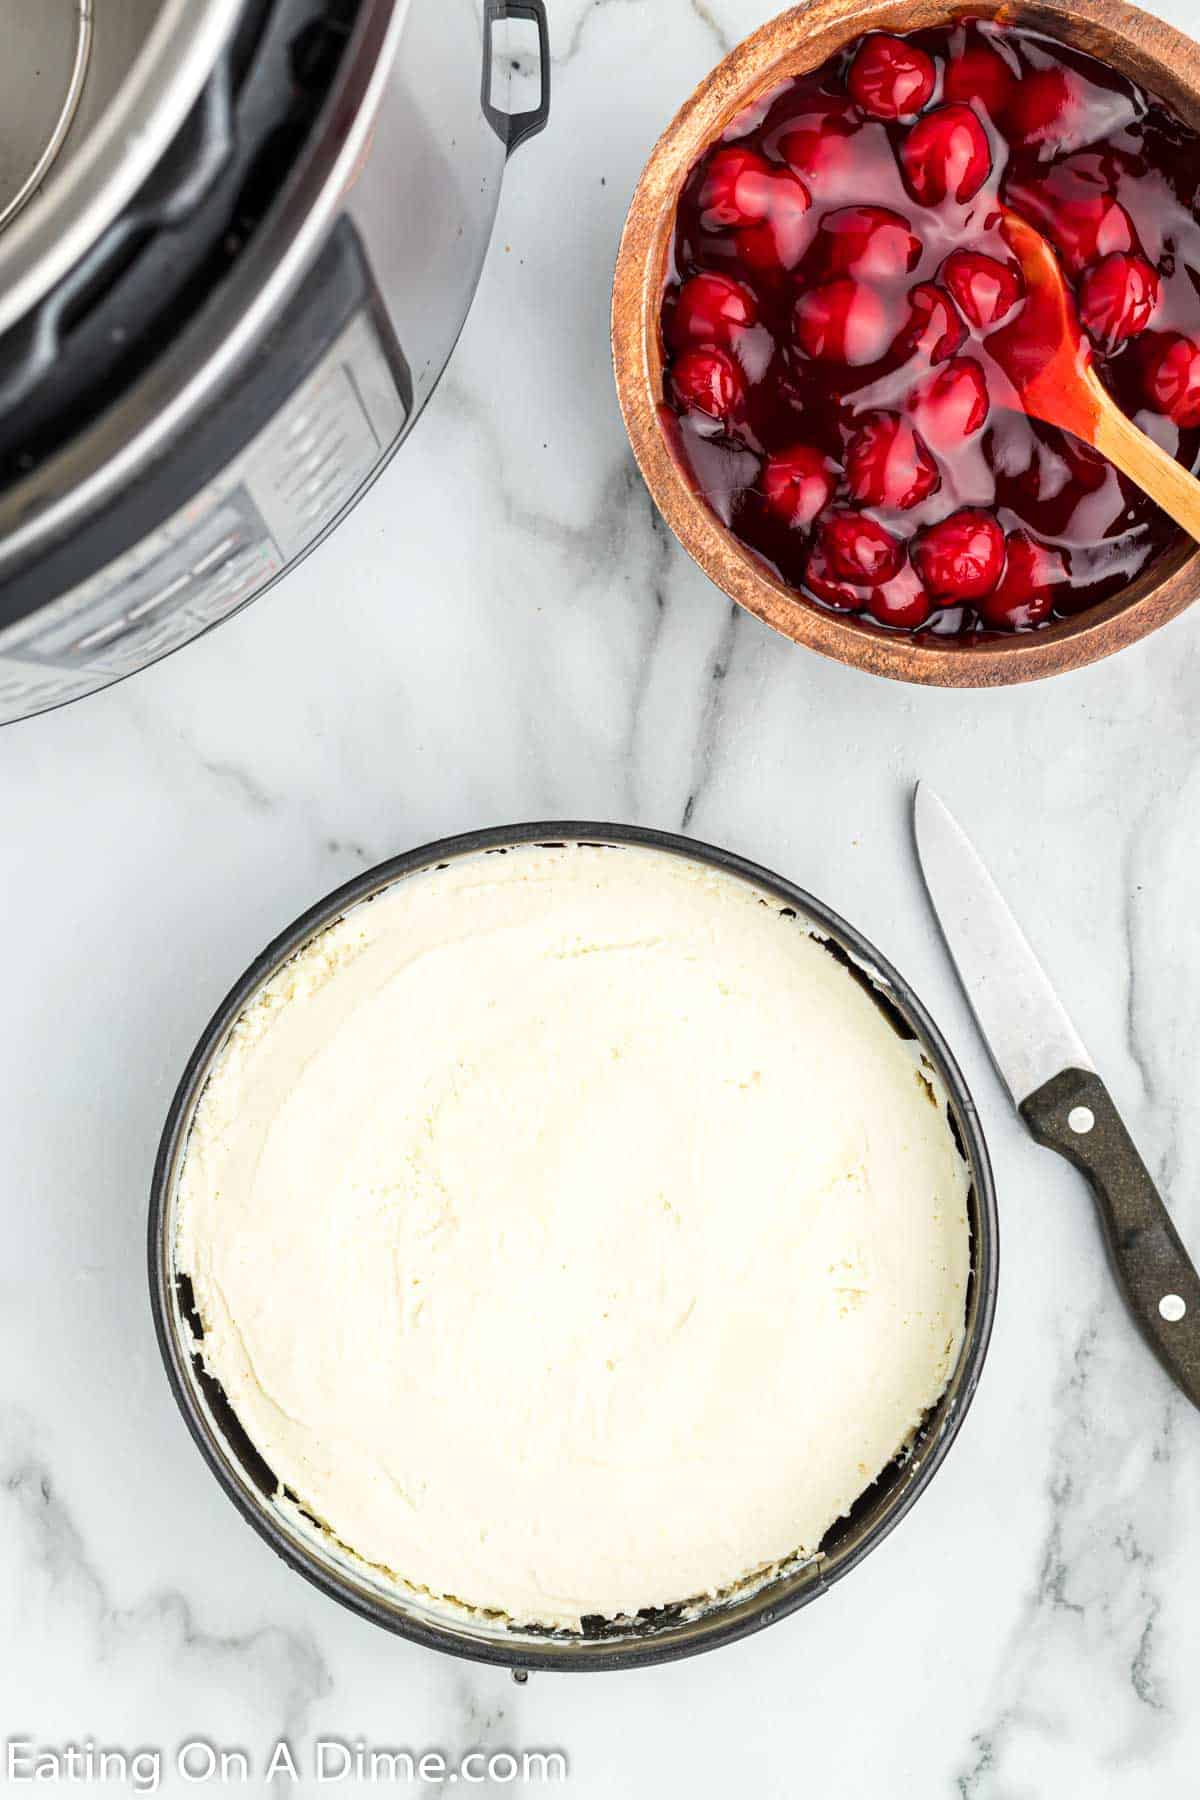
Step 9 – Lock the lid once the cheesecake is inside. Cook on high pressure for 35 minutes. After the cook time, allow the pressure to natural pressure release from the instant pot for 30 minutes. Then manually release the remaining pressure from the instant pot. Carefully remove the springform pan from the electric pressure cooker and move to a cooling rack to cool for at least 1 hour.
- Step 10 – Refrigerate the cheesecake. Then put the pan with the cheesecake in the refrigerator for at least 6 hours (I usually just put it in overnight).
- Step 11 – Remove the cheesecake. To remove the cheesecake from the pan, run a knife around the edge of the cheesecake. Then carefully remove the sides of the springform pan.
- Step 12 – Serve the baked cheesecake. Serve topped with the cherry pie filling and enjoy!
Expert Tips
- Room temperature ingredients. Make sure all the cheesecake layer ingredients are at room temperature before mixing them together to make sure that they are smooth and creamy when combined.
- Firmly press the crumbs. This is easy to do with the flat bottom of a cup or glass. Just press the cup into the pan and evenly tap along the crust until it is even.
- Cooking time can vary. This can vary based on different pressure cooker models. Make sure your cheesecake is fully cooked.
- Do not overmix. Do not overmix the batter and add excess air to your batter. The ingredients need to be well combined and smooth but not mixed so much it allows excess air. It is a fine balance.
- Aluminum Foil. Don’t skip this step as it is crucial to the final product. Covering the cheesecake is a must to keep the appearance nice and smooth. Otherwise, condensation will drip as it cooks and make the top uneven.
- Chill the cheesecake. Overnight is best to chill the cheesecake. It gives it lots of time to set and the texture is the best.
- Cheesecake. Full fat cheesecake is best in this recipe for a rich dessert. We also prefer Philadelphia brand over store brand. This results in a better texture and final product.
How to Know the Cheesecake is Fully Cooked
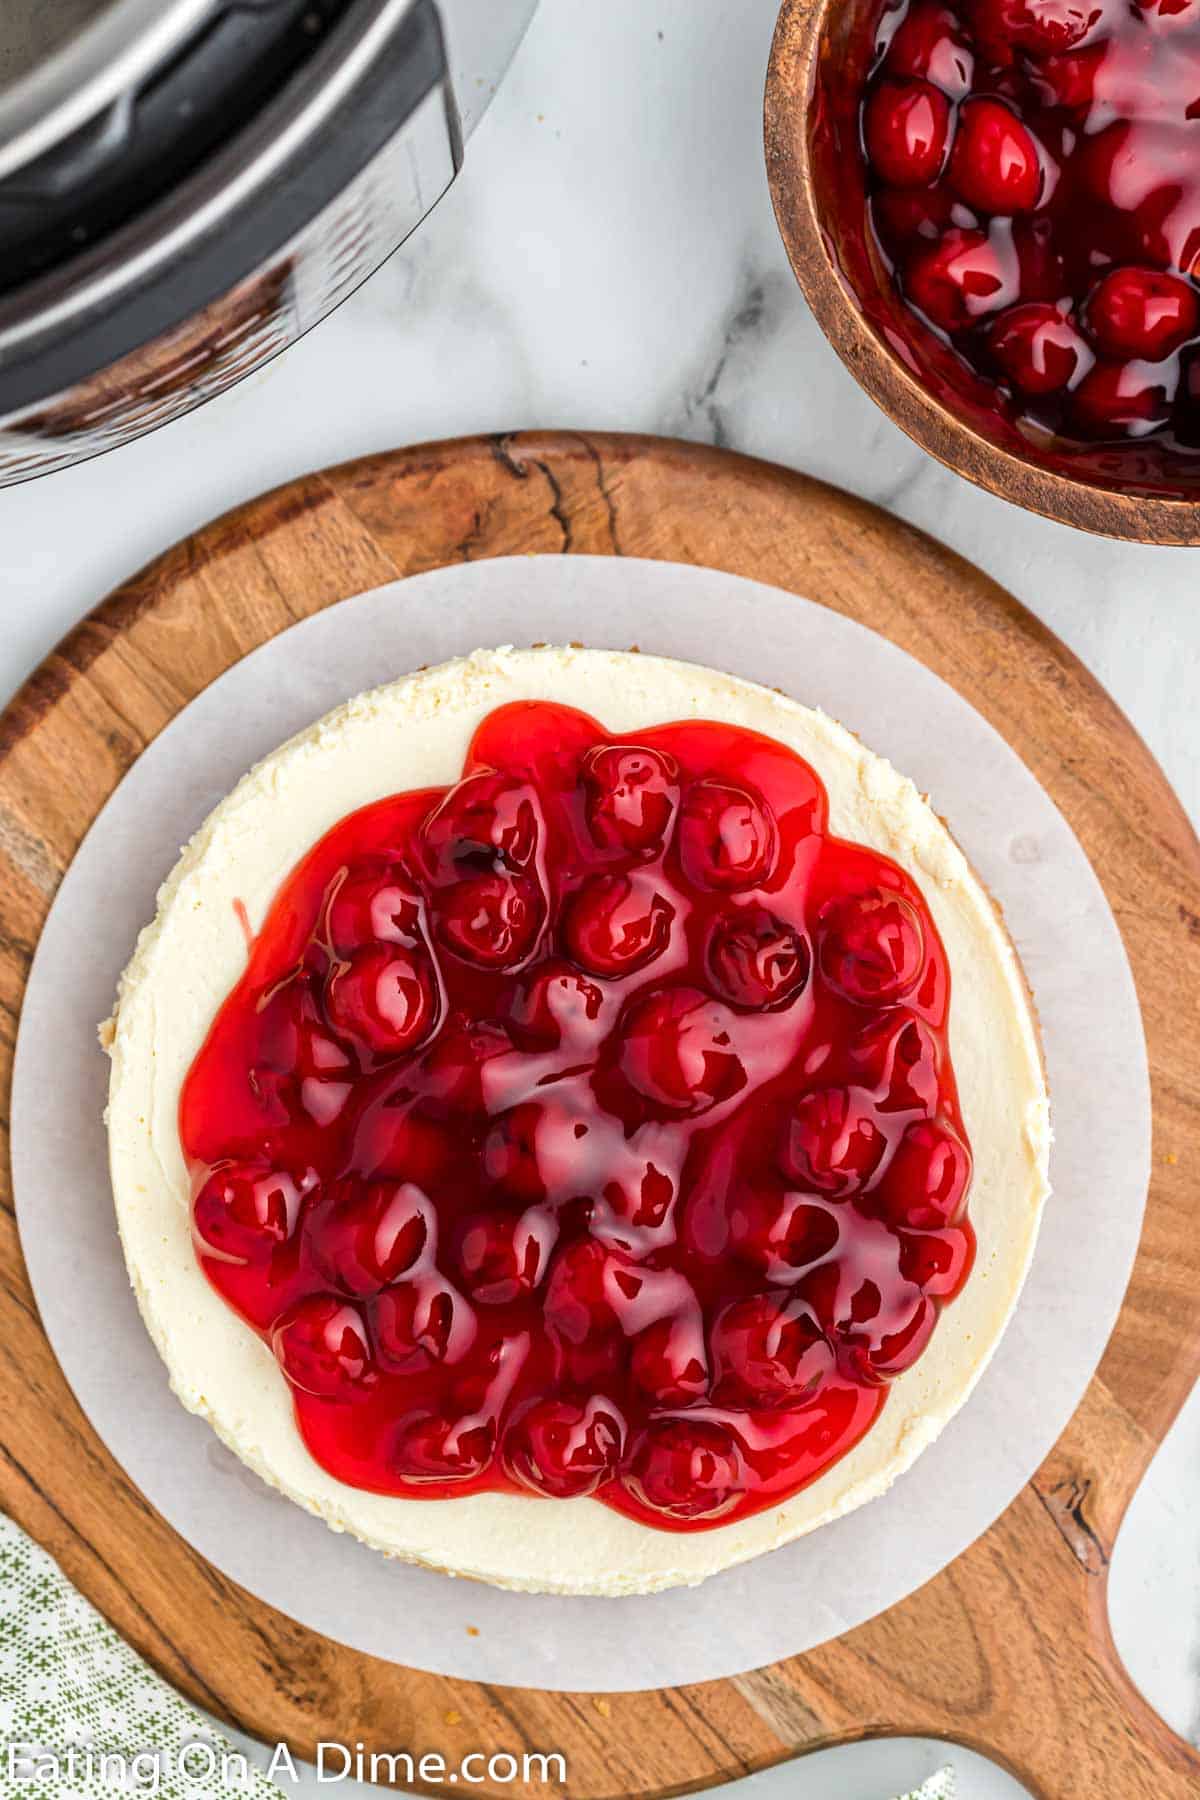
If you are new to making cheesecake, it can be hard to know if it is set by looking at it. The outside should look set and the inside should jiggle slightly.
Another option is to use an instant read thermometer. The middle of the cheesecake should be 140 to 150 degrees.
Cheesecake Topping ideas
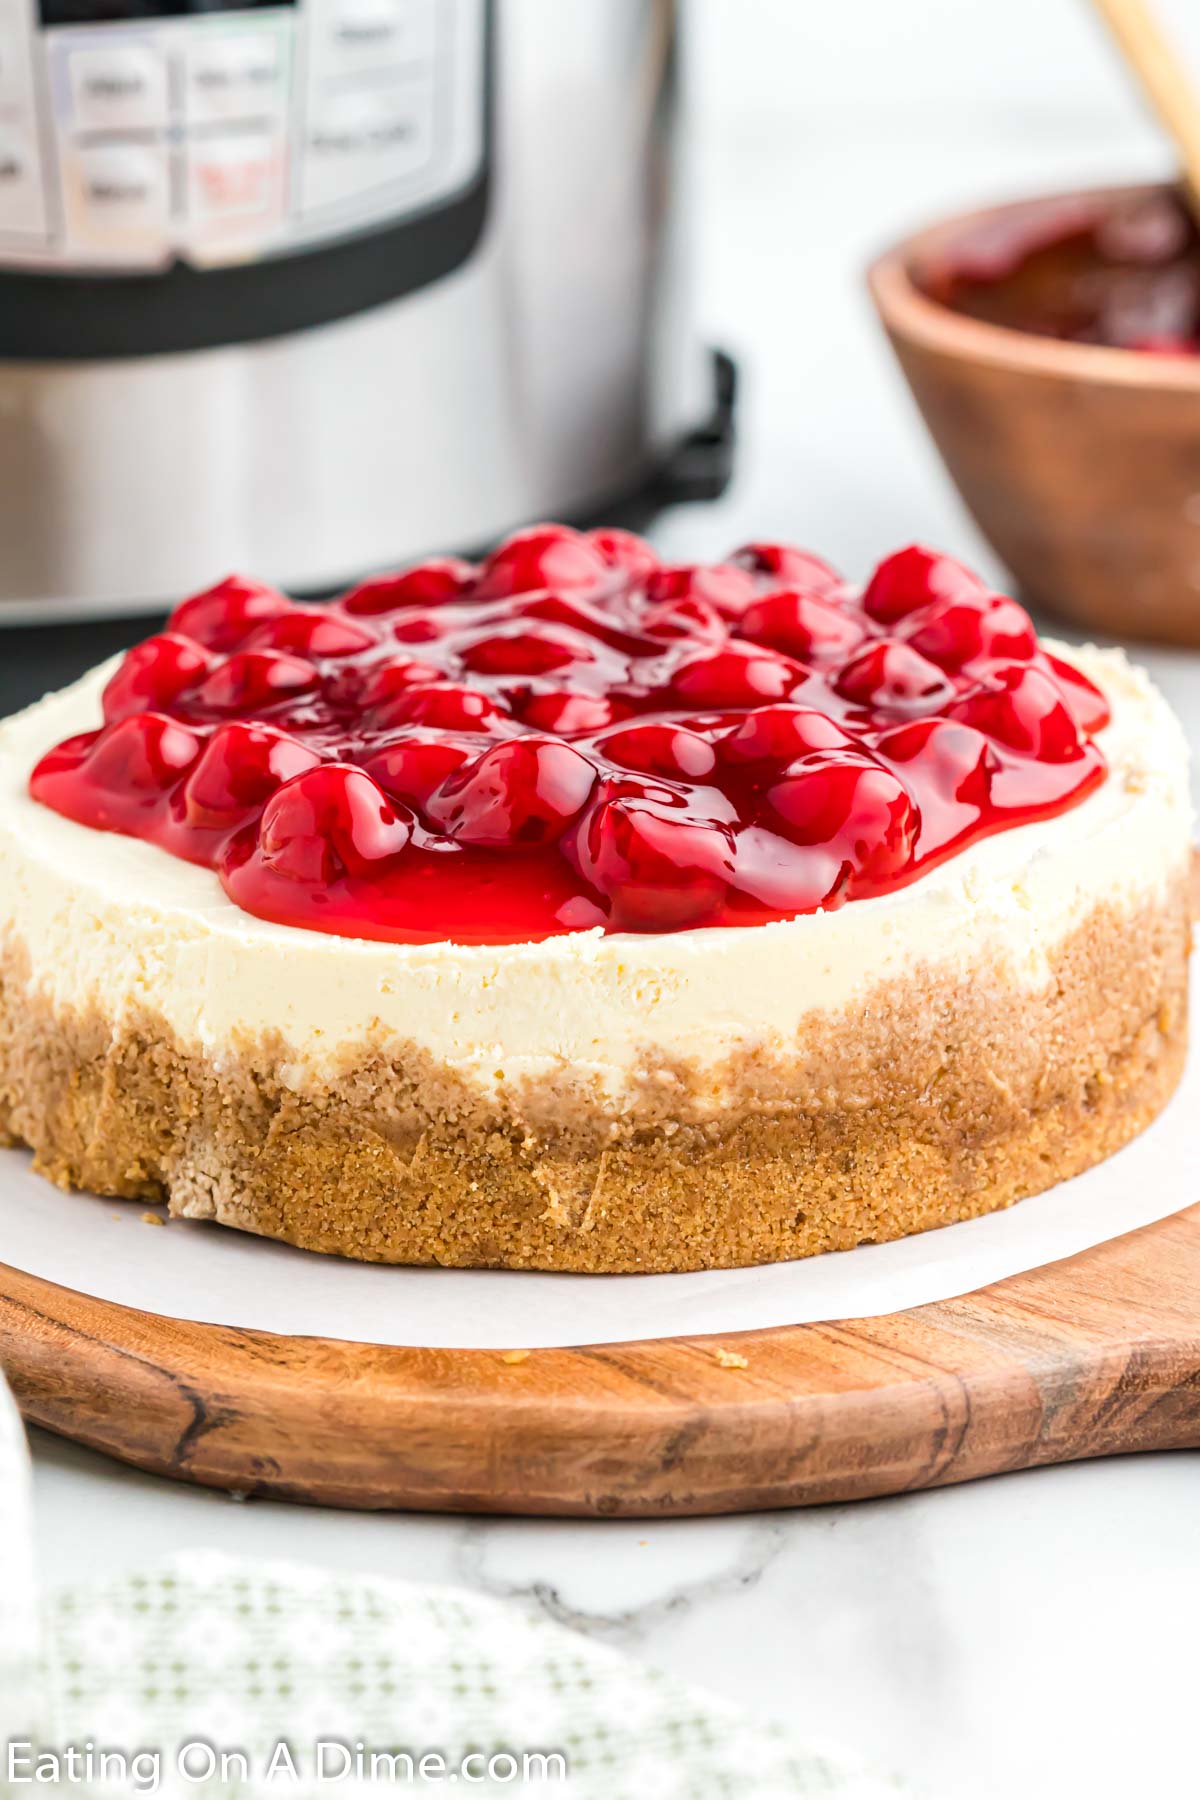
We love to add our favorite cheesecake toppings when serving this cheesecake. Free free to top with one of these favorites or even fresh berries is a delicious option.
- Homemade Caramel Sauce
- Hot Fudge
- Fried Apples
- Homemade Whipped Cream
- Chocolate Syrup
You can find even more yummy cheesecake topping ideas.
How to Store Leftovers
Store leftovers in an airtight container in the refrigerator. This cheesecake will last about 3-4 days.
Frequently Asked Questions
It needs additional time to cook. If the cheesecake is runny, cook it for an additional 3 to 5 minutes.
Then check to see if it is still runny and do a natural release. I have found that cooking cheesecake in the instant pot is easier than in the oven.
This edges do not dry out as quickly as they can in the oven. Don’t worry if you have to cook it a few more minutes to ensure it is fully cooked. The crust will not get dry from a few more minutes baking time like it would in the oven.
Yes, you can put a springform pan in the pressure cooker. Just makes sure the one you plan to use will fits inside.
You can get the perfect slice every time with just a few easy steps. Start by using a very sharp knife. Then dip it into hot water and slice the cheesecake.
The knife needs to be wiped dry after every cut and the steps repeated. This will ensure a clean cut every single time.
The presentation will be beautiful.
More Easy Cheesecake Desserts
- Sopapilla Cheesecake Recipe
- Air Fryer Cheesecake Recipe
- Philadelphia No Bake Cheesecake
- Snickerdoodle cheesecake bars
If you make this Instant Pot Cheesecake Recipe, please leave us a comment or a star review. We love hearing from you.
Instant Pot Cheesecake
Ingredients
FOR THE CRUST:
- 10 Graham Cracker Sheets
- 4 Tbsp Butter melted
- 2 Tbsp Brown Sugar
FOR THE CHEESECAKE LAYER:
- 2 pkg Cream Cheese softened at room temperature (8 oz each)
- ½ cup Sugar
- 2 tsp Vanilla Extract
- 2 Large Eggs room temperature
- 2 Tbsp Cornstarch
- ½ cup Sour Cream
FOR TOPPING:
Instructions
FOR THE CRUST:
- Spray a 7X3 springform pan with a non-stick cooking spray and make sure that the springform pan will fit in your instant pot. Then set it aside.
- Place the graham cracker sheets in a food processor and process until they are formed into small crumbs. If you do not have a food processor, place the graham crackers in a sealed ziplock bag and roll with a rolling pan to crush the graham crackers.
- Place the crumbs in a large mixing bowl and then stir in the melted butter and brown sugar until well combined. Then press this mixture into the bottom of your springform pan and push the mixture down to form a single layer at the bottom of a pan and have it go up the sides of the pan approximately 1 inch.
- You can also use a measuring cup or the bottom of a glass to press the mixture down into the pan.
- Place this mixture into the freezer while you form the cheesecake layer.
FOR THE CHEESECAKE LAYER:
- Beat the cream cheese with the sugar in a large stand up mixer or with a hand held mixer until the mixture is light and fluffy.
- Then add in all of the ingredients for the cheesecake layer and mix until creamy and combined.
- Then remove the pan from the freezer and pour the cheesecake layer mixture on top evenly.
- Tap the bottom of the pan on the counter to make sure that there are no air bubbles and to ensure that the layer is even.
TO PRESSURE COOK:
- Place the trivet that came with a 6 quart instant pot to the bottom of an instant pot. Then add in 1 ½ cups water.
- Gently place the springform pan on top of the trivet in the instant pot. Then cover the springform pan with a piece of foil making sure to secure it on the sides so that the foil does not move while it’s cooking.
- Place the instant pot lid on top. Set the valve on the lid to the sealing position. Cook on high pressure for 35 minutes. After the cook time, allow the pressure to release naturally from the instant pot for 30 minutes. Then manually release the remaining pressure from the instant pot.
- Carefully remove the springform pan from the instant pot and move to a cooling rack to cool for at least 1 hour.
- Then put the pan with the cheesecake in the refrigerator for at least 6 hours (I usually just put it in overnight).
- To remove the cheesecake from the pan, run a knife around the edge of the cheesecake.
- Then carefully remove the sides of the springform pan.
- Serve topped with the cherry pie filling and enjoy!
