
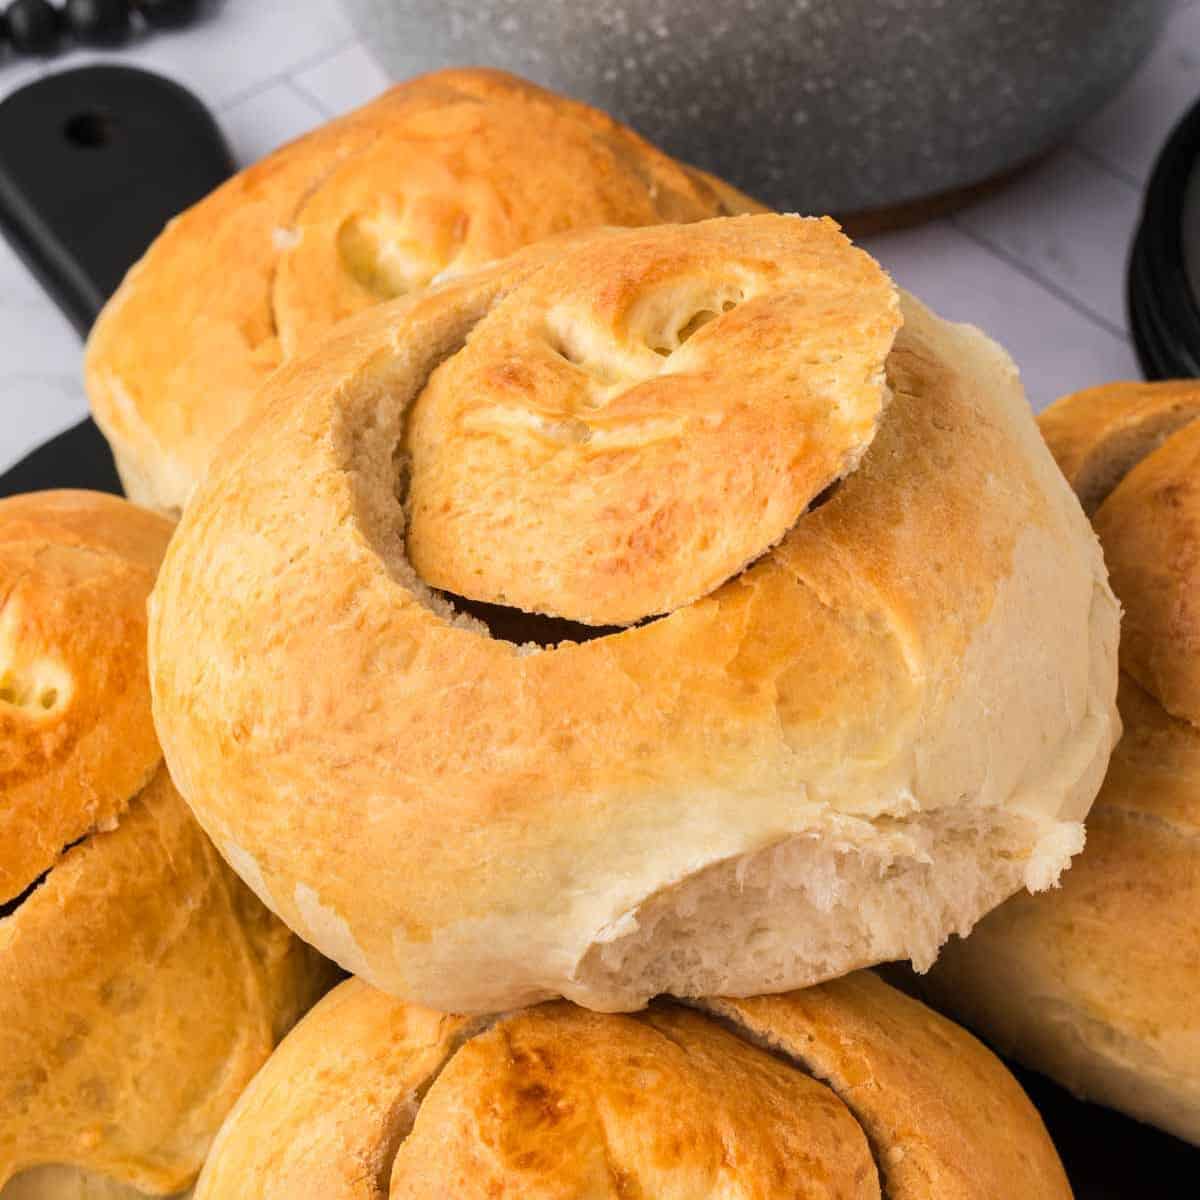
These homemade Bread Bowls are soft and chewy on the inside with a golden crispy crust — just like Panera but made at home for just $0.79 each with simple pantry ingredients.

My family absolutely loves broccoli cheese soup in a bread bowl and once I figured out how to make them at home for $0.79 each we stopped paying Panera prices entirely. Every fall when soup season starts my kids start requesting these and it has become one of our favorite cozy dinner traditions all the way through winter.
Why You’ll Love This Recipe!

- Budget Friendly — $4.71 total for 6 bread bowls versus $10–12 each at Panera
- Soft chewy interior with a golden crispy crust — exactly like the restaurant version
- Made with simple pantry ingredients
- Perfect for fall and winter soup season
- Make ahead and freezer friendly — bake a batch and freeze for easy soup nights all month
If you love easy homemade bread recipes like this one you will also love our Homemade Crescent Rolls, 30 Minute Dinner Rolls, and Texas Roadhouse Rolls. They are all budget-friendly, made with simple pantry ingredients, and so much better than anything from a store shelf.
Ingredients
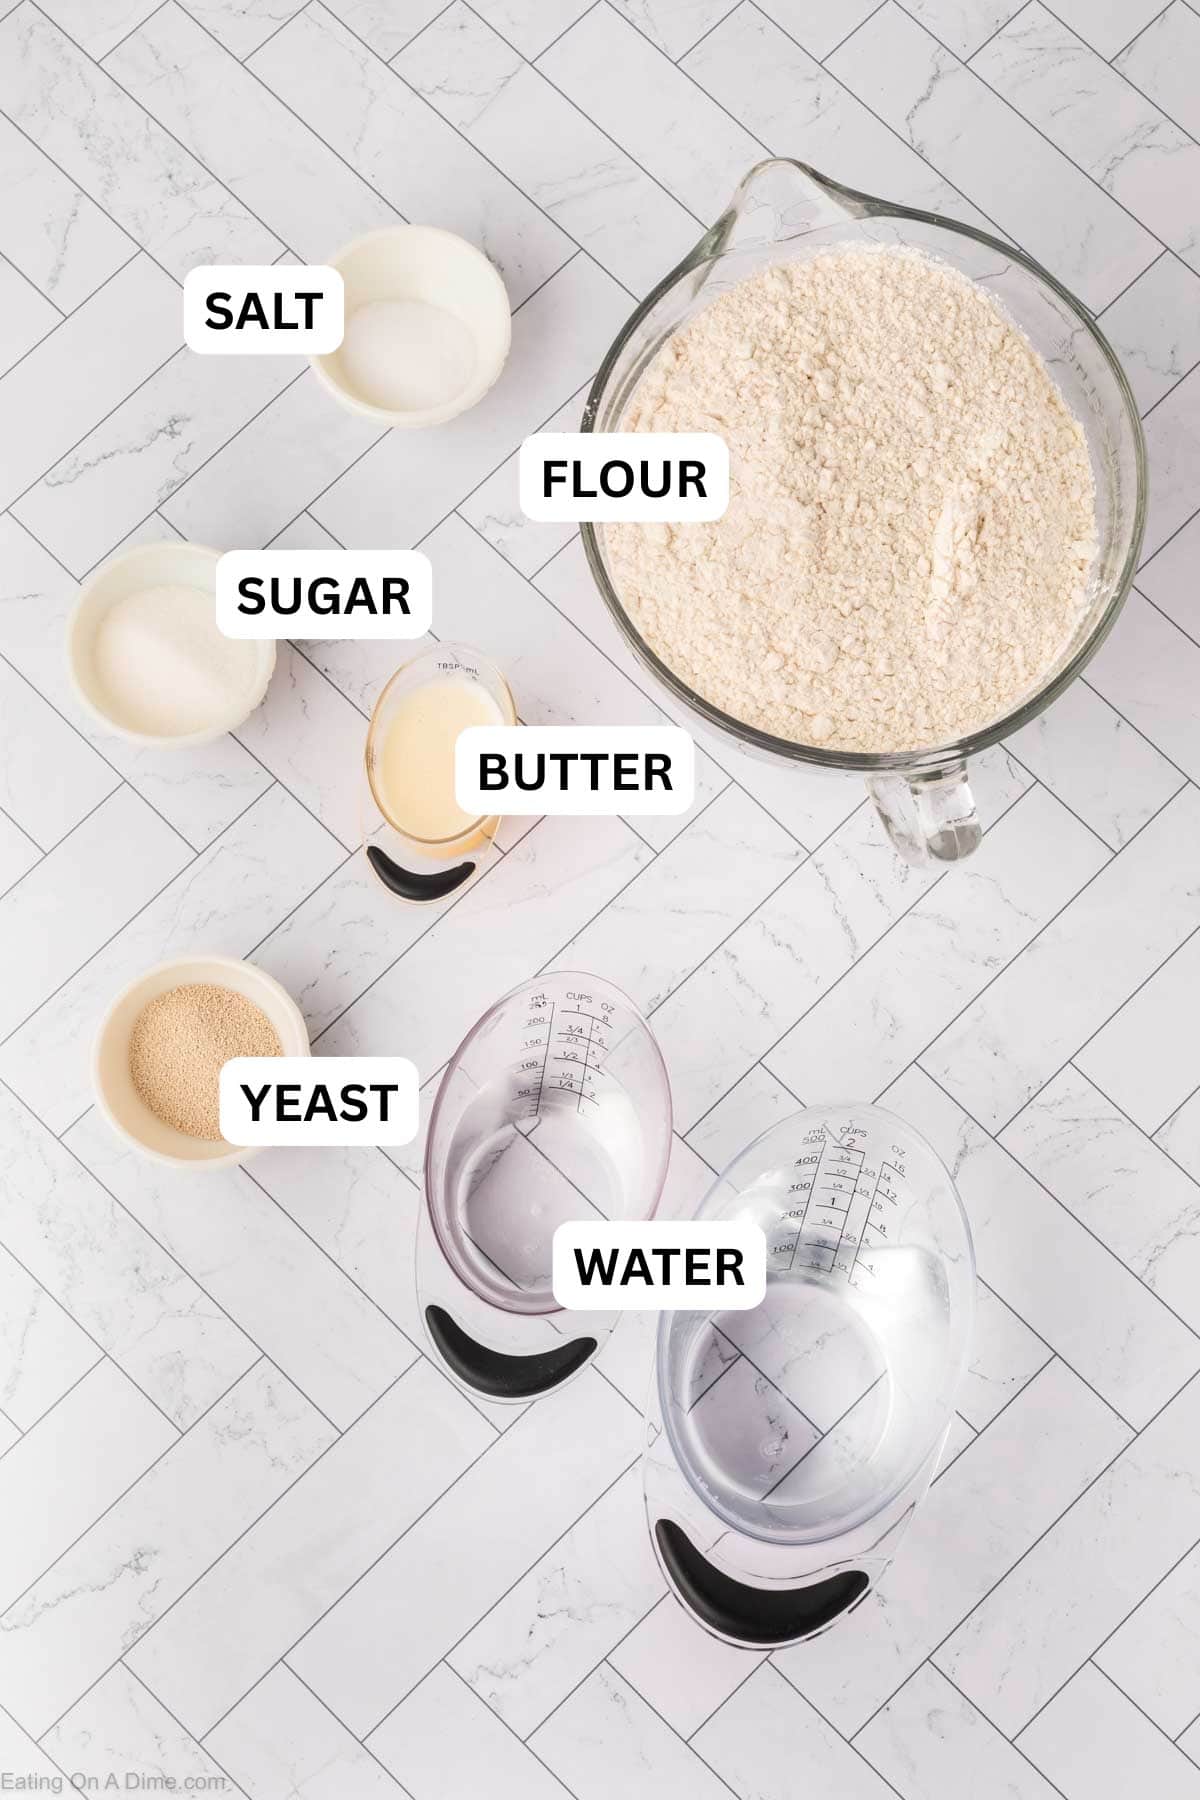
- All purpose flour — the base of the dough. Bread flour gives a slightly chewier more structured result if you prefer a heartier bread bowl. Measure correctly by spooning into the measuring cup and leveling off — never scoop directly from the bag
- Active dry yeast — the leavening agent that gives the bread bowls their rise and chewy texture. Always check the expiration date before starting — old yeast is the number one reason homemade bread fails
- Warm water — activates the yeast. Must be between 105–110°F — too hot kills the yeast and too cold means it never activates properly
- Sugar — feeds the yeast and adds a very subtle sweetness to the dough
- Salt — essential for flavor. Do not skip or reduce — salt is what makes bread taste like bread
- Butter — adds richness and a soft tender crumb. Use unsalted softened to room temperature
- Egg — adds structure and a slight richness to the dough. Brush beaten egg over the tops before baking for a beautiful golden shine
Carrie’s Tip: Place a shallow pan of hot water on the bottom rack of the oven when you put the bread bowls in to bake — the steam creates a crispy golden crust on the outside while keeping the inside soft and chewy. This is the trick that makes homemade bread bowls taste like they came from a professional bakery.
How to Make Bread Bowls
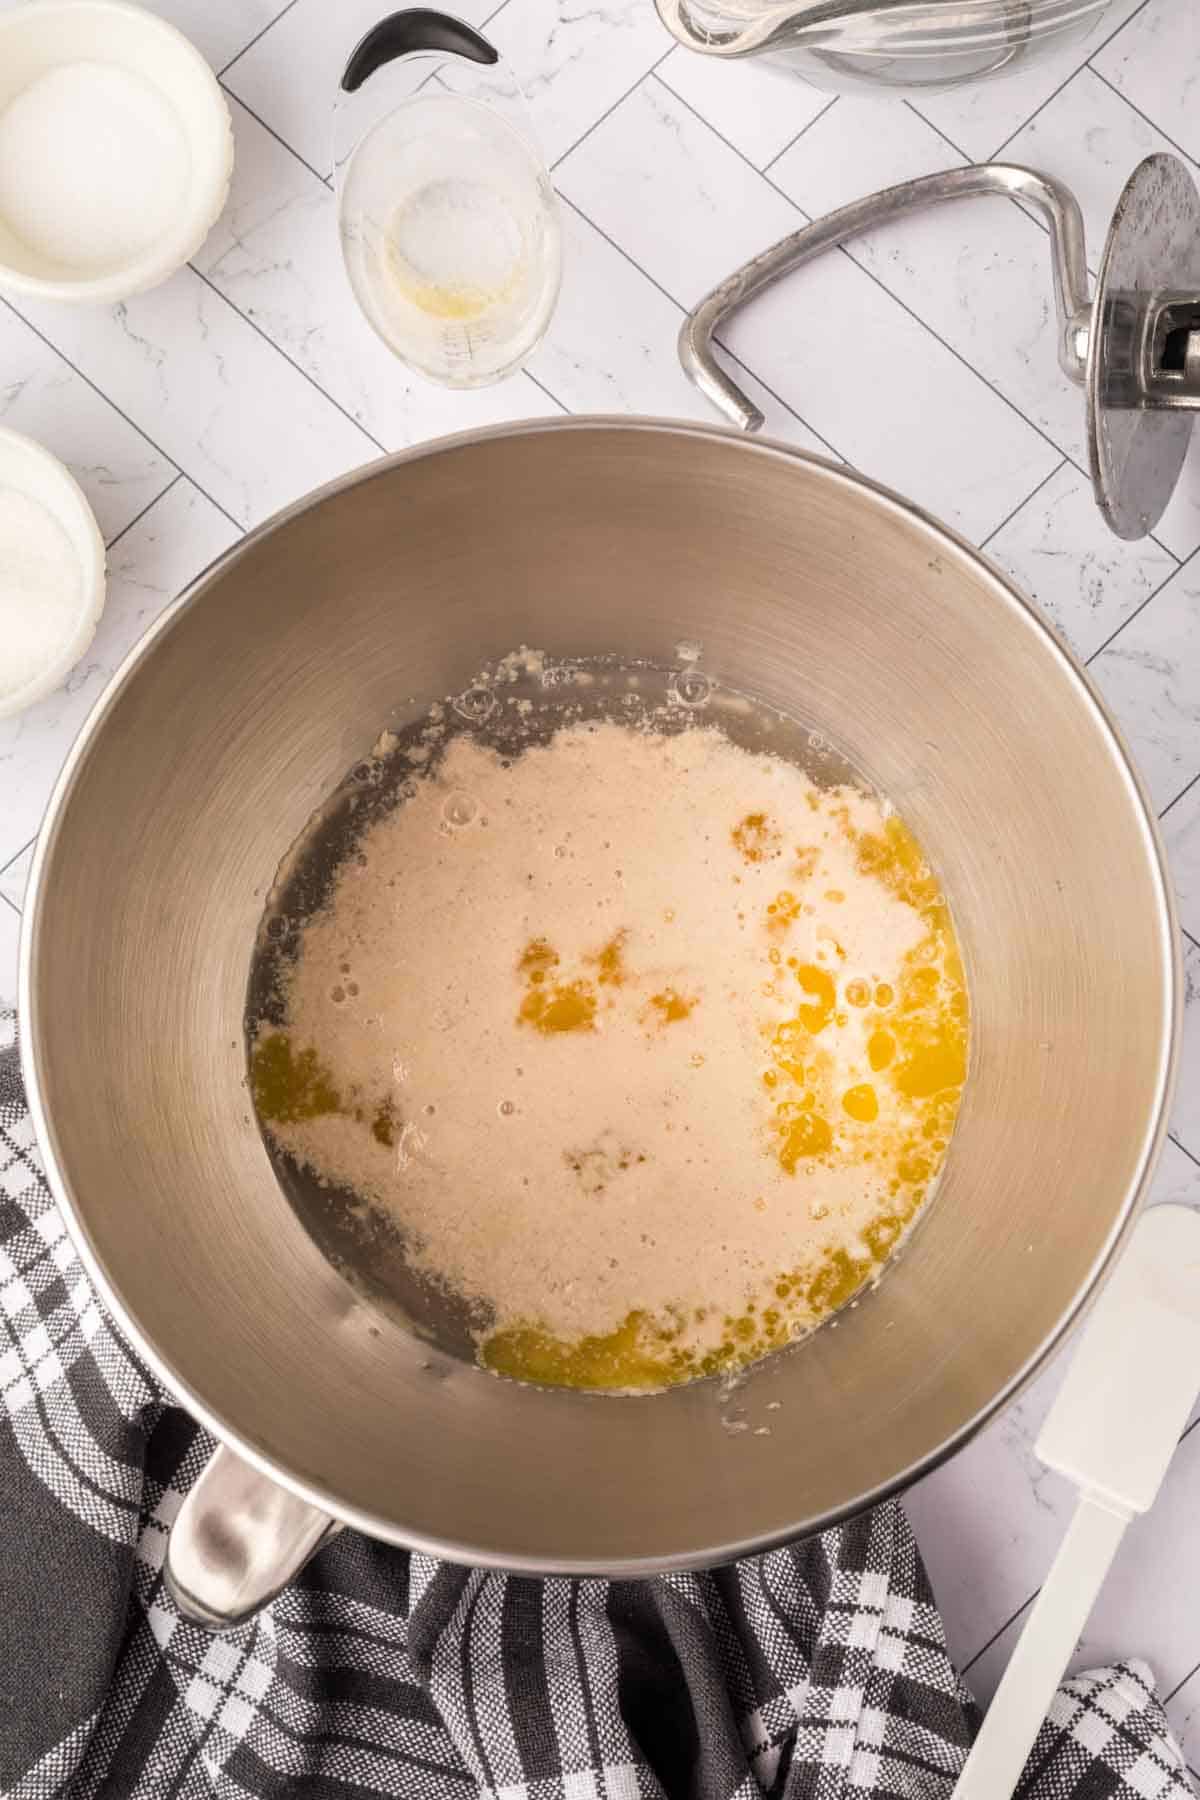
Step 1 – Place the water, yeast and 1 teaspoon of sugar in a large bowl of a stand mixer fitted with a dough hook. Let the mixture sit for 5 minutes until the yeast mixture is foamy and activated. Then stir in the melted butter.
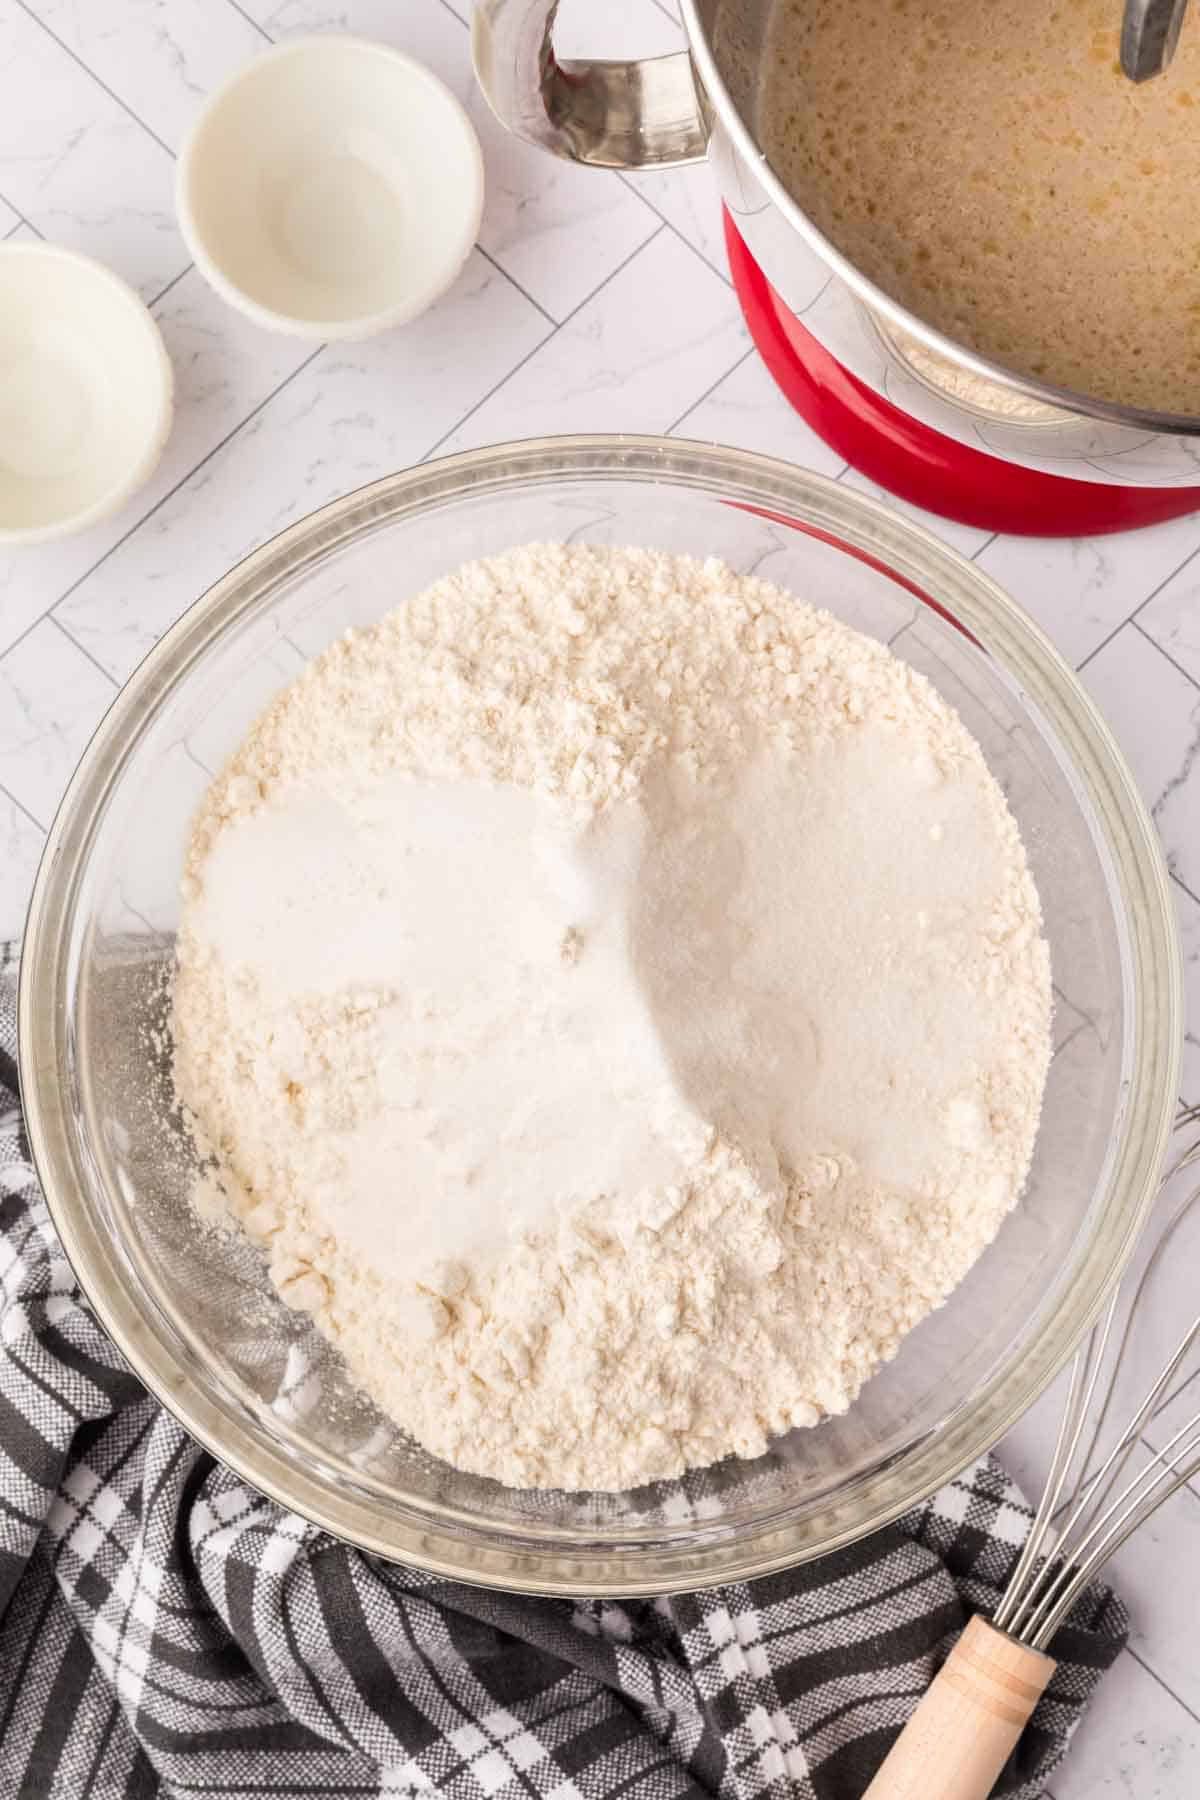
Step 2 – In a separate large mixing bowl, whisk together the flour, 2 tablespoons granulated sugar and salt.
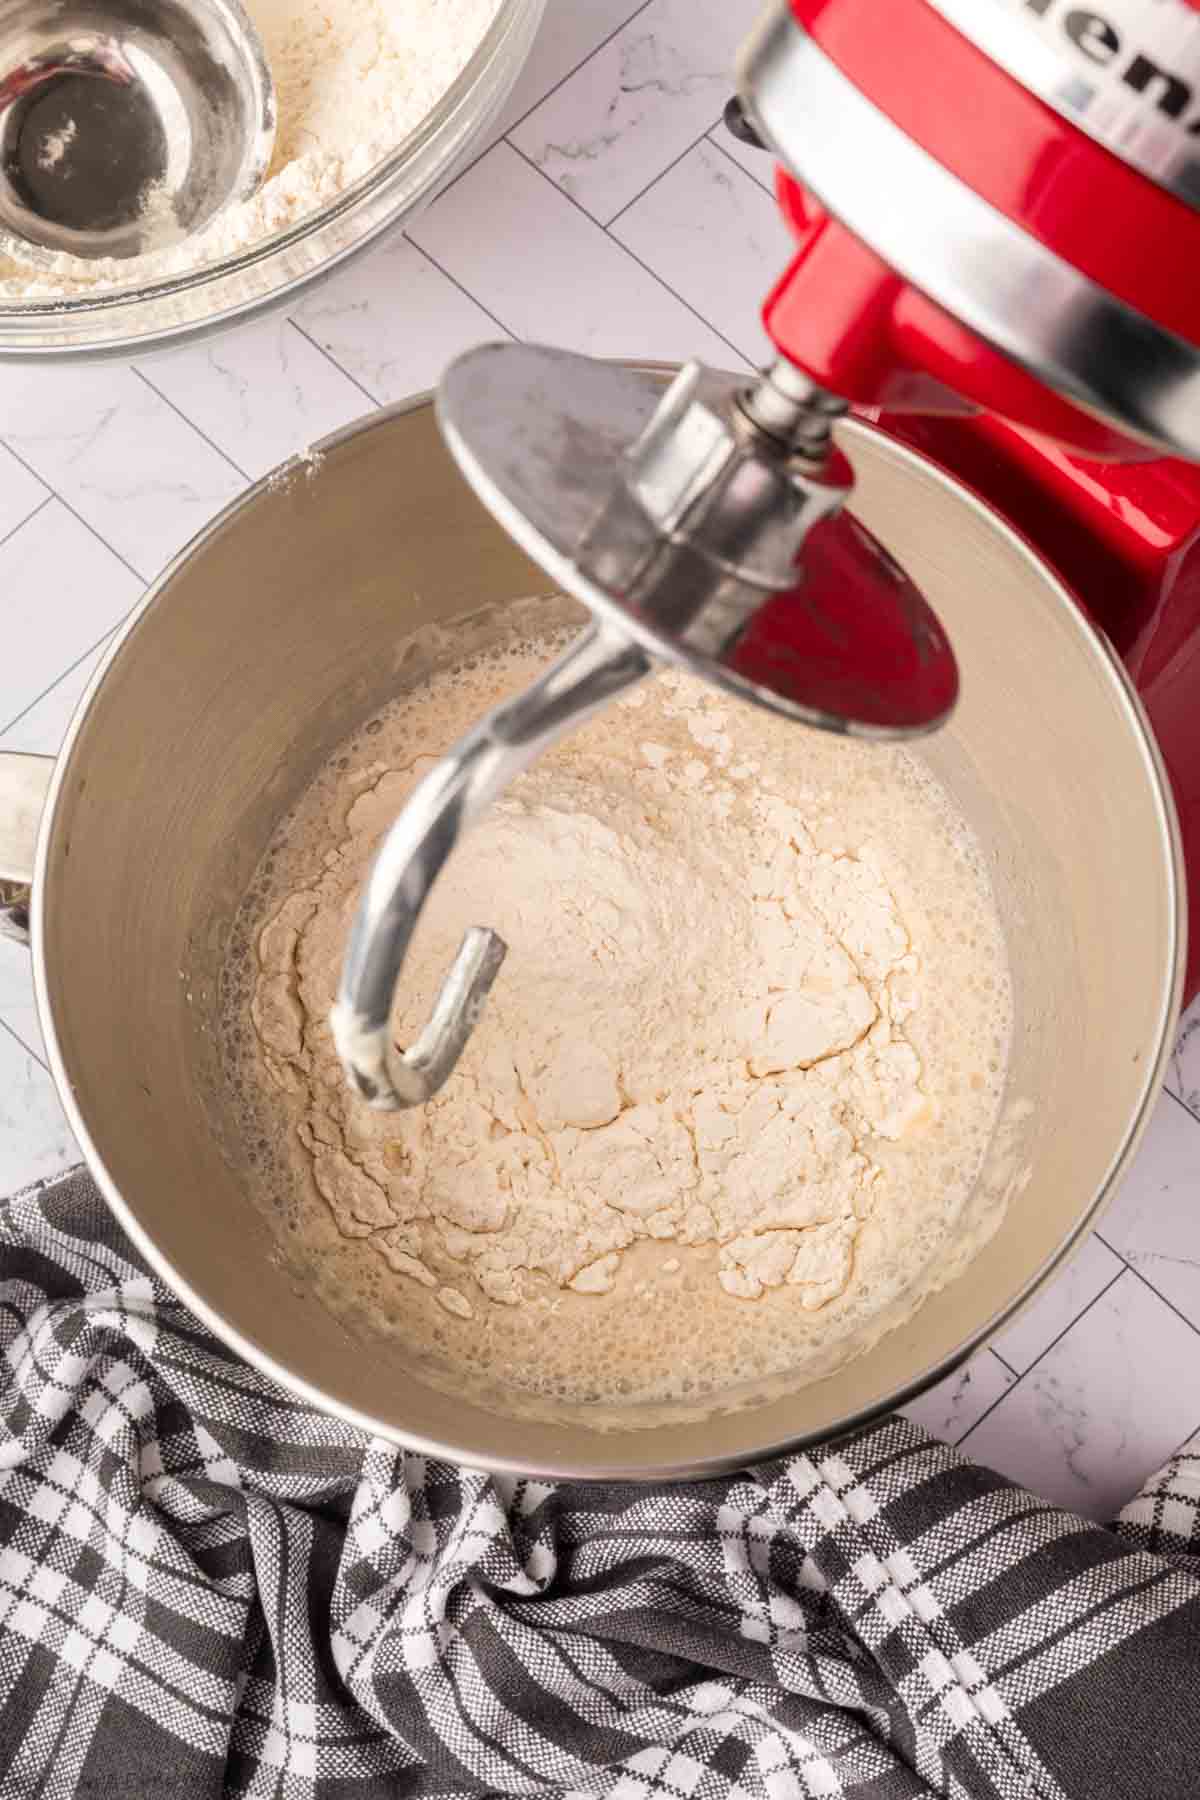
Step 3 – Reduce the speed on the mixer medium speed to low. Slowly add the flour mixture (1 cup at a time) until the dough starts to pull away from the sides of the bowl.
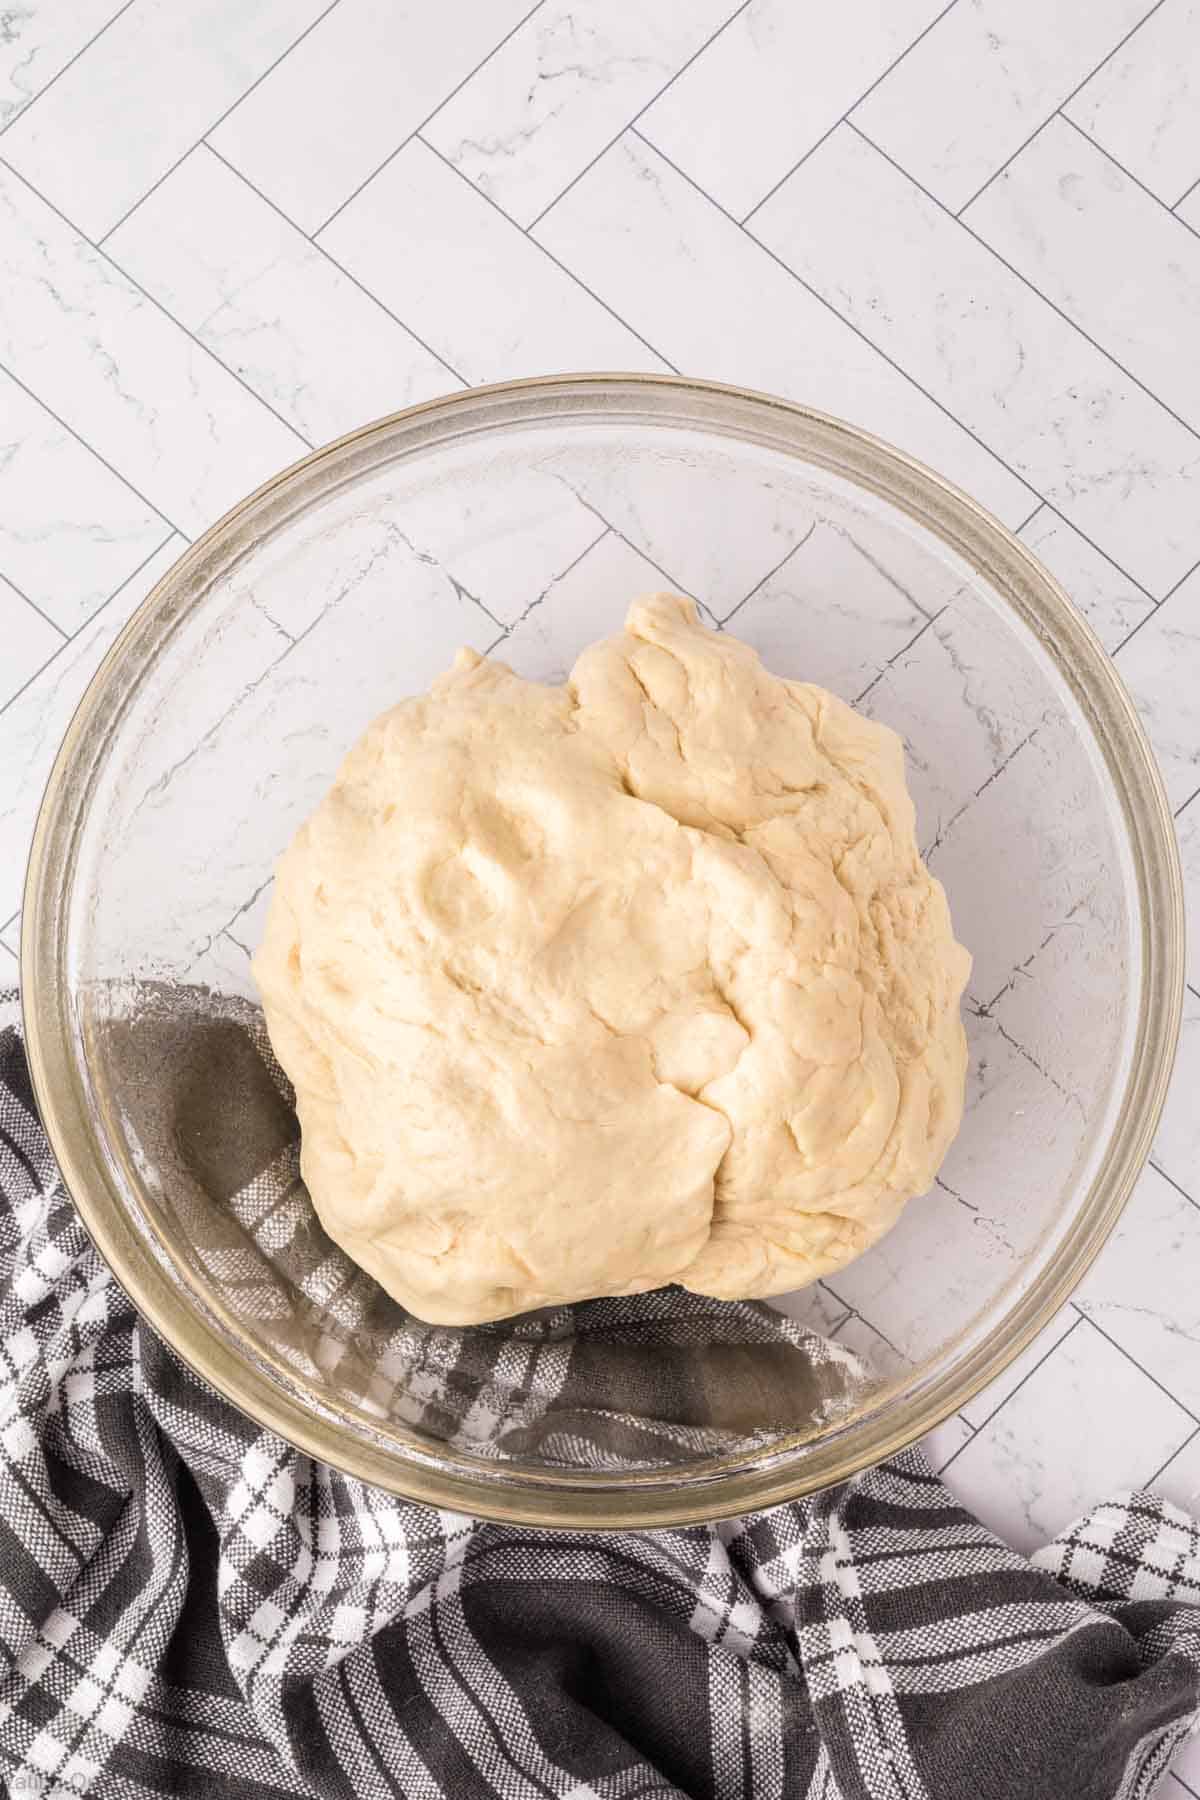
Step 4 – Knead the dough for about 5 minutes (with your hands or your mixer). The dough should be tacky but not sticky. If the dough is too sticky, gradually add remaining flour (1 tablespoon) at a time until it reaches that consistency.
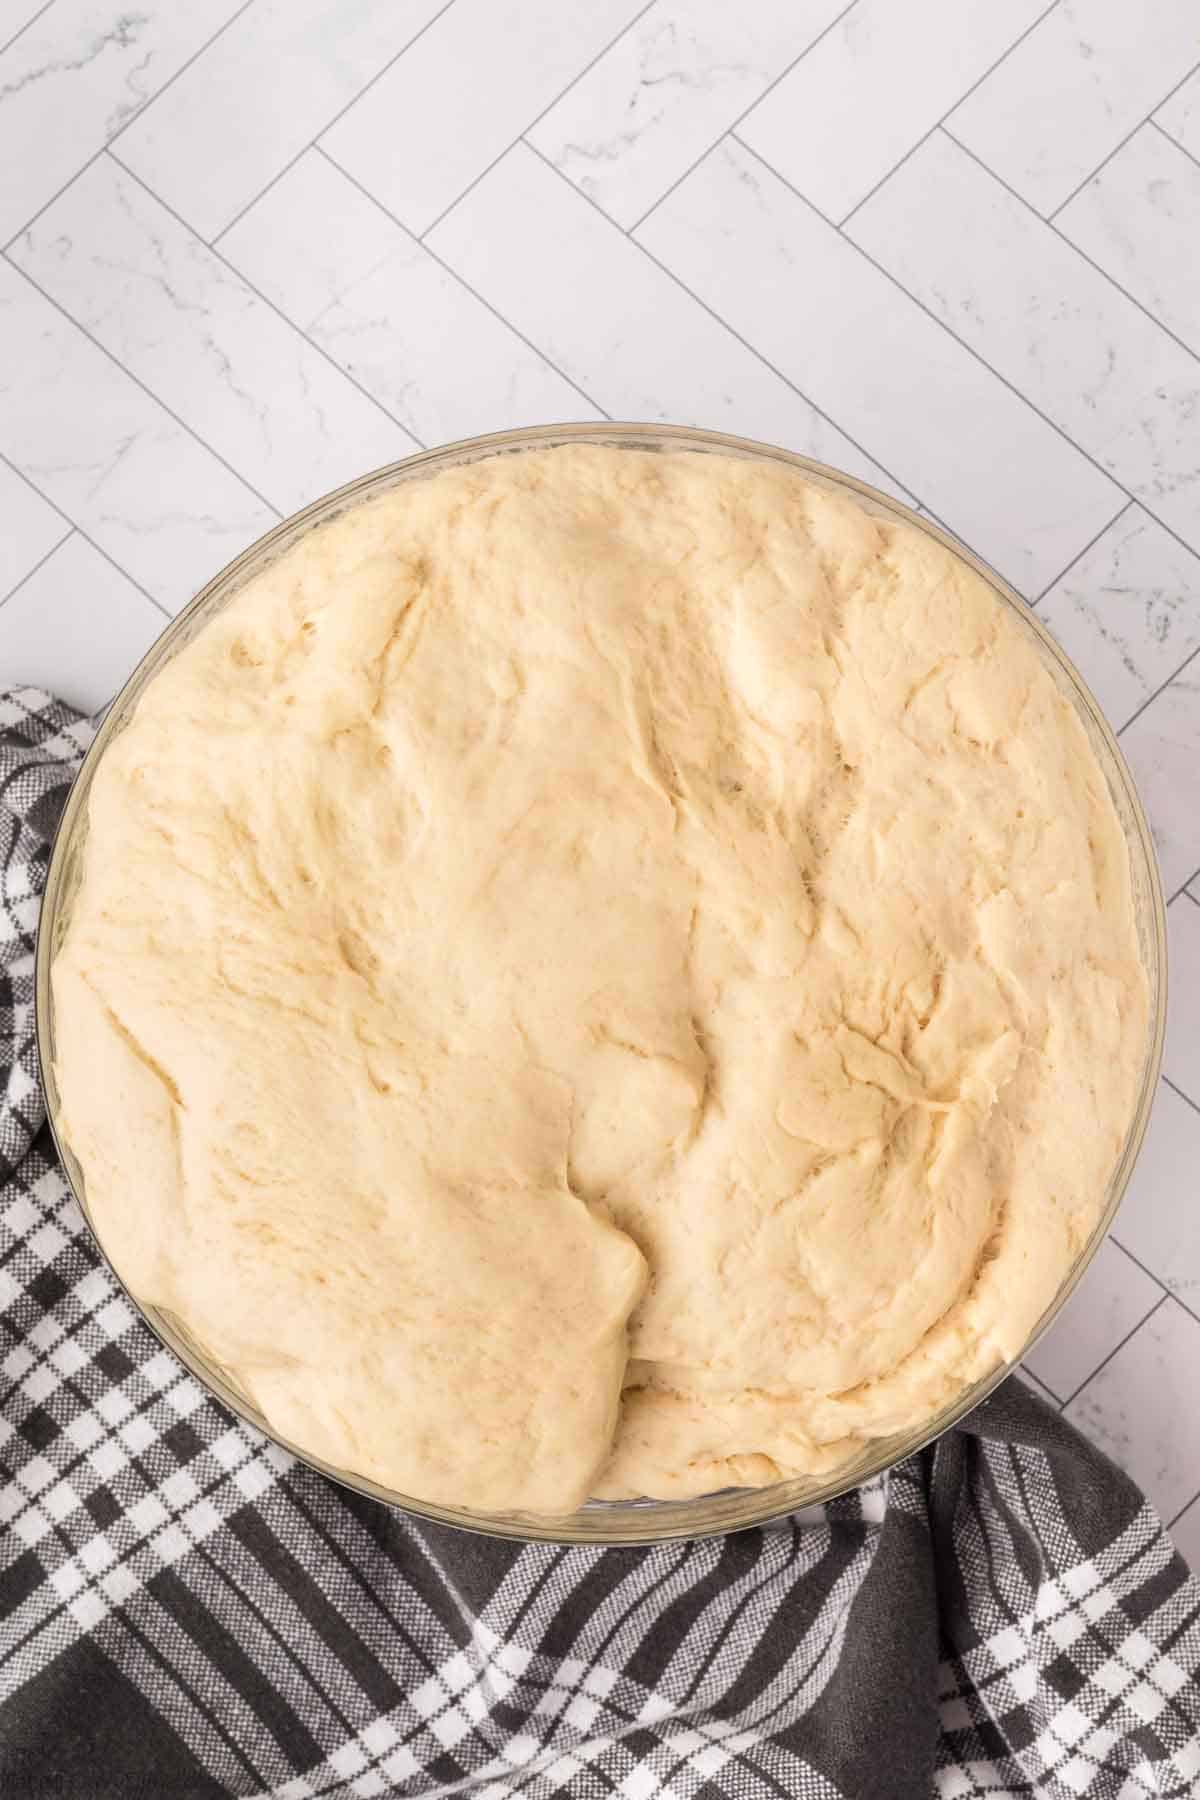
Step 5 – Place the dough in an greased bowl with olive oil. Roll the dough around in the bowl to cover the dough in the oil. Cover the bowl with a tea towel and let it rise until it has doubled in size (1 ½ -2 hours).
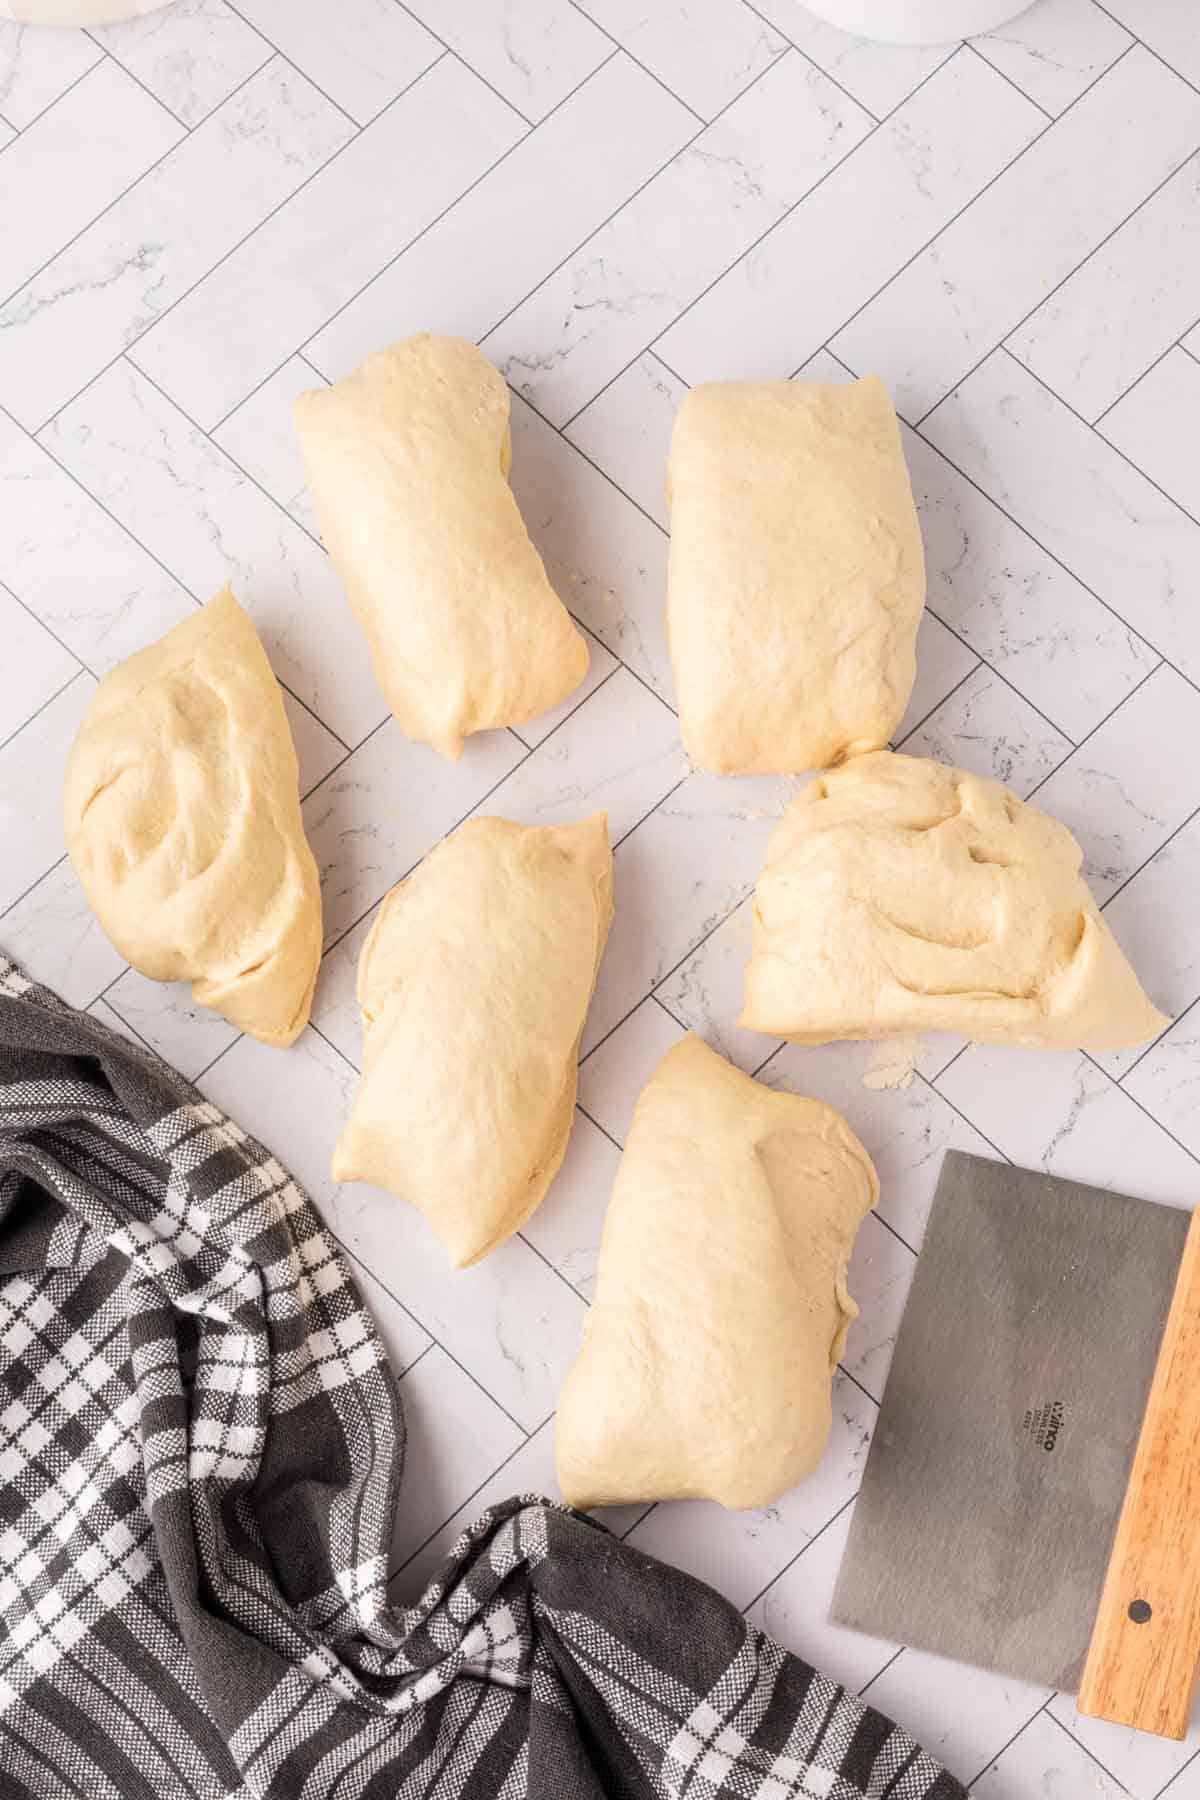
Step 6 – Divide the dough into 6 equal portions and roll each piece into a ball.
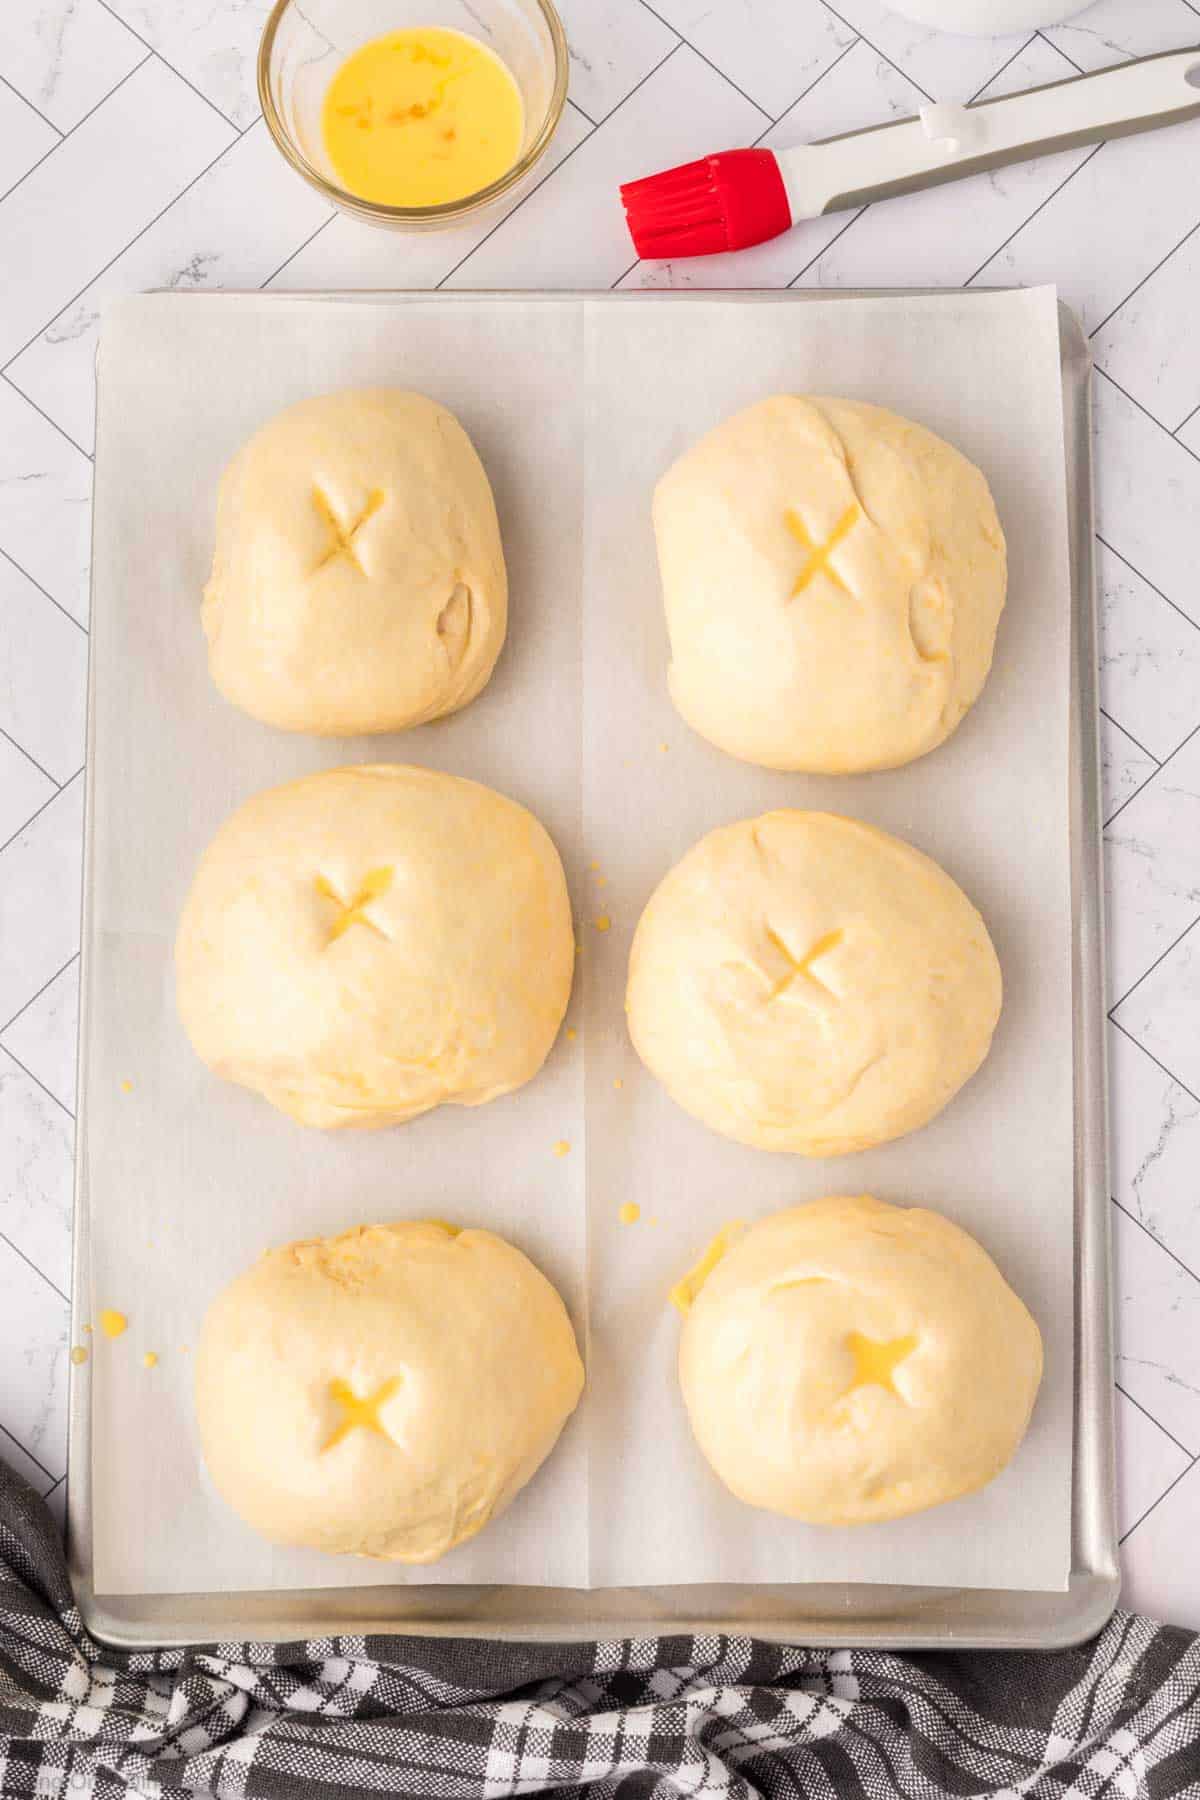
Step 7 – Line a baking sheet with parchment paper and place the dough balls on the baking sheet. Use a sharp knife to make a small “X” on the top of each dough ball. Stir together the egg wash ingredients and brush this mixture on top of the rolls.
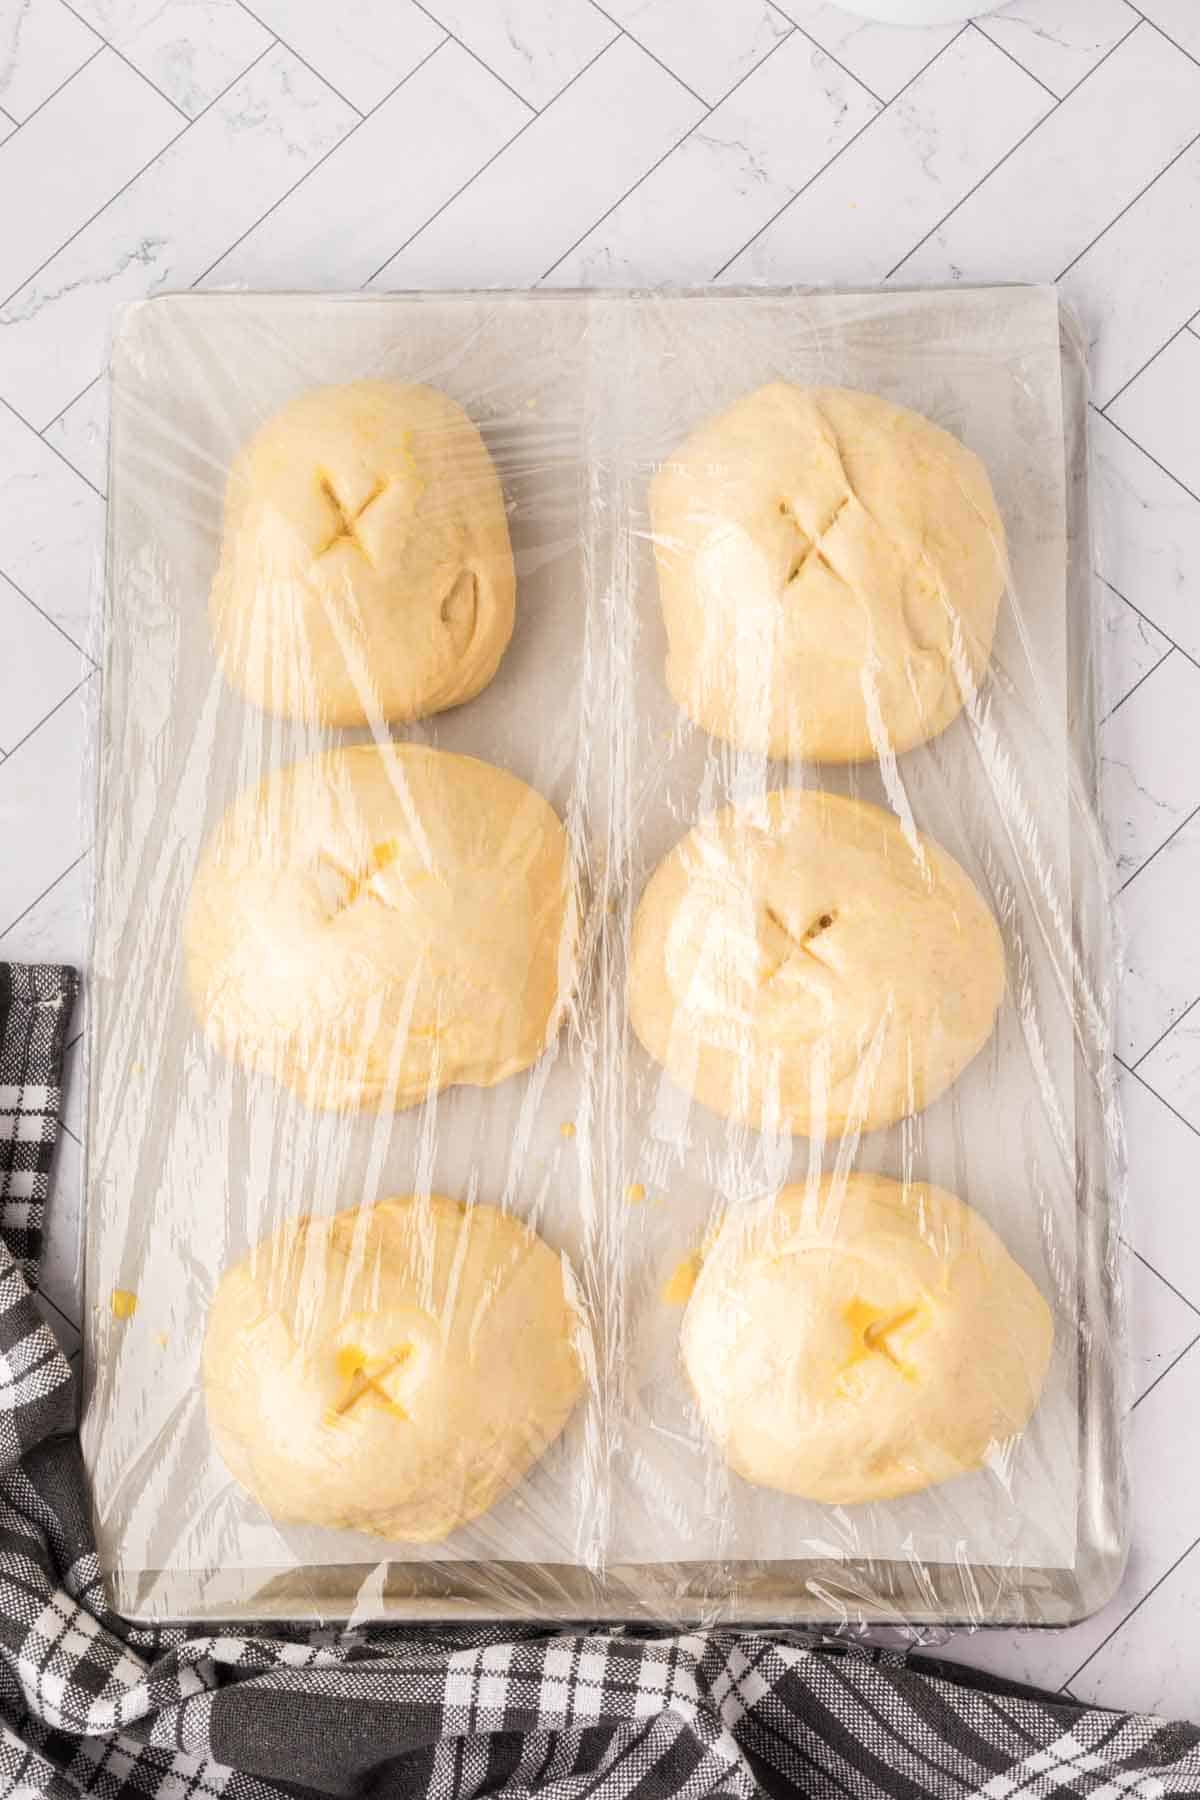
Step 8 – Cover the rolls with plastic wrap and allow them to rise again until they have doubled in size (30-40 more minutes).
Step 9 – Preheat the oven to 400 degrees Fahrenheit while the rolls are rising.
Step 10 – Bake for 25-30 minutes or until the rolls are golden brown.
Step 11 – Cool for 15-20 minutes until the bread can easily be handled.
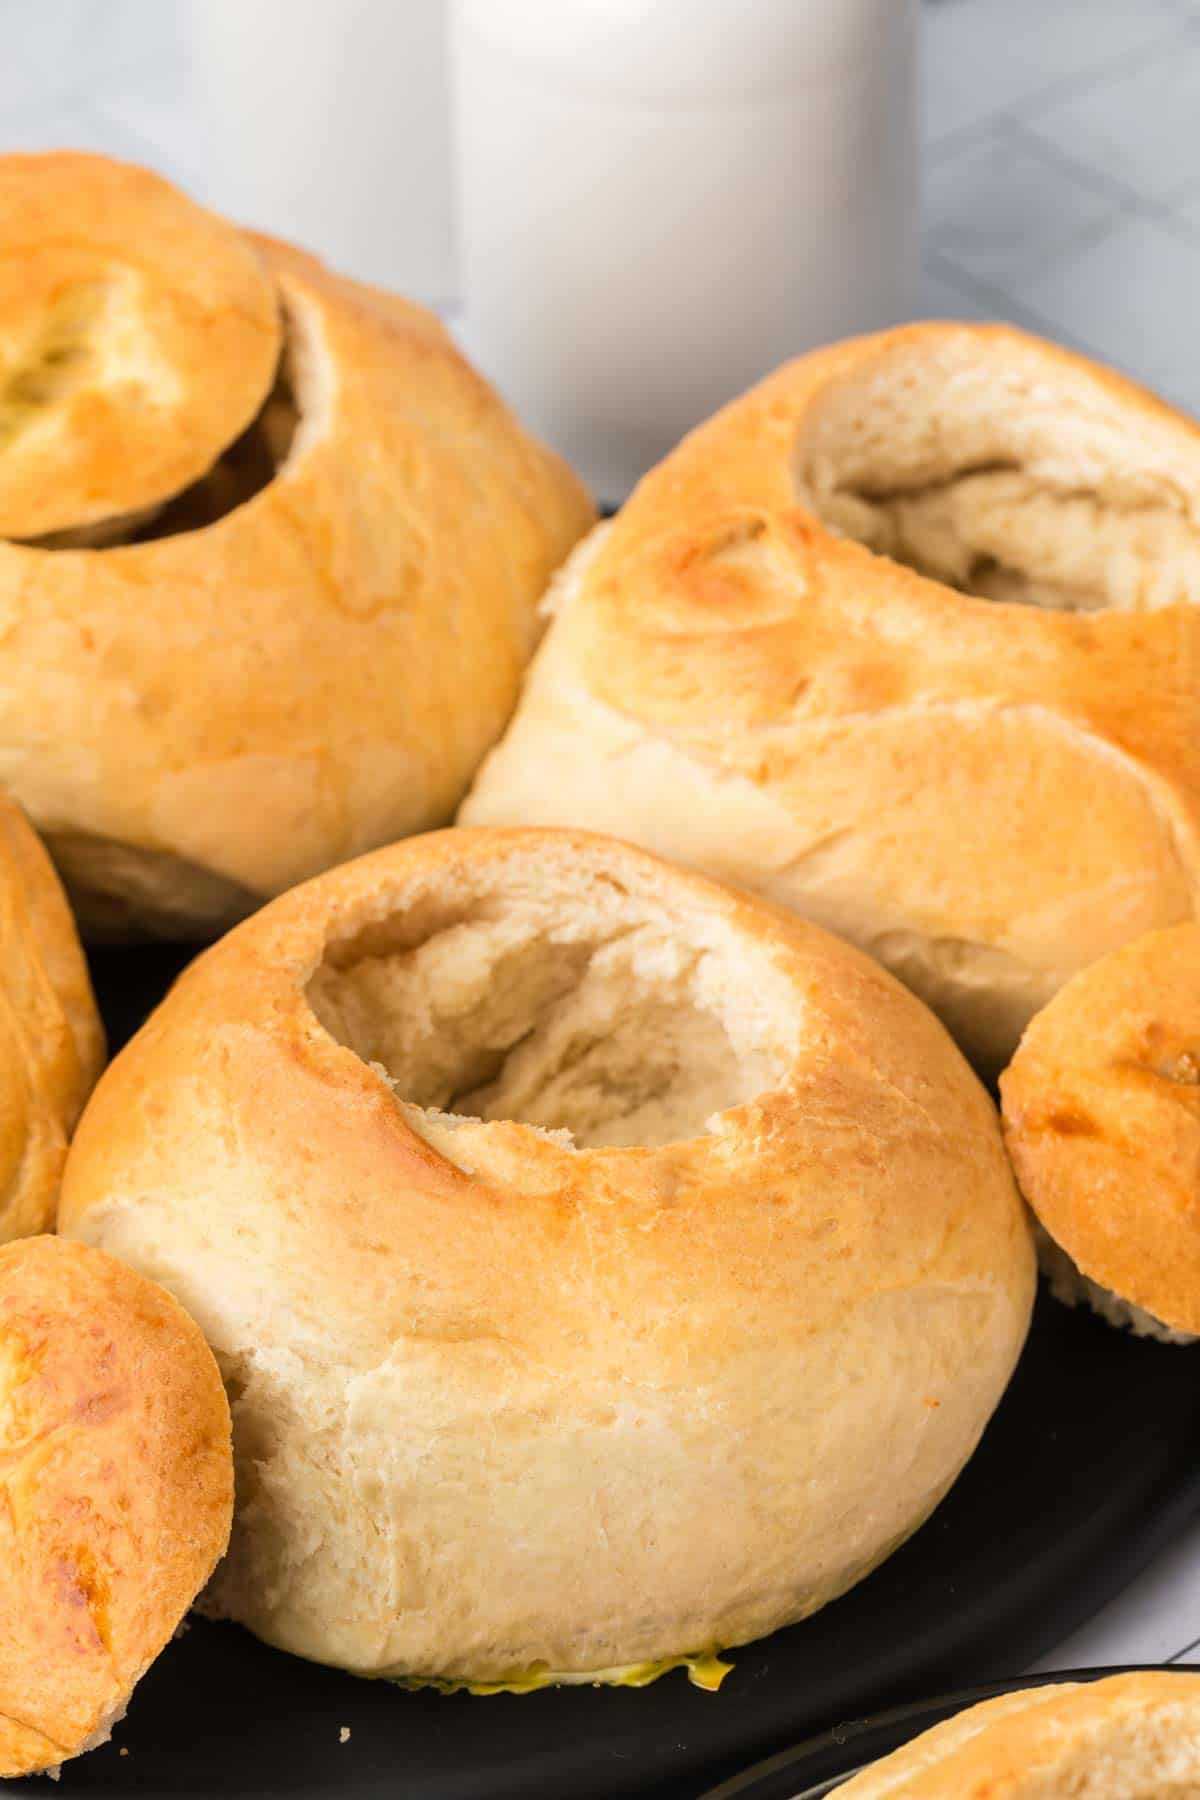
Step 12 – When serving, cut a large round out of the top of each bread bowl with a serrated knife and gently scoop out the center of the rolls. Then the bread bowls are ready to fill with soup and enjoy!
Tips for Success
- Use the steam trick. A shallow pan of hot water on the bottom oven rack creates steam that gives the bread a crispy professional bakery-style crust — this single step makes the biggest difference in the finished result
- Check your yeast. If it does not foam in warm water after 10 minutes it is dead — always start with fresh unexpired yeast before making any bread recipe
- Shape tightly. A tight smooth ball with the seam pinched underneath gives you a bread bowl that holds its shape and rises evenly — loose shaping results in flat spreading loaves
- Do not hollow too thin. Leave at least ½ inch of bread on all sides when hollowing out the bowl — too thin and the walls collapse under the weight of the soup
- Cool before hollowing. Cutting into warm bread tears it rather than slicing cleanly — always let cool for at least 20 minutes before hollowing out
- Not sure if you’ve kneaded enough? Tear off a small, golf ball-sized piece of dough and gently stretch it thin. If light passes through without the dough tearing, it’s ready. If it tears first, keep kneading a bit longer.
Variations and Substitutions
- Use bread flour instead of all purpose for a chewier more structured bread bowl that holds up better under heavy soups
- Add garlic powder and dried herbs to the dough for a savory flavored bread bowl
- Make mini bread bowls — divide the dough into 12 pieces instead of 6 for smaller individual portions perfect for party appetizers
- Brush with garlic butter instead of plain egg wash for extra flavor on the crust
- Sprinkle sesame seeds or everything bagel seasoning on top before baking for a fun flavor twist
- More Ways to Use This Dough – This same dough works for more than just bread bowls. Divide it into 12 pieces instead of 6 for a batch of dinner rolls, or shape it into 2 rounds and bake at 375°F for a crusty loaf of bread perfect for sandwiches or dipping in soup.
Serving Suggestions
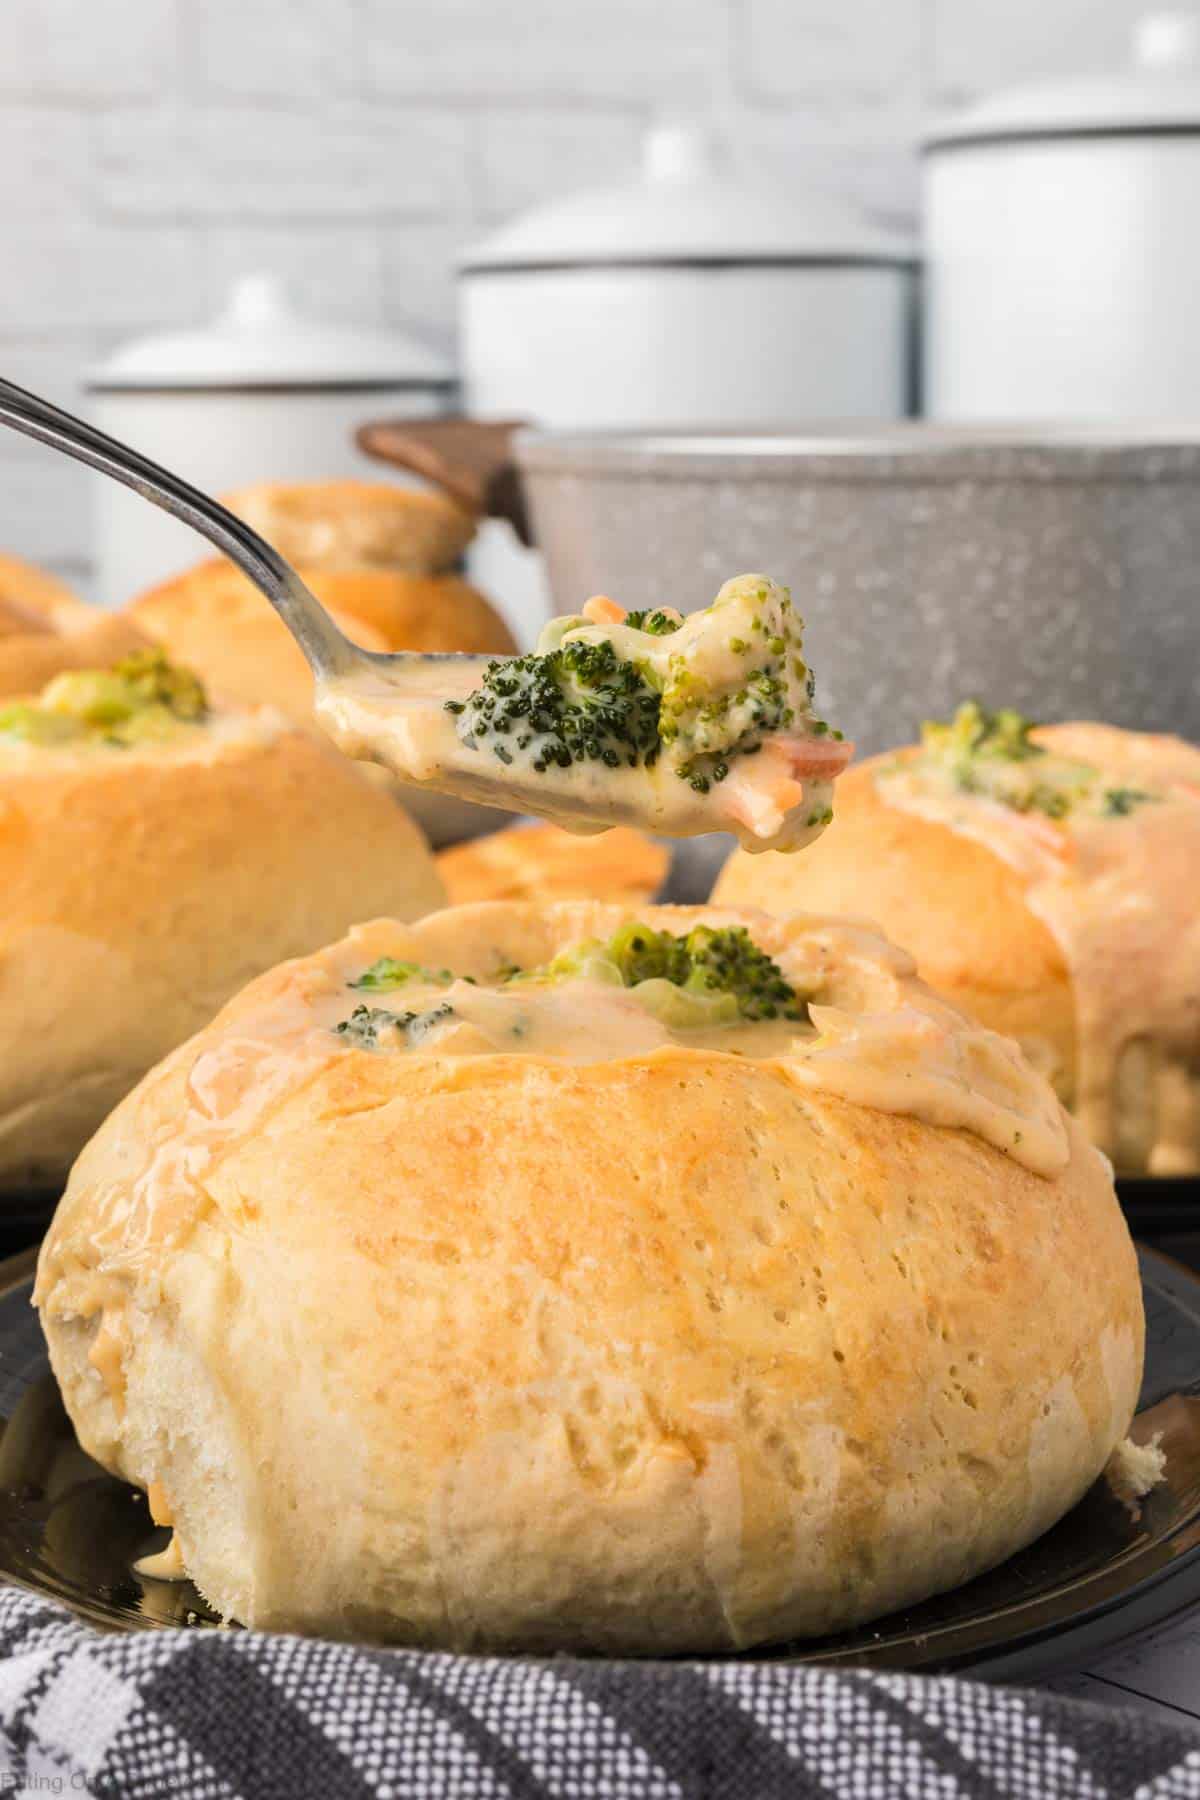
Making these bread bowls makes our soup recipes even better. We love to prepare clam chowders, Crockpot Chicken Noodle Soup, crock pot potatoes soup, Homemade Chicken Noodle Soup and Texas Roadhouse chili then serve in this bread bowl recipe.
We even like to serve spinach artichoke dip when we have game day parties.
Storage and Freezer Instructions
Room Temperature
- Store in an airtight bag or wrapped in foil at room temperature for up to 2-3 days or up to a week in the refrigerator.
Freezer
- Freeze completely cooled bread bowls in a freezer-safe bag for up to 3 months. Thaw at room temperature for 1–2 hours or warm in a 350°F oven for 10 minutes before hollowing and filling
Reheating
- Warm in a 350°F oven for 8–10 minutes for the crispiest result. Avoid the microwave as it makes the crust soft and chewy rather than crispy
Frequently Asked Questions
The yeast was expired or the water was too hot — always check the yeast expiration date and use water between 105–110°F to activate it properly.
Toast the hollowed bread bowl in the oven at 375°F for 5 minutes before filling — the toasted interior creates a barrier that slows down soaking significantly.
Yes — knead the dough by hand on a lightly floured surface for 8–10 minutes until smooth and elastic. It takes more effort but works just as well.
Cut off the top third with a serrated knife then use your fingers to pull out the soft interior leaving at least ½ inch of bread on all sides to prevent collapse.
Thick creamy soups like broccoli cheese, potato soup, and cheeseburger soup work best — thin brothy soups soak through the bread too quickly.
Yes! After the dough’s first rise, punch it down, cover the bowl tightly, and refrigerate for up to 2 days. When ready to bake, let it sit at room temperature for about 30 minutes, then continue with dividing and shaping. You can also freeze the shaped, unbaked dough balls for up to 2 months — thaw overnight in the refrigerator, then let them complete their second rise before baking.
More Easy Bread Recipes
These homemade Bread Bowls have made fall soup season so much more special in our house. After 14 years of developing recipes I know that homemade bread sounds intimidating until you actually make it — and this recipe proves anyone can do it.
If you make them leave a star rating and a comment below — I love hearing which soup you filled them with and whether your family could believe they were homemade!
Bread Bowl Recipe
Ingredients
For the Bread Bowls:
- 1 ½ Tablespoons Dry Active Yeast 2 packages
- 7 cups All Purpose Flour
- 2 ½ cups Warmed Water 105-110 Fahrenheit
- 4 Tablespoons Unsalted Butter melted
- 2 Tablespoon Granulated Sugar and 1 teaspoon Granulated Sugar
- 2 teaspoons Salt
For the Egg Wash:
- 1 Large Egg
- 1 Tablespoon Milk
See how we calculate recipe costs.
Instructions
- Add the warm water, yeast, and sugar to the bowl of a stand mixer fitted with a dough hook. Let sit for 5 minutes, or until the yeast is foamy and activated.
- Stir in the melted butter.
- Gradually add the flour and salt. Mix on low speed until the dough begins to pull away from the sides of the bowl.
- Knead the dough with the mixer for about 5 minutes. The dough should be tacky but not sticky. If needed, gradually add more flour until the desired consistency is reached.
- Place the dough in an oiled bowl and turn to coat. Cover with a towel and let rise for 1½–2 hours, or until doubled in size.
- Divide the dough into 6 equal pieces and shape each piece into a ball.
- Line a baking sheet with parchment paper and place the dough balls on the prepared baking sheet.
- Use a sharp knife to cut a small “X” into the top of each dough ball.
- Brush the tops of the dough balls with the egg wash.
- Cover with plastic wrap and let rise for 30–40 minutes, or until doubled in size.
- Preheat the oven to 400°F.
- Bake for 25–30 minutes, or until golden brown.
- Let cool for 15–20 minutes, or until cool enough to handle.
- Using a serrated knife, cut a round from the top of each bread bowl. Gently scoop out the center, fill with your favorite soup, and serve.

My wife made this for us and we all loved having our soup inside the bread bowl. I prefer this recipe over panera’s bread bowl. This just puts a different spin on family soup night!
5 star
Loved this recipe for my soups once the weather gets colder!
I love making this for soup season!