Try this ice cream sandwich recipe for a yummy treat. Homemade Ice Cream Sandwiches are so much better than store bought! Loaded with delicious vanilla ice cream, sprinkles and more.

Homemade Ice Cream Sandwiches
We have the best ice cream sandwich recipe. The chocolate wafers are packed full of delicious ice cream. You can use any vanilla ice cream you prefer but we made this Easy Homemade Vanilla Ice Cream Recipe.
It is SO creamy and delicious! Plus, you do not need an ice cream maker for it. It isn’t much more work but it adds a ton of extra flavor.
We love ice cream around here. It is a great treat to beat the heat during summertime. But we love these Homemade Ice Cream Sandwiches all year long. Check out more Easy Ice Cream Desserts.

What is the Cookie Part of an Ice Cream Sandwich?
The cookie part of this ice cream sandwich is brownie batter that is poured into a 18×13 pan and then baked. The ingredients for the cookie portion of the ice cream sandwich is easy to make. The ingredients are simple pantry ingredients.
After the brownie is baked it is then frozen while you prepare the ice cream middle. Once the brownie has been frozen, then the ice cream is layered on the cookie portion and then frozen again.
Once the it is ice cream and cookies are frozen together than the ice cream sandwich is cut into smaller rectangles.

Ingredients for Ice Cream Sandwich recipe:
- All Purpose Flour
- Baking Soda
- Brown Sugar
- Granulated Sugar
- Eggs
- Unsalted Butter
- Semi-sweet Chocolate Chips
- Vanilla Extract
- Salt
- Home Style Vanilla Ice Cream – Your favorite ice cream.

How to Make the Cookie for Ice Cream Sandwiches:
- Prepare the Oven – Preheat your oven to 350 degrees F and line a ribbed baking sheet (18X13 pan) with parchment paper. Make sure that the paper overhangs the sheet and spray the paper with non-stick cooking spray.
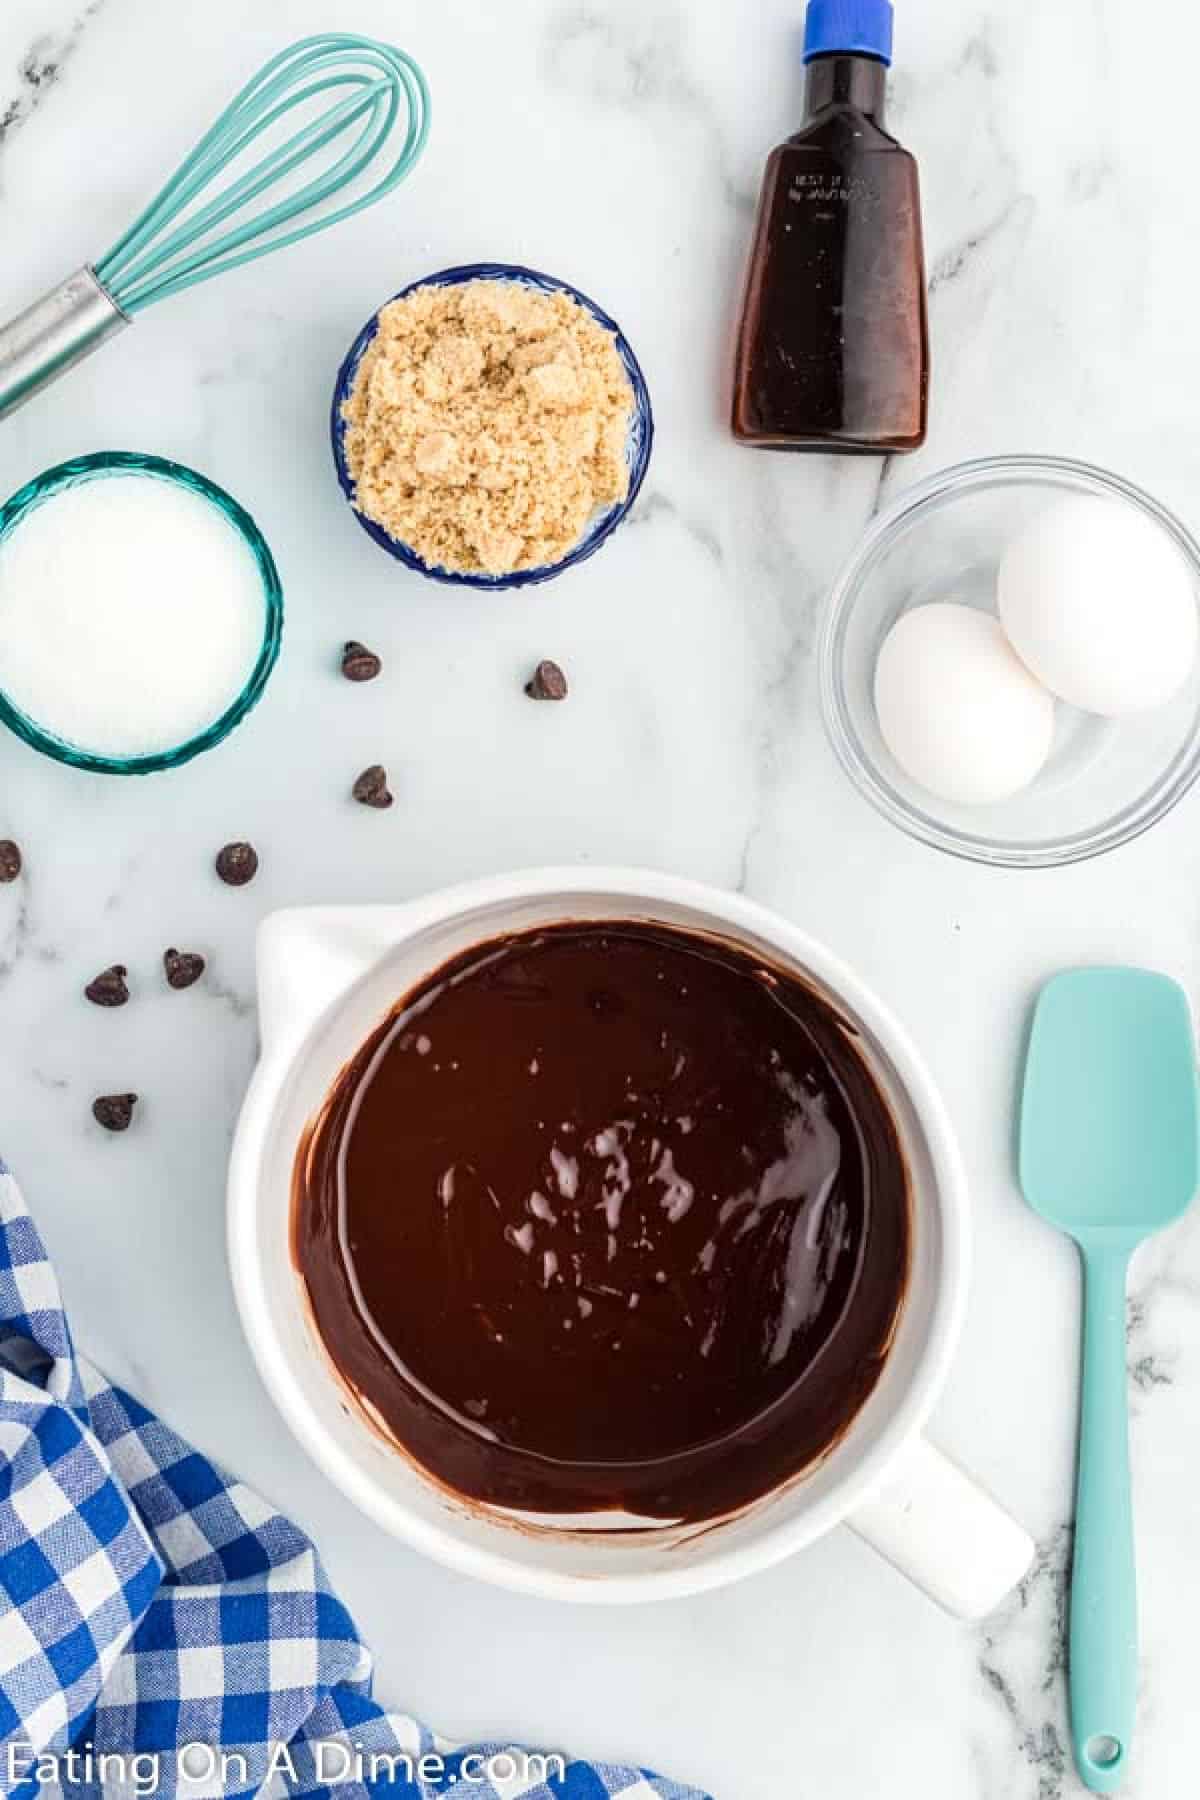
- Melt the Chocolate – Place the butter and chocolate chips in a microwave safe bowl. Heat these ingredients in 30 second intervals in the microwave, stirring after each interval until fully melted and combined.

- After Chocolate has cooled, add in sugars, eggs, vanilla – Let the chocolate cool for a few minutes until it is warm to the touch. Then whisk in both sugars, then the eggs and vanilla extract.
- Mix together dry ingredients – In a separate bowl, whisk together the flour, cocoa, baking soda, and salt.
- Combine the wet and dry ingredients – Then stir the chocolate mixture into the flour mixture until it’s just combined. Do not over mix.
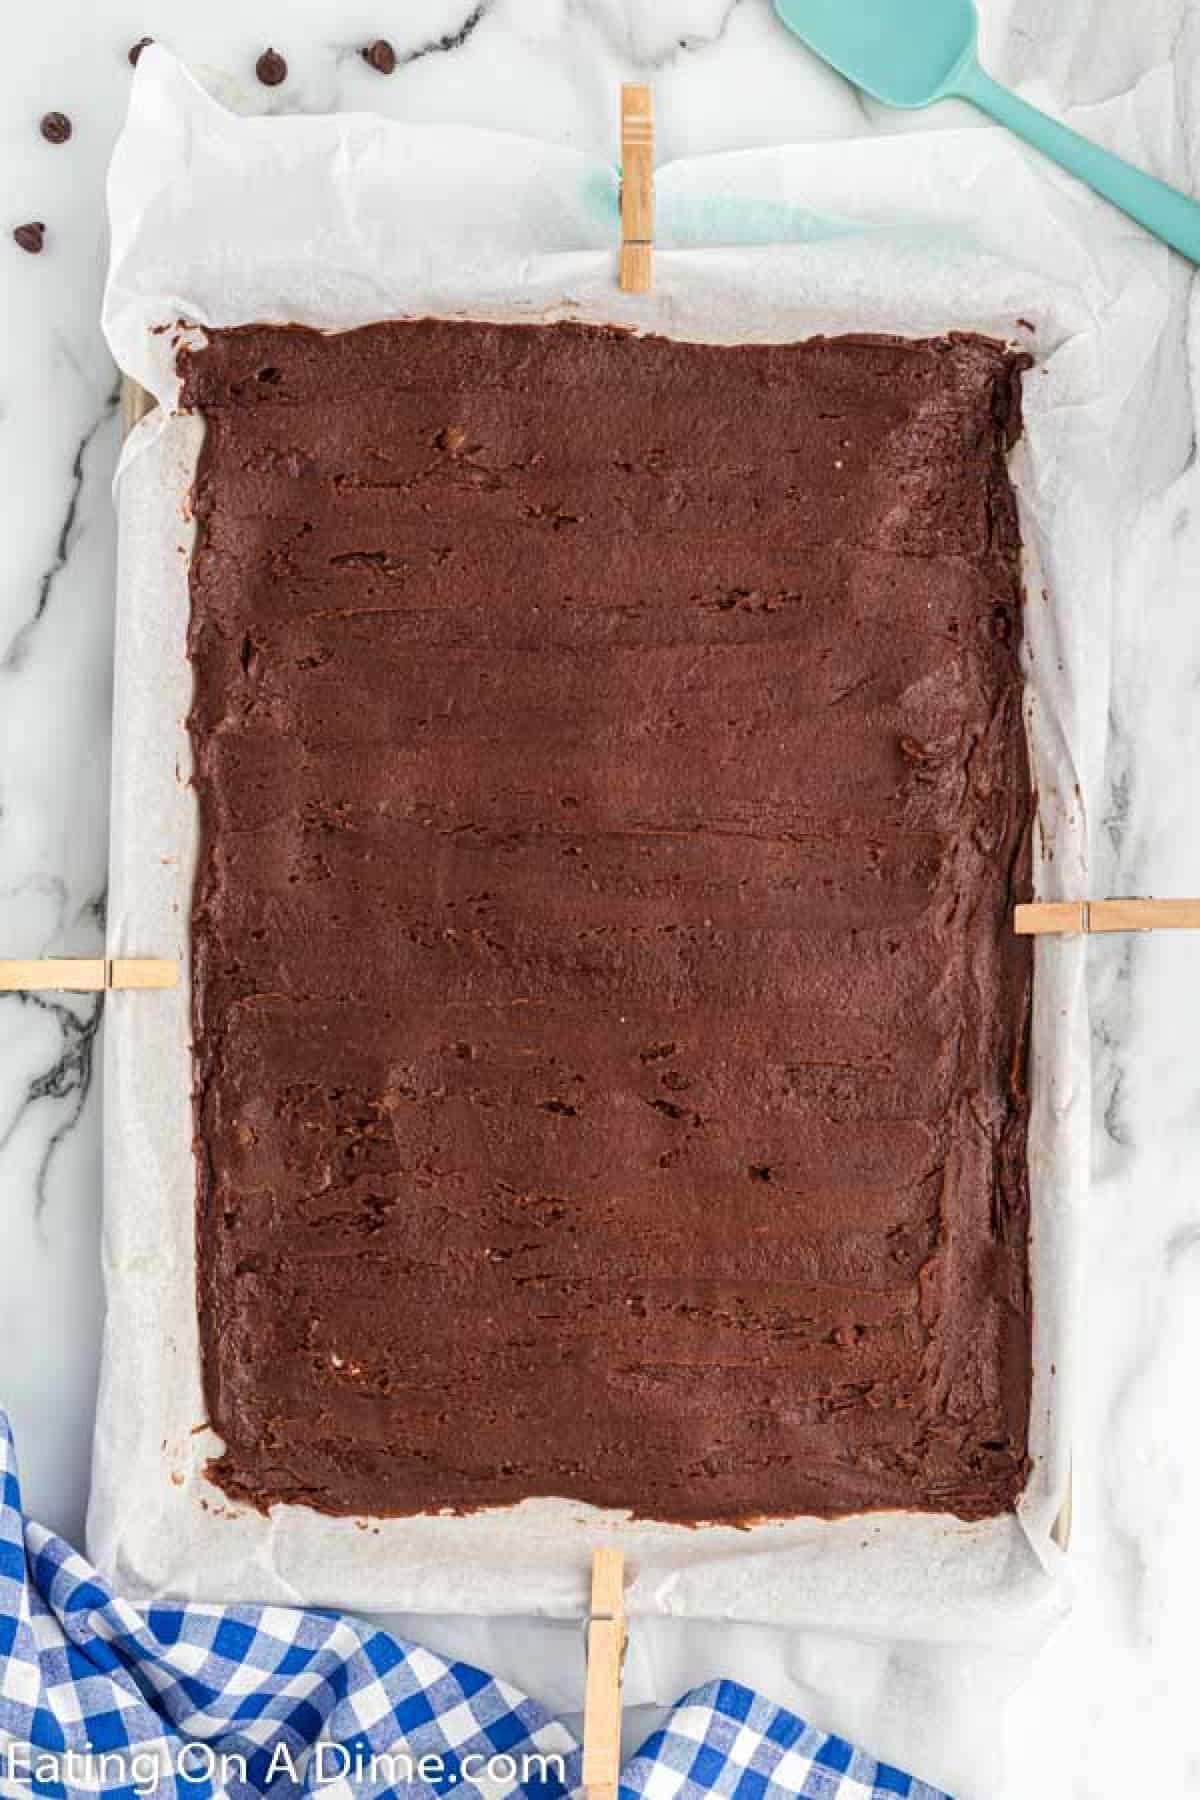
- Pour batter into prepare pan – Pour the batter onto the prepared baking sheet and spread the batter out evenly.
- Bake Brownie – Bake for 12-15 minutes until it has puffed up slightly.
- Cool Brownie – Then let it cool completely at room temperature.
How to Make Ice Cream Sandwiches:
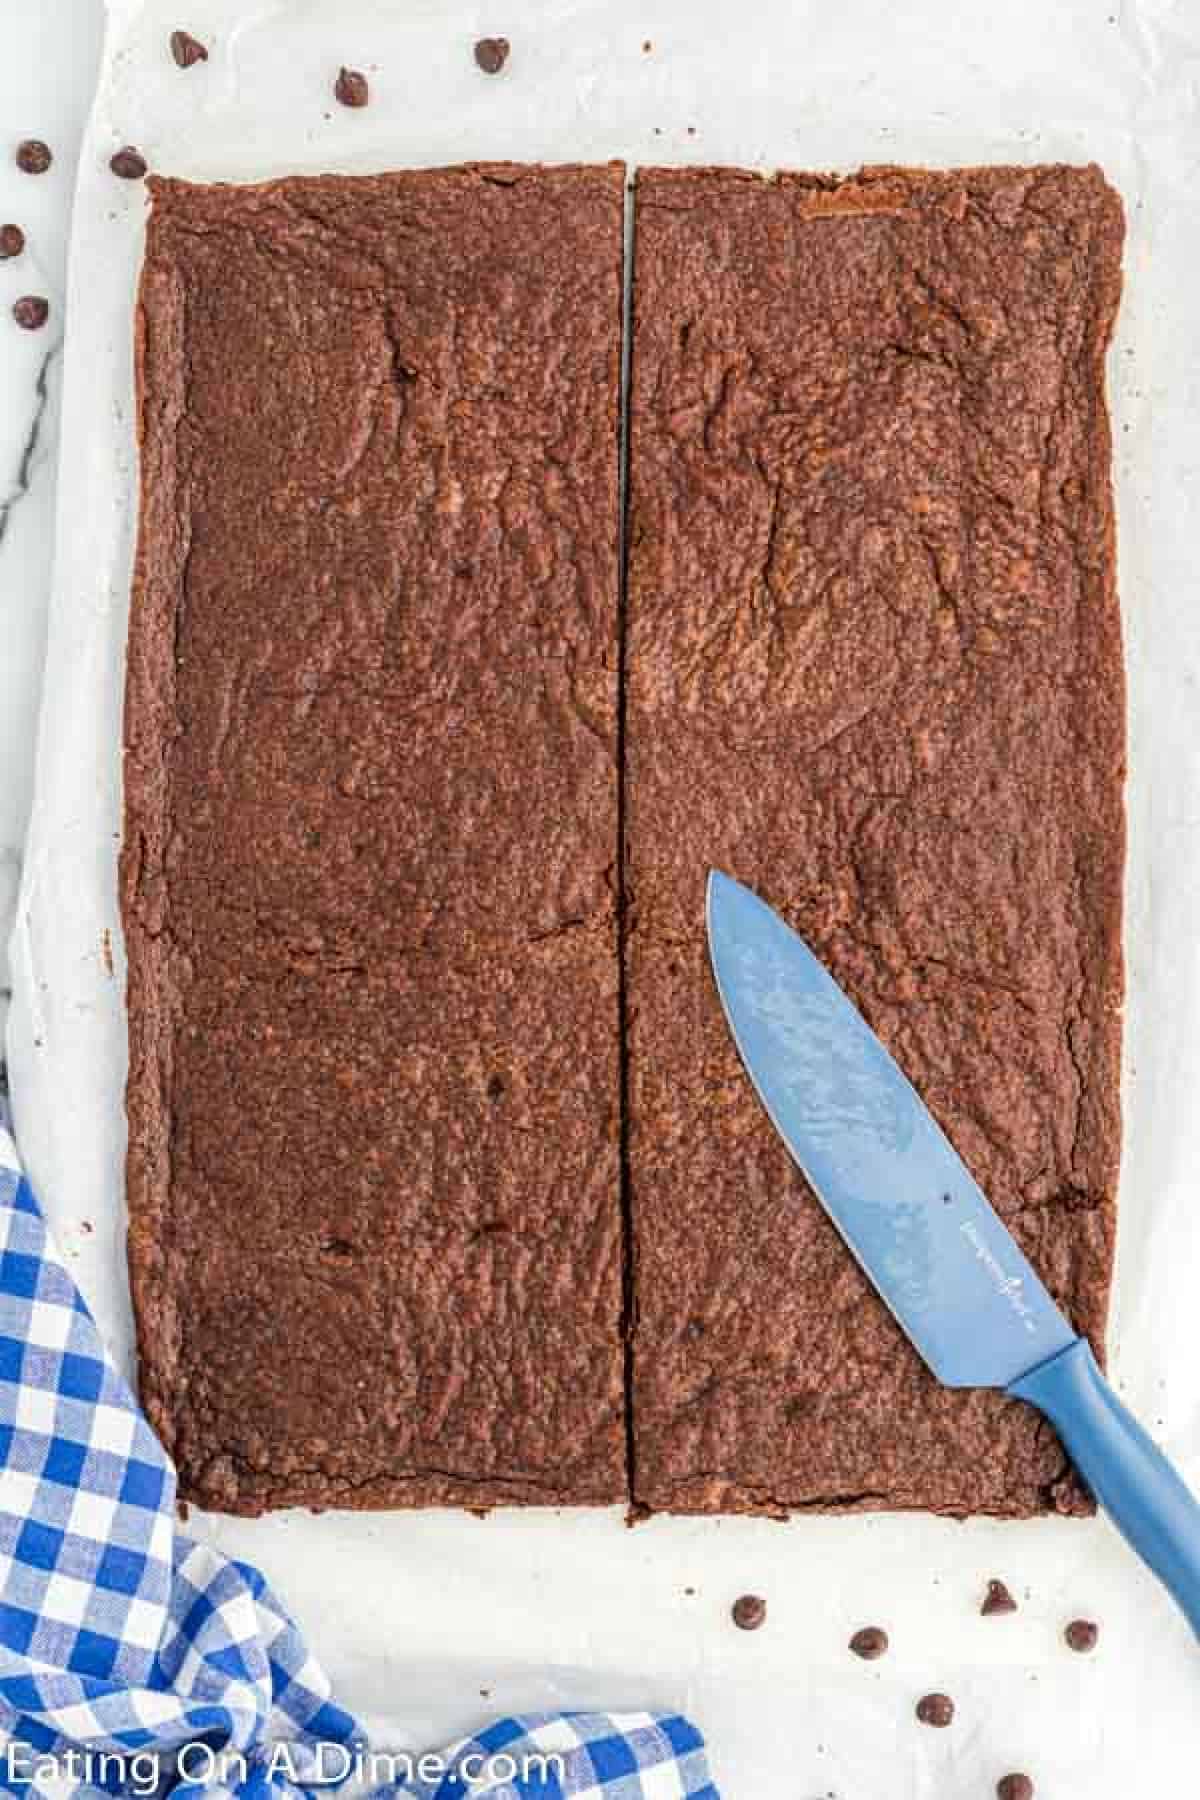
- Cut the brownie in half – Layer the 2 brownies on the baking sheet with parchment paper in between them. Then freeze them for 15 minutes. If you freeze them for 30 minutes, the brownies will still be good.
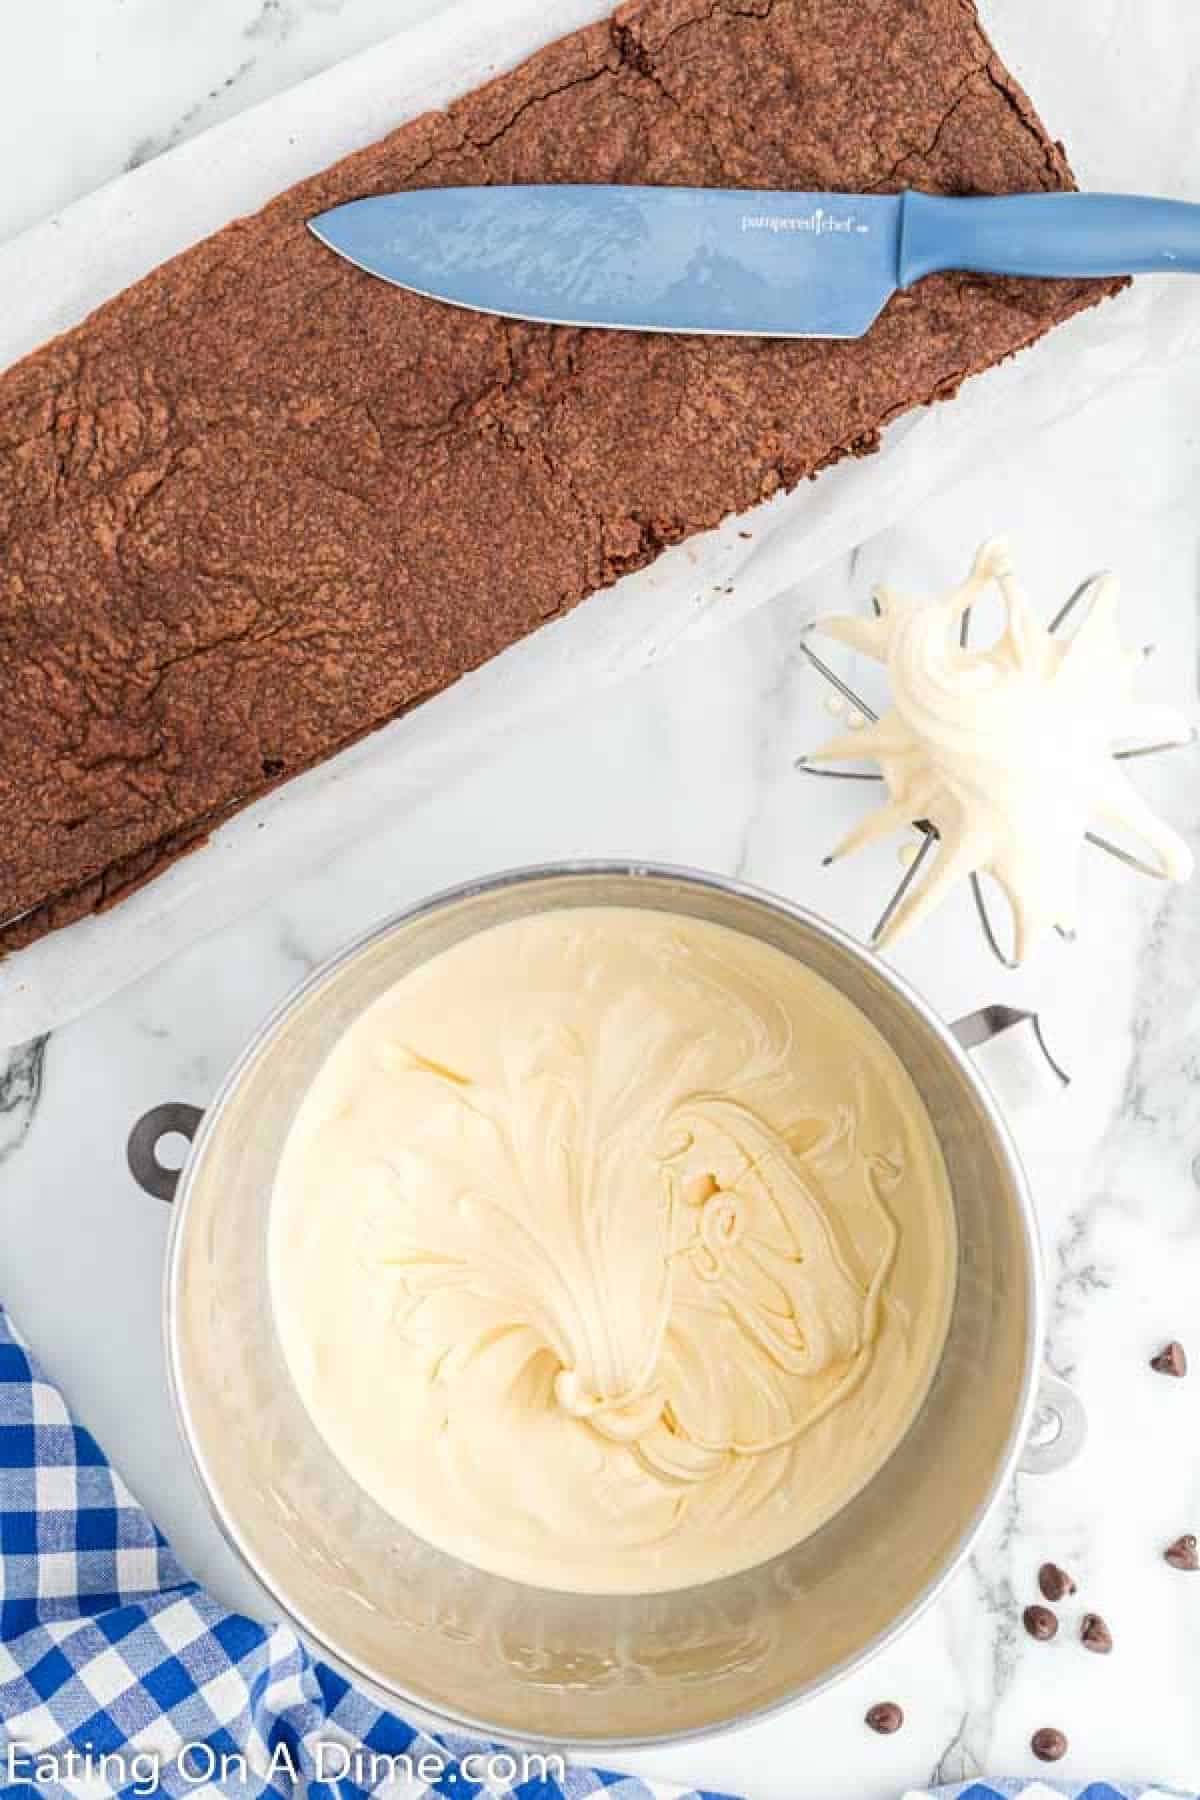
- Begin Preparing Ice Cream – While the brownies are in the freezer, beat the ice cream on low in a stand up mixer or with a hand held mixer until the ice cream is soft and easy to spread.
- Spread Ice Cream on the Frozen Brownie – Remove the brownie from the freezer. Place 1 brownie on the baking sheet. Spread the softened ice cream over the top of that brownie.
- Top the Ice Cream with Brownie – Then top with the other half of the brownie. Then place it back into the freezer for at least 2 hours.
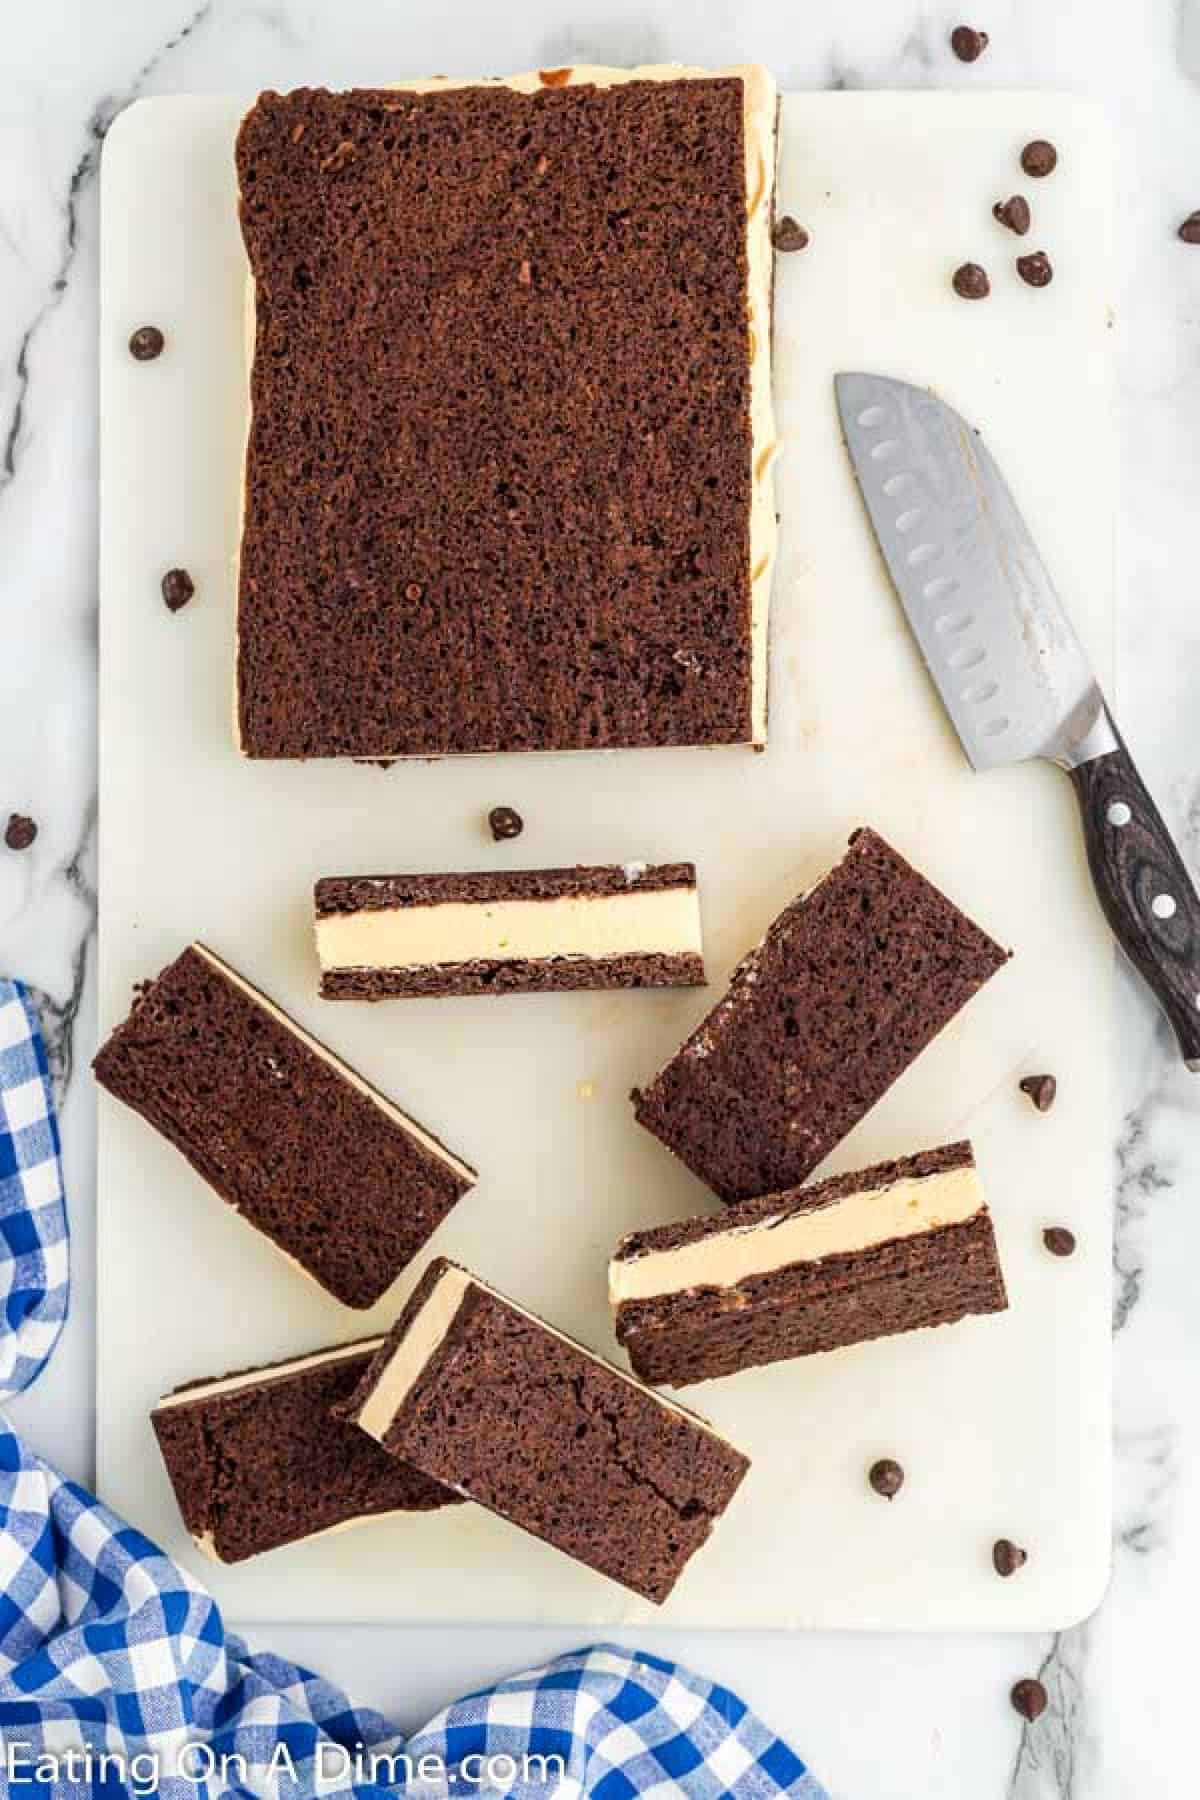
- Cut into Rectangles – Once it’s fully frozen, use a sharp knife to cut it into smaller rectangles that are approximately 2.25X4 inches on a cutting board.
- Freeze, Serve and Enjoy – Then the ice cream sandwiches are ready to serve or you can wrap each sandwich individually with plastic wrap and freeze until you are ready to serve.
How do you Freeze Ice Cream Sandwiches?
Once you have prepared the homemade ice cream sandwiches, wrap each individual ice cream sandwiches in plastic wrap. Then wrap them again in aluminum foil and place in the freezer.
You can also place in a single layer in a zip lock bag.

Tips for the Homemade Ice Cream Sandwiches:
- Freeze Cookies – Make sure after you baked the brownies and let them cool, that you freeze them. The ice cream sandwiches hold up better when brownie is frozen. Even though the brownie has been frozen, it will still retain its perfect taste.
- Use Good Ice Cream – When I make these delicious Ice Cream Sandwiches, I make sure to use really good vanilla ice cream.
- Dip Immediately – Make sure to roll your ice cream in the chocolate chips or sprinkles immediate so that they stick to the ice cream.
- Cocoa Powder – You can add in cocoa powder into the brownie mixture for an extra chocolate flavor.
How long will they last?
If stored correctly, these ice cream sandwiches will last up to 3 months.

Variation Ideas:
- Try using different cookies – Instead of making brownies, you can make chocolate chip cookies. You can also make them with double chocolate chip cookies or peanut butter cookies.
- Make Birthday Ice Cream Sandwiches – Use their favorite colors instead of the chocolate chips. You can also mix chocolate chips and the sprinkles together.
- Use different chocolate chips – Use can use dark chocolate chips, peanut butter chocolate or mini chocolate chips.
- Roll in Nuts – Chop up some pecans or walnuts and roll your ice cream sandwich in some chopped nuts.
- Change the Ice Cream – Chocolate Ice Cream would be also instead of Vanilla. Really any flavor ice cream will do.
- Crushed up candy bars – If you have some leftover candy bars, place them in a zip lock bag and crush them up. M&M’s would be a great option as well.
Family favorite dessert idea:
This dessert would be great for the kids to help. From making the cookie dough and spreading the ice cream on the cookies to rolling them in the chocolate chips.
It would be a great activity to spend time together and the end result would be a yummy dessert.
Print this Cookie Ice Cream Sandwich Recipe below:
Homemade Ice Cream Sandwiches
Ingredients
- 1 cup All Purpose Flour
- ½ tsp baking soda
- ⅓ cup brown sugar
- ⅓ cup granulated sugar
- 2 large eggs
- ½ cup unsalted butter (1 stick)
- 1 cup semi-sweet chocolate chips
- 1 tsp vanilla extract
- ¼ tsp Salt
- ½ gallon Home Style Vanilla Ice Cream
See how we calculate recipe costs.
Instructions
- Preheat your oven to 350 degrees F and line a ribbed baking sheet (18X13 pan) with parchment paper (make sure that the paper overhangs the sheet) and spray the paper with non-stick cooking spray.
- Place the butter and chocolate chips in a microwave safe bowl. Heat these ingredients in 30 second intervals in the microwave, stirring after each interval until fully melted and combined. Let the chocolate cool for a few minutes until it is warm to the touch. Then whisk in both sugars, then the eggs and vanilla extract.
- In a separate bowl, whisk together the flour, baking soda, and salt. Then stir the chocolate mixture into the flour mixture until it’s just combined. Do not over mix.
- Pour the batter onto the lined baking sheet and spread the batter out evenly. Bake for 12-15 minutes until it has puffed up slightly. Then let it cool completely at room temperature. Cut the brownie in half. Layer the 2 brownies on the baking sheet with parchment paper in between them. Then freeze them for 15 minutes.
- While the brownies are in the freezer, beat the ice cream on low in a stand up mixer or with a hand held mixer until the ice cream is soft and easy to spread.
- Remove the brownie from the freezer. Place 1 brownie on the baking sheet. Spread the soft ice cream over the top of that brownie. Then top with the other half of the brownie. Then place it back into the freezer for at least 2 hours.
- Once it’s fully frozen, use a sharp knife to cut it into smaller rectangles that are approximately 2.25X4 inches.
- Then the ice cream sandwiches are ready to serve or you can wrap each sandwich individually with plastic wrap and freeze until you are ready to serve.

Love the recipe’s
Thank you for the review Carol!