This post may contain affiliate links. If you make a purchase through links on our site, we may earn a commission.
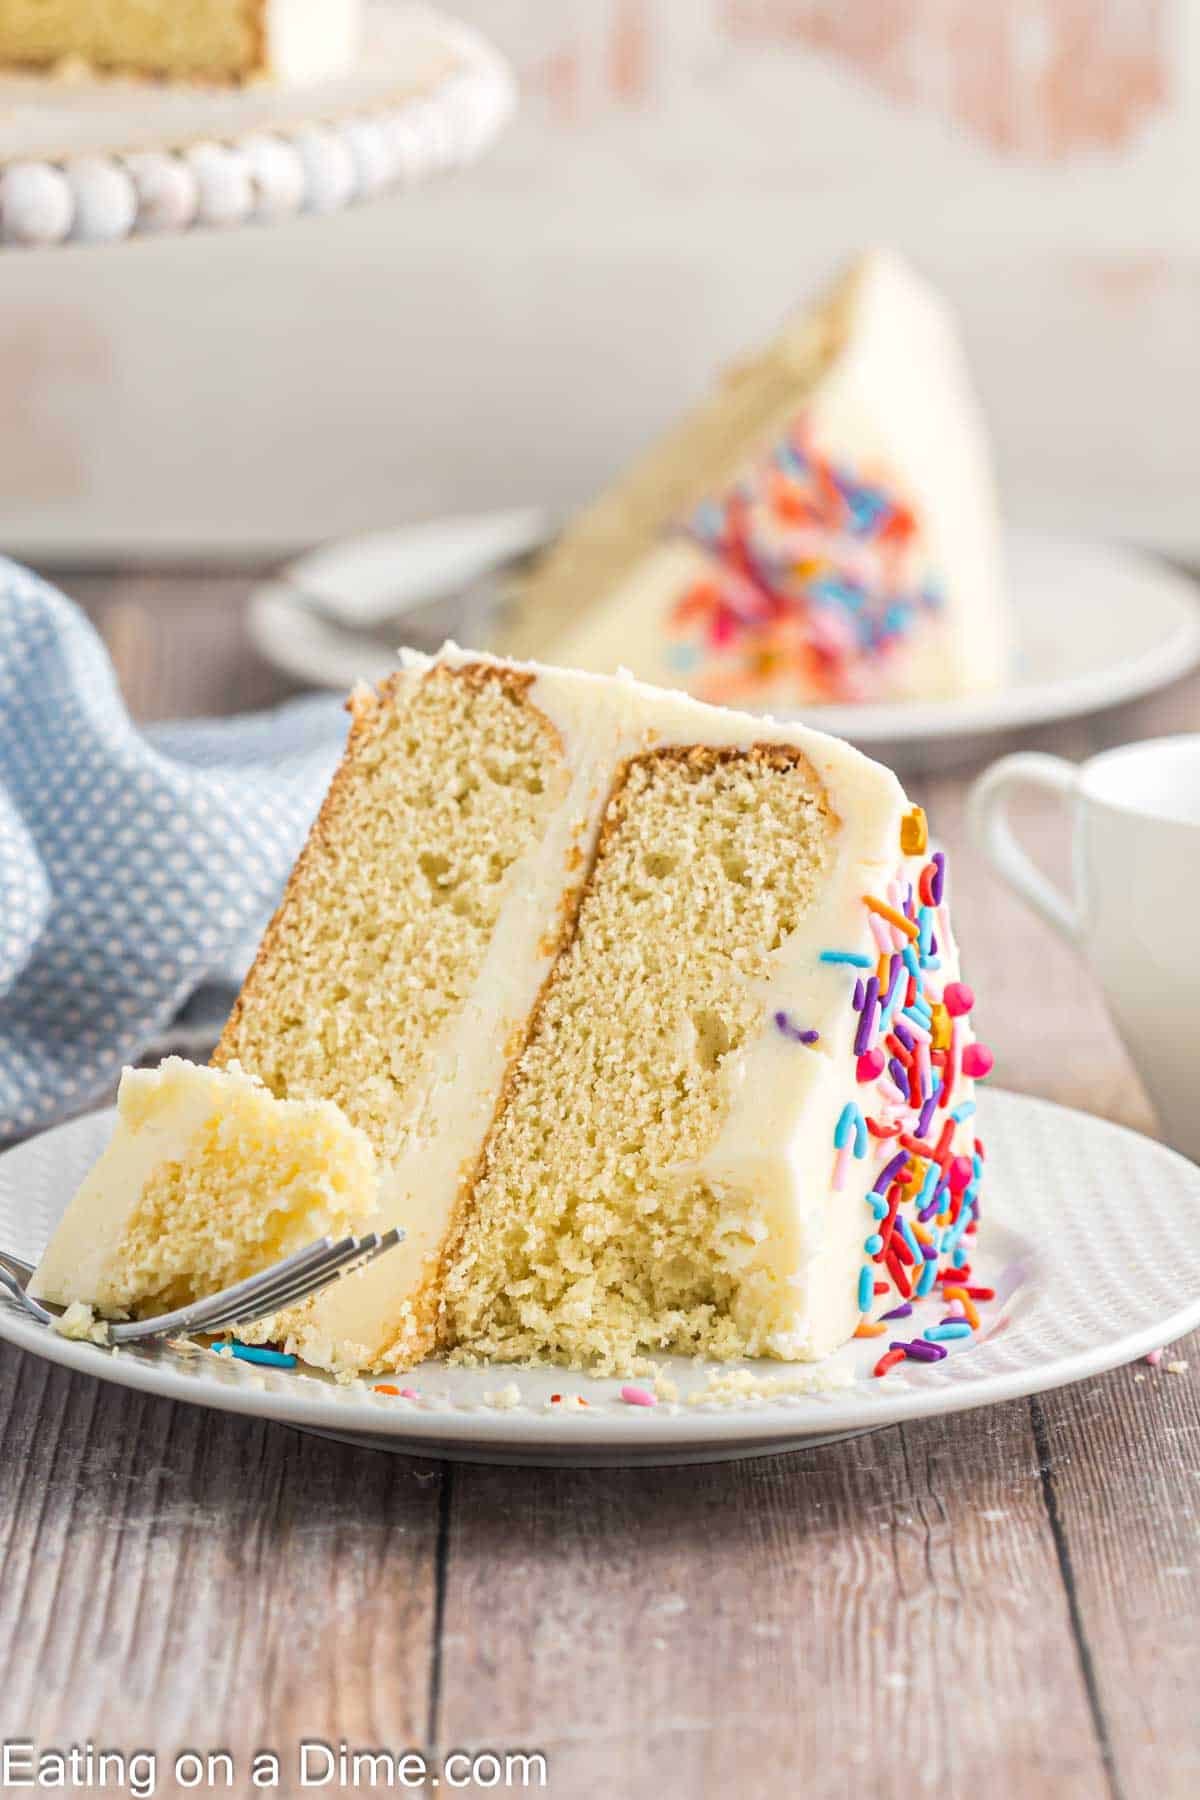
Learn how to make the Best Vanilla Cake Recipe from scratch. This homemade vanilla cake recipe is so easy and is so better than a mix. You’ll be shocked how moist this cake turns out.
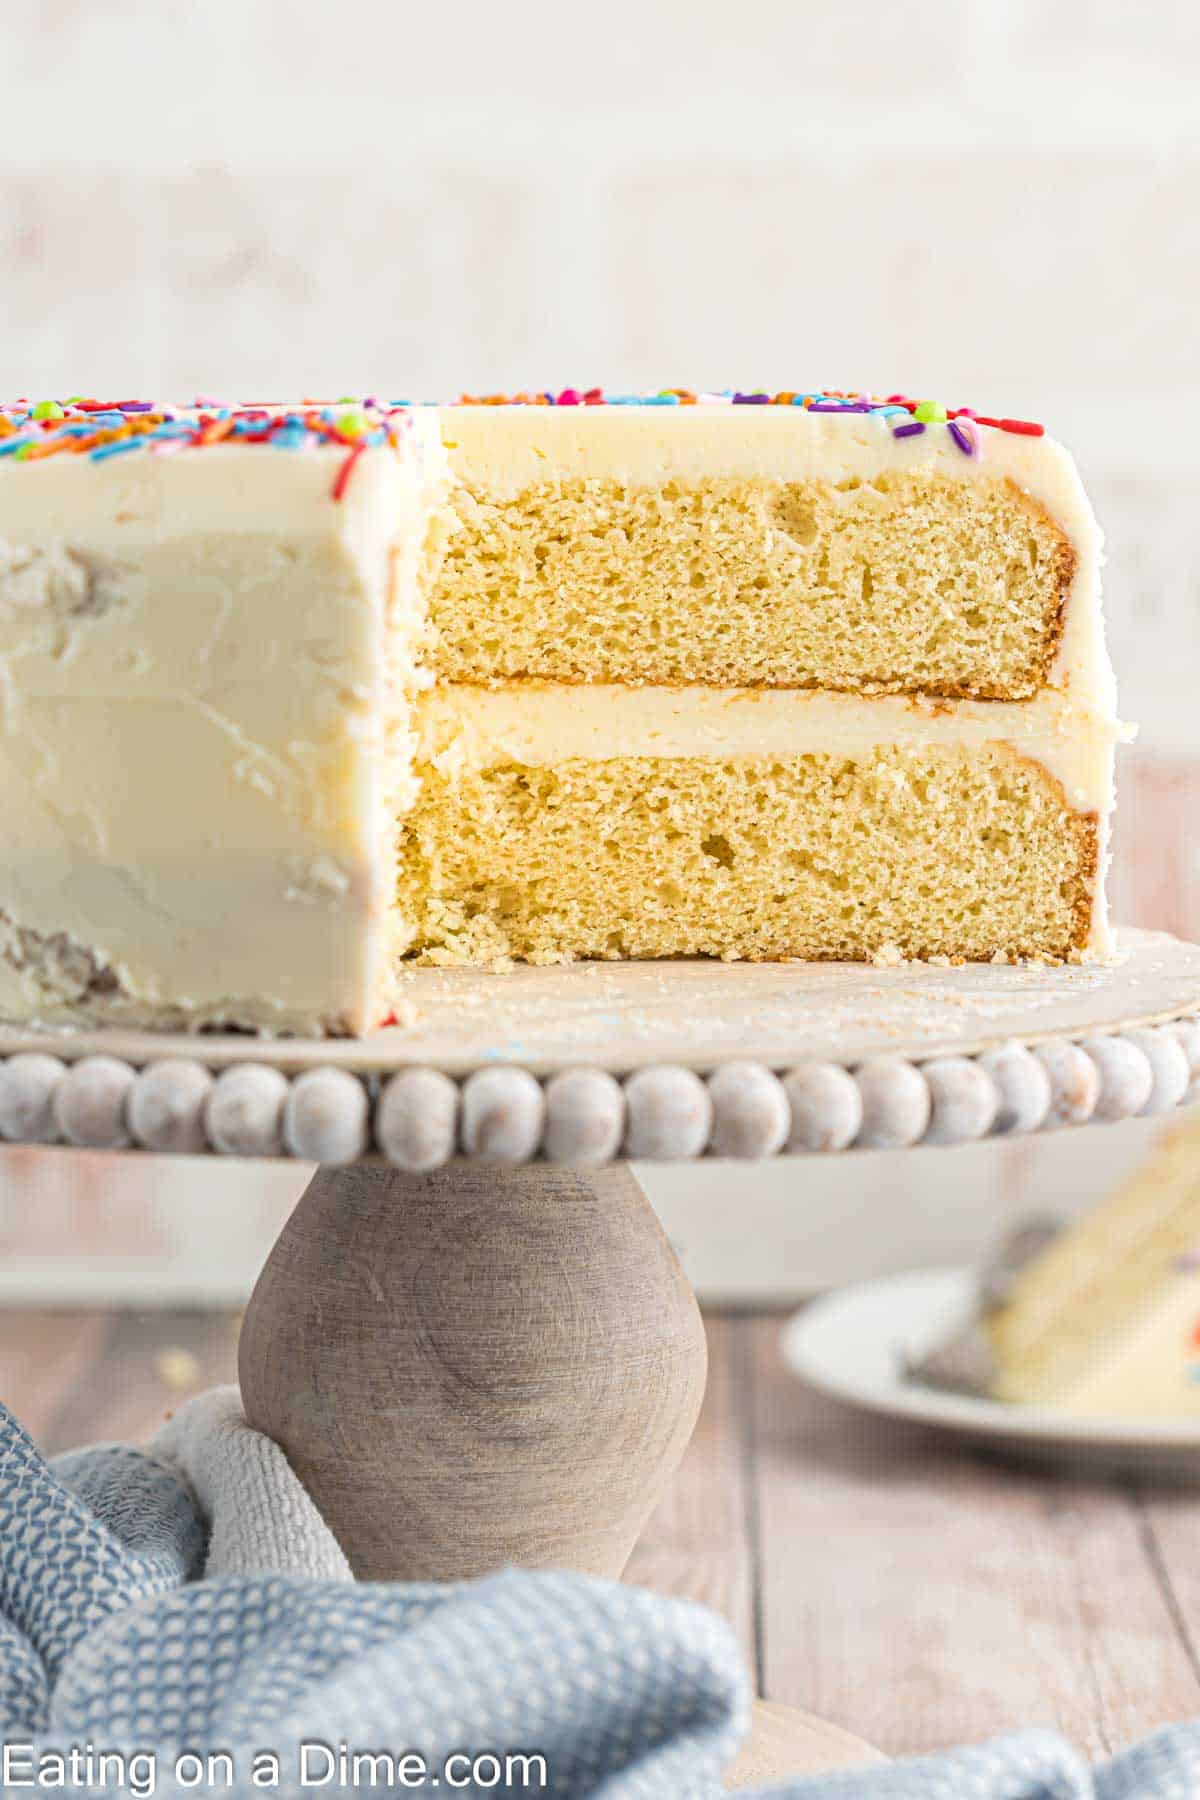
Homemade vanilla cake has a light vanilla flavor that isn’t overpowering, which makes your frosting choices endless. It’s perfect for any occasion.
Make it a tradition for birthdays, holidays, celebrations and more. If you like this, make sure to try this Easy Chocolate Cake from Scratch. We also love to serve these Butter Mints when we make this cake for a baby shower.
Table of Contents
- Why This Recipe Works
- Ingredients
- Cake Ingredients
- Vanilla Frosting Ingredients
- How to Make Vanilla Cake
- How to Make the Buttercream Frosting
- To Assemble the Cake:
- Expert Tips
- How to Make Self Rising Flour
- How to Make a Pure White Cake
- Frequently Asked Questions
- More Easy Cake Recipes
- Best Vanilla Cake Recipe
Why This Recipe Works
Being a mom of 8, I am an expert of making the best birthday cakes. I enjoy making my kids their favorite cake for their special day. This vanilla cake is one of our favorites because of the amazing taste, soft crumb texture and how fluffy it is.
You can also use this recipe to make vanilla cupcakes topped with vanilla buttercream frosting.
Ingredients
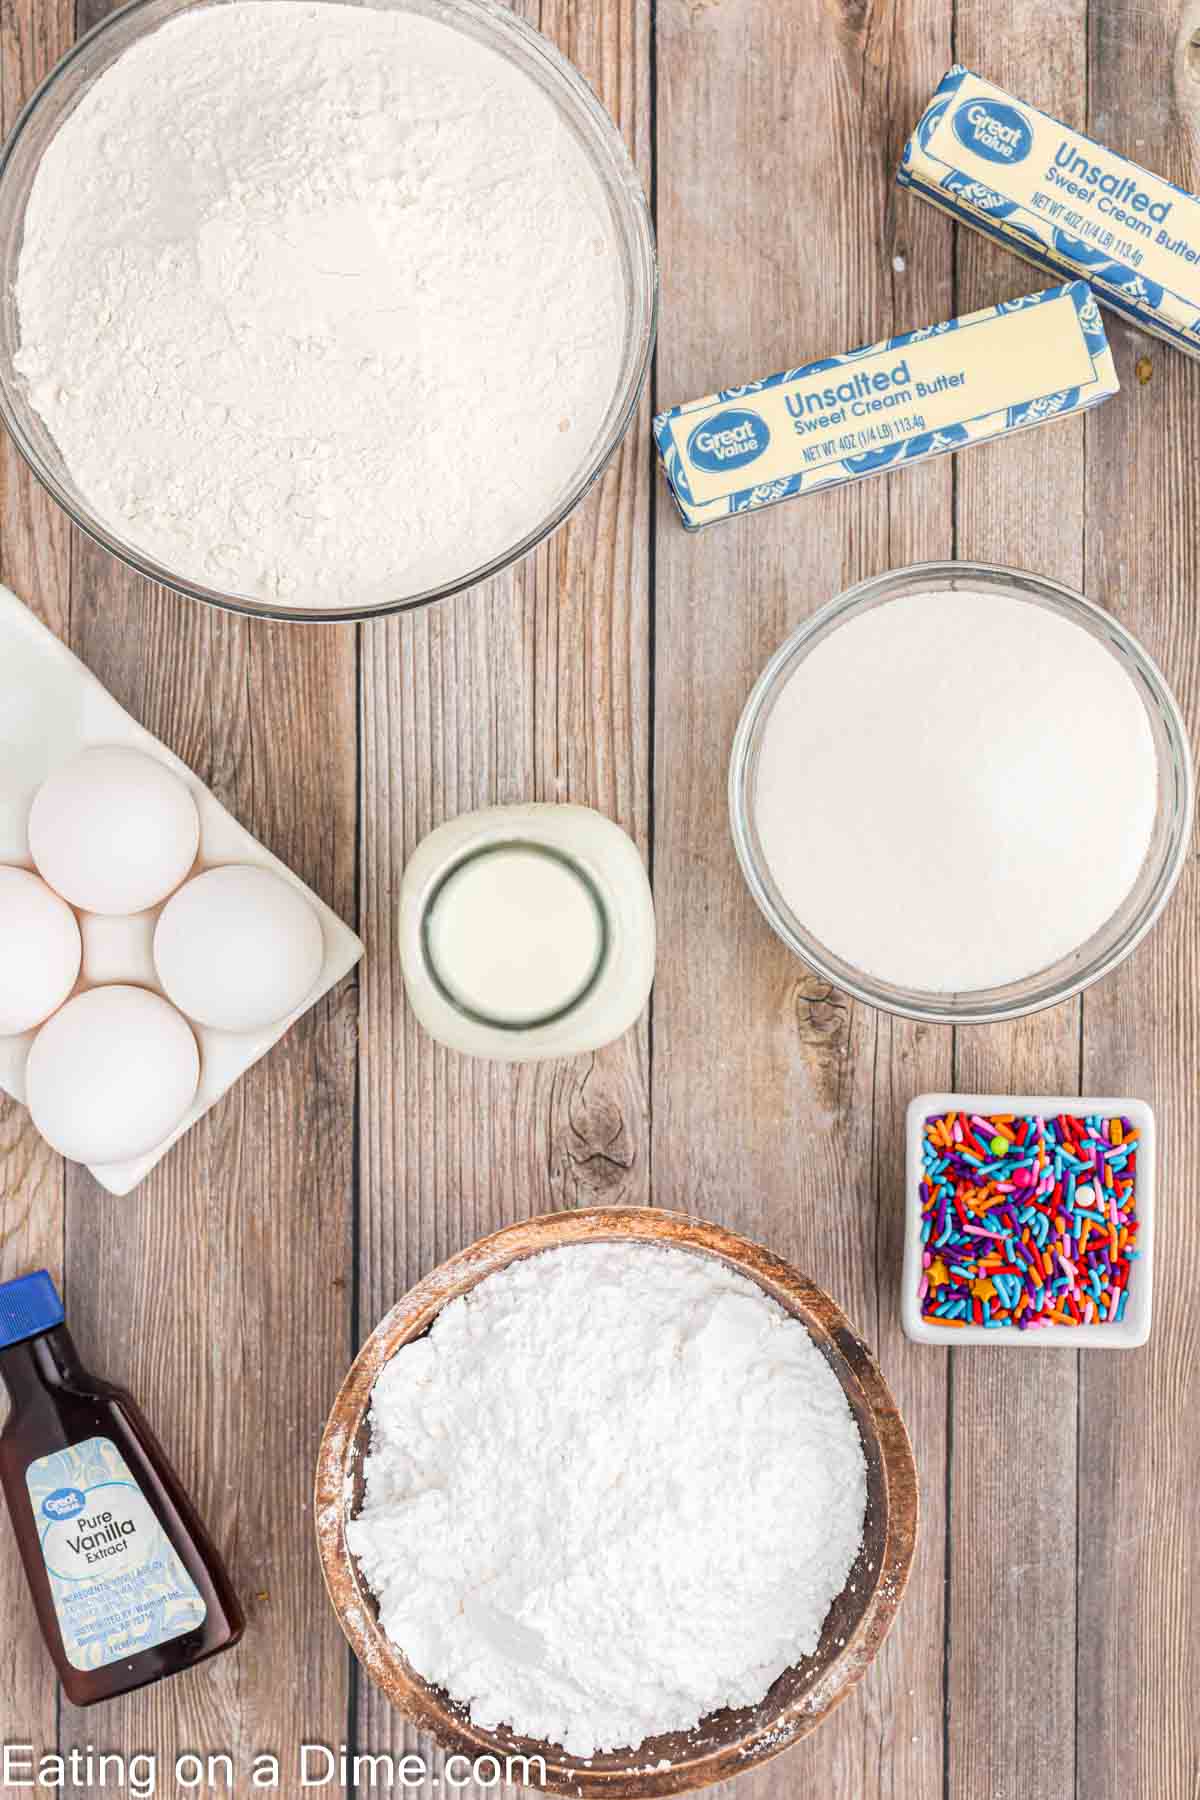
Cake Ingredients
- Butter, softened
- White sugar
- Whole Eggs
- Pure Vanilla Extract
- Self Rising flour
- Milk
Vanilla Frosting Ingredients
- Unsalted Butter
- Vanilla Extract
- Powdered Sugar
- Milk
- Sprinkles (optional)
Scroll to the bottom of the post for the full recipe in the recipe card.
How to Make Vanilla Cake
- Step 1 – Preheat oven to 350 degrees.
- Step 2 – Grease and flour 2, 9″ round cake pans and set aside. (These are the cake rounds I use.) You can use different shaped pans if you want, you just might need to adjust the bake time.
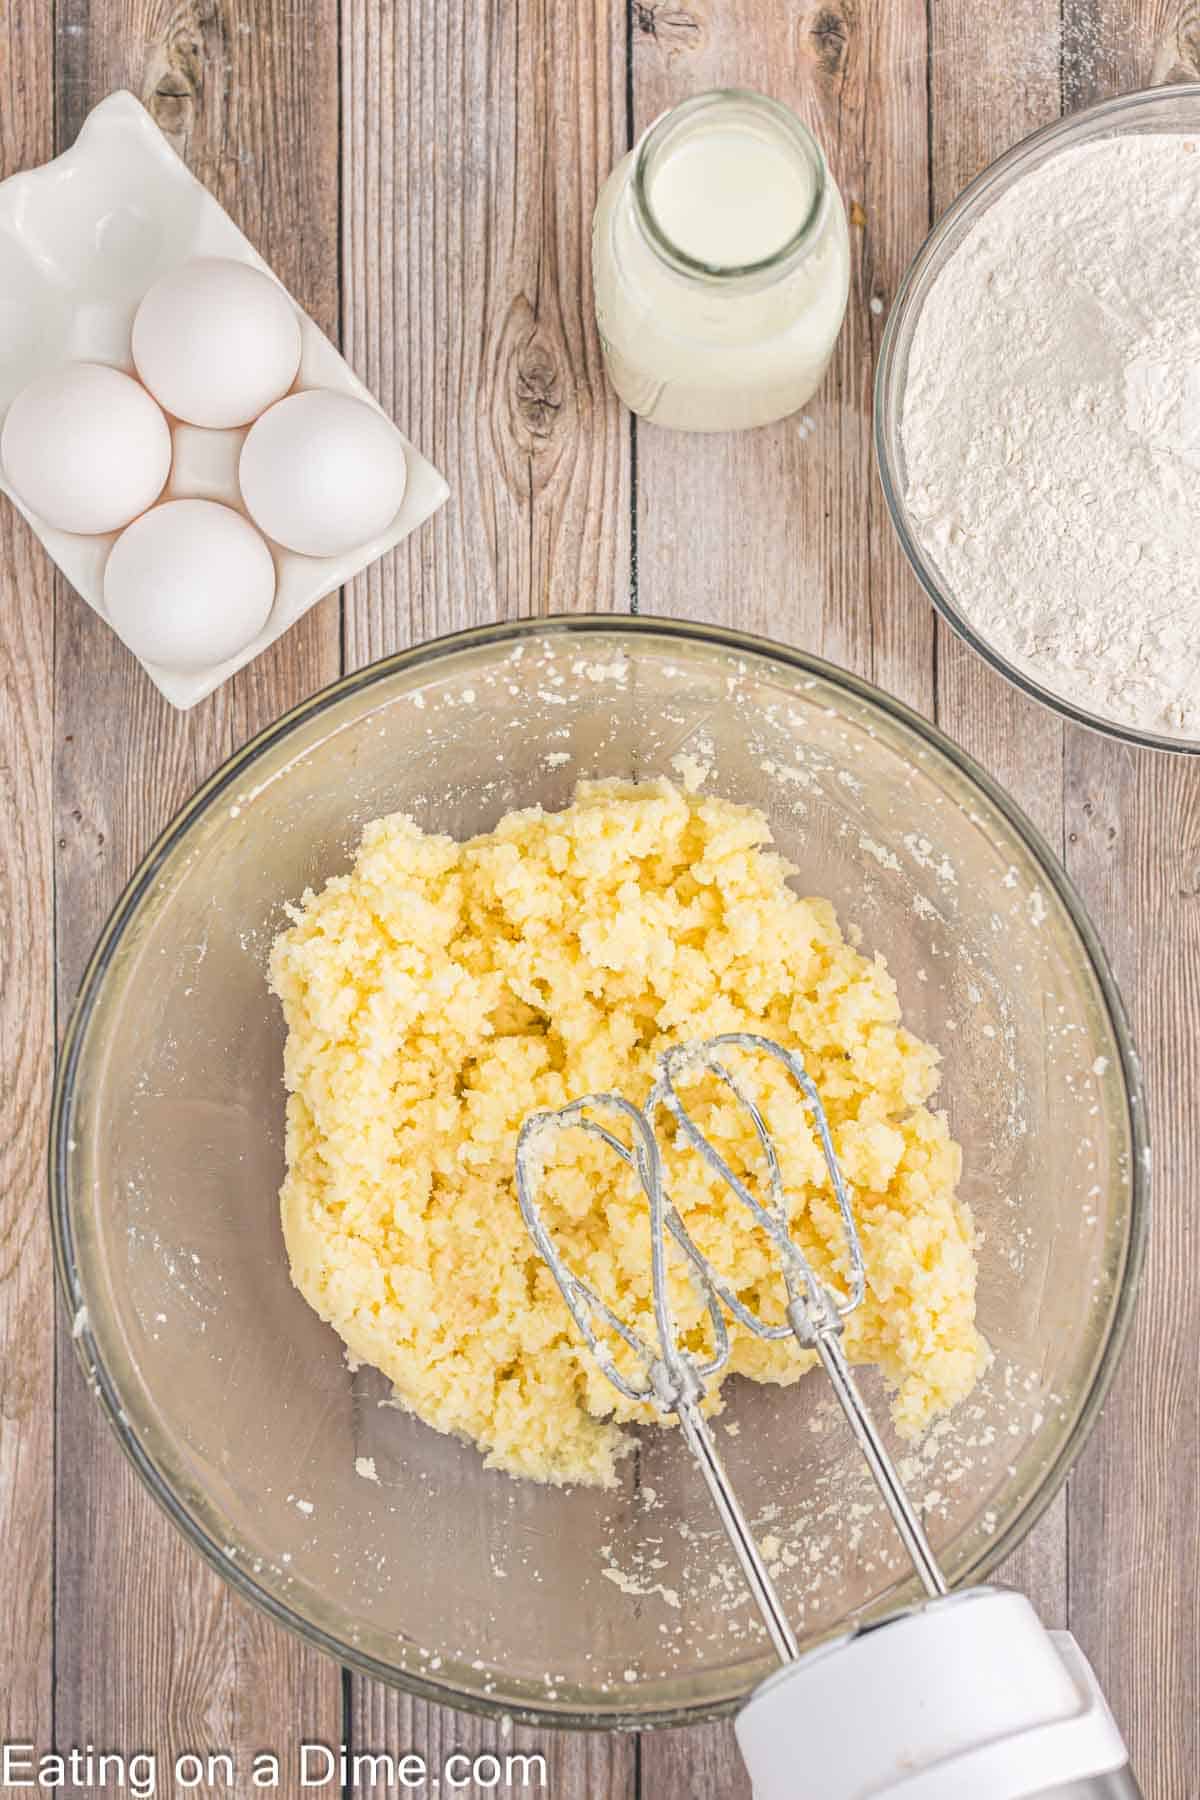
Step 3 – Add butter, sugar and vanilla in a stand mixer fitted with the paddle attachment. Beat well until light and fluffy.
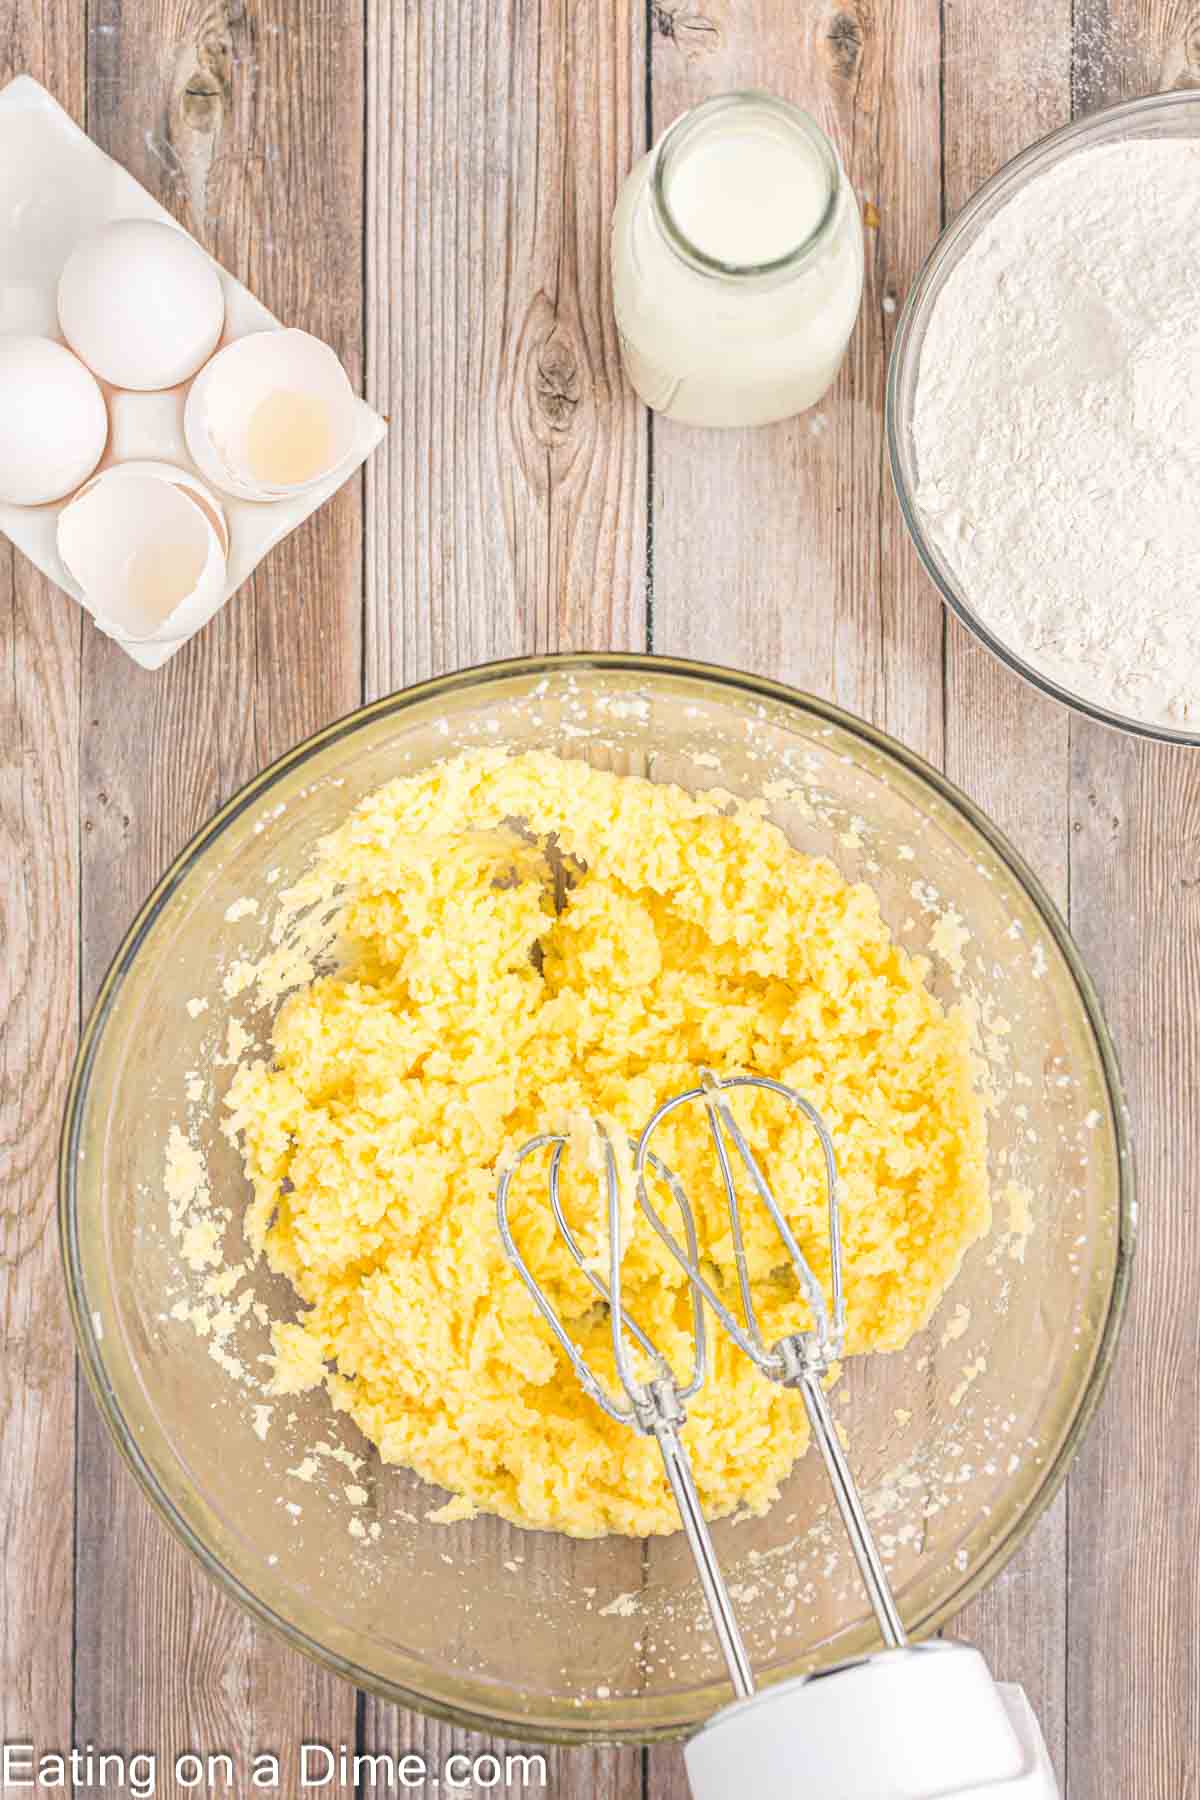
Step 4 – Add egg yolks and beat well, one at a time.
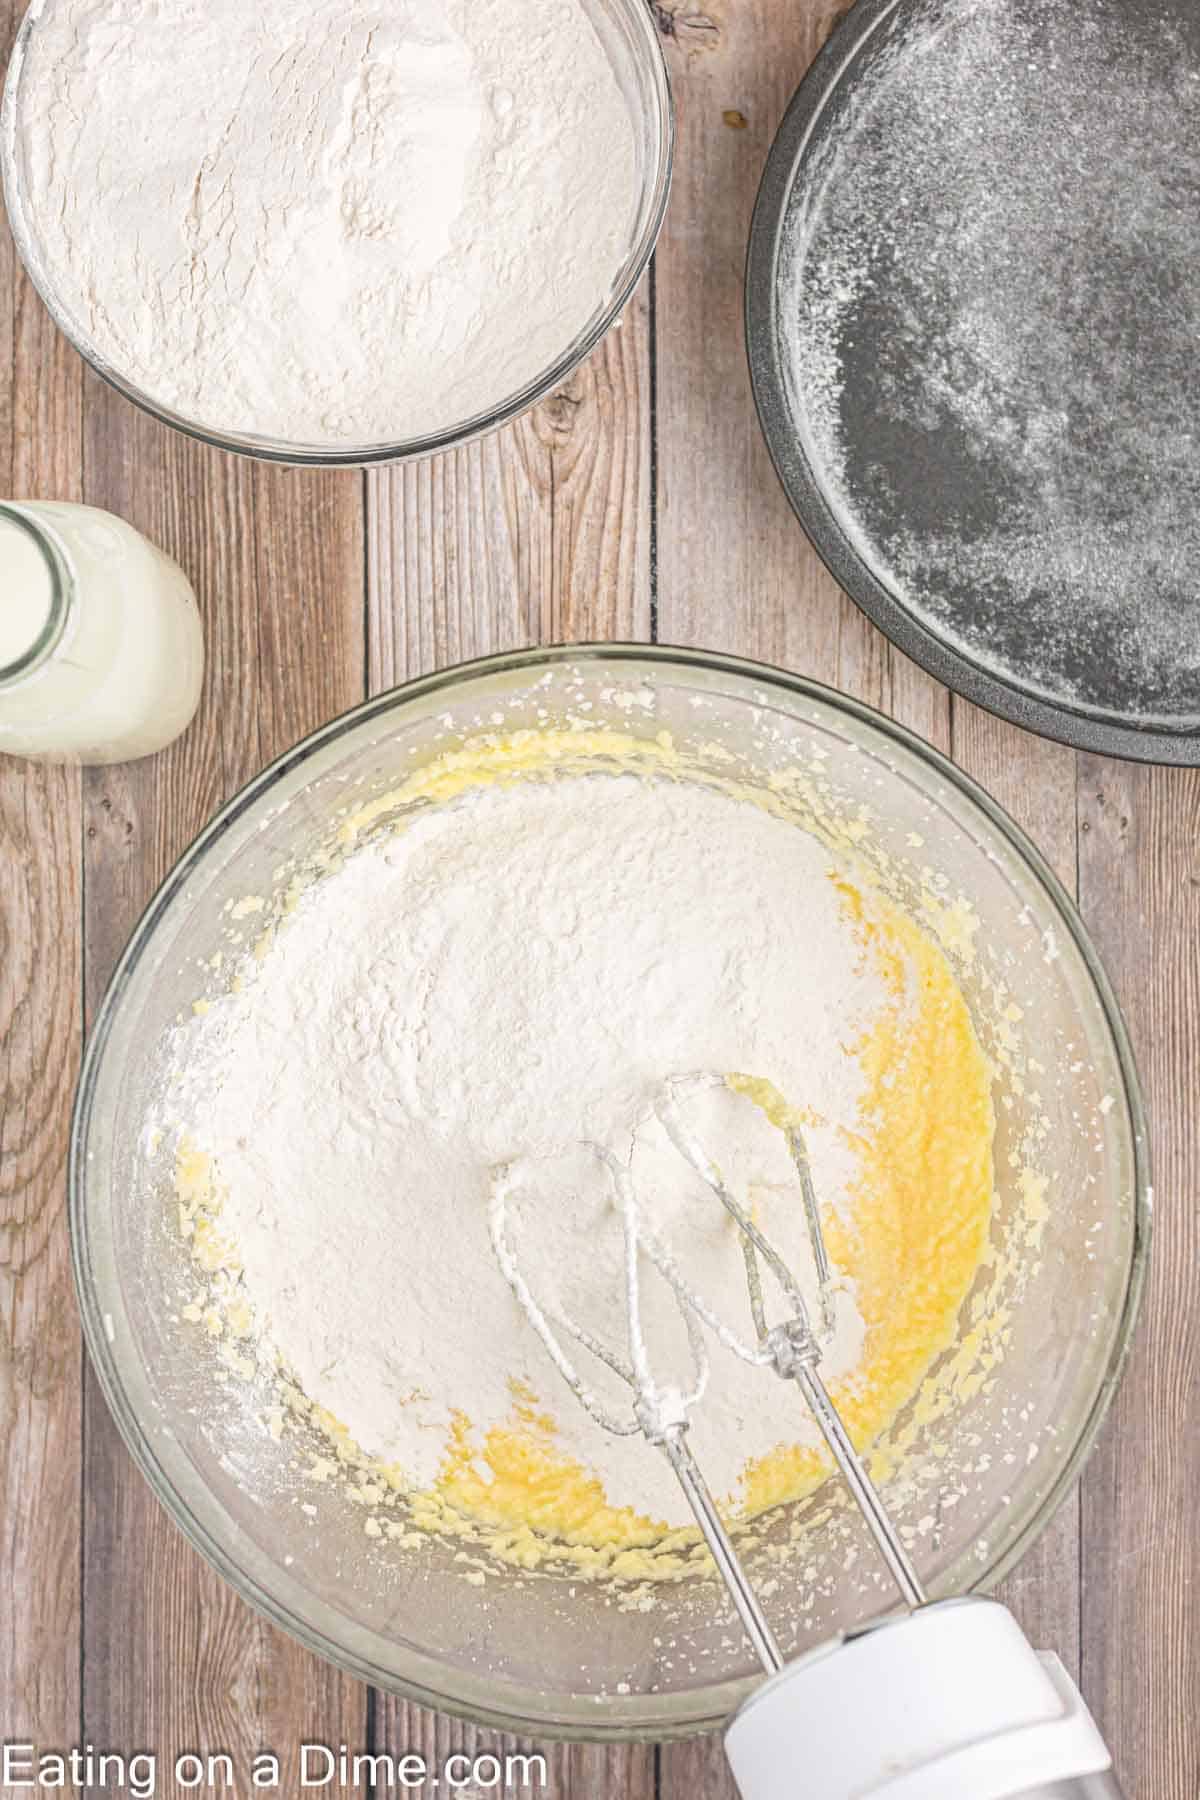
Step 5 – Add flour and milk, alternating until blended well.
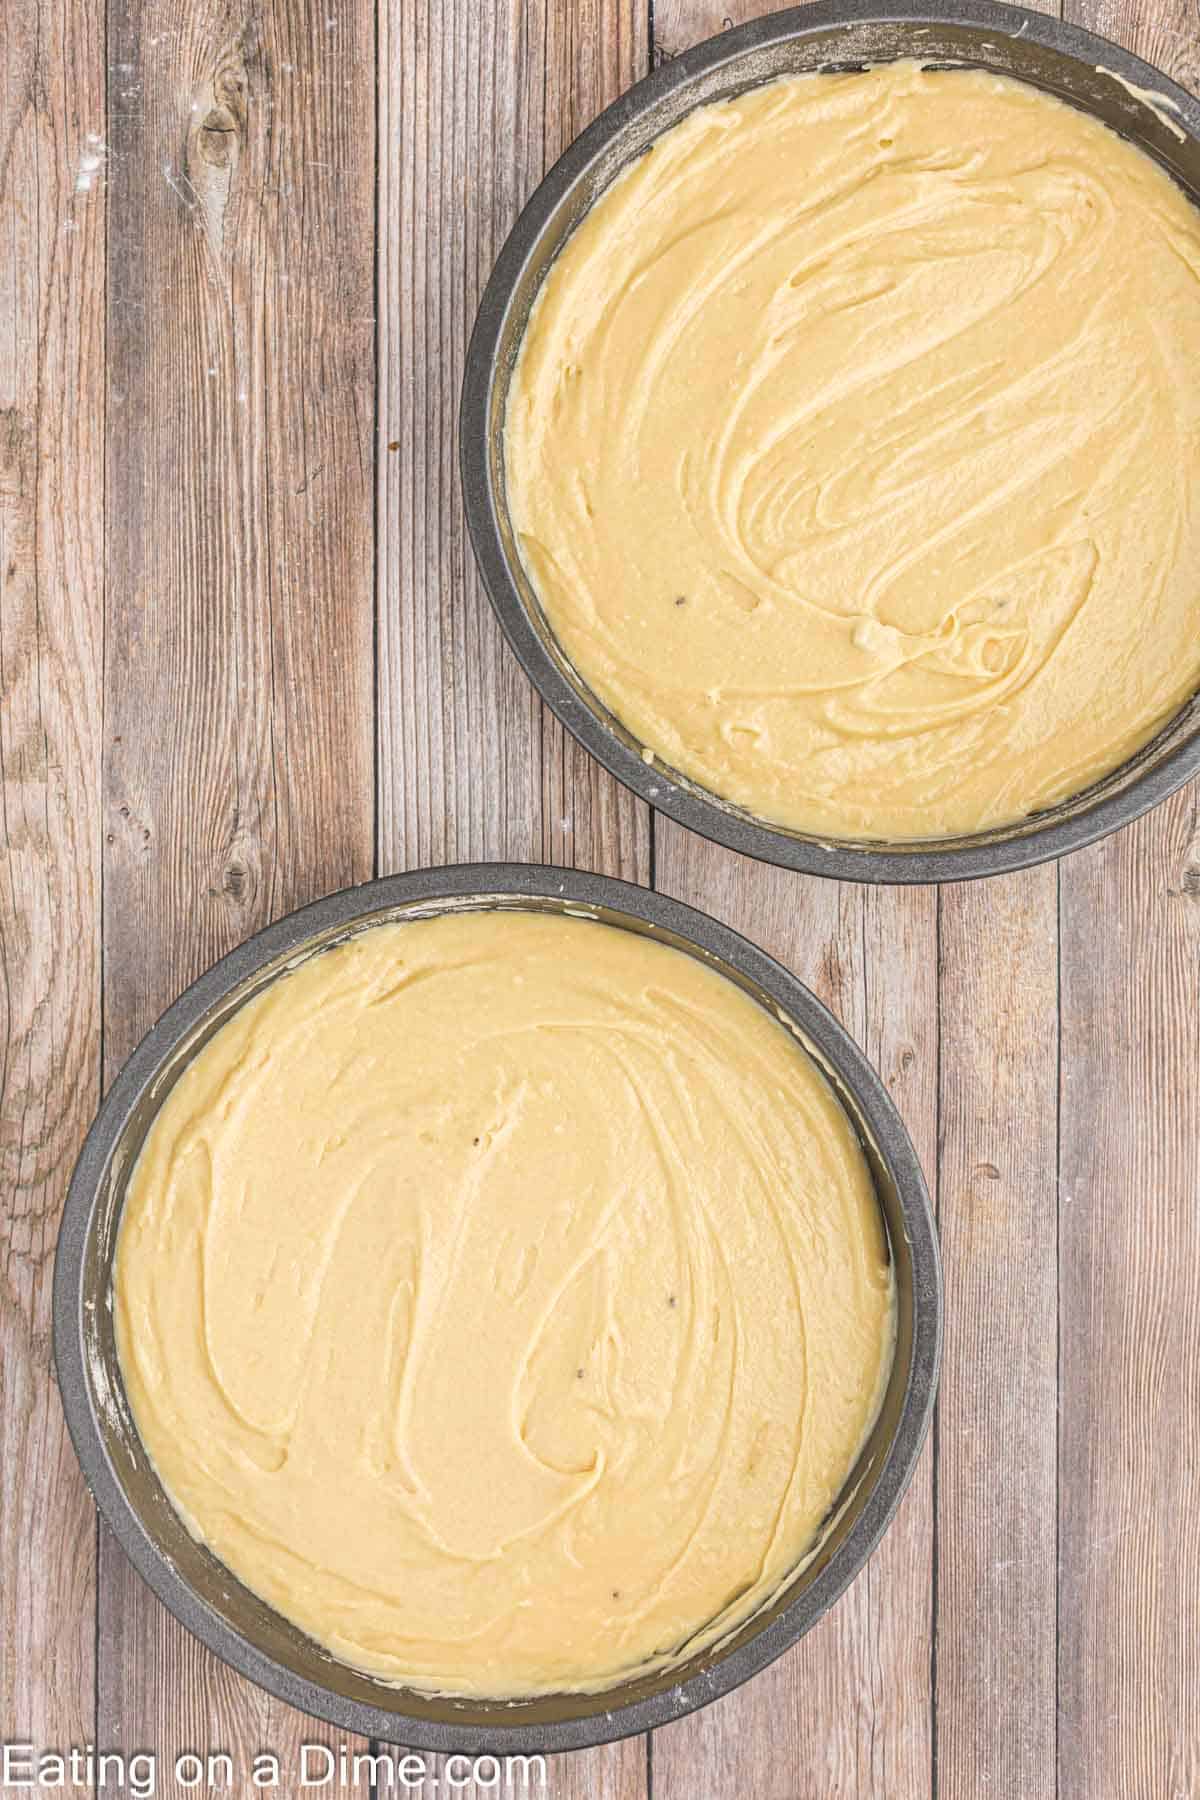
Step 6 – Pour cake batter into prepared baking pans and bake for 30-35 minutes or until toothpick inserted in the center comes out clean. Cool completely before frosting and serving.
How to Make the Buttercream Frosting
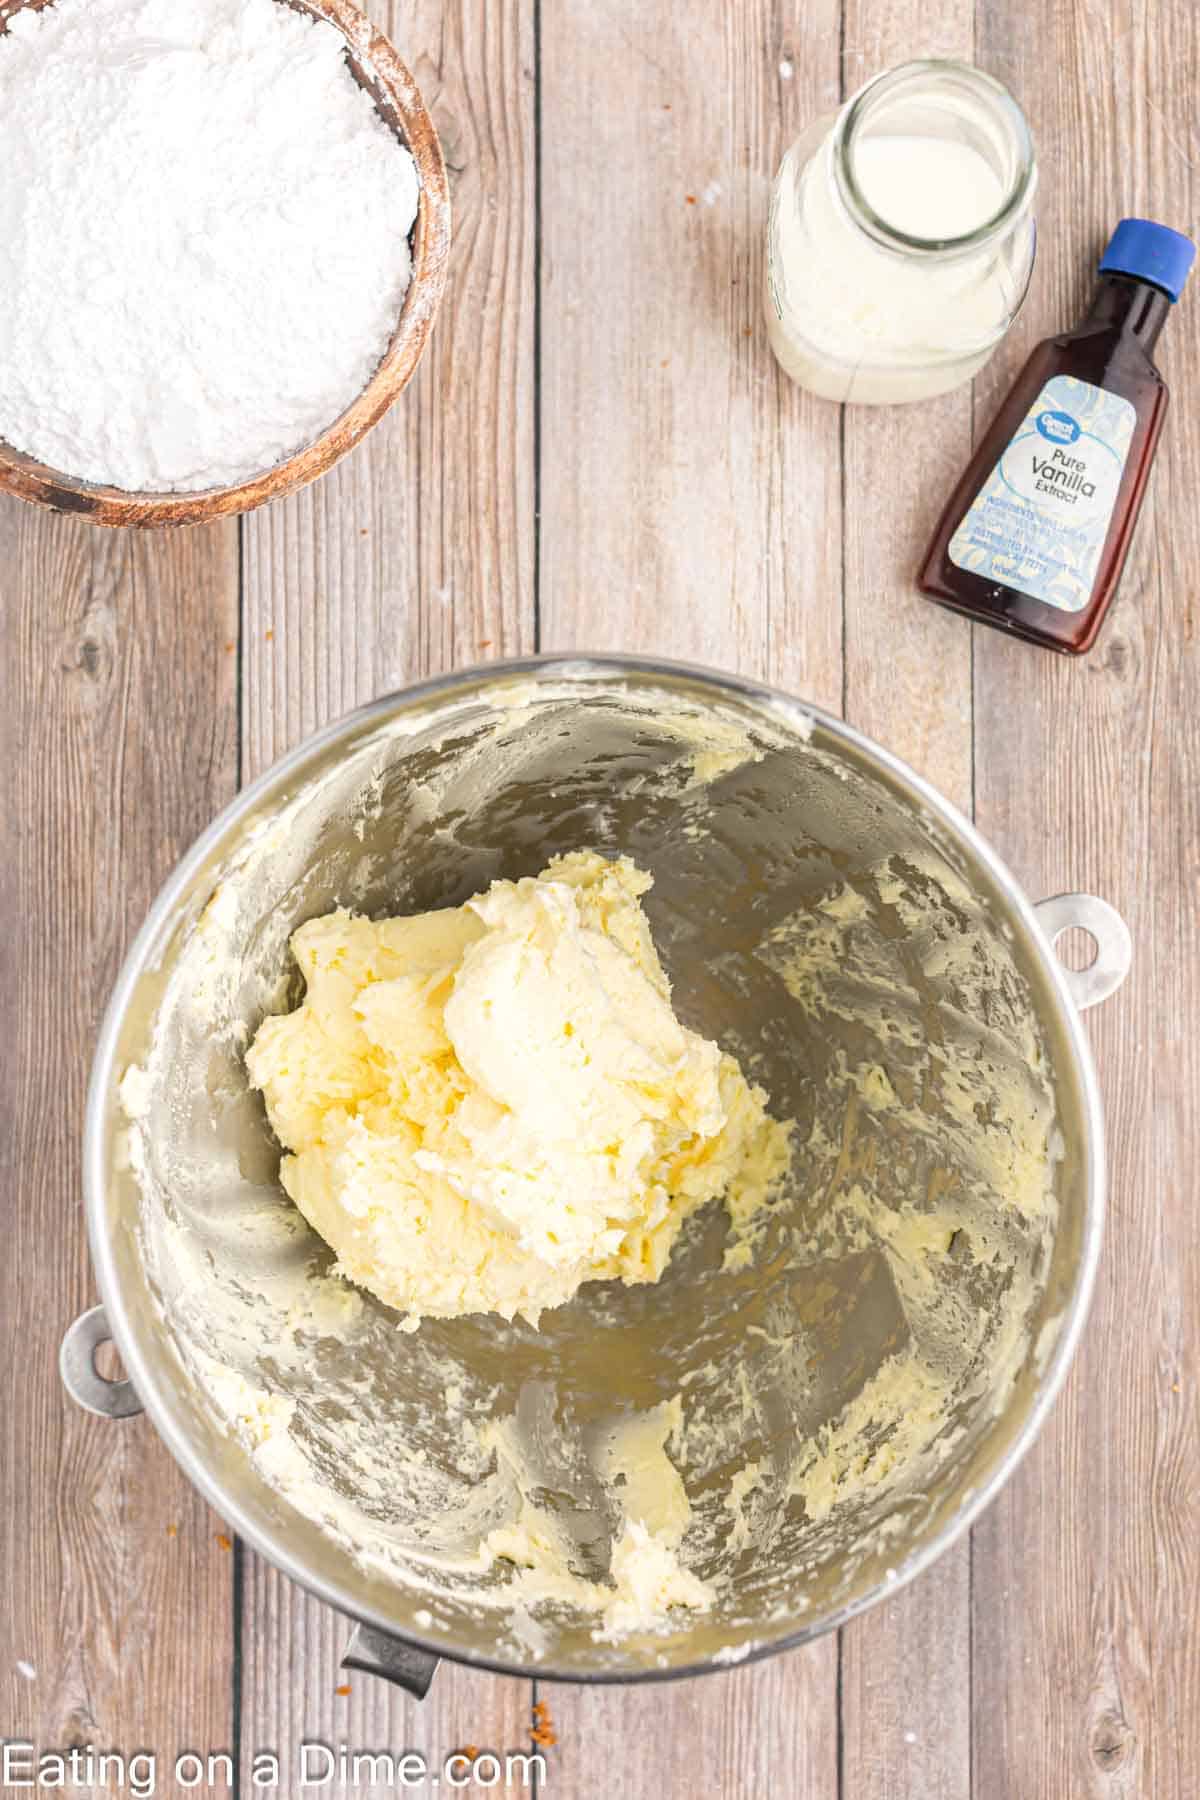
Step 1 – Cream the butter in a large mixing bowl with a stand up mixer or hand held mixer.
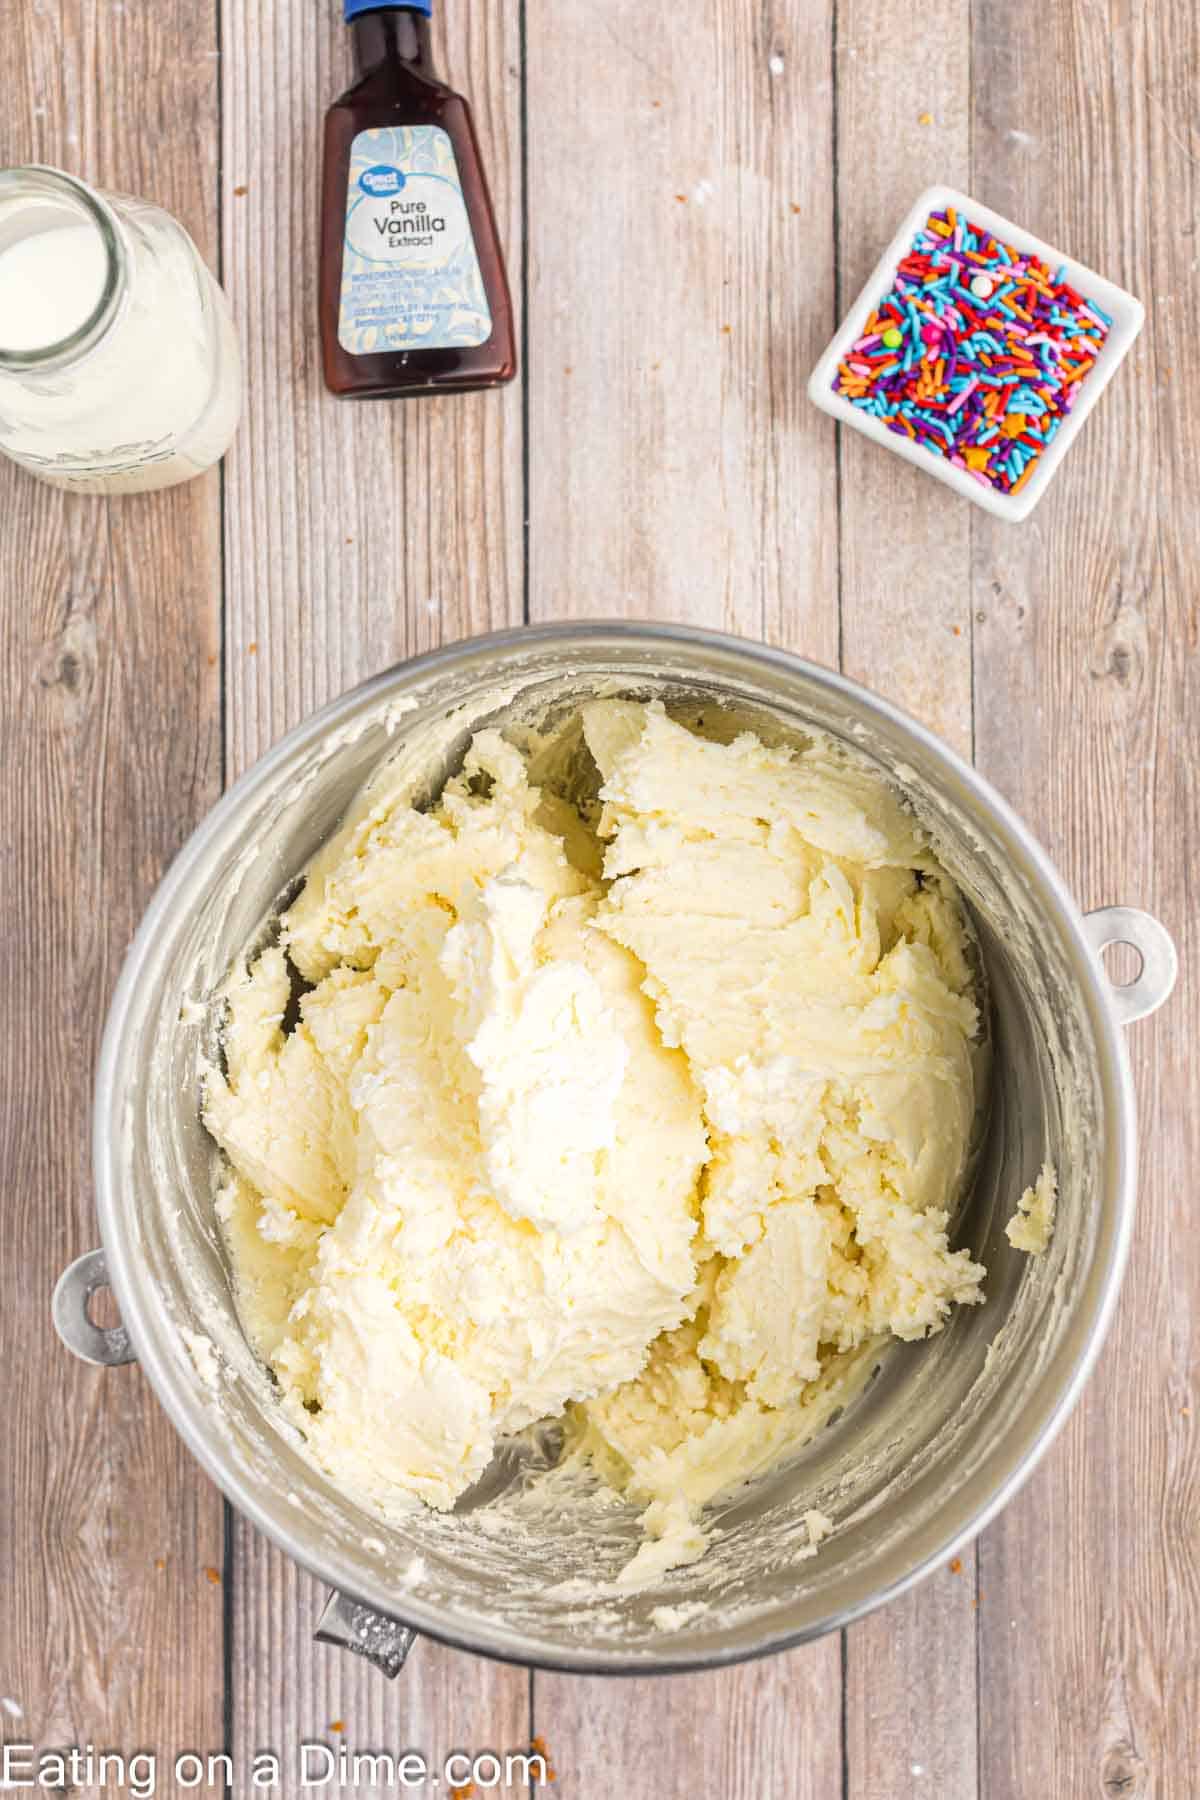
Step 2 – Then beat in the powdered sugar (1 cup at a time) on low speed until well combined.
- Then stir in the vanilla. Then gradually add in the milk on medium high speed until the icing is the consistency that you prefer.
To Assemble the Cake:
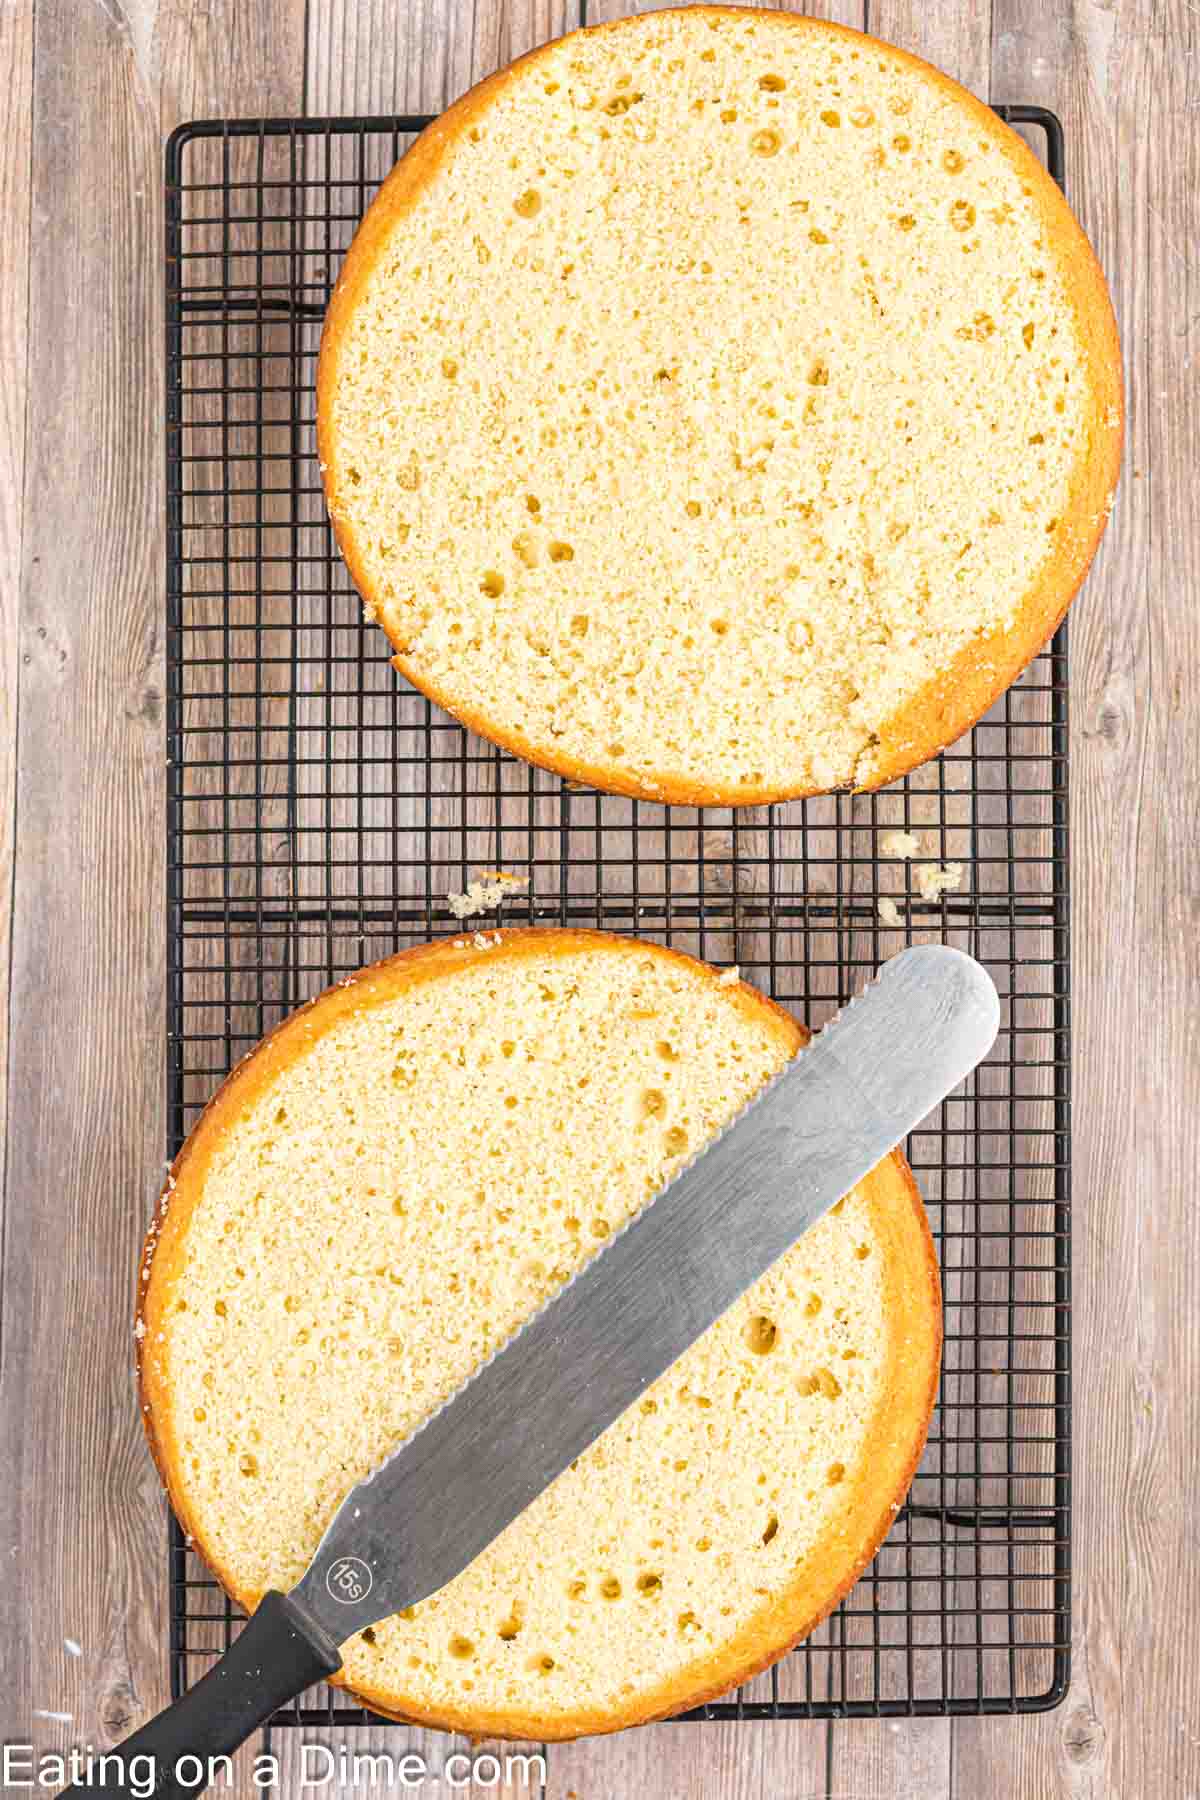
Step 1 – Cut the round portion of the cakes off the top of the cakes with a serrated knife to make the cakes level.
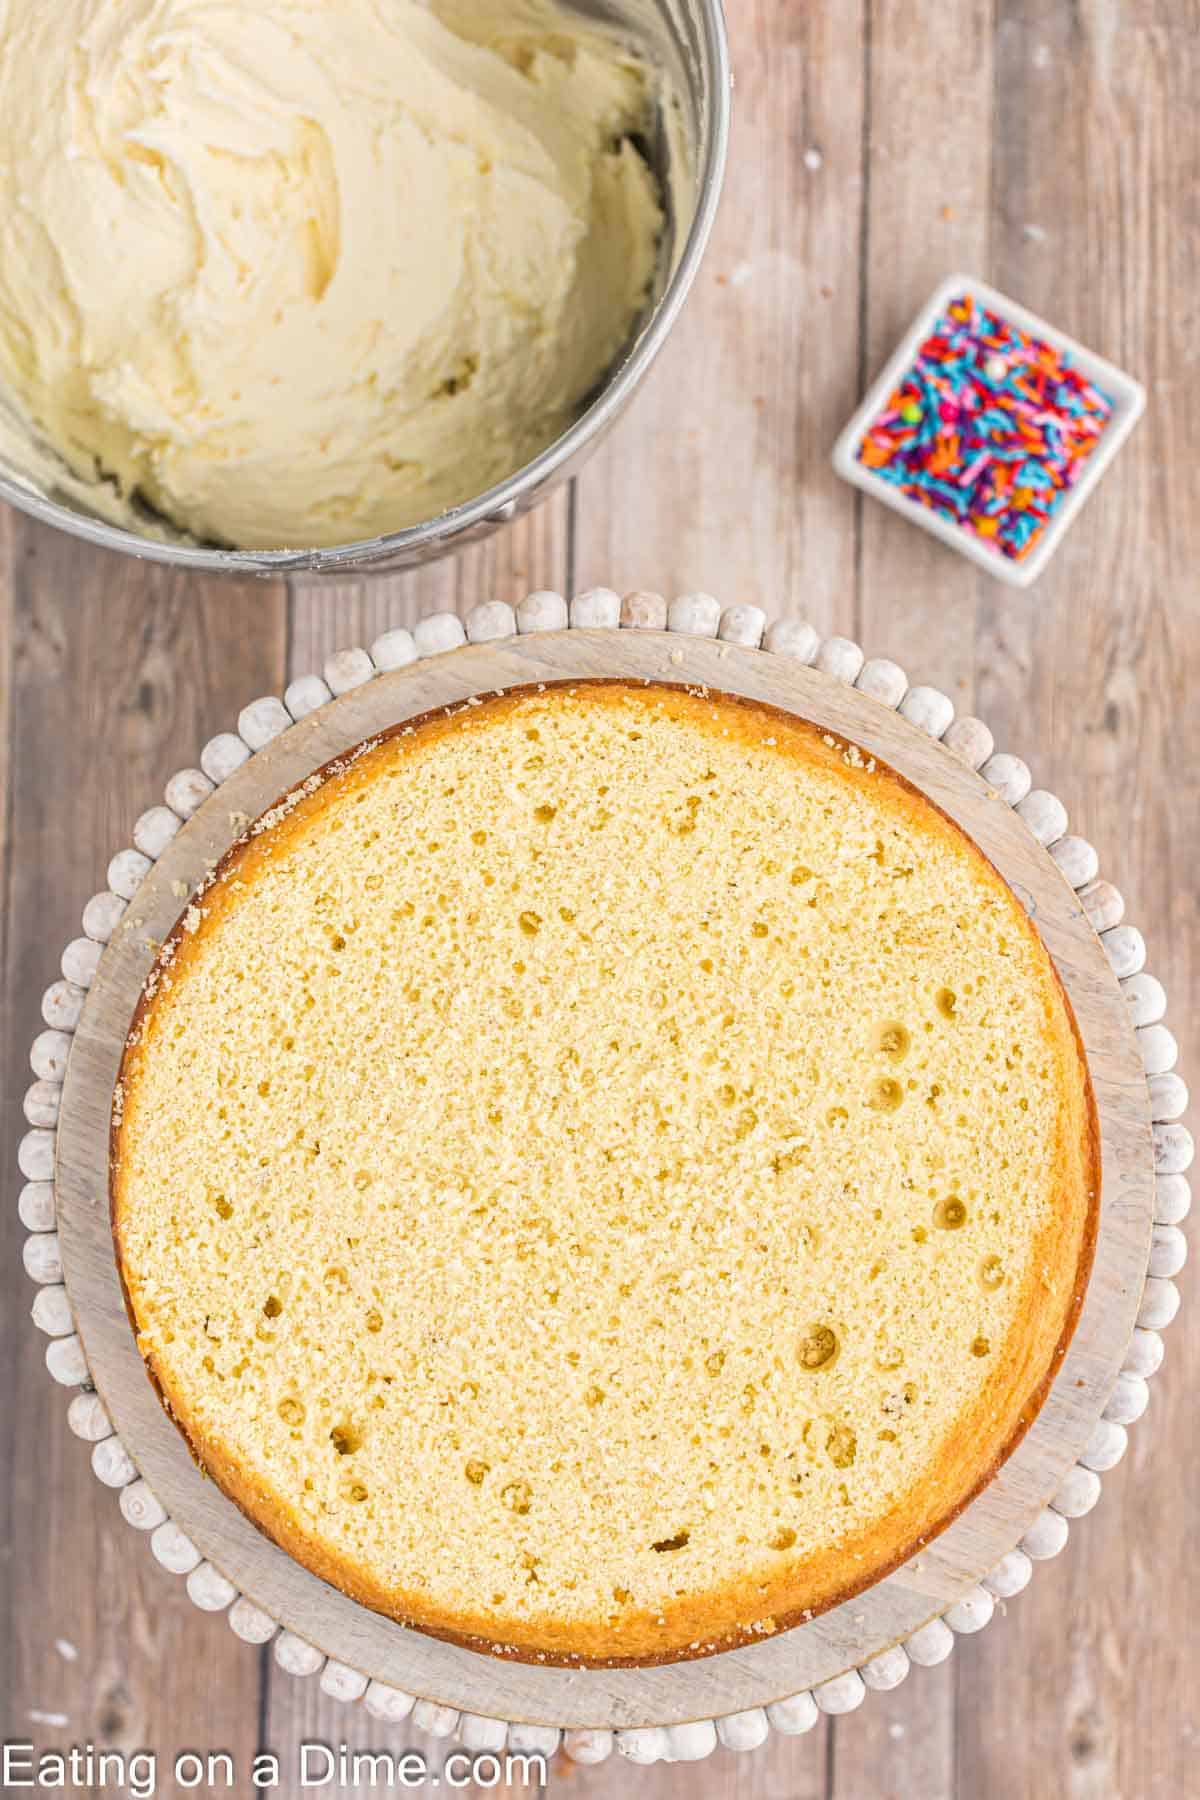
Step 2 – Put one of the cakes on a serving platter or cake stand. Top the cake with the frosting.
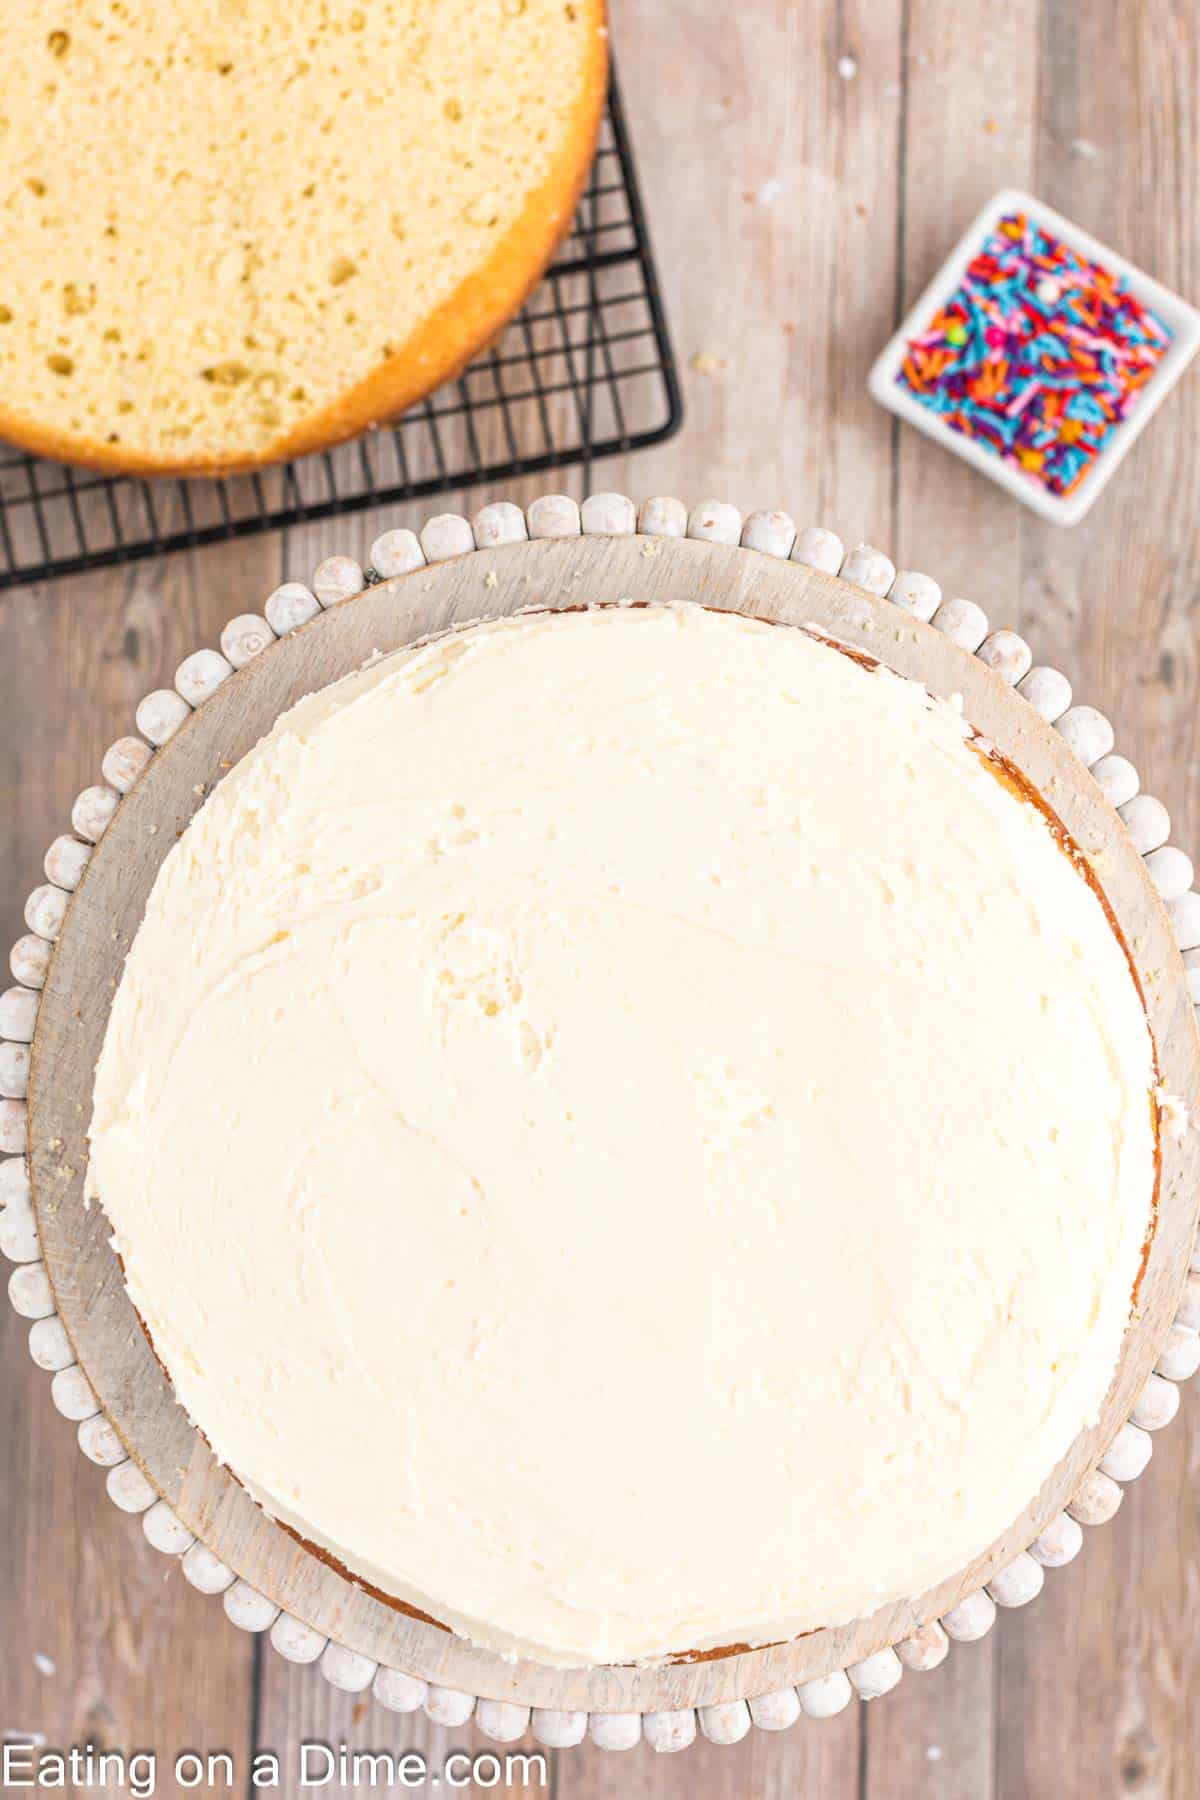
Step 3 – Then stack the other cake on top and top that layer with buttercream icing as well.
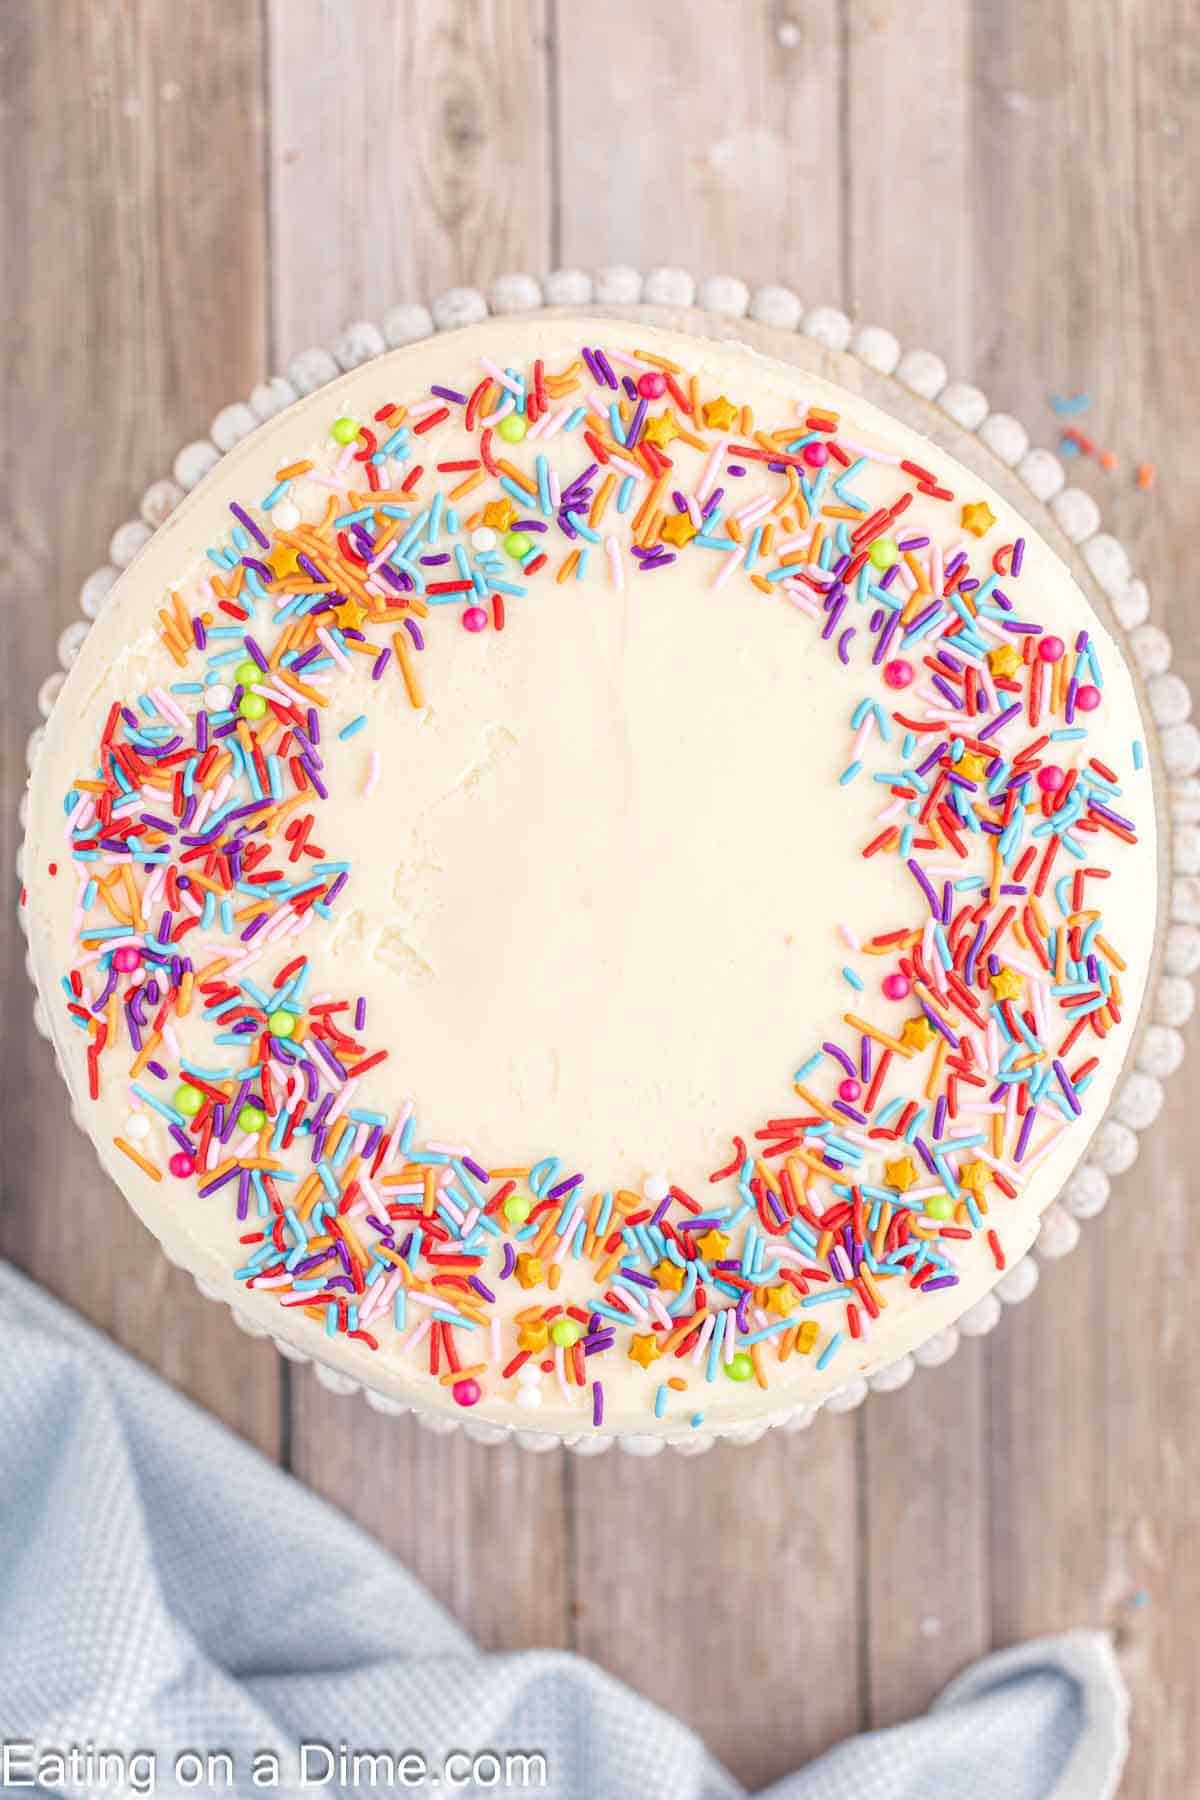
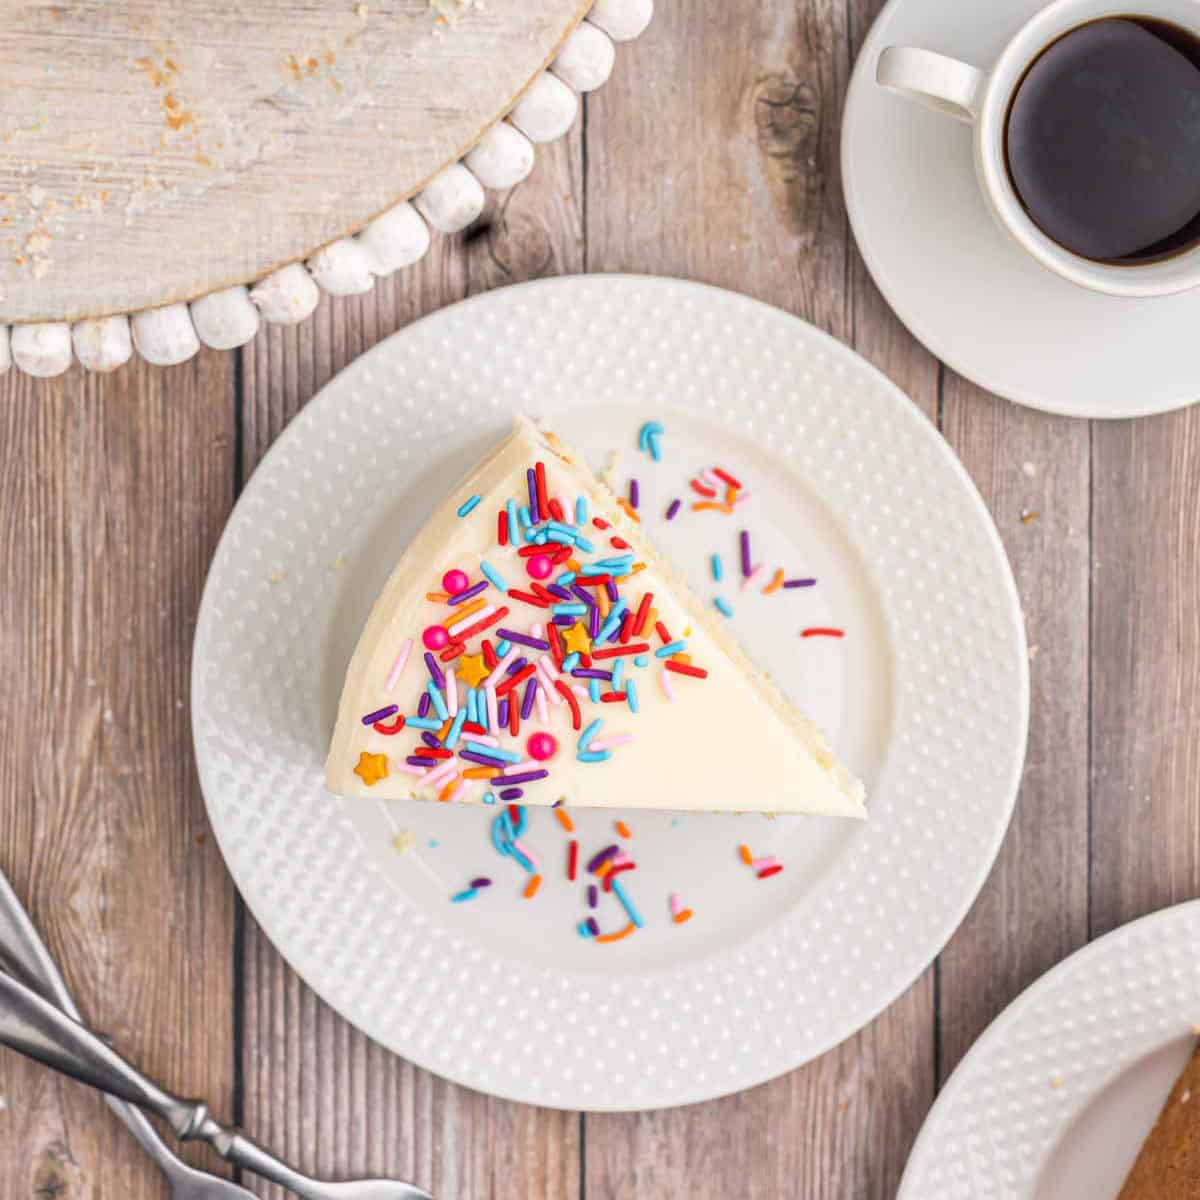
Step 4 – Frost the sides of the cake with the remaining buttercream frosting. Use the remaining frosting to pipe some swirls on top of the cake and top with the sprinkles. Serve and enjoy!
Expert Tips
- Room Temperature Ingredients – Bring eggs and butter to room temperature. When all of the cake ingredients are roughly the same temperature everything mixes up so much better. Doing so will help get the moist crumbs everyone loves! Plus, you’re less likely to overmix.
- Follow Recipe – There’s a lot of science when it comes to baking. Follow the recipe closely. Always use measuring cups when adding in the ingredients. If adding to much flour it could cause the cake to be dry.
- Cool Layers – Let the cake layers completely cool before you begin assembling and icing the layer cake on a cooling rack. Even a slightly warm cake will begin to melt the icing which will cause it to shift or collapse. To speed up the cooling time, pop the layers in the refrigerator or freezer!
- Baking Soda – Use ¾ teaspoons of baking soda to help give the cake layers a little more height. The baking powder (whether in your homemade self-rising flour or in store-bought) reacts with the salt and the baking powder to help create a higher rise on your cake layers. It’s an optional addition since there isn’t much of a difference and the recipe already calls for baking powder and salt.
- Slice Rounds – I slice my rounds in half to create 4 rounds before frosting. I use this to level my cakes and to slice the rounds in half.
How to Make Self Rising Flour
No self-rising flour? No problem! You can easily make your own. Simply sift together 1 cup of cake flour (though regular all-purpose flour would also work), 1½ teaspoons baking powder and ¼ teaspoon salt in a large bowl for every 1 cup of self-rising flour needed.
Once you’ve created the flour mixture, mix the dry ingredients with the butter egg mixture in the recipe.
How to Make a Pure White Cake
If you want a pure white cake that makes the best wedding cake, use egg whites. You’ll need to use 8 egg whites in this recipe, since 2 egg whites equals one egg.
Vanilla extract also has a little bit of coloring, so you can switch it out for the clear baking version if you’re wanting a perfectly white cake. Since it only adds a little bit of color, most of the time you won’t notice it.
Frequently Asked Questions
Cooking time will vary based on the size of pan that you use and your oven. If you are using 8 inch cake pans, the cake will bake in about 30 minutes. This recipe also works great in a Bundt pan and it will bake in about an hour. You can also pour the batter in a 9×13 baking dish and bake for about 35 minutes. If you are making a vanilla cupcake recipe, bake the cupcakes for about 20 minutes.
Store leftover vanilla cake covered at room temperature for about 3 days. You can also place in the refrigerator and the cake will last about a week.
When making homemade frosting it makes about 6 cups. We frosting the layers, we recommend using about 1 cup on each layer. Then use the remaining frosting to cover the sides and top of the cake.
More Easy Cake Recipes
- 2 Ingredient Angel Food Cake
- Lime Jello Poke Cake
- Easy Chocolate Cake
- Red Velvet Cake
- White Texas Sheet Cake
- Quick and Easy Strawberry Cake Recipe
- Chocolate Depression Cake
- Easy Coffee Cake Recipe
- Better than Sex Cake
- Easy Ice cream Cake Recipe
- Mandarin Orange Angel Food Cake Recipe
If you make this Easy Vanilla Cake Recipe, please leave us a comment or a star review. We love hearing from you.
Best Vanilla Cake
Ingredients
For the Cake:
- 1 cup butter softened
- 2 cups white sugar
- 4 eggs
- 2 teaspoons vanilla
- 31/4 cup self rising flour
- 1 cup milk
For the Frosting:
- 2 cups unsalted butter (softened)
- 2 teaspoons vanilla extract
- 8 cups powdered sugar
- 4 tablespoons milk
- sprinkles (optional)
Instructions
For the Cake:
- Preheat oven to 350 degrees Fahrenheit.
- Grease and flour 2, 9" round cake pans and set aside.
- Add butter, sugar and vanilla in a mixing bowl. Beat well until fluffy.
- Add eggs and beat well, one at a time.
- Add flour and milk, alternating until blended well.
- Pour into prepared baking pans and bake for 30-35 minutes or until toothpick in the center comes out clean. Cool completely before frosting and serving.
For the Frosting:
- Cream the butter in a large mixing bowl with a stand up mixer or hand held mixer.
- Then beat in the powdered sugar (1 cup at a time) on low speed until well combined.
- Then stir in the vanilla. Then gradually add in the milk on medium high speed until the icing is the consistency that you prefer.
To Assemble:
- Cut the round portion of the cakes off the top of the cakes with a serrated knife to make the cakes level.
- Put one of the cakes on a serving platter or cake stand. Top the cake with the frosting.
- Then stack the other cake on top and top that layer with buttercream icing as well.
- Frost the top of the cake and the sides of the cake with the remaining buttercream frosting (reserve some of the buttercream to decorate the top of the cake).
- Use the remaining frosting to pipe some swirls on top of the cake and top with the sprinkles.
- Then the cake is ready to slice, serve and enjoy!


Jan. 29, 2022 11:20pm
OMG, I always made homemade cakes. But as I got older(66yrs) for some reason I’ve been losing my touch. Today I came across this cake recipe and decided to try it. It came out so delicious. So moist.
Thank You??
I’m so glad everyone enjoyed it!
My family really enjoyed this cake. I made homemade vanilla buttercream frosting. This will be my go to!
I made this cake and my family loved it! It was easy to make, I put my homemade buttercream recipe on it and it went really well with it. Will definitely make this one again!!!!
Yes, definitely!
Can I half this to make a smaller cake?
You can use 8 in pans. I would increase the cooking time since the batter will be thicker in the pans instead of reducing the portions in the recipe. I would start by increasing the cooking time by 5 minutes and then cook until a toothpick inserted into the cakes comes out clean. Thanks.
Hello, I have 2 8 inch cake pans. Can I use the exact recipe? Could you share if the proportion needs to be reduced?
Thank You
Hridya
Hi! I’m going to try making this for my sons smash cake. Can you tell me if this cake would be ok made a few days ahead of time? Maybe stored in the fridge or freezer? Thanks!
-erin
Thanks let us know how it turns out!
This looks really good. Can’t wait to try it!
Thank you Samantha! I’m glad you enjoyed it 🙂
I made this cake as per recipe and it was good I think I added too much vanilla. But it’s a good recipe thank you
Lorna – Yes, the recipe is for 3+1/4 cups of flour. I think you can substitute the milk for soy milk if you are needing a non diary option. I hope you enjoy the recipe! Thank you 🙂
Hi is this 3 +1/4 cups of flour? Could the milk be substituted for something else? Thanks.
Just made this recipe, but substituted the milk with apple cider, and added allspice and cinnamon to the batter before baking! Needed some fall flavor! Thank you!!