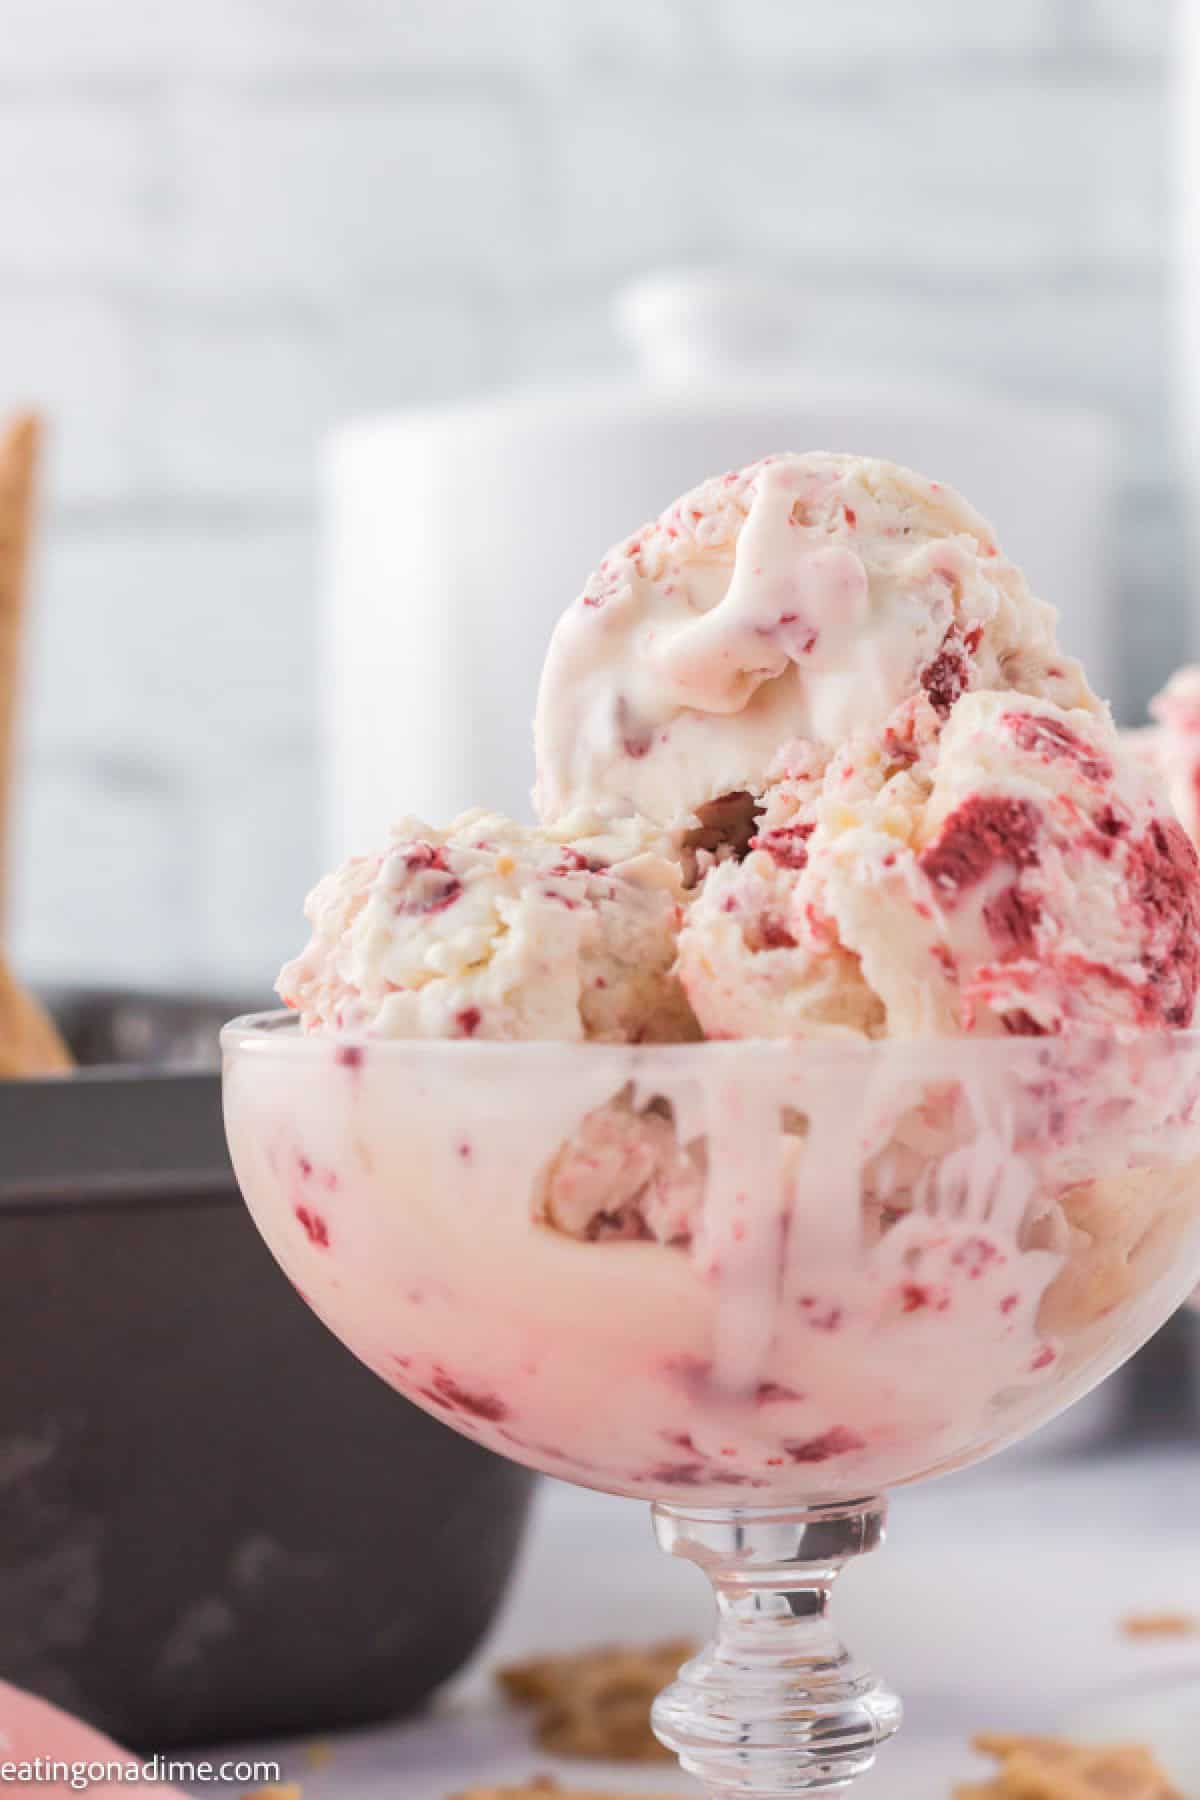
Red Velvet Ice Cream is one of our favorite no churn ice cream recipe. The cream cheese ice cream mixed with Red Velvet Cake makes this an easy homemade ice cream.
No Churn Red Velvet Ice Cream Recipe:
This No Churn Red Velvet Ice Cream is easy to make. My kids love Red Velvet Cake and once I added it in this cream cheese flavored ice cream they were in love.
Homemade Red Velvet Ice Cream is perfect to celebrate for Valentine’s Day or to ring in the summertime weather. The red color ice cream is rich and creamy, delicious, decadent and taste amazing.
This no churn recipe could not be any easier. The recipe comes together fast without an ice cream machine. Easy ingredients with a simple process, it will be your go-to ice cream all summer long or celebrate any occasion. If you love red velvet, then you are going to love Red Velvet Cookies.

What is Red Velvet Ice Cream made of?
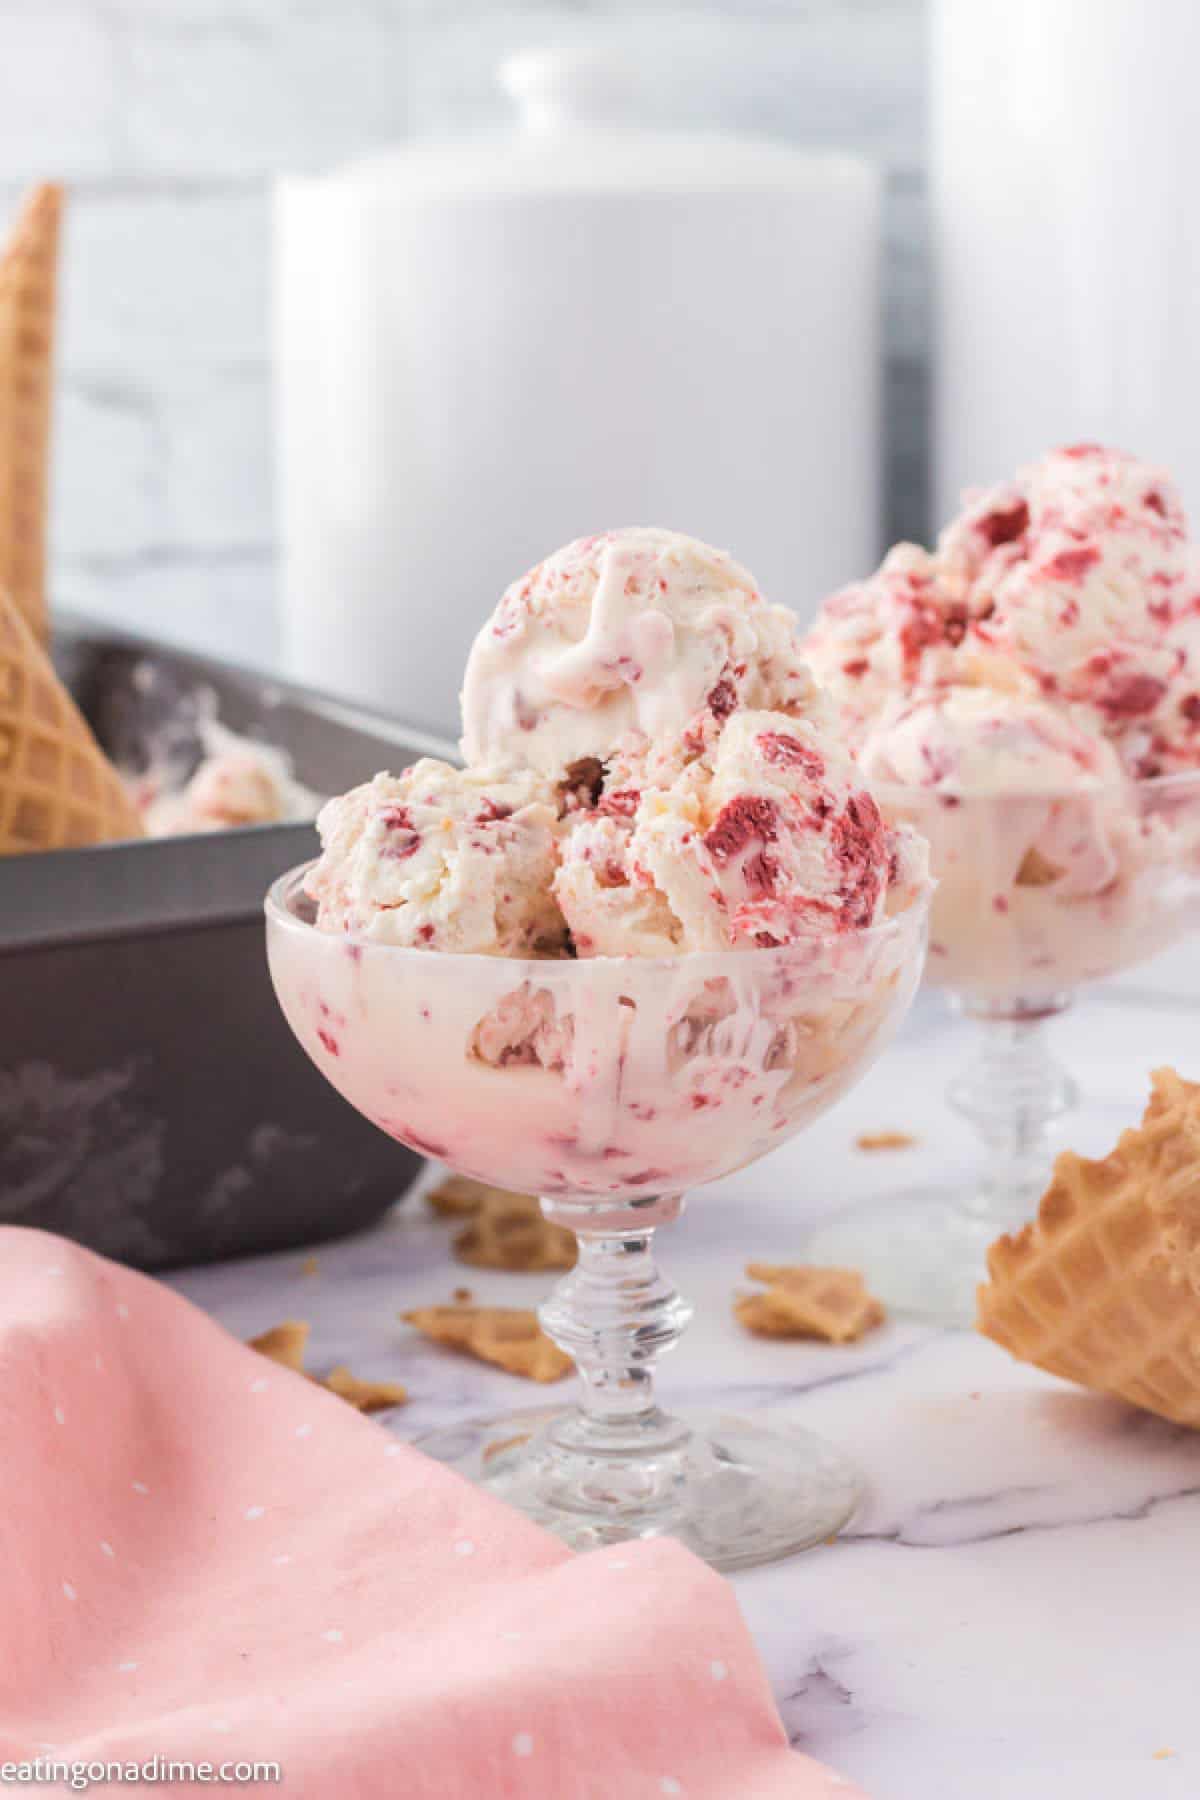
If you love Red Velvet Cake, then you will love this simple ingredient ice cream. The ice cream is made with heavy whipping cream and vanilla. Then, sweetened condensed milk is added to make it creamy.
Once you have made your red velvet cupcake, then crumble pieces into the cream mixture. To add flavor to the cream mixture, drop tablespoons of cream cheese. We love the extra flavor it gives, and no ice cream makers are needed.
No egg yolks are needed, so you don’t have to cook the ingredients over medium heat.
Ingredients:
- Heavy Whipping Cream, chilled
- Sweetened Condensed Milk
- Vanilla Extract
- Red Velvet Cupcake (pre-made or homemade)
- Cream Cheese (Optional)
How to Make Red Velvet Ice Cream:
- Mixed together whipping cream and vanilla – With a stand-up mixer or handheld mixer, beat together the heavy cream and the vanilla extract until the cream is whipped and can form soft peaks.
- Then stir in condensed milk – Then gently stir the sweetened condensed milk into the whipped cream in a large bowl.
- Add in Red Velvet Cupcake – Crumble the red velvet cupcake and gently stir the cake crumbs into the mixture. Be careful not to overmix.

- Add cream mixture to pan – Spread the mixture into a loaf pan.
- Drop Cream Cheese into Mixture – Drop the cream cheese by the tablespoon into the mixture in the pan. Make sure that they are completely covered and gently swirl them into the mixture with a butter knife.
- Freeze Ice Cream – Cover and freeze for at least 4 hours until firm.
- Serve and enjoy – The ice cream will keep covered in the freezer for up to 1 month.

Red Velvet Ice Cream Tips:
- Freeze Bowl and Beaters – I place my mixing bowl and beaters in the freezer for 10-15 minutes before whipping the cream to help whip it quicker.
- Pre-Made Cupcake – You can easily use a pre-made red velvet cupcake topped with cream cheese frosting. Remove the frosting and crumble up the cupcake and then you can drop the cream cheese frosting into the ice cream instead of the cream cheese in this recipe.
- It is best to use full-fat brick-style cream cheese. I do not recommend using whipped, containers of cream cheese, or reduced-fat.
- Do not overmix the ingredients. Also, be careful to fold in the cupcake pieces into the ice cream base.
- Sweetened condensed milk gives the ice cream base its sweetness. Do not substitute it because it will change the texture of the ice cream.
- Add Red Food Coloring – If you like a darker red color of ice cream, add in some drops of red food coloring.
- Add More Red Velvet Cake – If you prefer more red velvet cake, mix in more crumbled cake to the ice cream mixture. You can even add cocoa powder for a chocolate flavor.
How to Store Homemade Ice Cream:
Store inside an airtight container in the freezer. To ensure freshness, you might also want to put a piece of wax paper directly on top of the ice cream. Then place the lid on top.
This extra step will help to prevent ice crystals from forming on top. If you do not have a container with a lid, you can freeze it in the loaf pan. Just cover tightly with plastic wrap.
How long will Homemade Ice Cream last?
This homemade ice cream doesn’t last long in my house. But if stored properly, this ice cream will last about 1 month if covered. Wrap the loaf pan with plastic wrap and then foil.
We do recommend serving this ice cream within about 2 weeks of making it. Ice crystals could form on the ice cream and change the texture.
More Red Velvet Recipes:
Red Velvet Ice Cream is Perfect for Any Occasion:
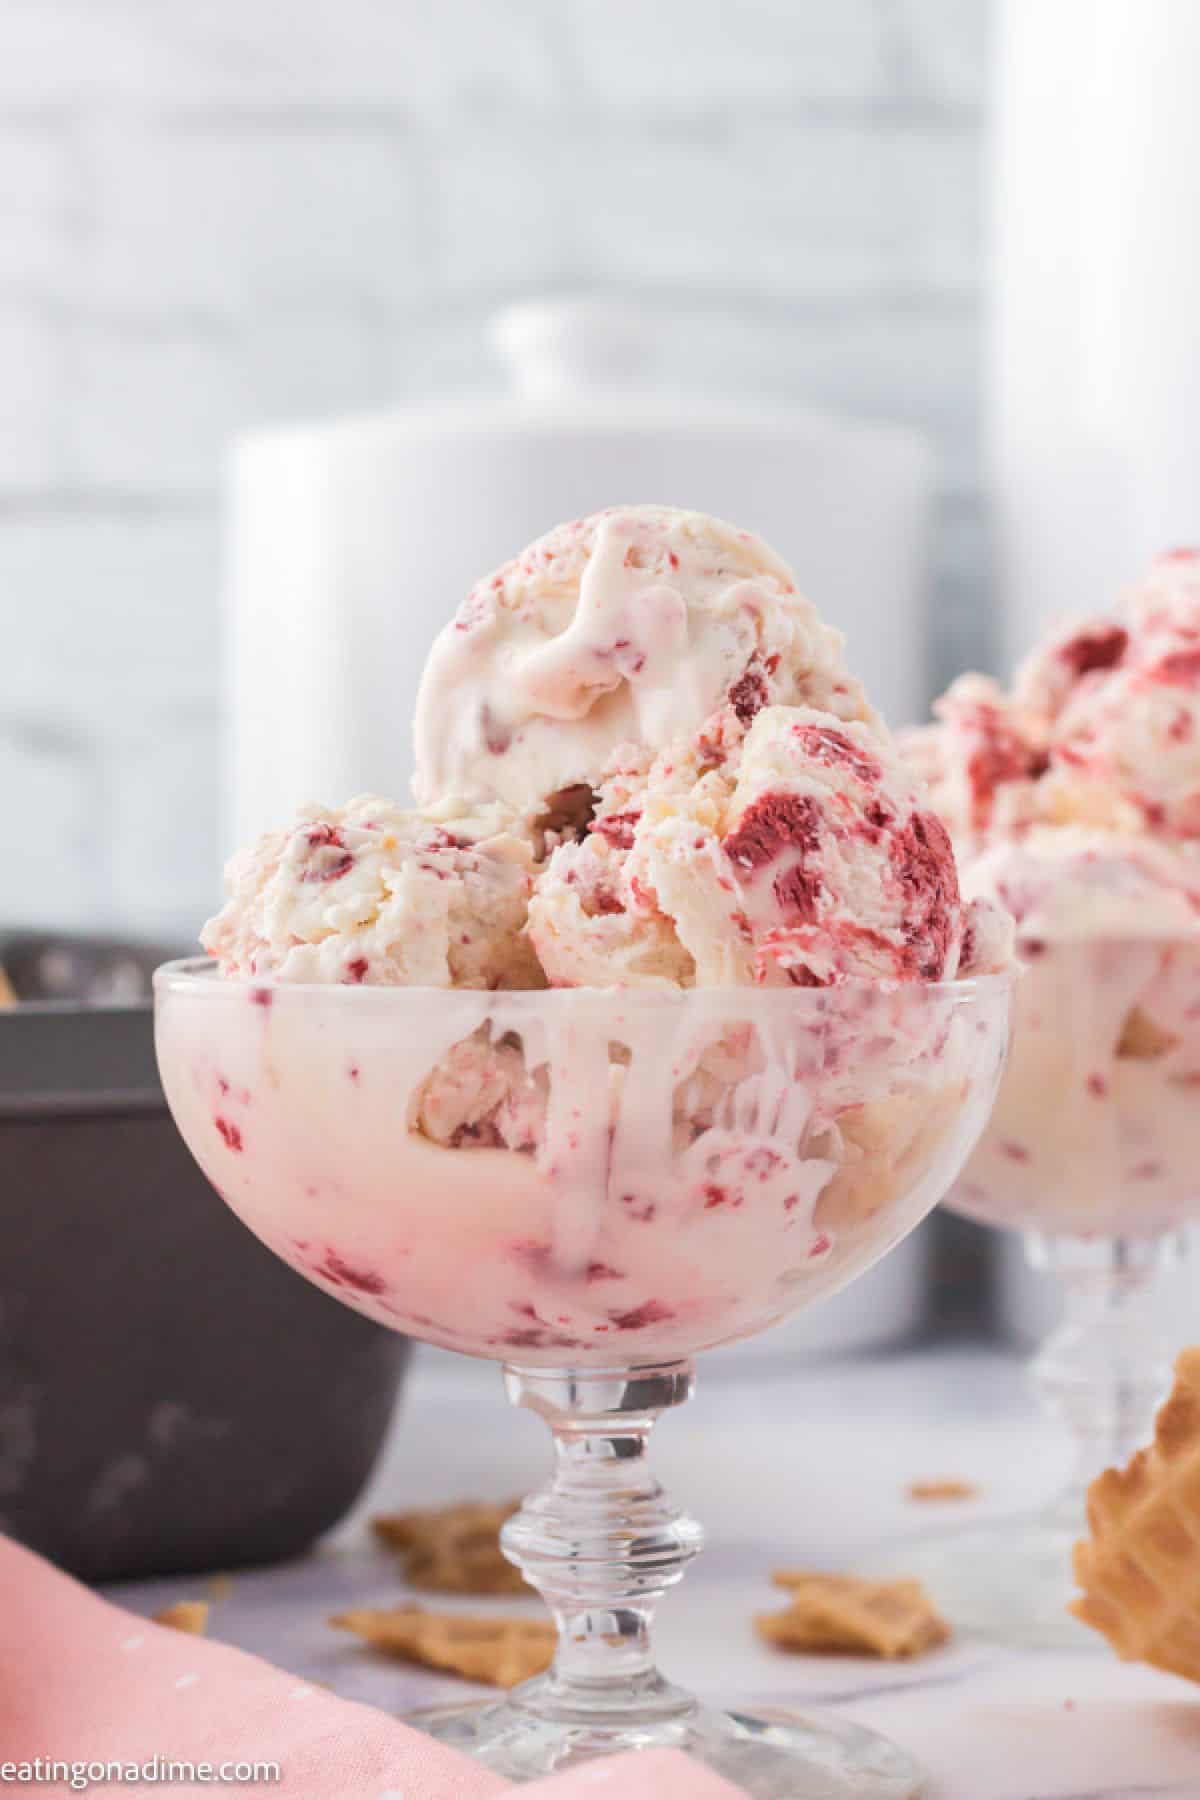
The ice cream base is smooth and creamy. It is super rich and decadent. The red velvet pieces make each bite so amazing.
It is the perfect dessert any day of the week. I think you are going to be pleasantly surprised by just how easy this recipe is.
With only a few ingredients needed, anyone can make homemade ice cream. It is the best and much better than store-bought.
Print Recipe here for Red Velvet Ice Cream:

Red Velvet Ice Cream
Ingredients
- 2 cups Heavy Whipping Cream chilled
- 14 oz. Sweetened Condensed Milk
- 2 tsp Vanilla Extract
- 1 Red Velvet Cupcake pre-made or homemade
- ¼ cup Cream Cheese Optional
See how we calculate recipe costs.
Instructions
- With a stand up mixer or hand held mixer, beat together the heavy whipping cream and the vanilla extract until the cream is whipped and can form soft peaks.
- Then gently stir the sweetened condensed milk into the whipped cream.
- Crumble the red velvet cupcake and gently stir the cake crumbs into the mixture. Be careful not to over mix.
- Spread the mixture into a loaf pan. Drop the cream cheese by the tablespoons into the mixture in the pan. Make sure that they are completely covered and gently swirl them into the mixture with a butter knife. Cover and freeze for at least 4 hours until firm.
- Serve and enjoy! The ice cream will keep covered in the freezer for up to 1 month.
Recipe Notes
Nutrition Facts
More No Churn Ice Cream Recipes:
- Homemade Churro Ice Cream Recipe
- Cinnamon Ice Cream Recipe
- Fruit Ice Cream
- Chunky Monkey Ice Cream
- No Churn Strawberry ice Cream
- Homemade Peach Ice Cream Recipe
- Harry Potter Butterbeer Ice Cream Recipe