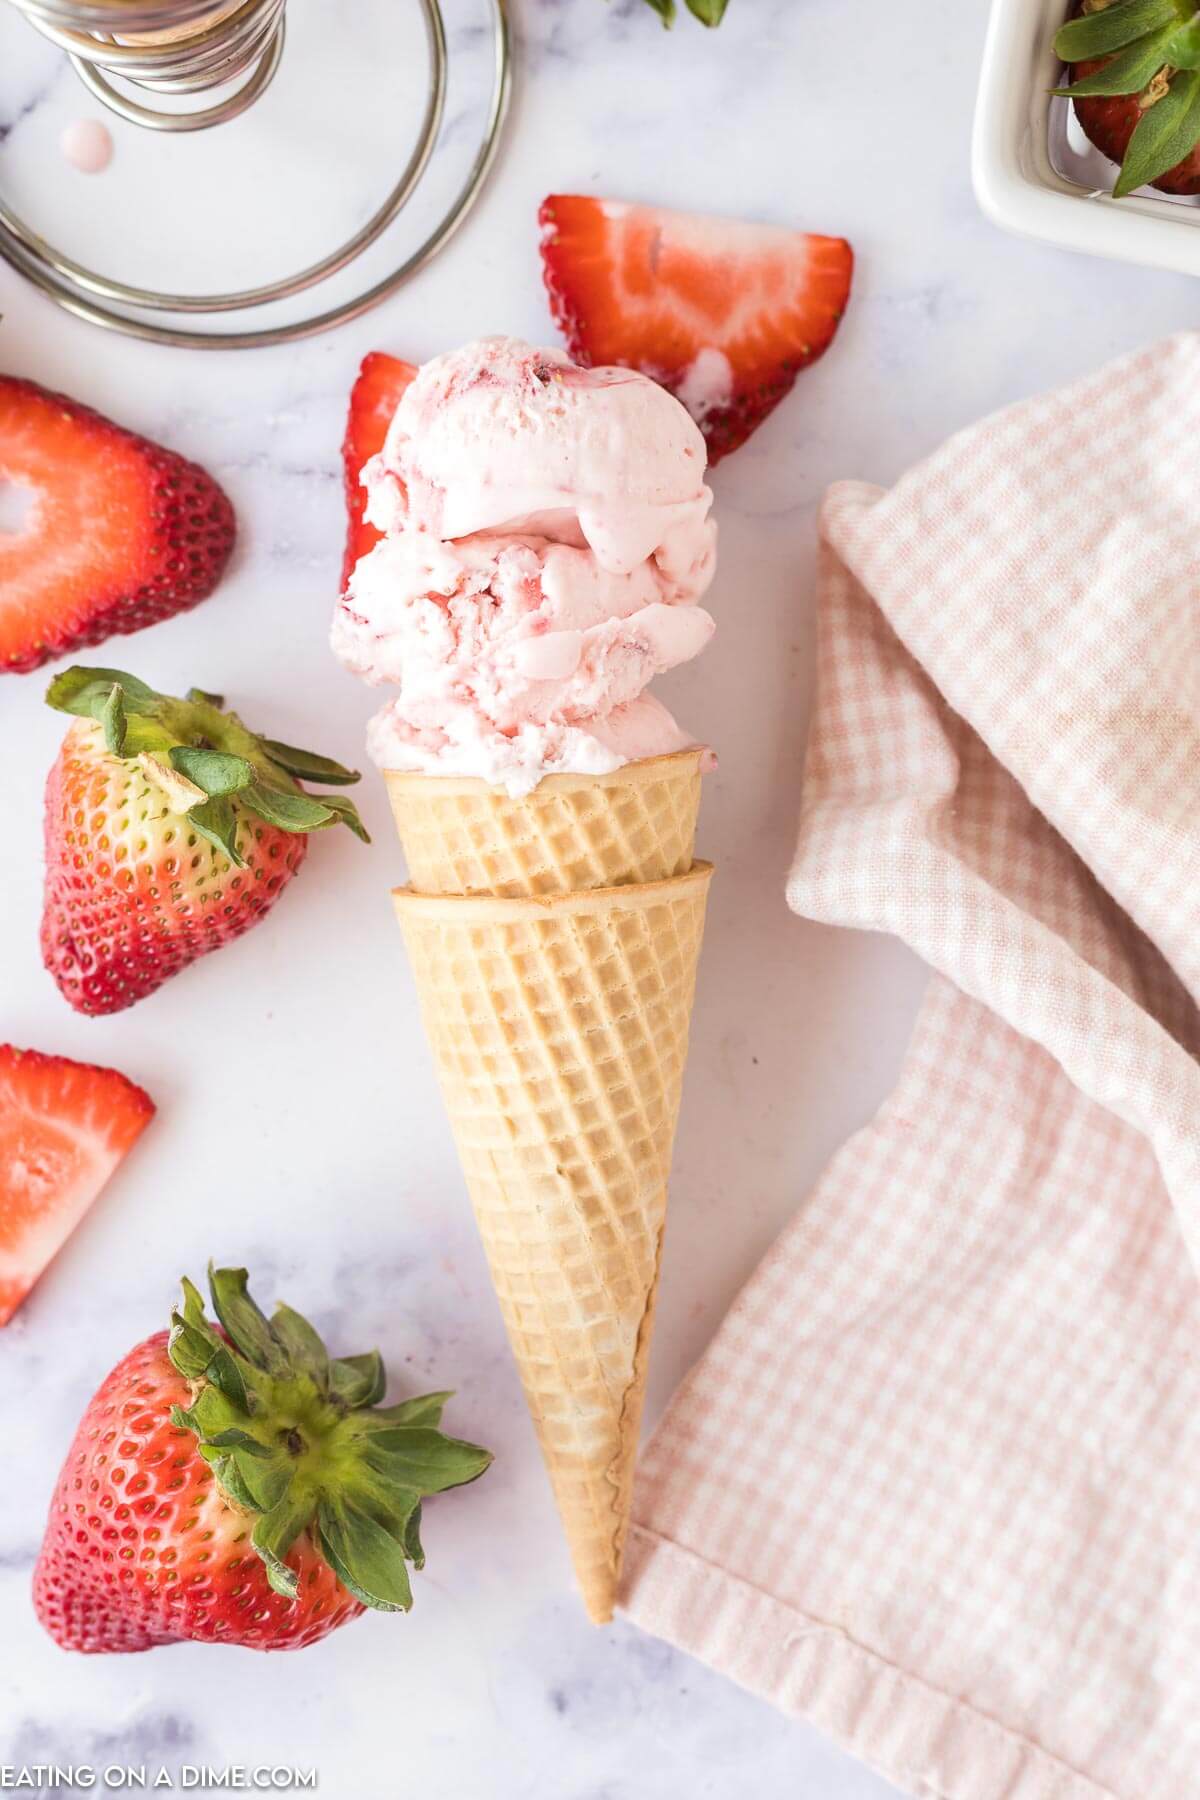
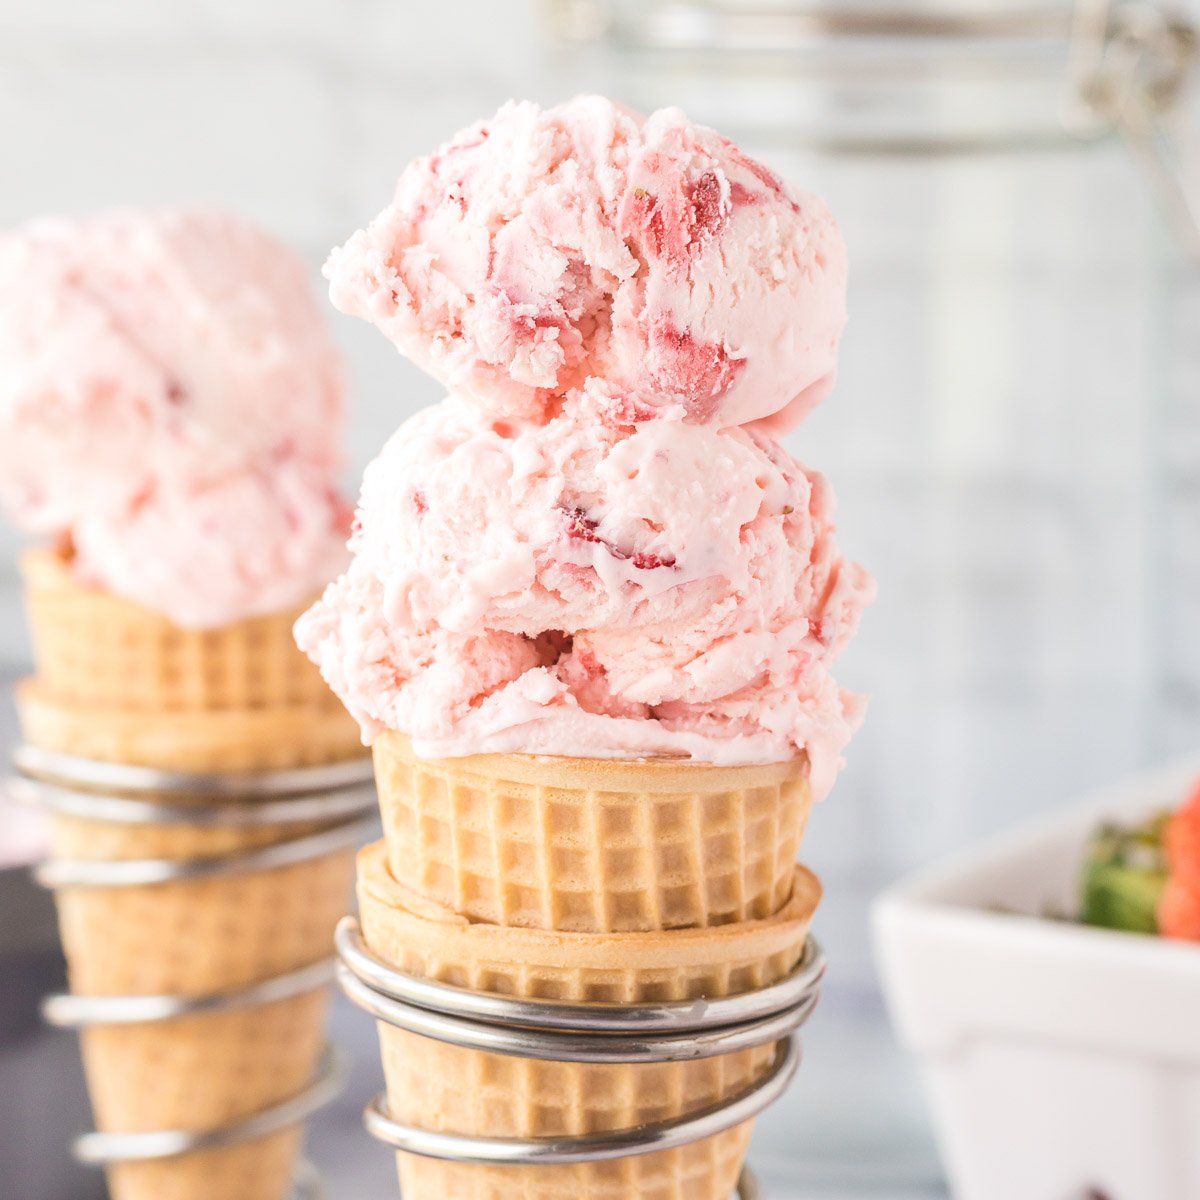
This No Churn Strawberry Ice Cream has a creamy texture, loaded with fresh strawberries and is easy to make. Simple ingredients makes this a family favorite.
Easy No Churn Strawberry Ice Cream Recipe:
This is the best strawberry ice cream recipe. This ice cream tastes amazing and there is no need for a ice cream maker or machine. You will love this homemade strawberry ice cream.
This ice cream is loaded with strawberry flavor, creamy and the perfect ice cream to enjoy all year long. 5 Ingredients is all you need to make this easy ice cream recipe.
Making ice cream is one of my favorite treats for this summer. Adding ripe strawberries gives it the best flavor. Serve this ice cream this summer to beat the heat. Check out more Easy Ice Cream Desserts and this Fanta Ice Cream Float Recipe.
Do you need an Ice Cream Maker?
The great thing about this recipe is that there is no need for any machine or special equipment.
All you need is to combine the ingredients in a bowl and pour in a loaf pan. Then freeze to create a delicious ice cream recipe.
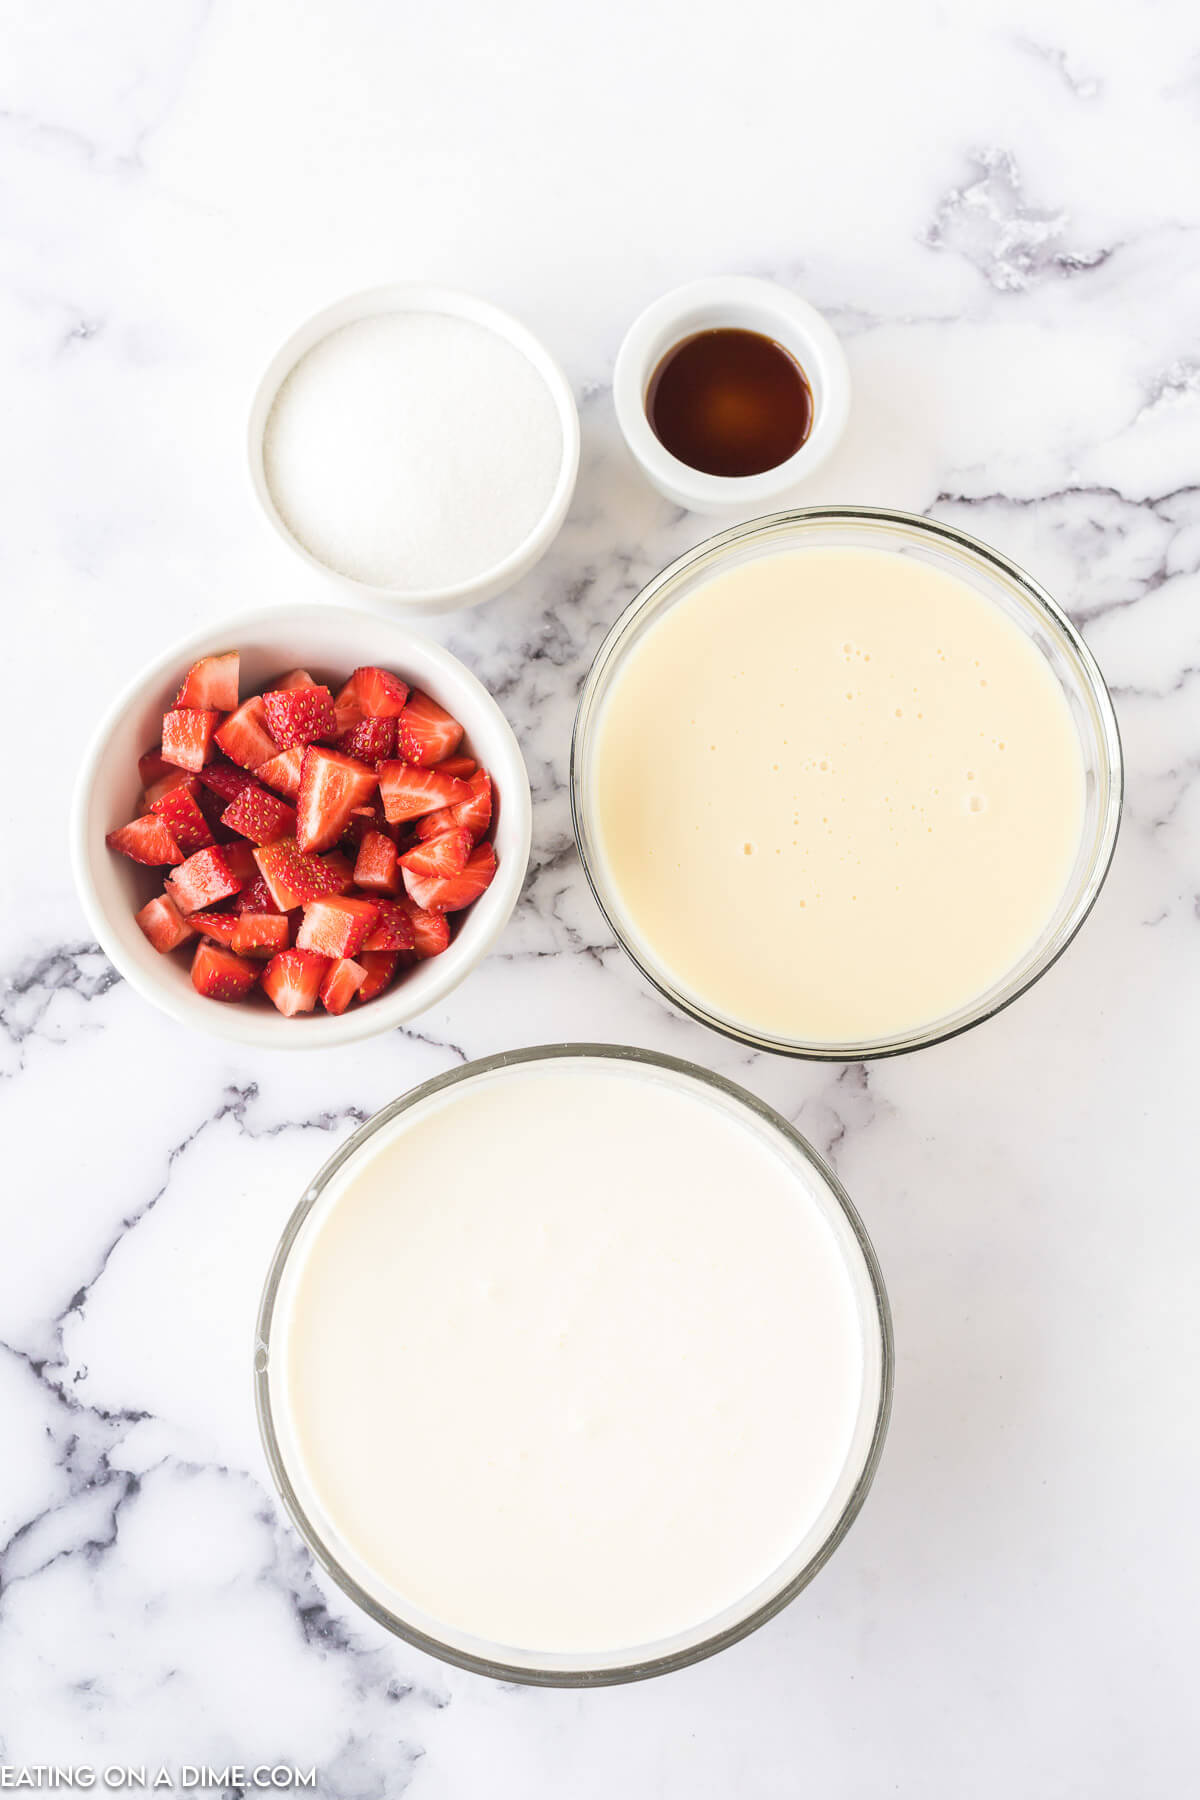
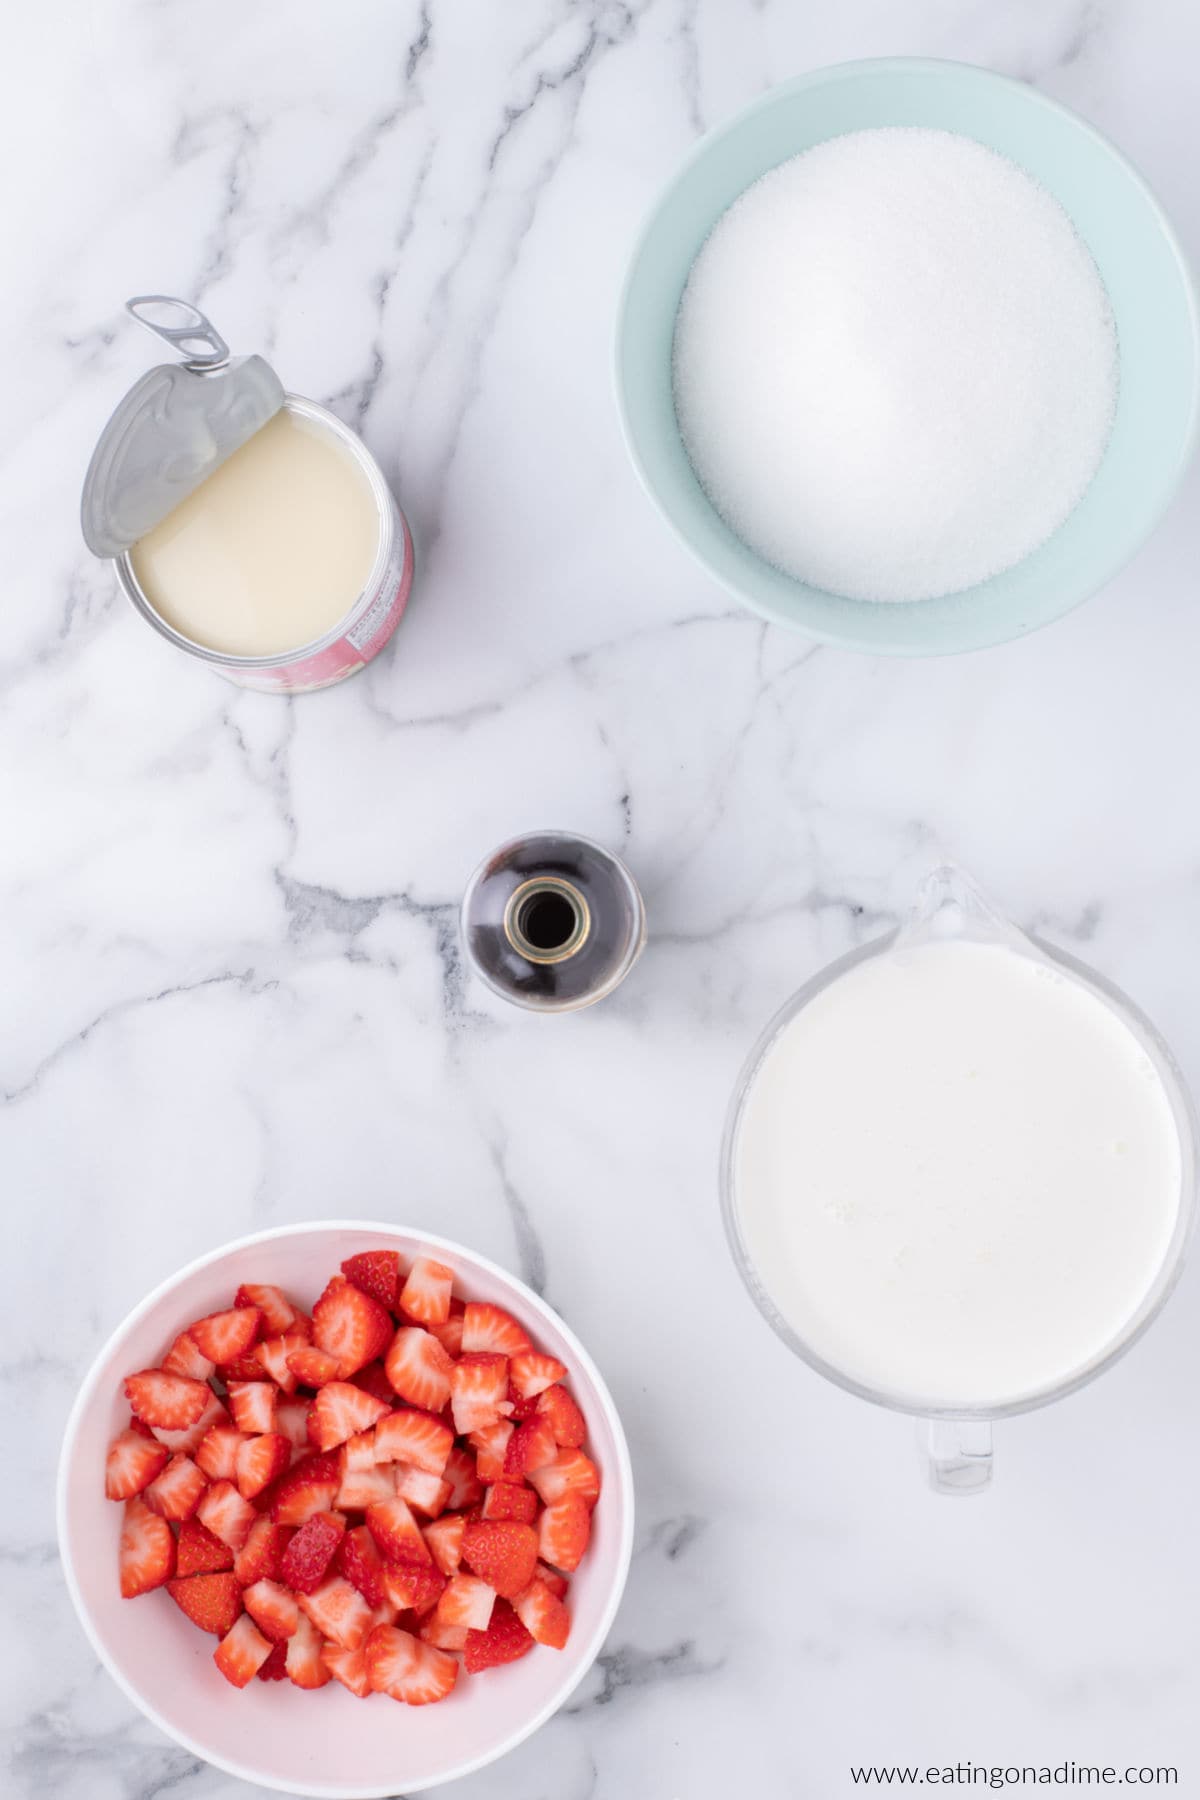
Ingredients:
- Heavy Whipping Cream
- Vanilla Extract
- Sweetened Condensed Milk
- Strawberries
- White Granulated Sugar
How to Make No Churn Strawberry Ice Cream
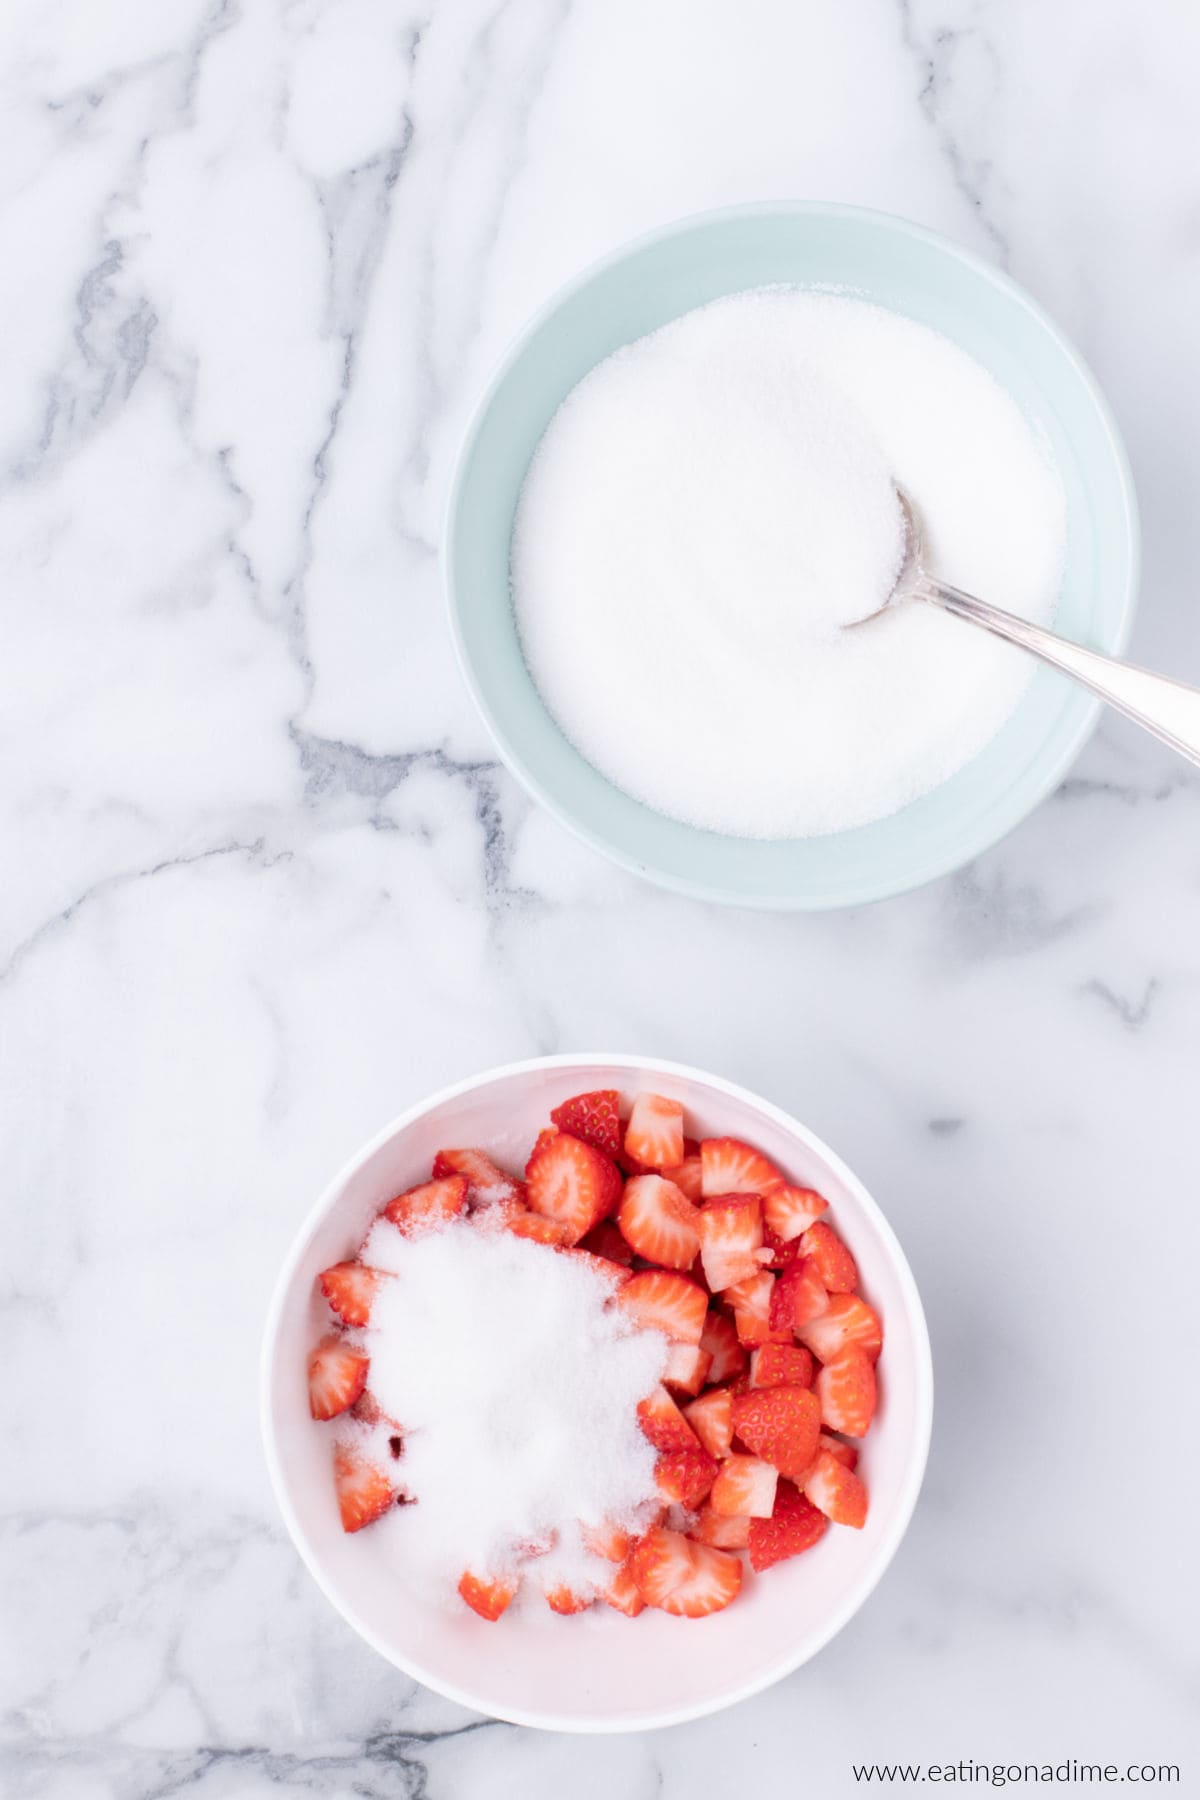
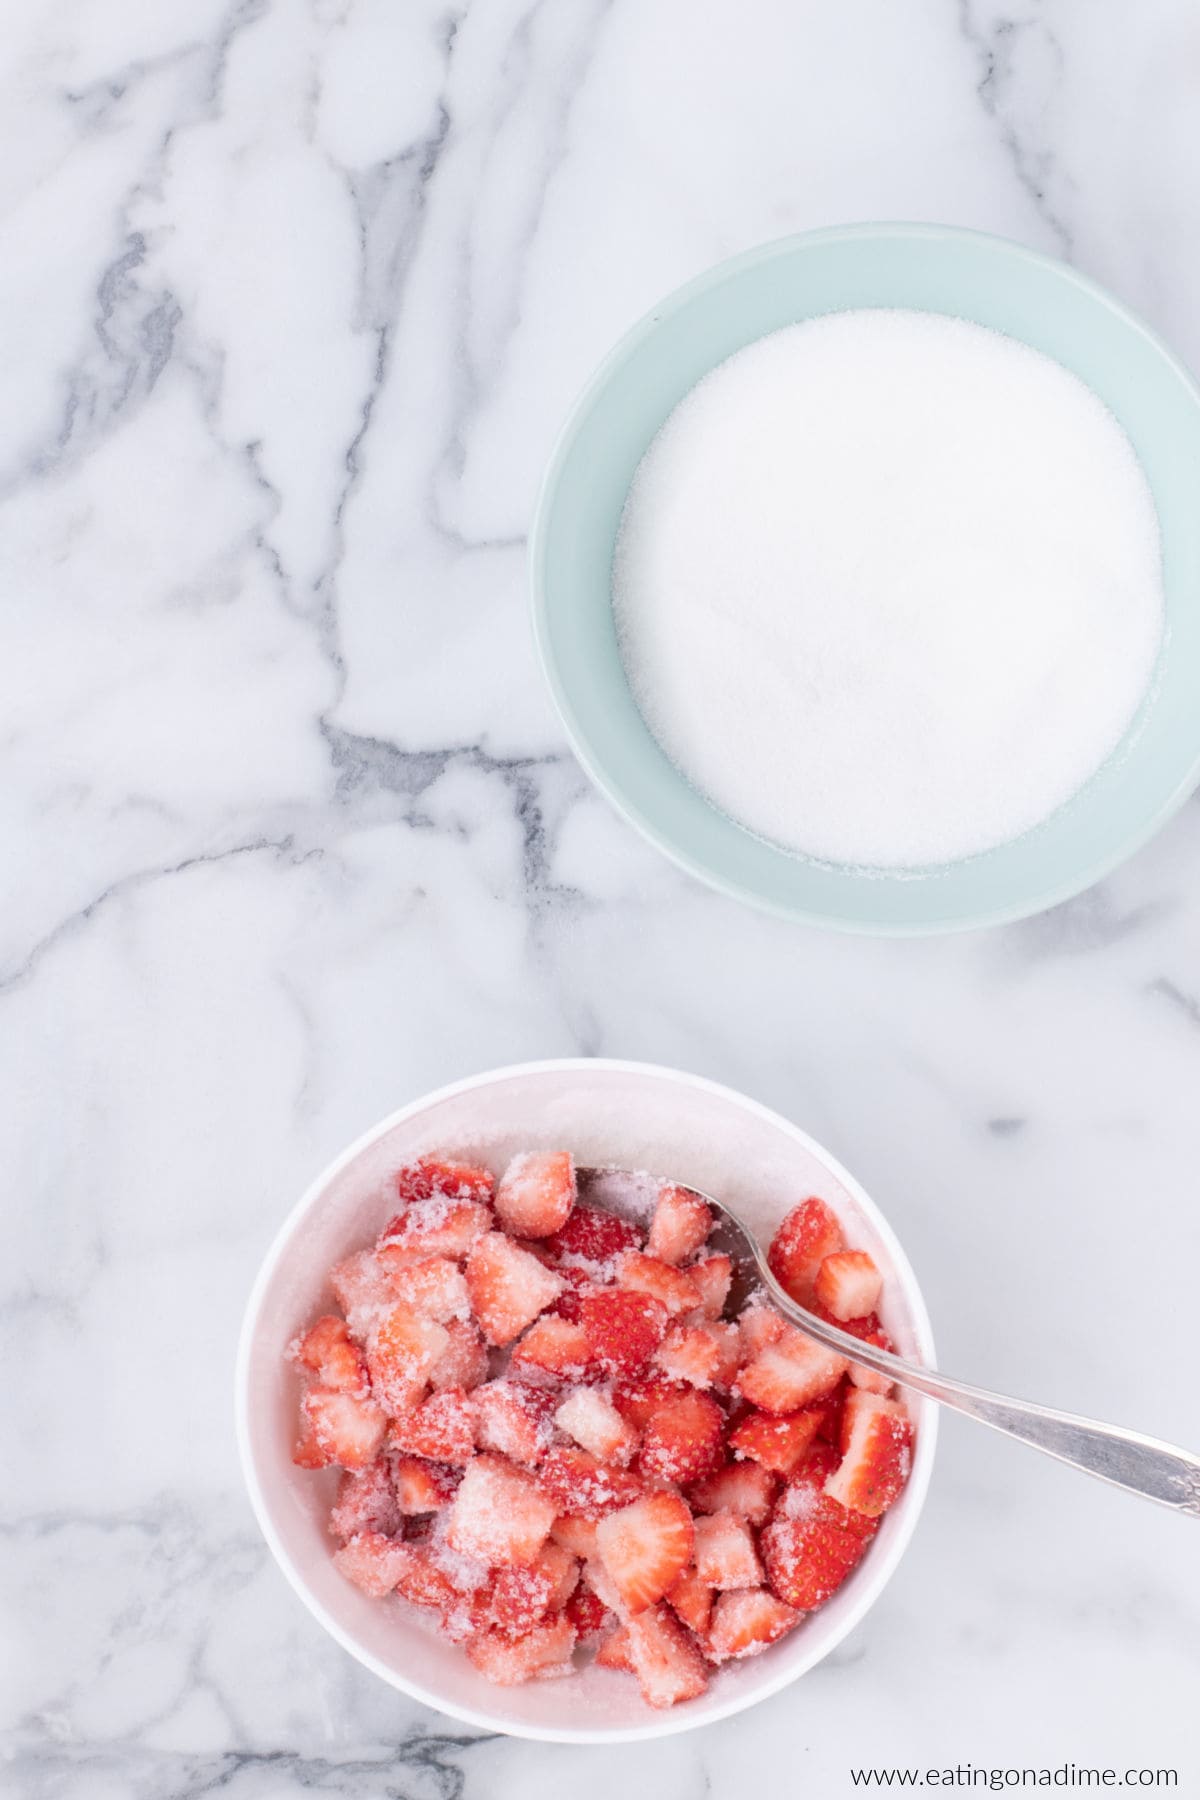
Step 1 – Combine Strawberries and Sugar – In a small bowl, combine the strawberries and sugar until the fruit is evenly coated. Allow the mixture to sit for 15 minutes to give the strawberries time to reduce their juices.
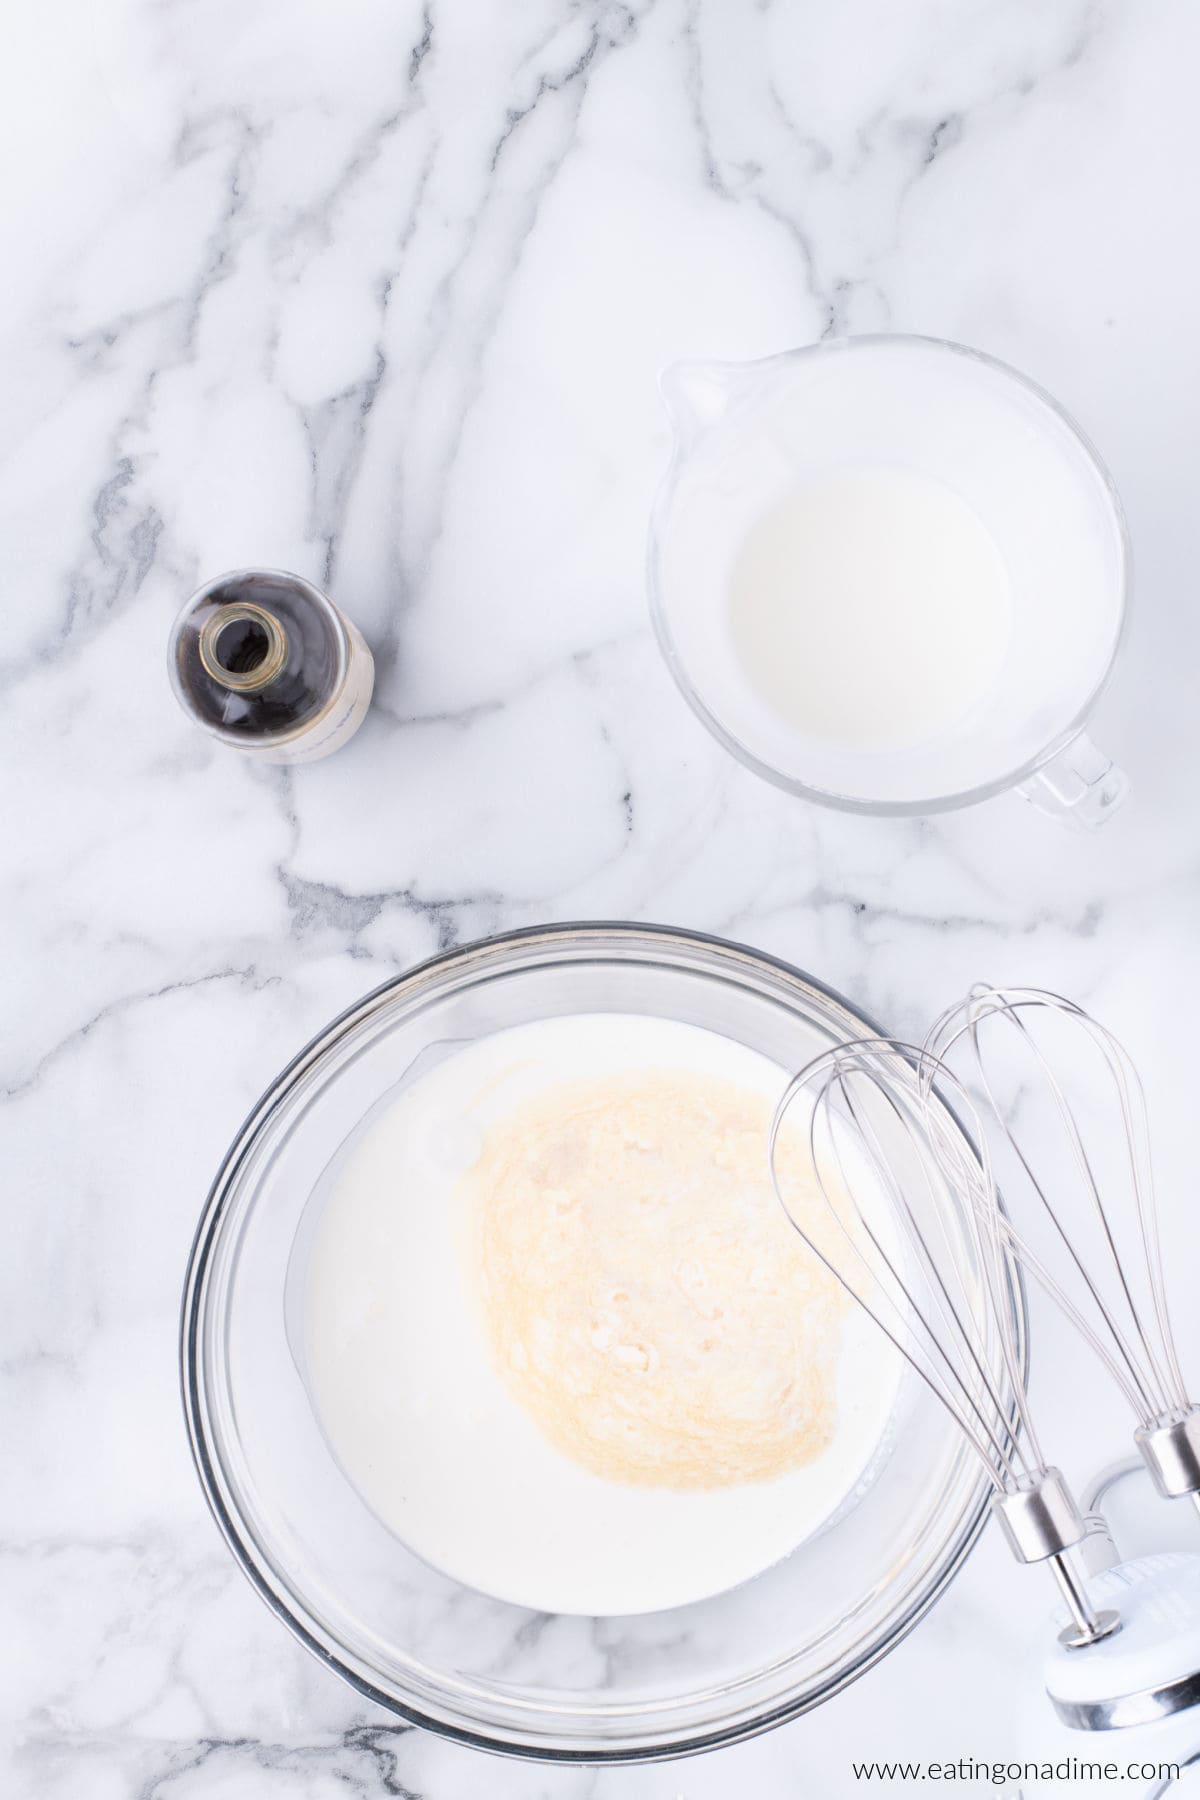
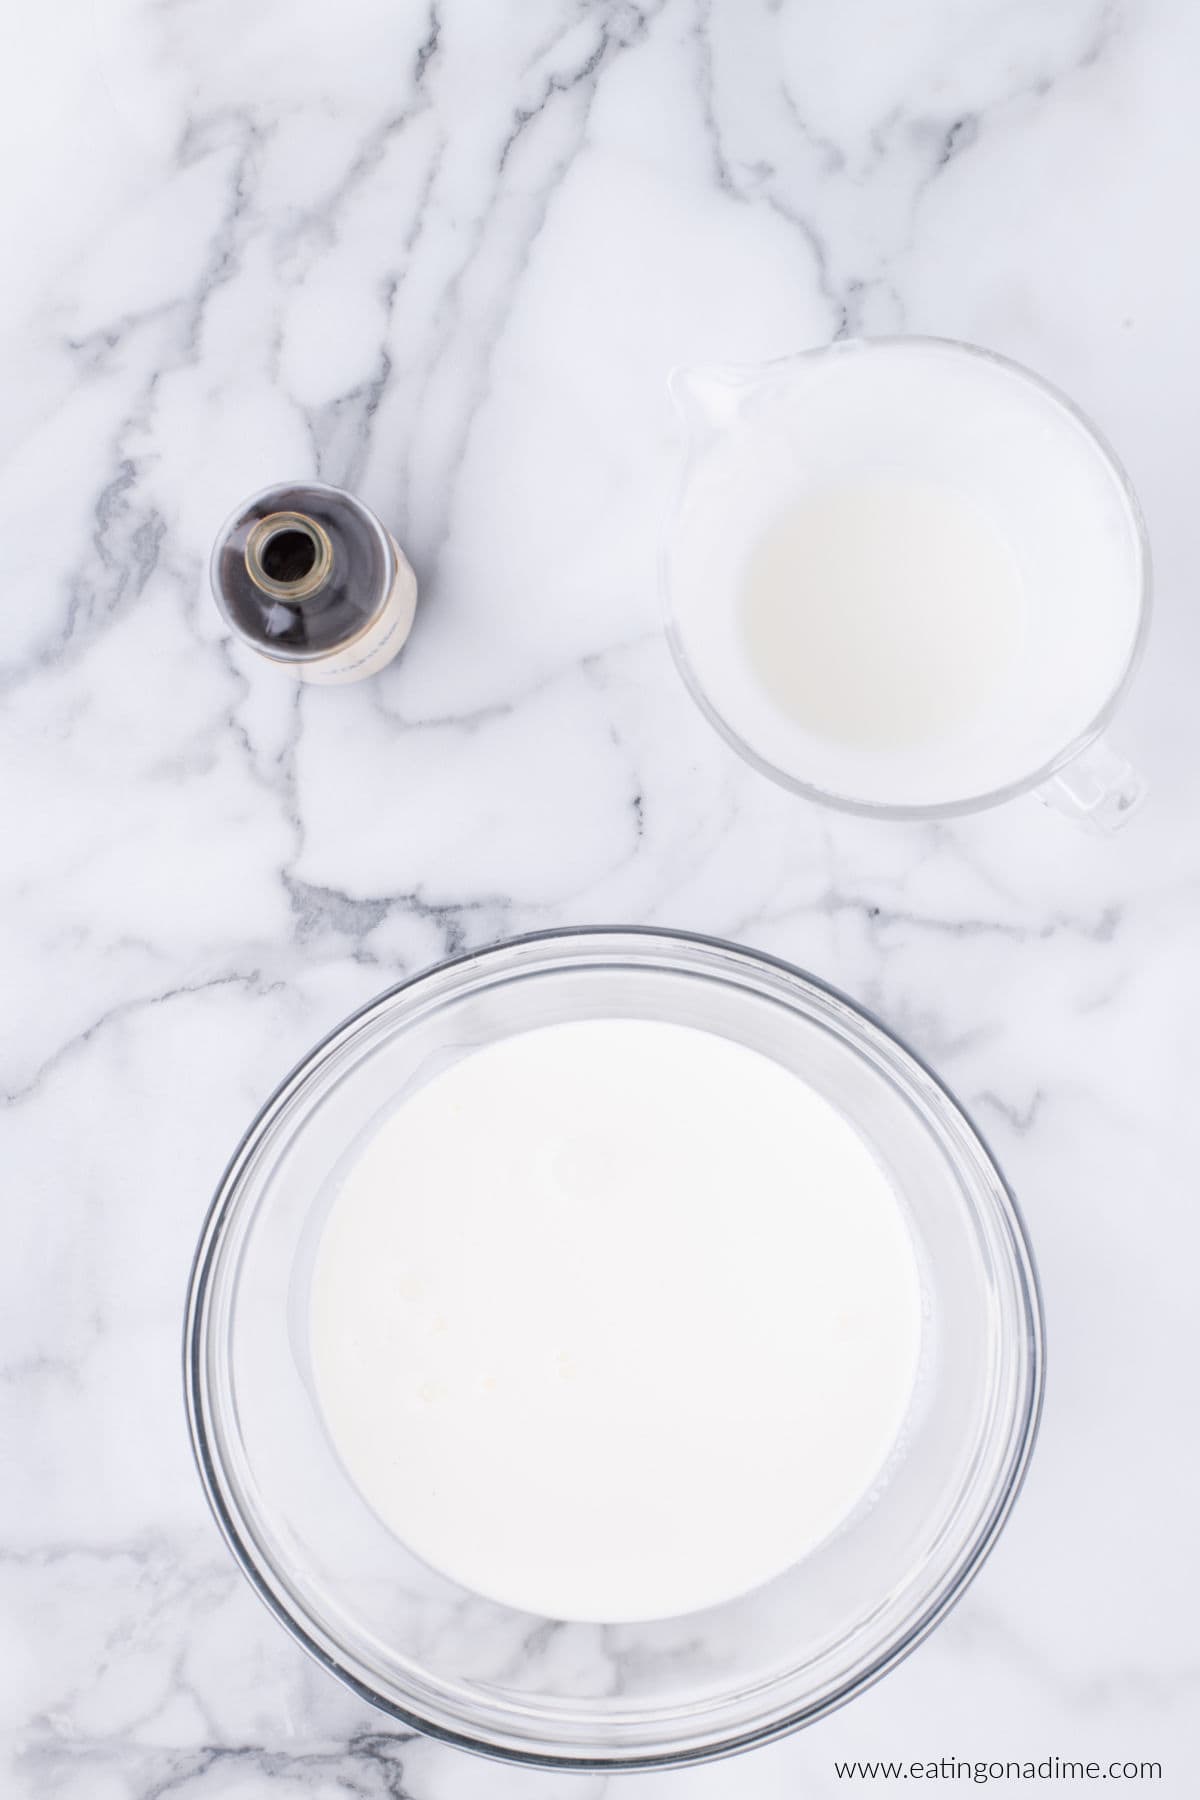
Step 2 – Beat Heavy Cream and Vanilla – While the strawberries are sitting. Use an electric hand mixer to whip the cream and vanilla. Beat for about 4 minutes on high speed, or until the mixture starts to form stiff peaks.
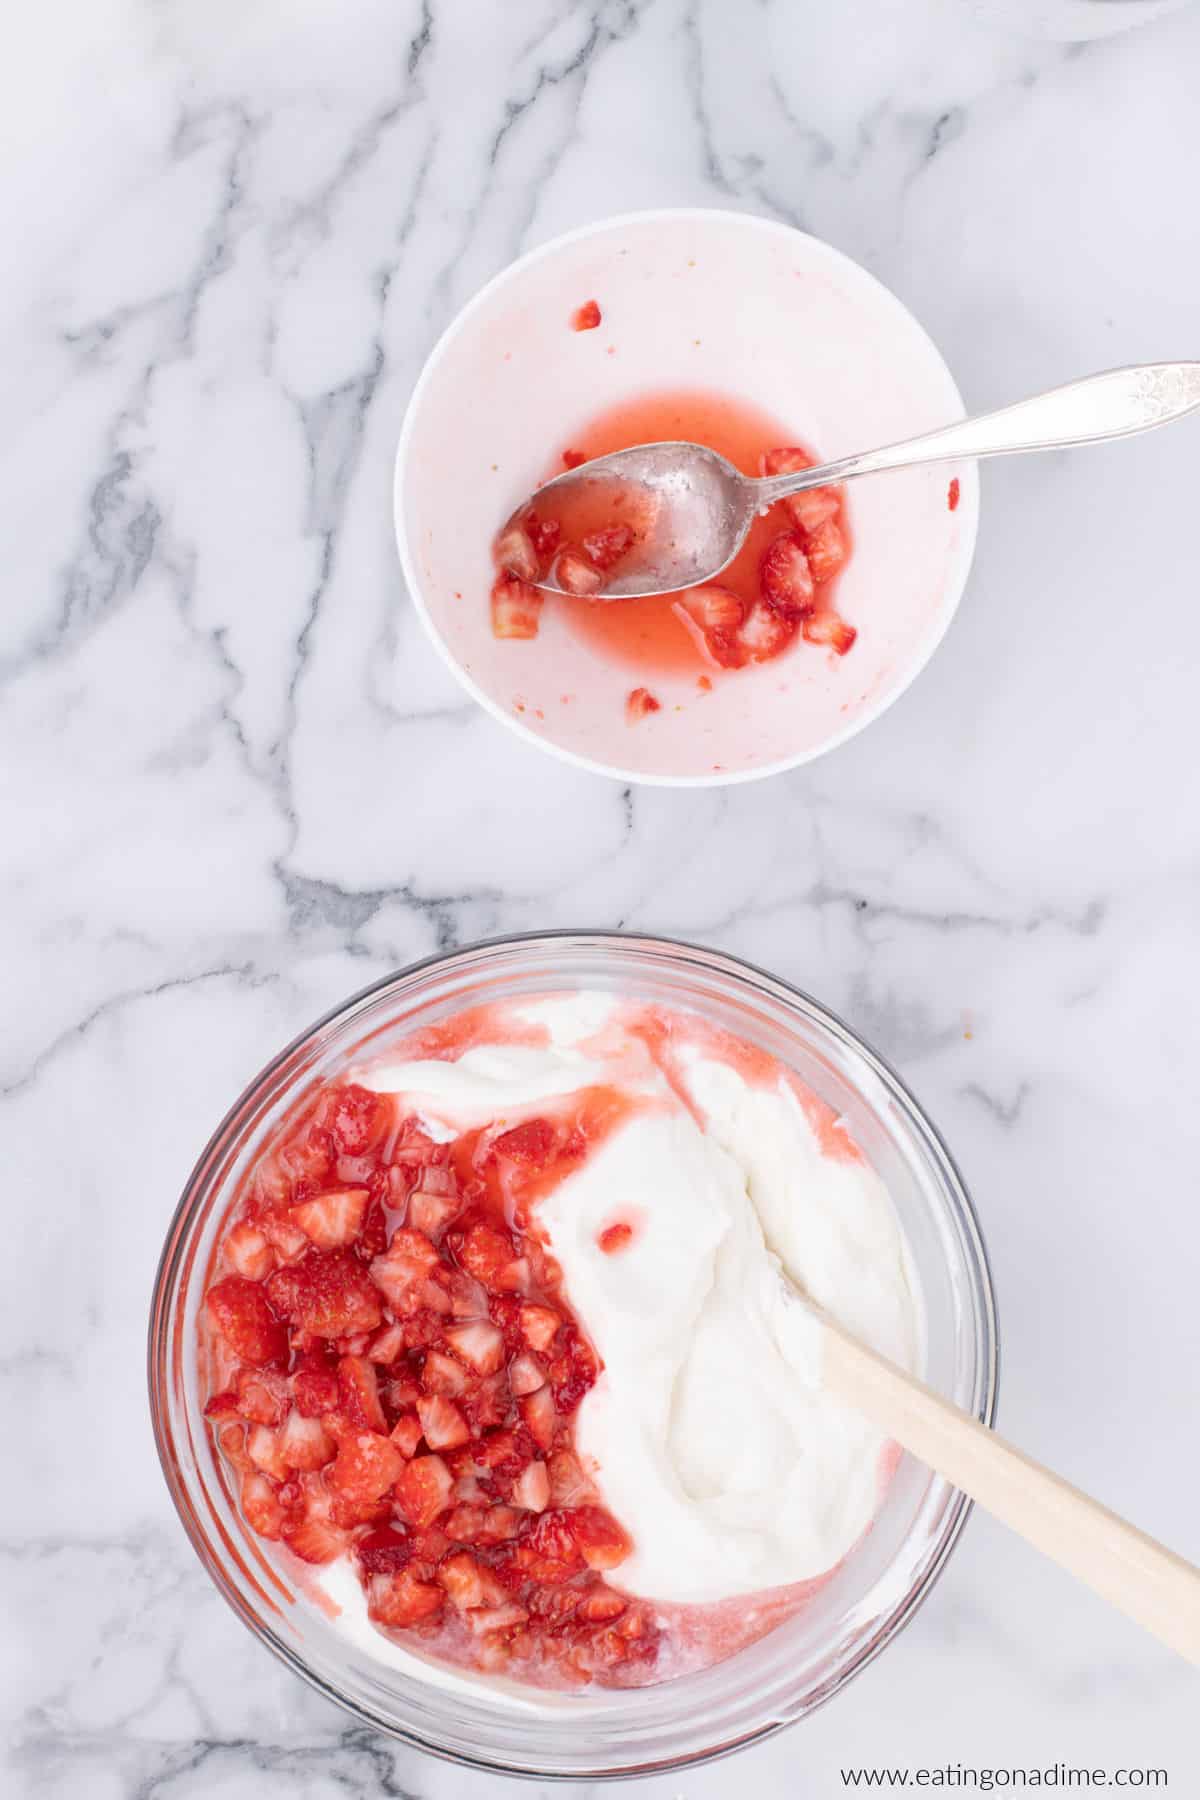
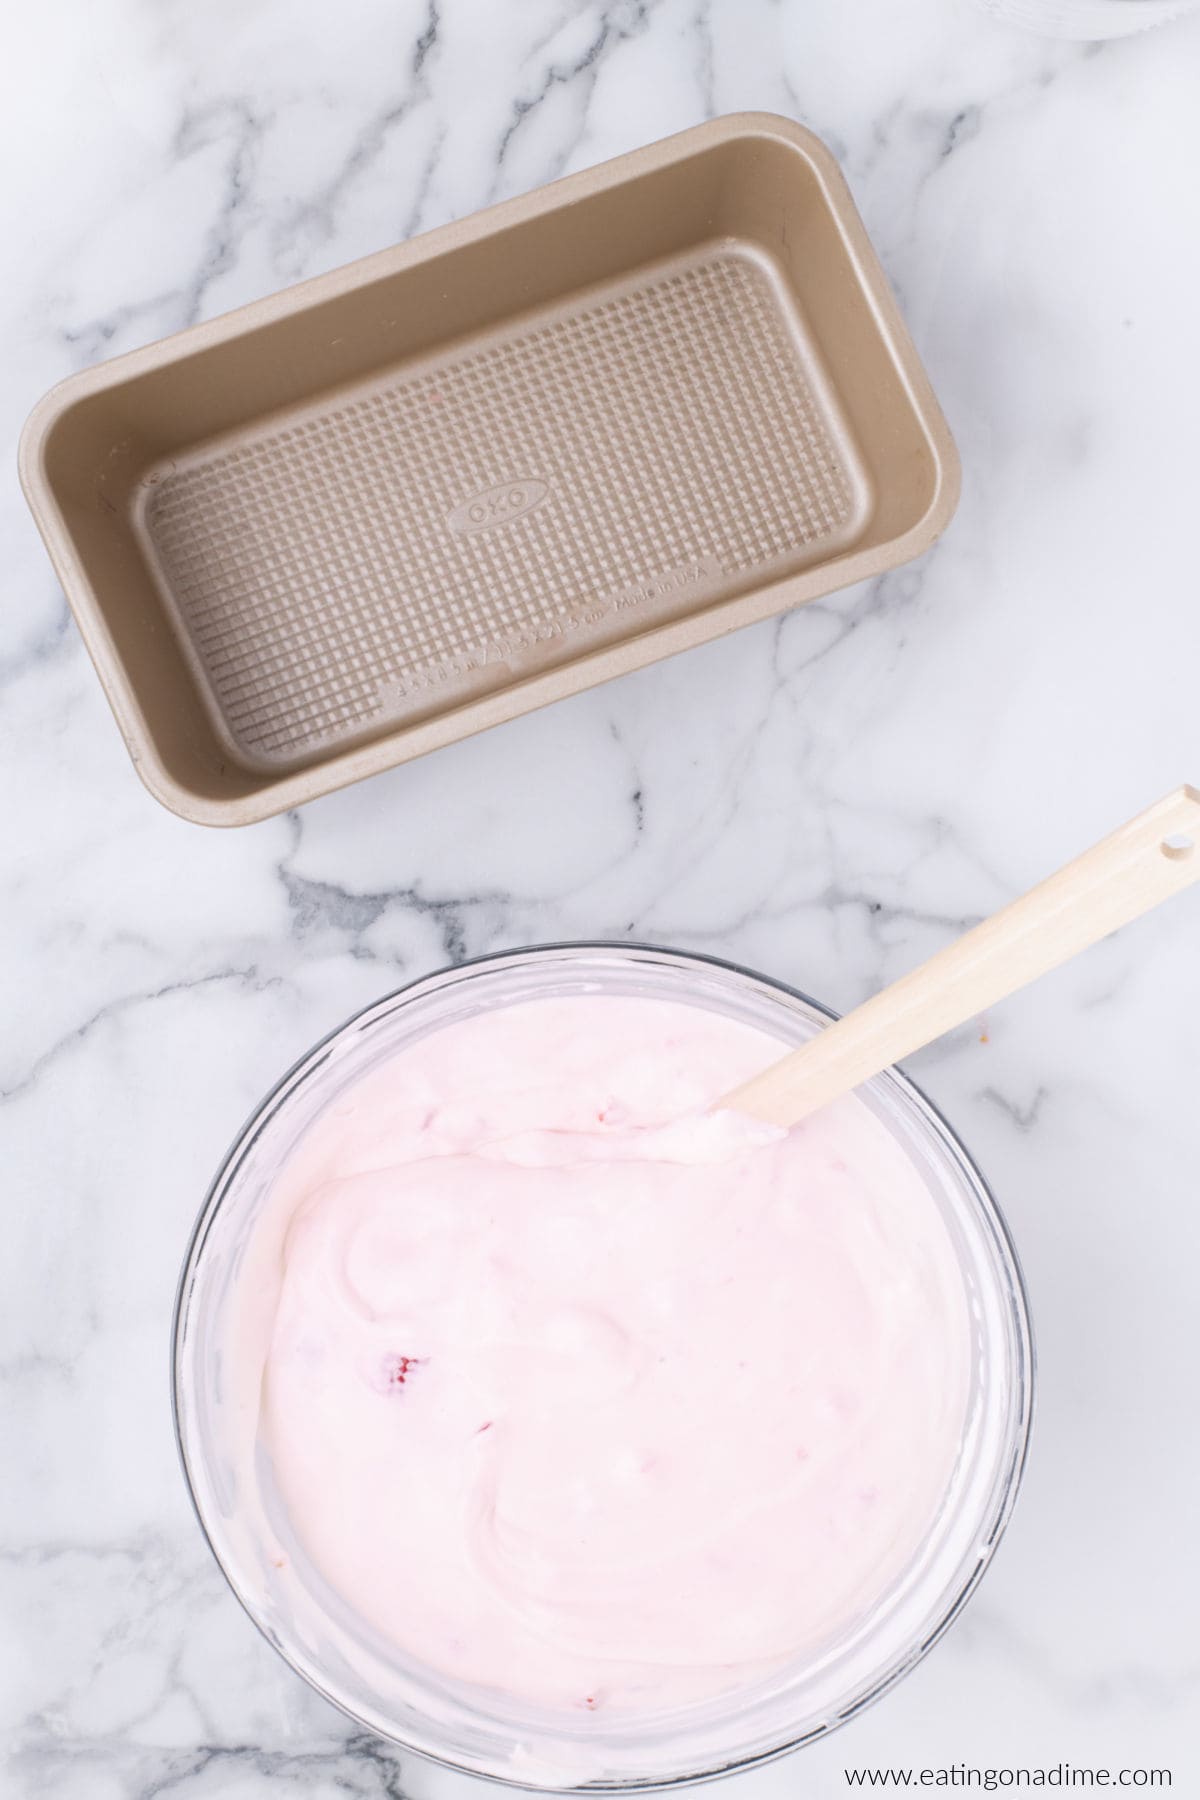
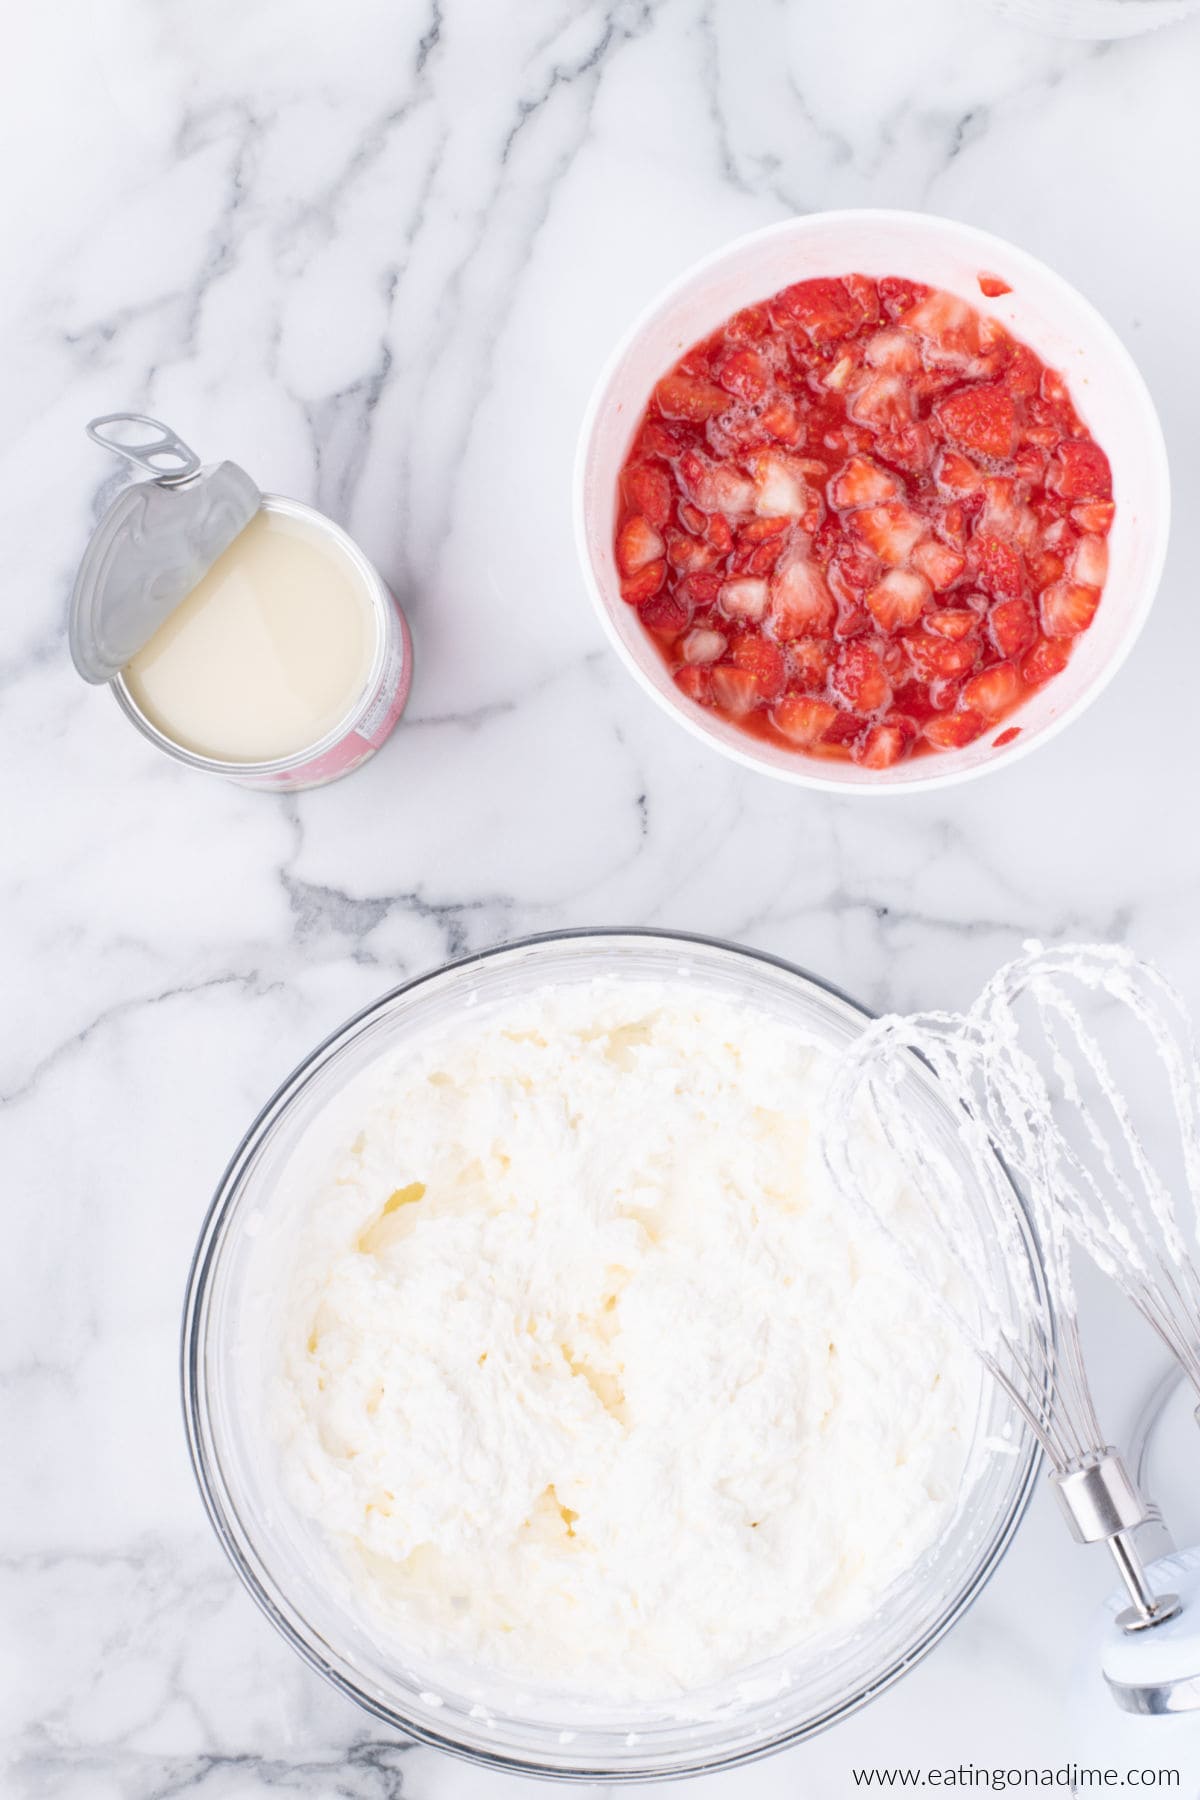
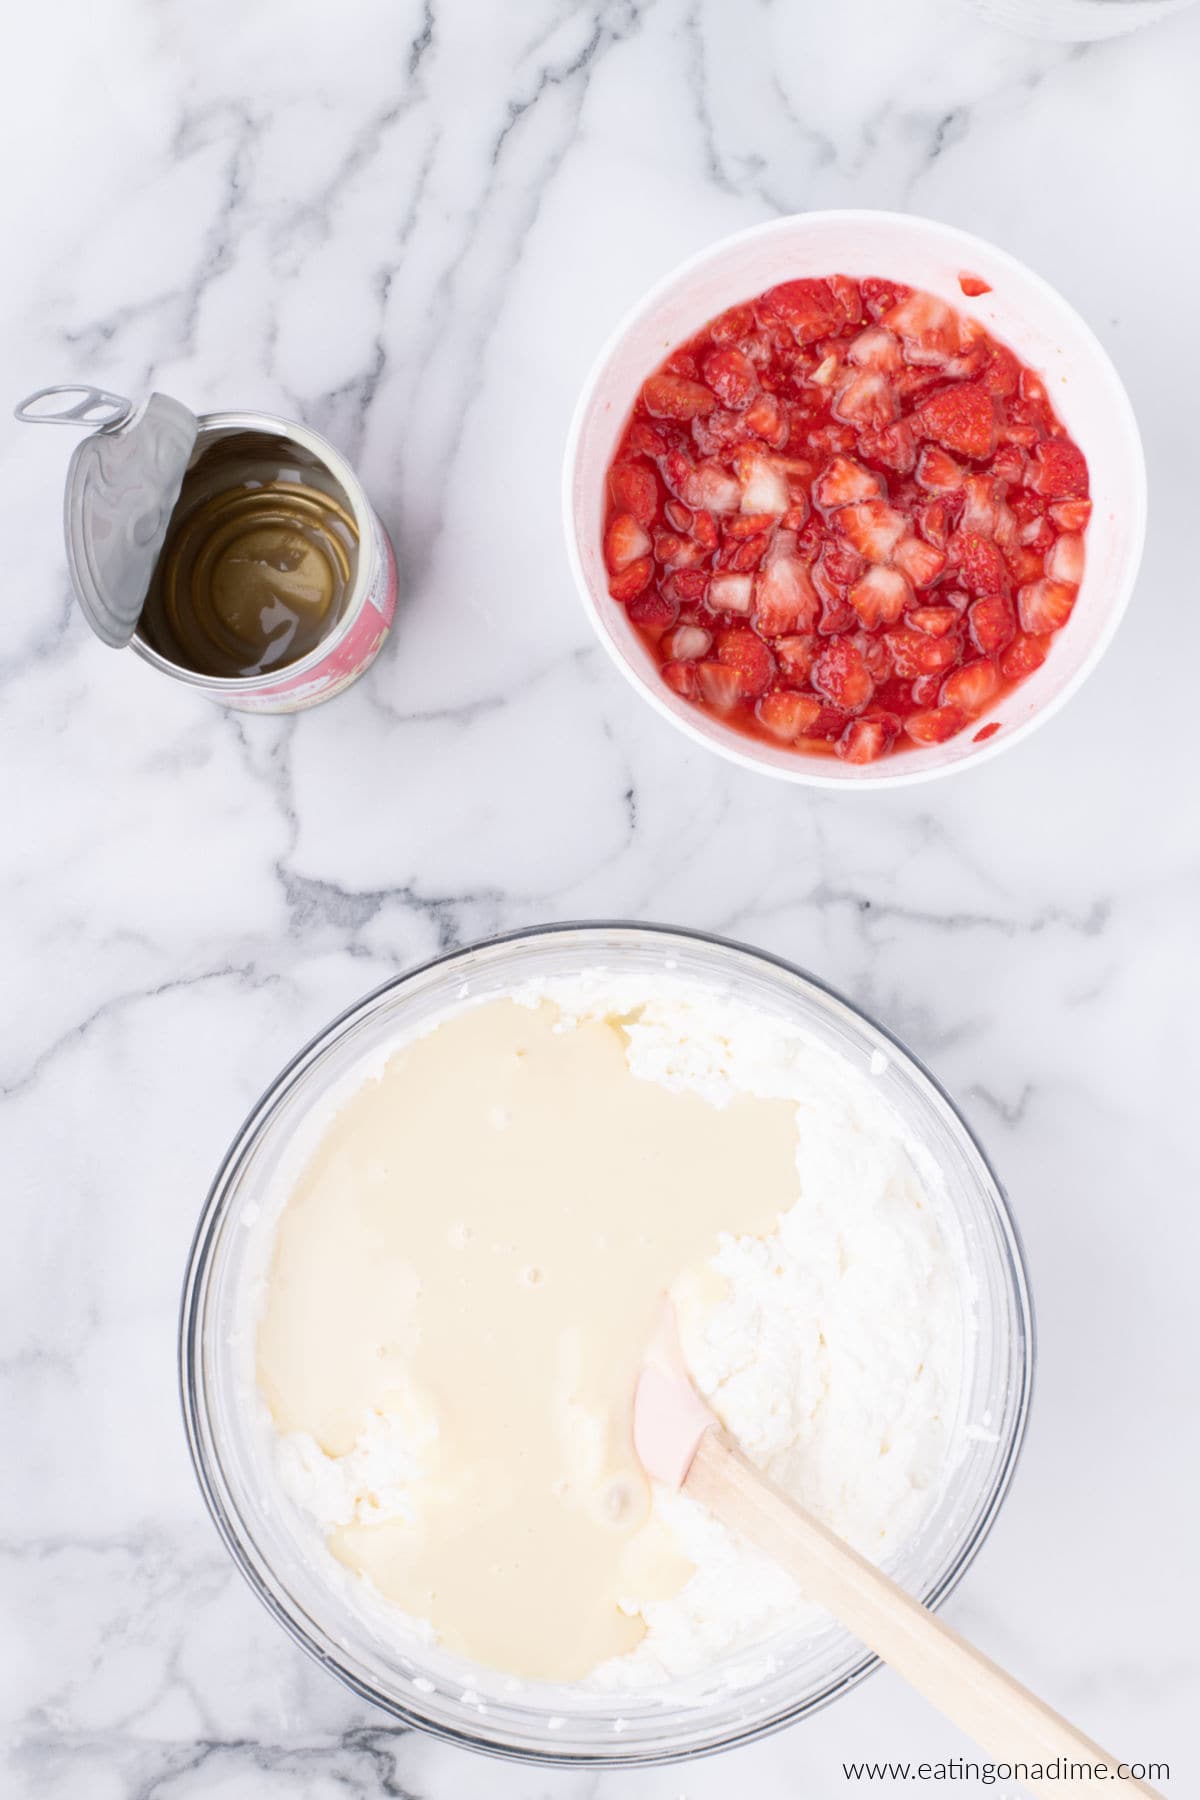
Step 3 – Reduce Speed – Reduce the speed of your hand mixer to low. Then mix in the sweetened condensed milk and strawberry mixture until it is combined with the whipped cream.
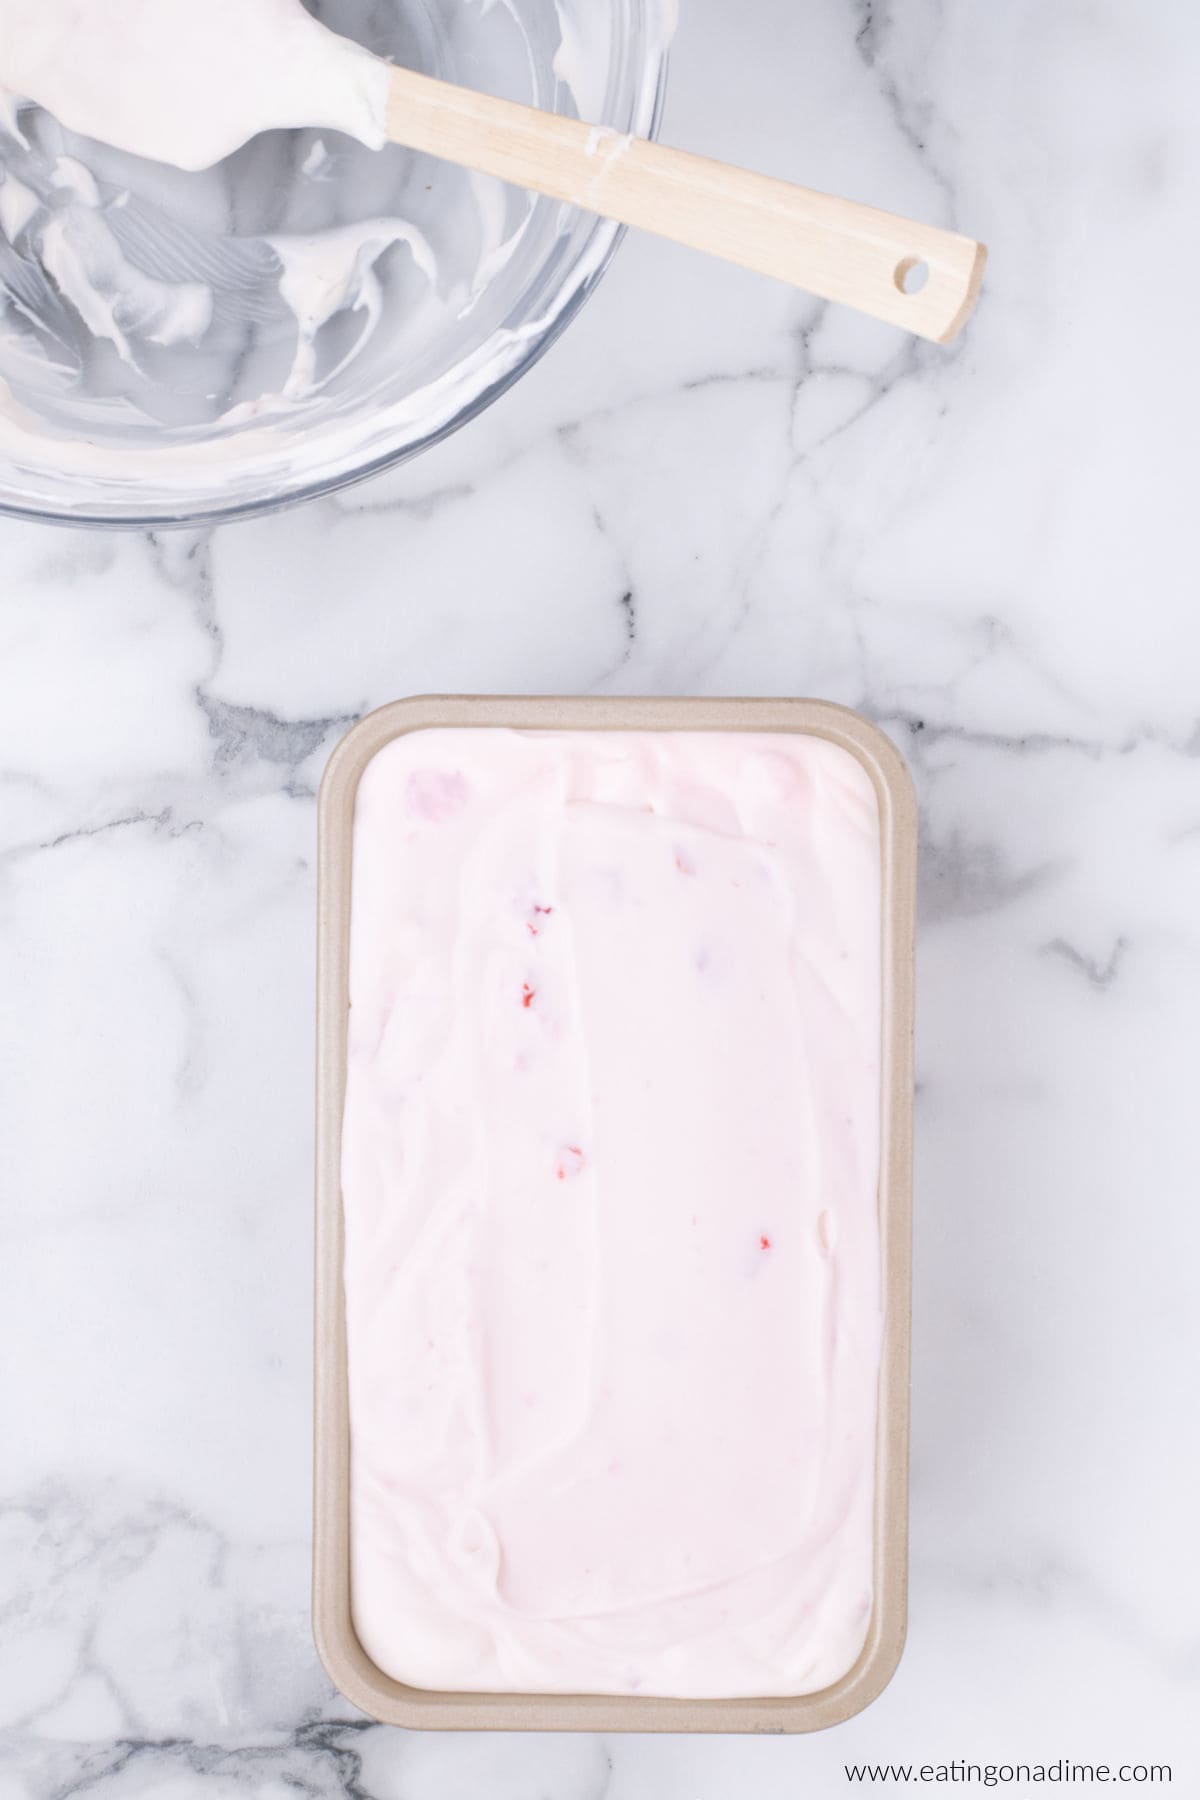
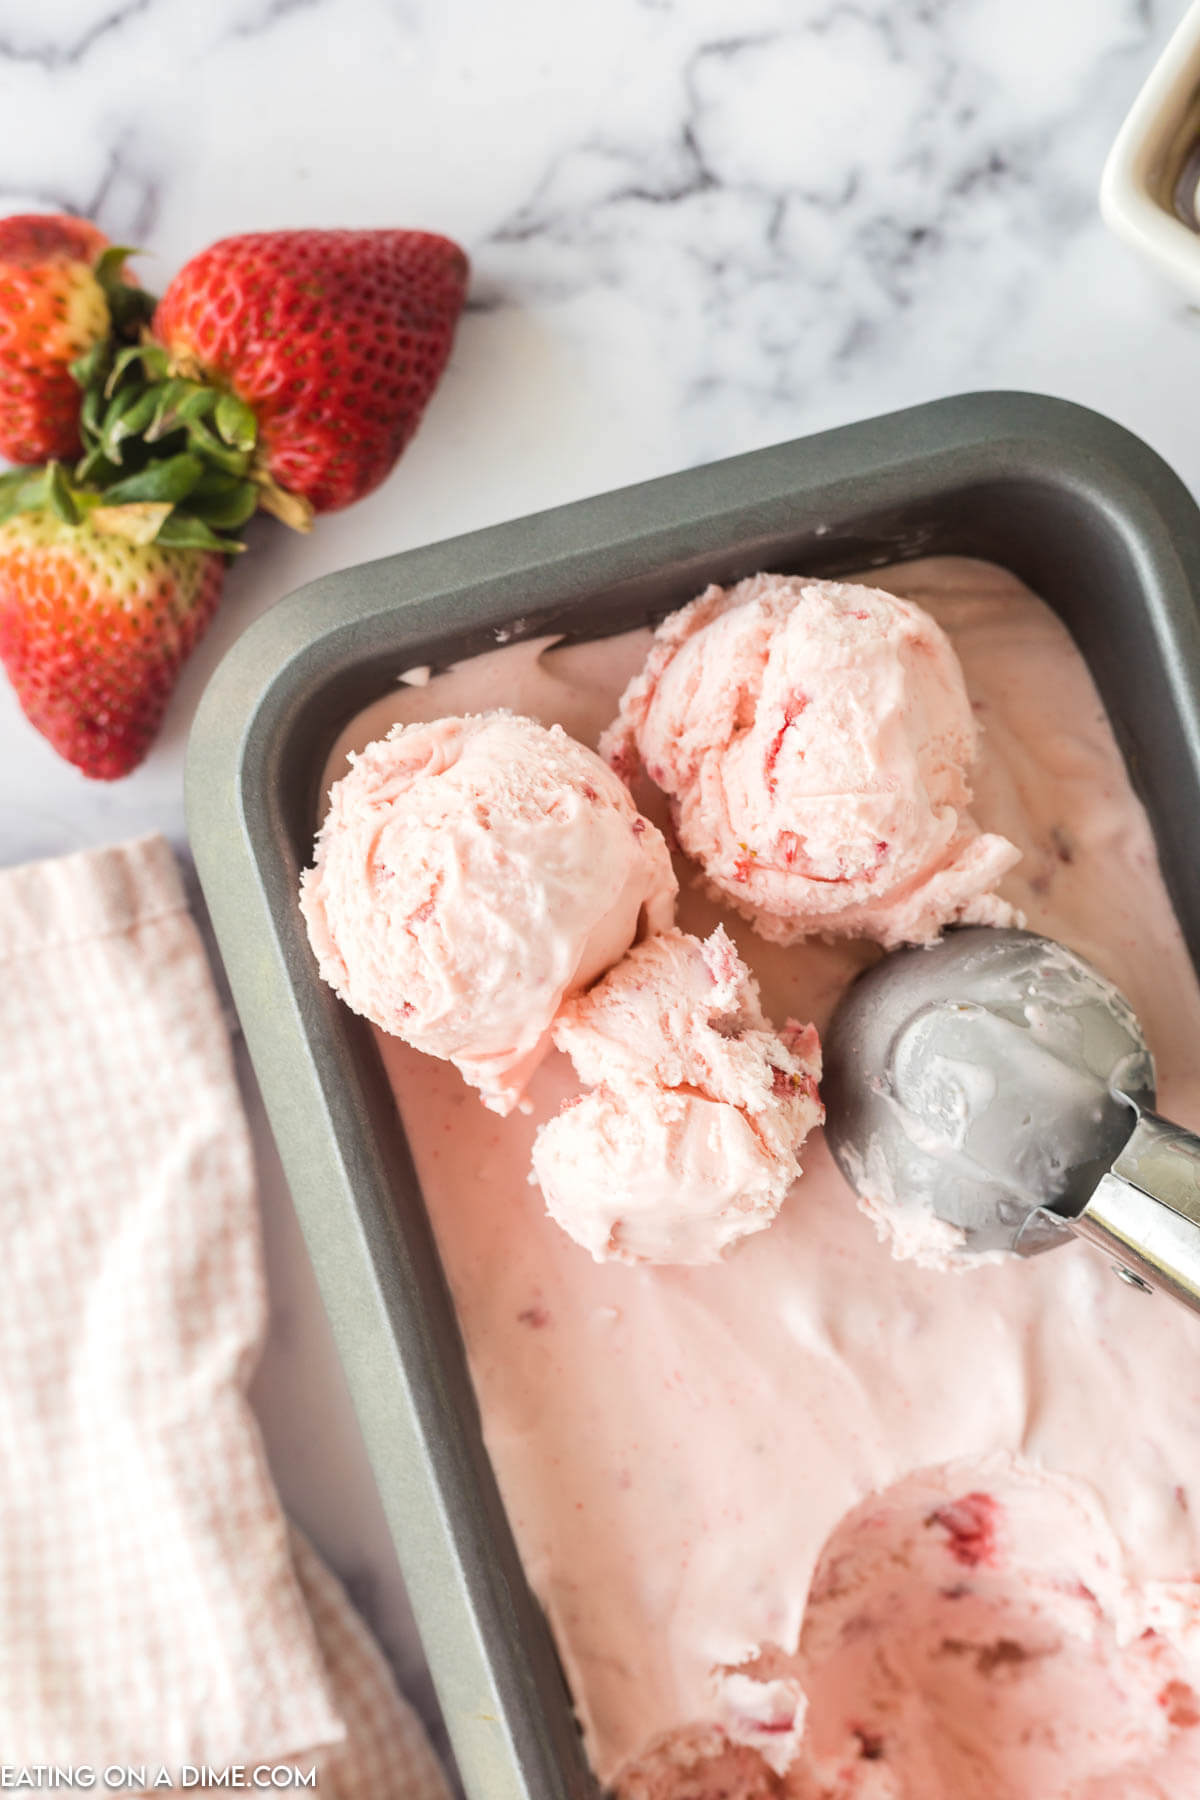
Step 4 – Pour into Loaf Pan – Transfer the ice cream mixture into a 9×5 inch bread loaf pan. Then tap the pan on the counter a few times to even the mixture out.
Step 5 – Freeze Ice Cream – Allow the ice cream to sit in the freezer for 5 hours covered with plastic wrap.
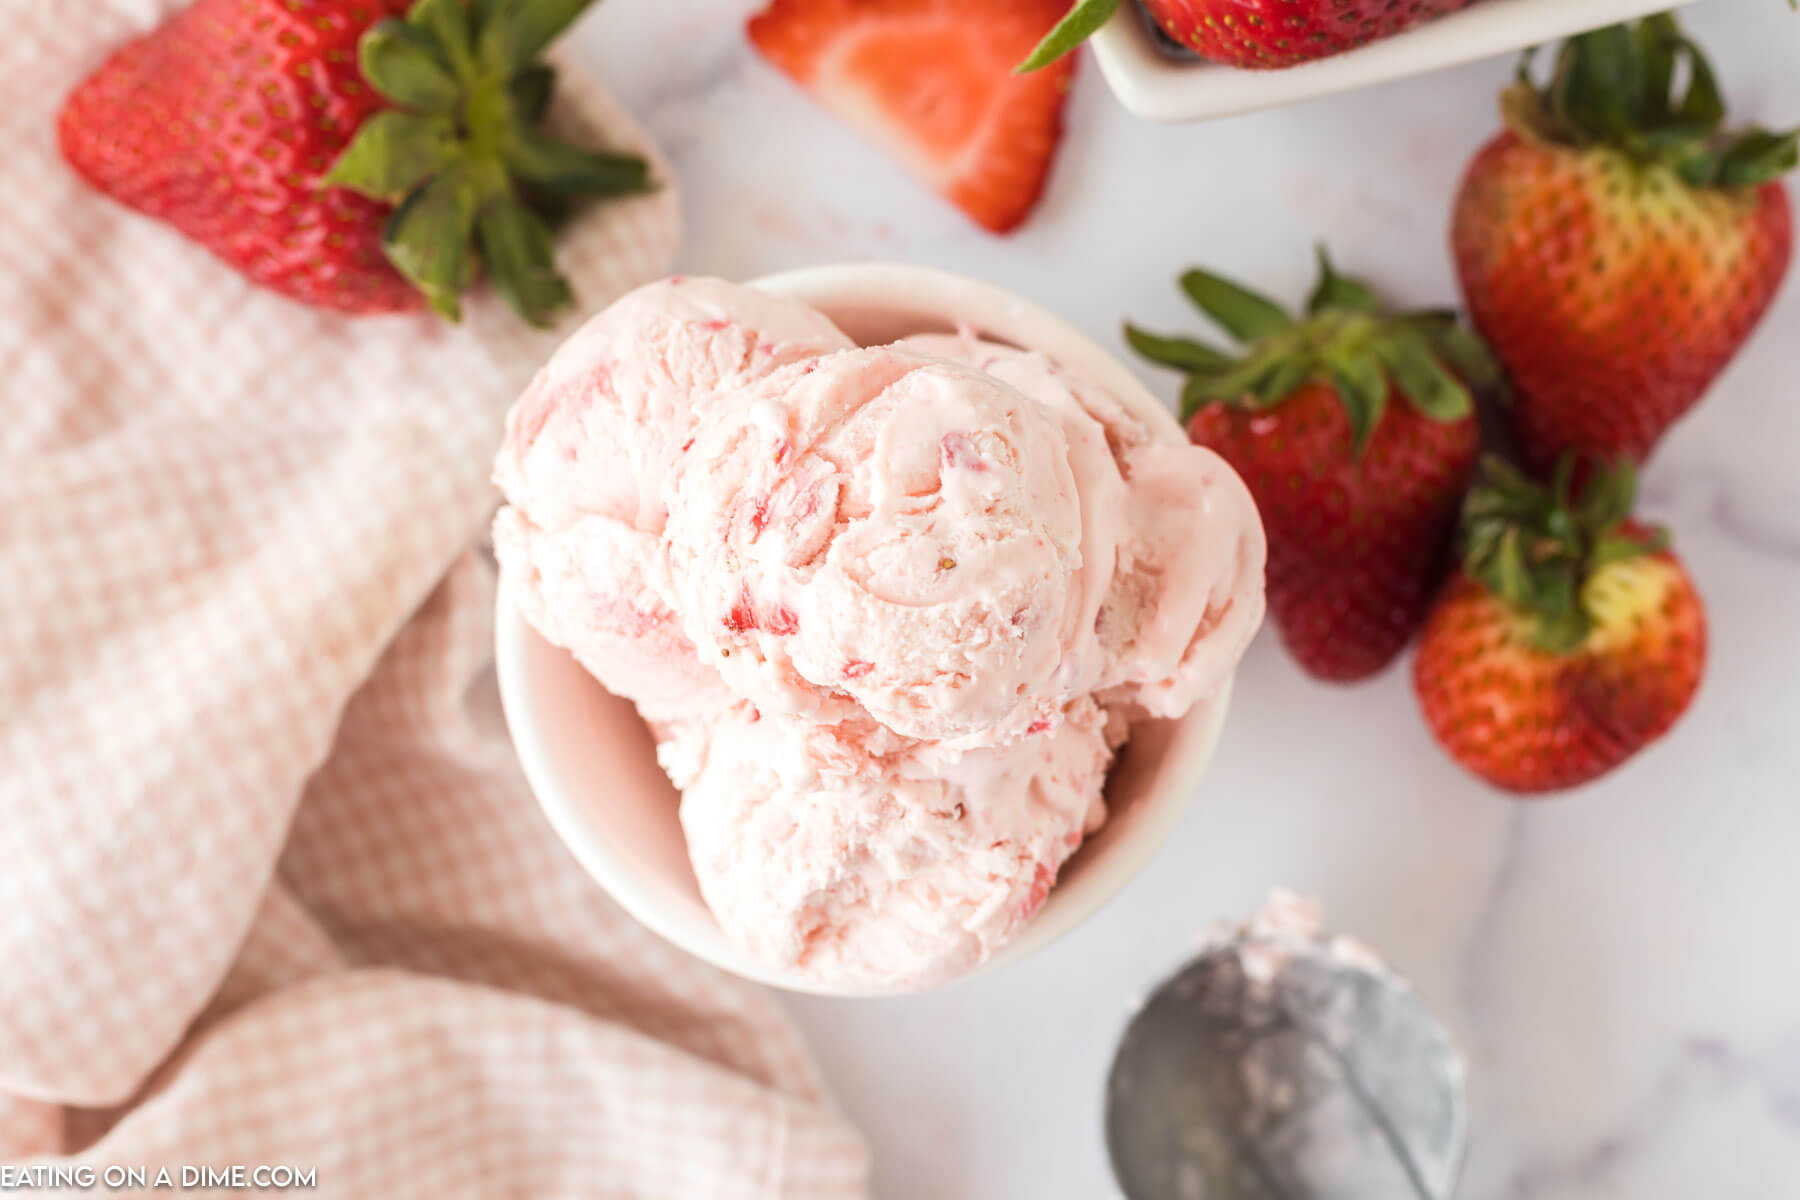
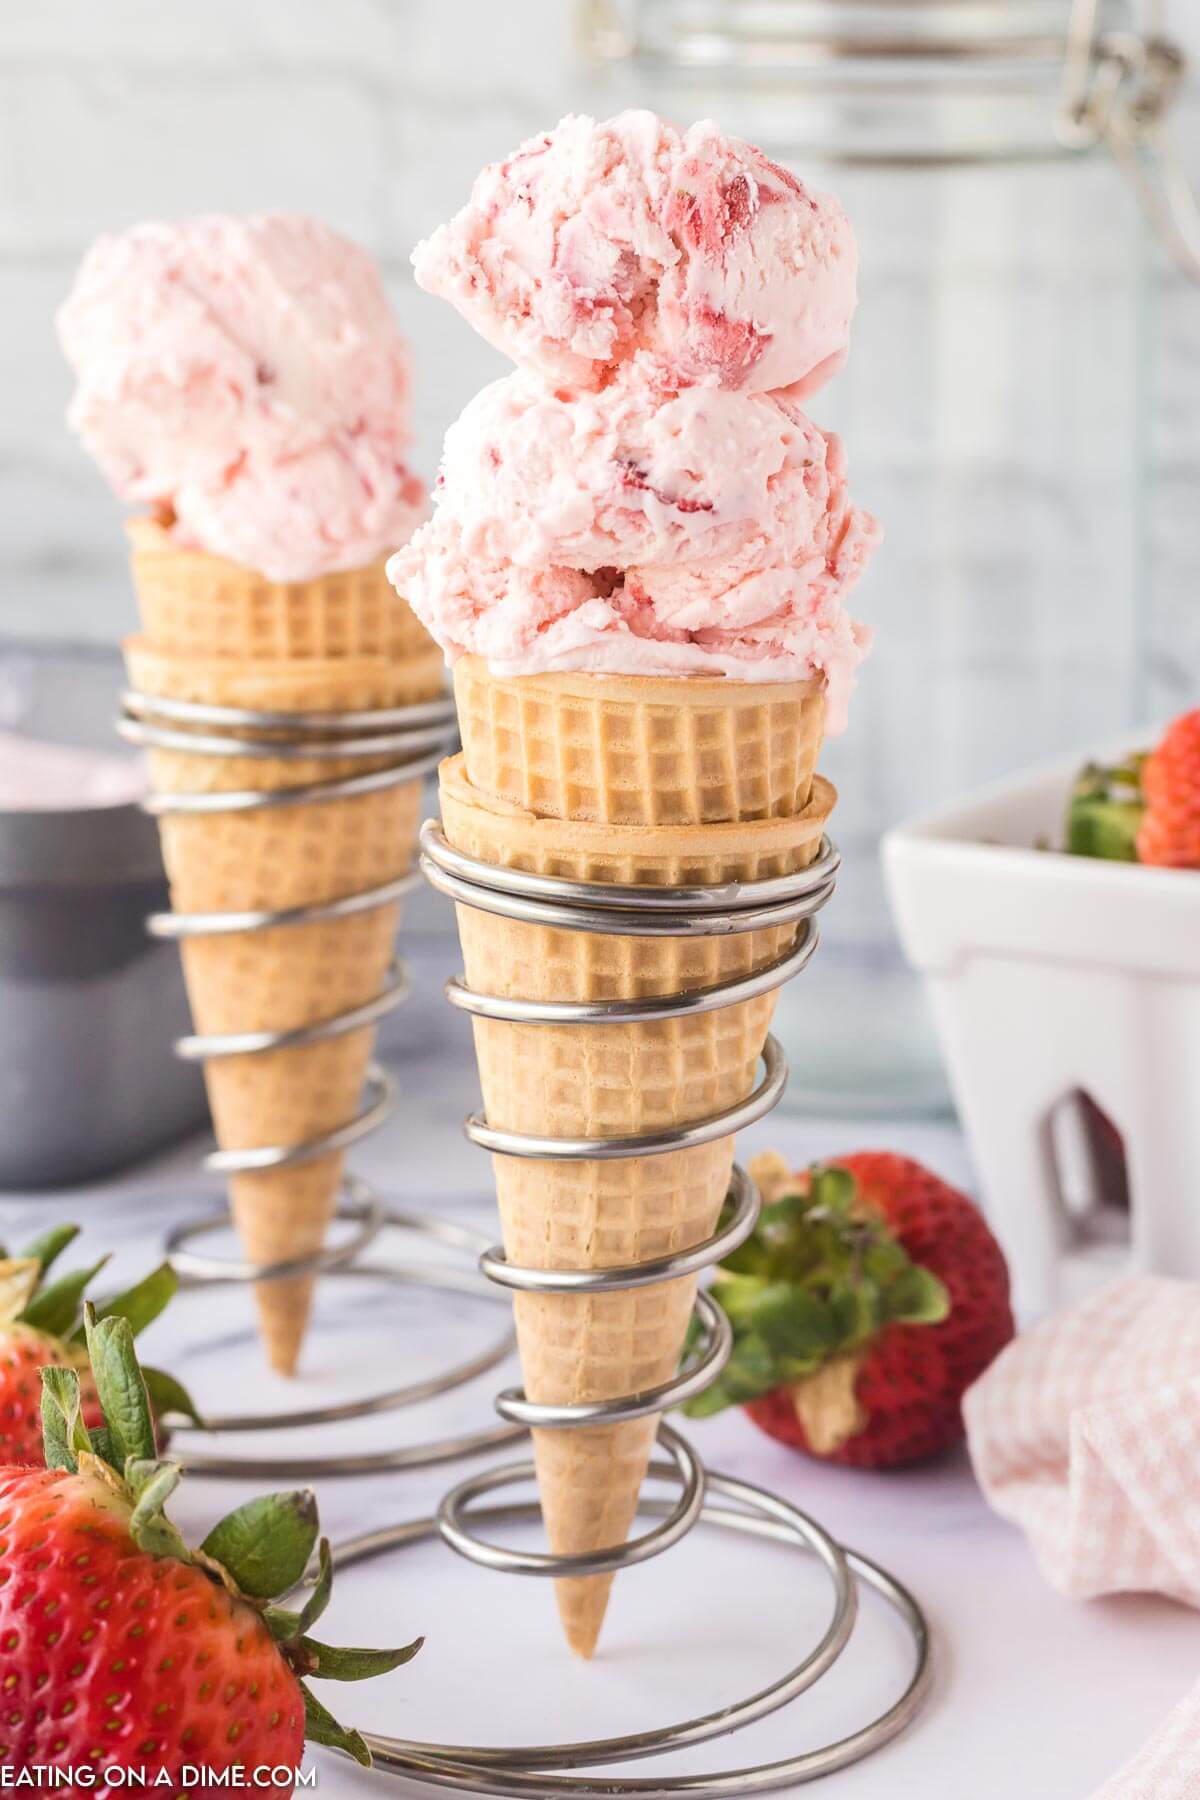
Step 6 – Serve – Serve and enjoy this homemade ice cream recipe.
Strawberry Ice Cream No Churn Recipe Tips:
- Cover Ice Cream – When covered with plastic wrap or transferred to an airtight container. You can keep this ice cream in the freezer for up to a month.
- Freezing Ice Cream – Depending on how cold your freezer is. Your ice cream may take an extra hour or one less hour to freeze. When possible, I like to let my ice cream freeze overnight just to be safe.
- Mixing Ingredients – Mix the ingredients with a hand mixer, stand mixer or a potato masher. This allows for the ingredients to combine completely for the best texture. Feel free to also use a blender.
- Pouring into Pan – After pouring the strawberry mixture into the loaf pan, make sure to tap the pan. This allows the mixture to be even in the pan.
- Ice Cream Pan – We recommend using a metal pan instead of a glass pan to make this ice cream. You can also use the back of a spoon to spread the ice cream in the pan.
- Full Fat ingredients – Full fat and full sugar ingredients give this recipe the best flavor and consistency. We do not recommend substituting these ingredients.
- Thicker consistency – For a chunkier ice cream, you can add an extra quarter cup of diced strawberries to your ice cream. This will be added after it has been transferred to the loaf pan.
- Sweetened Condensed Milk – The sweetened condensed milk serves as both a sweetener and a thickener in your ice cream. When folded into the whipped cream, it will help give your ice cream a smooth, creamy consistency.
- Food Processor – If you prefer you can blend the strawberries in a food process for a thinner consistency.
Variation Ideas:
- Chunks of Strawberries – For a chunkier ice cream, you can add an extra quarter cup of diced strawberries. Add to your ice cream. Add in after it has been transferred to the loaf pan.
- Vanilla – The vanilla extract helps draw out some of the natural sweetness in the strawberries.
- Chocolate Chips – Our favorite combination is chocolate and strawberries. Add in a cup of chocolate chips to the mixture before pouring into the loaf pan. We even like adding to the top of the ice cream.
- Milk – We love the way that sweetened condensed milk thickens and sweetens the ice cream. But you can also use whole milk or coconut milk as a variation.
- Fruit – Add in other types of fresh fruit to this ice cream mixture. Blueberries, bananas or mango are great options and pairs well with the fresh strawberry flavor. Any type of berries would work in this custard base ice cream.
- Food Coloring – To enhance the color of this strawberry ice cream, feel free to add in red food coloring.
- Chopped Nuts – For a crunchy texture add in some chopped nuts. Chopped peanuts, slice almonds, or chopped walnuts are all great options.
- Adding Flavor – To change the flavor of the ice cream base. You can easily add in lemon juice or other types of berries.
What is the Best Strawberries to Use?
Fresh strawberries will give you the most flavor, but you can also use frozen strawberries. For frozen strawberries, let the fruit thaw in the fridge before using.
We like getting out strawberries at the farmers market. They taste the best and always the freshest strawberries.
How to Serve Strawberry Ice Cream:
Serving Homemade Ice Cream is one of my things to enjoy when we have friends and family over. Here are some fun and delicious ways to serve Strawberry Ice cream.
- Cones – Serve in a waffle cone bowl or waffle cone for added flavor.
- Ice Cream Sundae – Make a ice cream sundae with whipped cream and more strawberries. We love to drizzle with hot fudge and caramel sauce for a delicious sundae.
- Banana Splits – Make the ultimate banana split with homemade ice cream. Place bananas in a serving dish, top with strawberry ice cream and add your favorite toppings. Delicious and easy to make.
Can I Double this Recipe?
Yes, because of my large family we always double the recipe. Make sure you have enough loaf pans to store the ice cream.
How to Store Homemade Ice Cream:
Store the ice cream in an airtight container with plastic wrap in the freezer for up to a month.
You might also want to place a layer of wax paper directly on the ice cream. This will help keep it really fresh and prevent any ice crystals from forming.
We love making the ice cream the night before so it is ready to serve the next day.
Print Recipe for No Churn Strawberry Ice Cream:
No Churn Strawberry Ice Cream
Ingredients
- 2 cups heavy whipping cream
- 1 teaspoon vanilla extract
- 14 ounce sweetened condensed milk
- 1 cup diced strawberries
- ½ cup white granulated sugar
See how we calculate recipe costs.
Instructions
- In a small bowl, combine the strawberries and sugar until the fruit is evenly coated.
- Allow the mixture to sit for 15 minutes to give the strawberries time to reduce their juices.
- While the strawberries are sitting, use an electric hand mixer to whip the cream and vanilla for about 4 minutes on high speed, or until the mixture starts to form stiff peaks.
- Reduce the speed of your hand mixer to low and mix in the sweetened condensed milk and strawberry mixture until it is combined with the whipped cream.
- Transfer the ice cream mixture into a 9×5 inch bread loaf pan and tap the pan on the counter a few times to even the mixture out.
- Allow the ice cream to sit in the freezer for 5 hours covered with plastic wrap.
- Serve and enjoy!
Recipe Notes
Nutrition Facts
More Easy Homemade Ice Cream Recipes:

Thanks for the recipe