This post may contain affiliate links. If you make a purchase through links on our site, we may earn a commission.
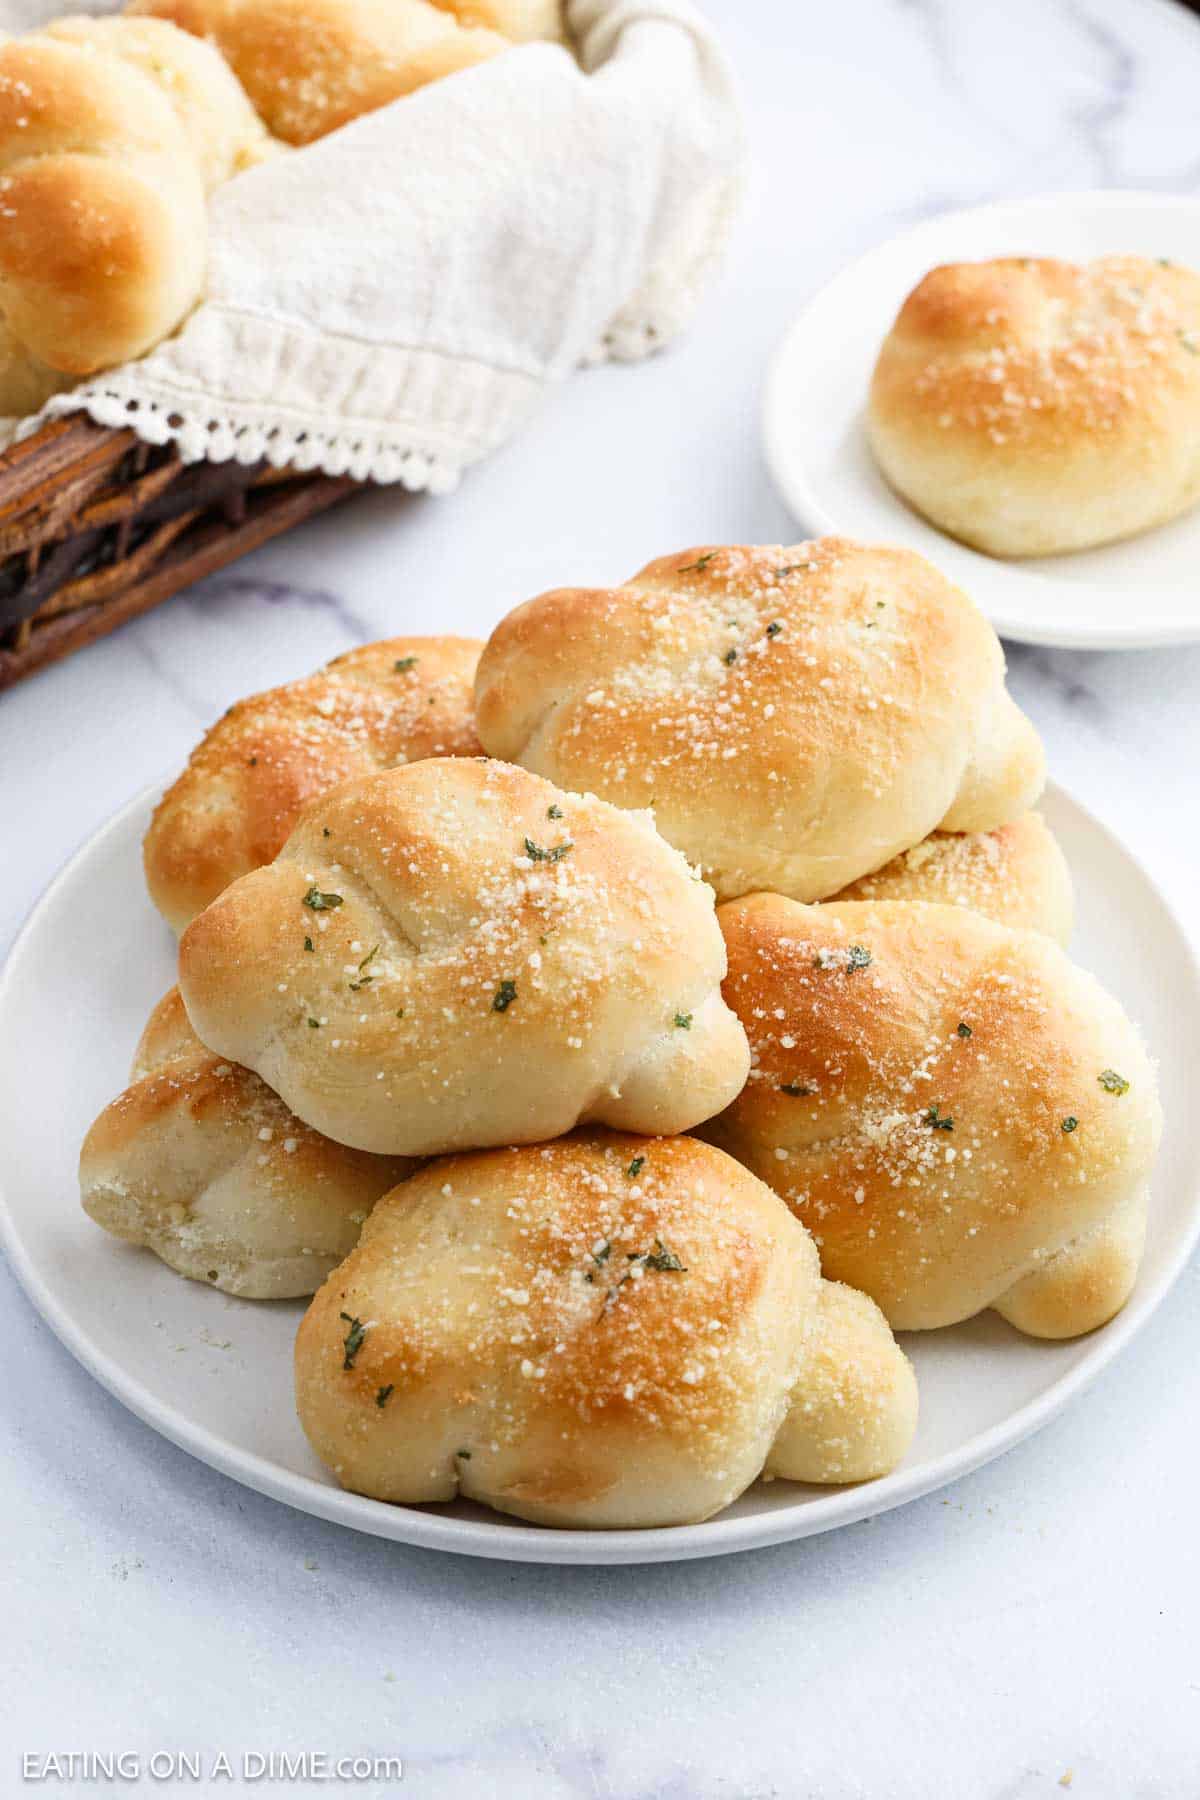
These Homemade Garlic Knots are soft, fluffy, and brushed with garlic butter for the ultimate side dish! Perfect for pasta night, pizza night, or holiday dinners!
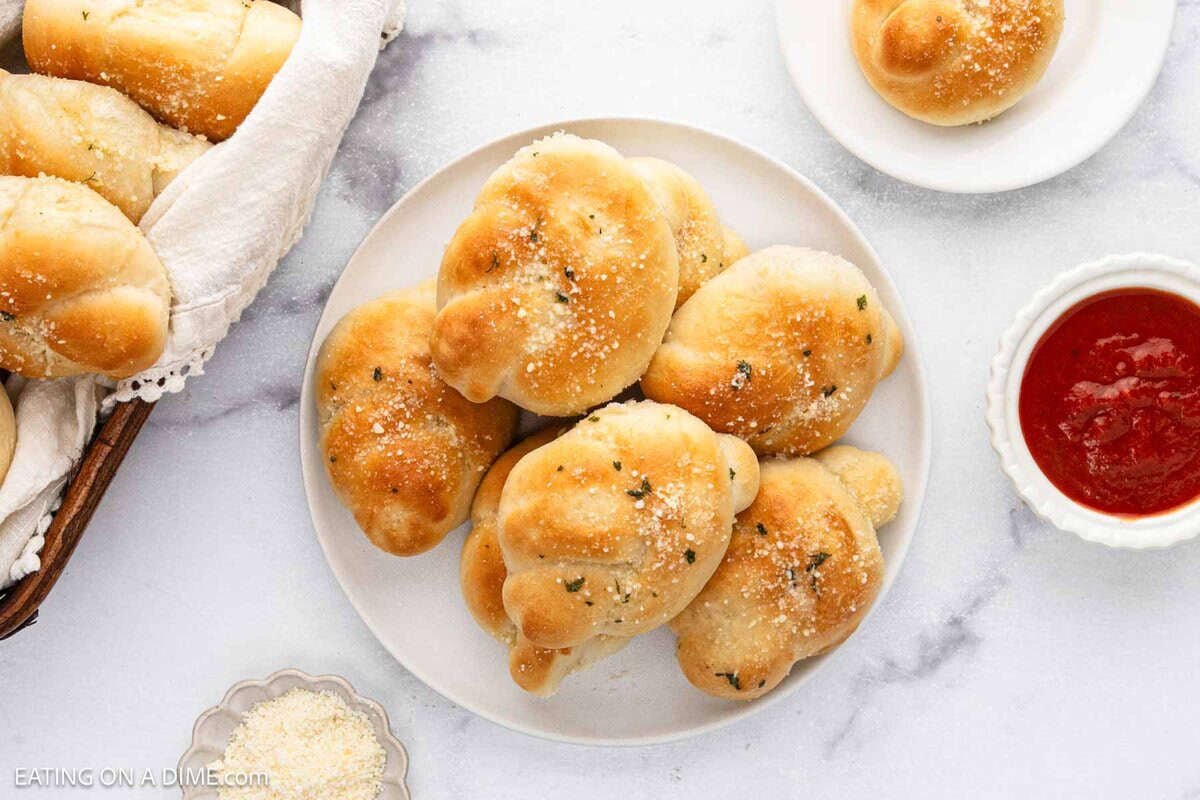
There is something special about making these Homemade Garlic Knot Recipe! They make the perfect addition to many of our Italian dishes, soup recipes, and holiday meals. They are made completely from scratch and the buttery garlic aroma fills the kitchen which makes it impossible to wait until they cooled.
Sure, we use store-bought dough to make rolls, but these are so simple to whip up, yet they always feel special! I love how they turn an ordinary dinner into something memorable and we think the taste better. For another idea, make Easy Homemade Artisan Bread Recipe.
Ingredients

- Warm Water – Make sure water is warm and not hot
- Active Dry Yeast – Use fresh and not expired yeast
- Granulated Sugar – Adds a hint of sweetness
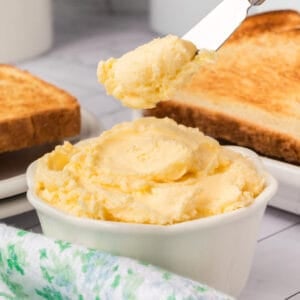
- Butter – We used unsalted, softened butter
- Egg – Binds the ingredients together
- All Purpose Flour – Creates a softer bread. You can also use bread flour
- Garlic Powder – Stir roasted fresh garlic cloves into the butter for depth.
Scroll to the recipe card for the full recipe details.
How to Make Garlic Knots

Step 1 – In the bowl of a stand up mixer, whisk together the warm water, granulated sugar and dry active yeast until combined.

Step 2 – Add in the butter, egg and salt and mix until combined on medium speed. Place the stand mixer on low speed and gradually add in the flour ½ cup at a time until a dough is formed

Step 3 – Place the dough in the oiled ball and gently roll the dough around to coat the dough with the oil so that the dough does not get dried out. Cover with plastic wrap and allow dough to double in size.

Step 4 – Punch the dough down. Then add a small amount of flour to your work surface and to your hands.

Step 5 – Divide the dough into approximately 8 even pieces. (I did this by Dividing the dough in half, then each piece in half 2 more times.)

Step 6 – Roll each section into a dough rope that is approximately ½ inch thick and 9 inches long.

Step 7 – Tie the dough strips into a loose knot and place it on the prepared baking sheets pan. Continue this process until all the dough is formed into knots and placed on the lined baking sheet (12 per sheet). Cover the knots with plastic wrap.

Step 8 – Allow them to rise again for approximately 1 hour until they have doubled in size. Bake for 10-12 minutes or until lightly golden on top.

Step 9 – While the rolls are baking, prepare the topping by mixing together the melted butter, garlic powder, salt and parsley flakes together in a small bowl.

Step 10 – Once the knots are removed from the oven, brush them lightly with garlic sauce (while still warm) and sprinkle the parmesan cheese on top (if using). Serve with the marinara sauce for dipping and enjoy!

Garlic Knots
Ingredients
For the Rolls:
- 1 ⅓ cups Warm Water
- 2 ½ teaspoon Active Dry Yeast 1 standard size packet
- 2 Tablespoons Granulated Sugar
- 4 Tablespoons Butter softened
- 1 Large Egg
- 1 teaspoon Salt
- 4 cups All Purpose Flour
For the Topping:
- 3 Tablespoons Butter melted
- ½ teaspoon Garlic Powder or 2 teaspoons Minced Garlic
- ¼ teaspoon Dried Parsley Flakes
- ½ teaspoon Salt
- ¼ cup Grated Parmesan Cheese optional
- Marinara Sauce for serving
Instructions
- In the bowl of a stand up mixer, whisk together the warm water, granulated sugar and dry active yeast until combined.
- Let the mixture sit for 5-10 minutes until the mixture is slightly foamy.
- Place the bowl in the electric mixer fitted with a whisk attachment.
- Add in the butter, egg and salt and mix until combined on medium speed.
- Switch the electric mixer to a dough hook attachment.
- Place the mixer on low speed and gradually add in the flour ½ cup at a time until a dough is formed (you may not need all the flour). Mix on low speed for 5-6 minutes until the dough is soft and slightly sticky to the touch.
- Grease a large bowl with oil. Place the dough in the oiled ball and gently roll the dough around to coat the dough with the oil so that the dough does not get dried out.
- Cover with plastic wrap and allow for the dough to rise for approximately 1 hour until the dough has doubled in size.
- Line 2 baking sheets with parchment paper or spray them with non-stick cooking spray.
- Punch the dough down. Then add a small amount of flour to your work surface and to your hands.
- Divide the dough into approximately 8 even pieces. (I did this by Dividing the dough in half, then each piece in half 2 more times.)
- Then divide each piece of dough into 3 even size balls.
- Roll each section into a dough rope that is approximately ½ inch thick and 9 inches long.
- Tie the dough rope into a loose knot and place it on the prepared baking sheets. Continue this process until all the dough is formed into knots and placed on the prepared baking sheets (12 per sheet).
- Cover the knots loosely with plastic wrap and allow them to rise again for approximately 1 hour until they have doubled in size.
- Preheat the oven to 400° Fahrenheit.
- Bake for 10-12 minutes or until lightly golden on top.
- While the rolls are baking, prepare the topping by mixing together the melted butter, garlic powder, salt and parsley flakes together in a small bowl.
- Once the knots are removed from the oven, brush them lightly with garlic sauce (while still warm) and sprinkle the parmesan cheese on top (if using).
- Serve with the marinara sauce for dipping and enjoy!
Recipe Video
Recipe Notes
Recipe Tips
- Allow dough to rise – This gives knots their fluffy texture.
- Shortcut Version – If you are looking for a shortcut to making homemade garlic knot, use store-bought pizza dough for a faster prep.
- Crispy Option – Bake an extra 2 minutes for golden edges and a crispy texture.
- Fresh Ingredients – To ensure the best results, make sure your ingredients are fresh and have not expired.
Variations
- Cheesy Garlic Knots – Stuff each knot with mozzarella before baking.
- Fresh Herbs Butter Knots – Mix rosemary, oregano or basil into the garlic butter glaze for delicious flavor.
- Spicy Twist – Add red pepper flakes to the butter topping for a slight spicy kick of flavor.
Nutrition Facts
Serving Recommendations
These Garlic Knots are a great side dish to serve with CrockPot Spaghetti and Meatballs Recipe, Hot Honey Pepperoni Pizza, Creamy Chicken Alfredo Recipe and Lasagna Soup.
They also make a great side to serve your favorite soup recipes, such as Homemade Chicken Noodle Soup, Crockpot Minestrone Soup Recipe and Tomato Soup Recipe. We love to dip the bread into the soup for even more flavor.
Frequently Asked Questions
Yes, you can prepare dough in advance in store in an airtight container in the refrigerator. We recommend preparing the garlic knots within about 24 hours of making the dough.
Don’t overbake them. Pull them from the oven when they’re golden brown, then brush with garlic butter immediately to lock in softness.
Store leftovers in the refrigerator in an airtight container for up to 3 days. When ready to serve, microwave 15–20 seconds or warm in oven.
Yes! Place the leftovers garlic knots in a freezer safe container for up to 3 month. Reheat in oven at 350°F for 8–10 minutes.

More Easy Bread Recipes
Easy Pizza
Little Caesars Crazy Bread

Quick Bread
How to Make Naan Bread
Easy Appetizer
Garlic Bread Cheese Sticks
We love to hear from you! If you make these Garlic Knots, please leave us a comment or a star review.


The total time should be 2 hours 40 minutes. There are two 1 hour rising periods.
Thanks Sarita! We’ll review the cooking time and adjust as needed.
Loved these Garlic Knots! Will be making these for all our Italian dishes because of how easy they were to make.
Can this be done in a bread machine?
Kris – I haven’t tested it yet but it should work great. Steps 1-8 can be used with a bread machine and then follow the remaining instructions from there.