This post may contain affiliate links. If you make a purchase through links on our site, we may earn a commission.
Make these easy Homemade Uncrustables for a great lunch idea that kids will love. Skip the store bought version and save money with this freezer friendly recipe.
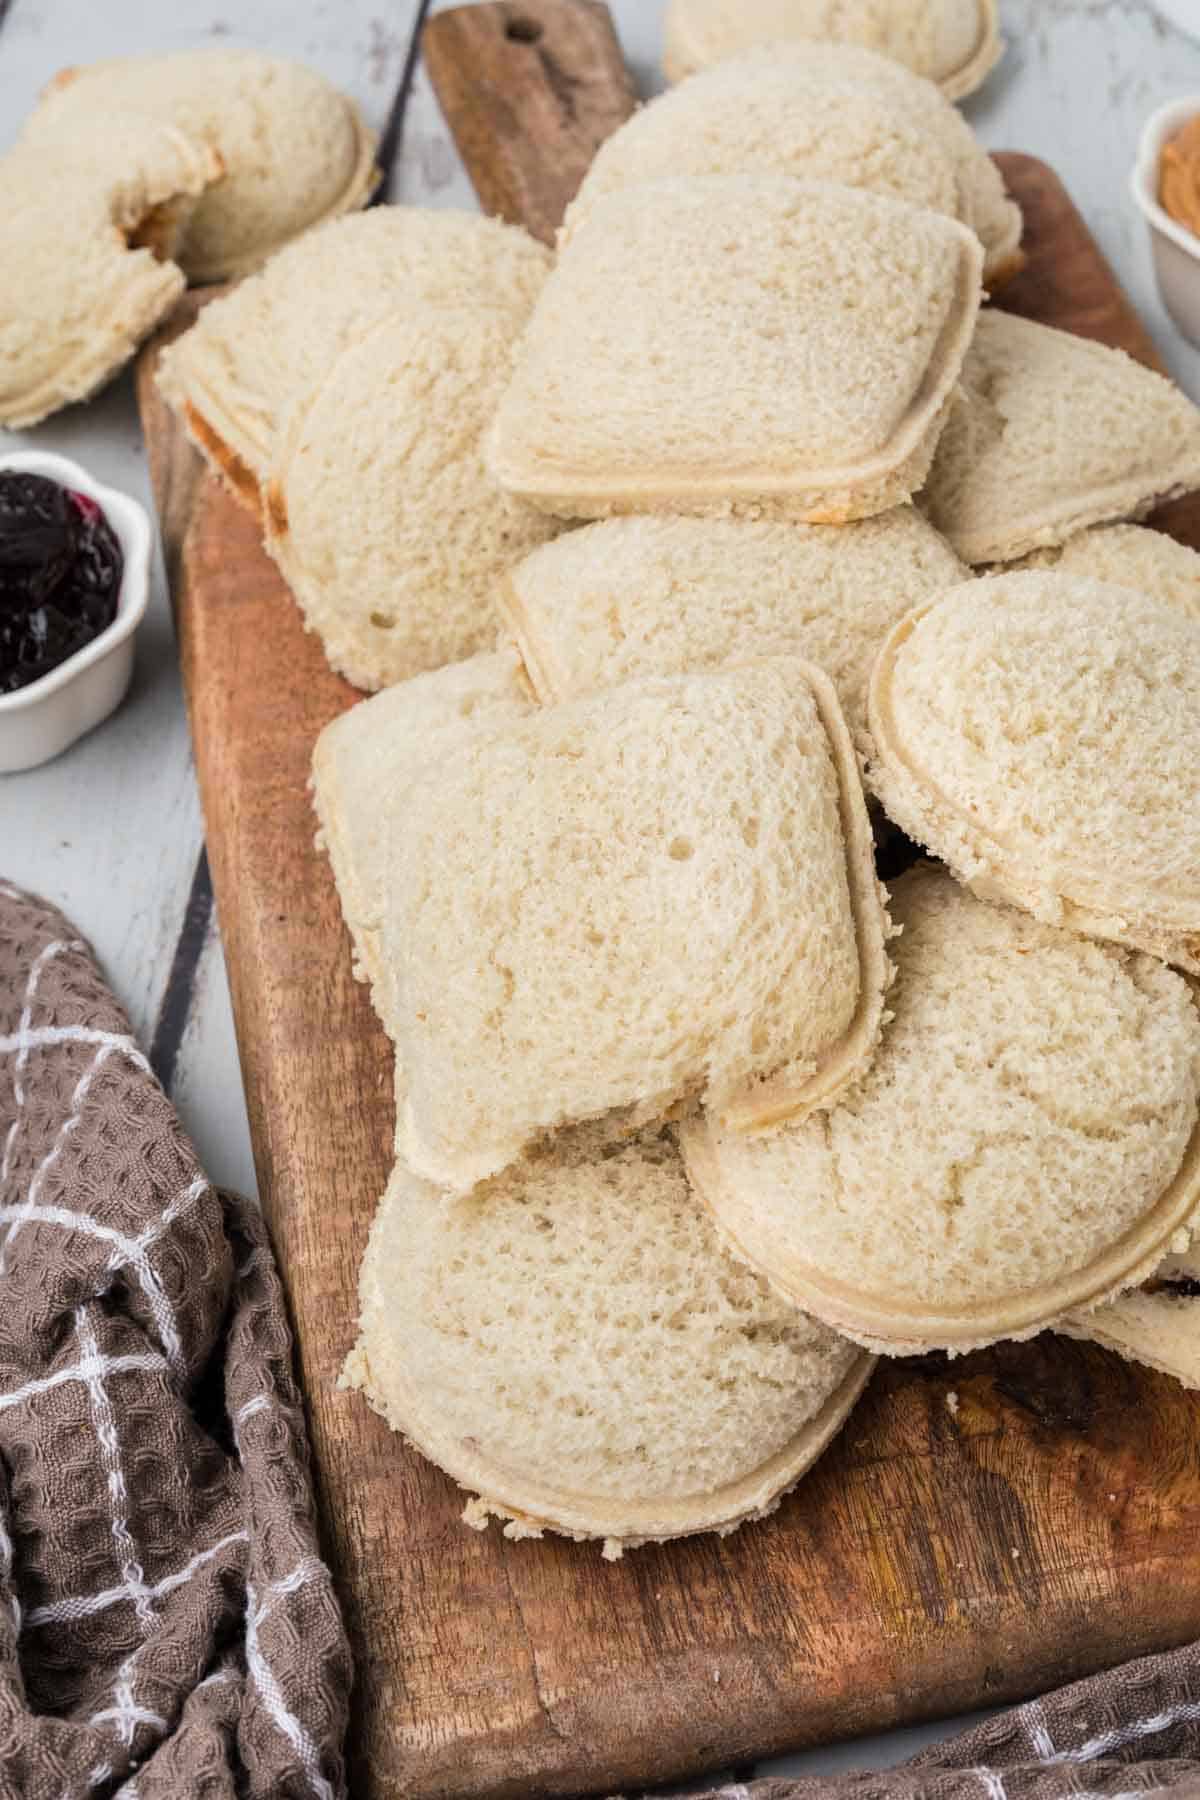
My kids love uncrustables but they can get pricey. I thought I would try to make these at home and they were a huge hit. Now, the kids ask for homemade uncrustables all the time.
These are so easy to make and they are a HUGE money saver and time saver! You can also make extra and put them in the freezer to save time during the week.
This Kid Friendly Recipes makes my life so much easier. If you like these uncrustables, then you will love these ideas – Easy Lunch Ideas for Kids and The Best Sandwich Ideas for Kids
What's in this post: Homemade Uncrustables
Why We Love This Recipe
With just a few slices of bread, a sandwich sealer and peanut butter and jelly, these uncrustables come together in minutes.
School lunches will be a breeze when you can just grab one from the freezer bag and pop into lunch boxes. Make sure you also check my post on 4 Ways to Save on School Lunches.
If you love copycat recipes, they check out our entire page filled with them here. Here are a few of my favorites:
Supplies Needed

- Wonder Bread Cutter – You can also use a Mason Jar Lid
- Jelly – Any jelly that you prefer such as strawberry, grape or peach
- Peanut Butter – Feel free to use any type of nut butter, seed butter or almond butter
- Sandwich Baggies – If you place on freezing, we recommend using a freezer bag.
You just need a few supplies to make these and you will save a ton of money. Scroll to the bottom for the full recipe in the recipe card.
Variations Ideas
These DIY Uncrustables can be made in a variety of ways. Feel to substitute or add ingredients to your sandwich to make them your own.
- Honey
- Nutella
- Cheese
- Hummus
How to Make Homemade Uncrustables?

Step 1 – Spread peanut butter on all slices of the bread. Stay in the center and don’t worry about the edges. We like to put peanut butter on every slice so that the bread does not get soggy from the jelly.

Step 2 – Apply jelly to the middle of one slice.

Step 3 – Place the peanut butter only slice on top of the peanut butter and jelly slice (peanut butter side down).
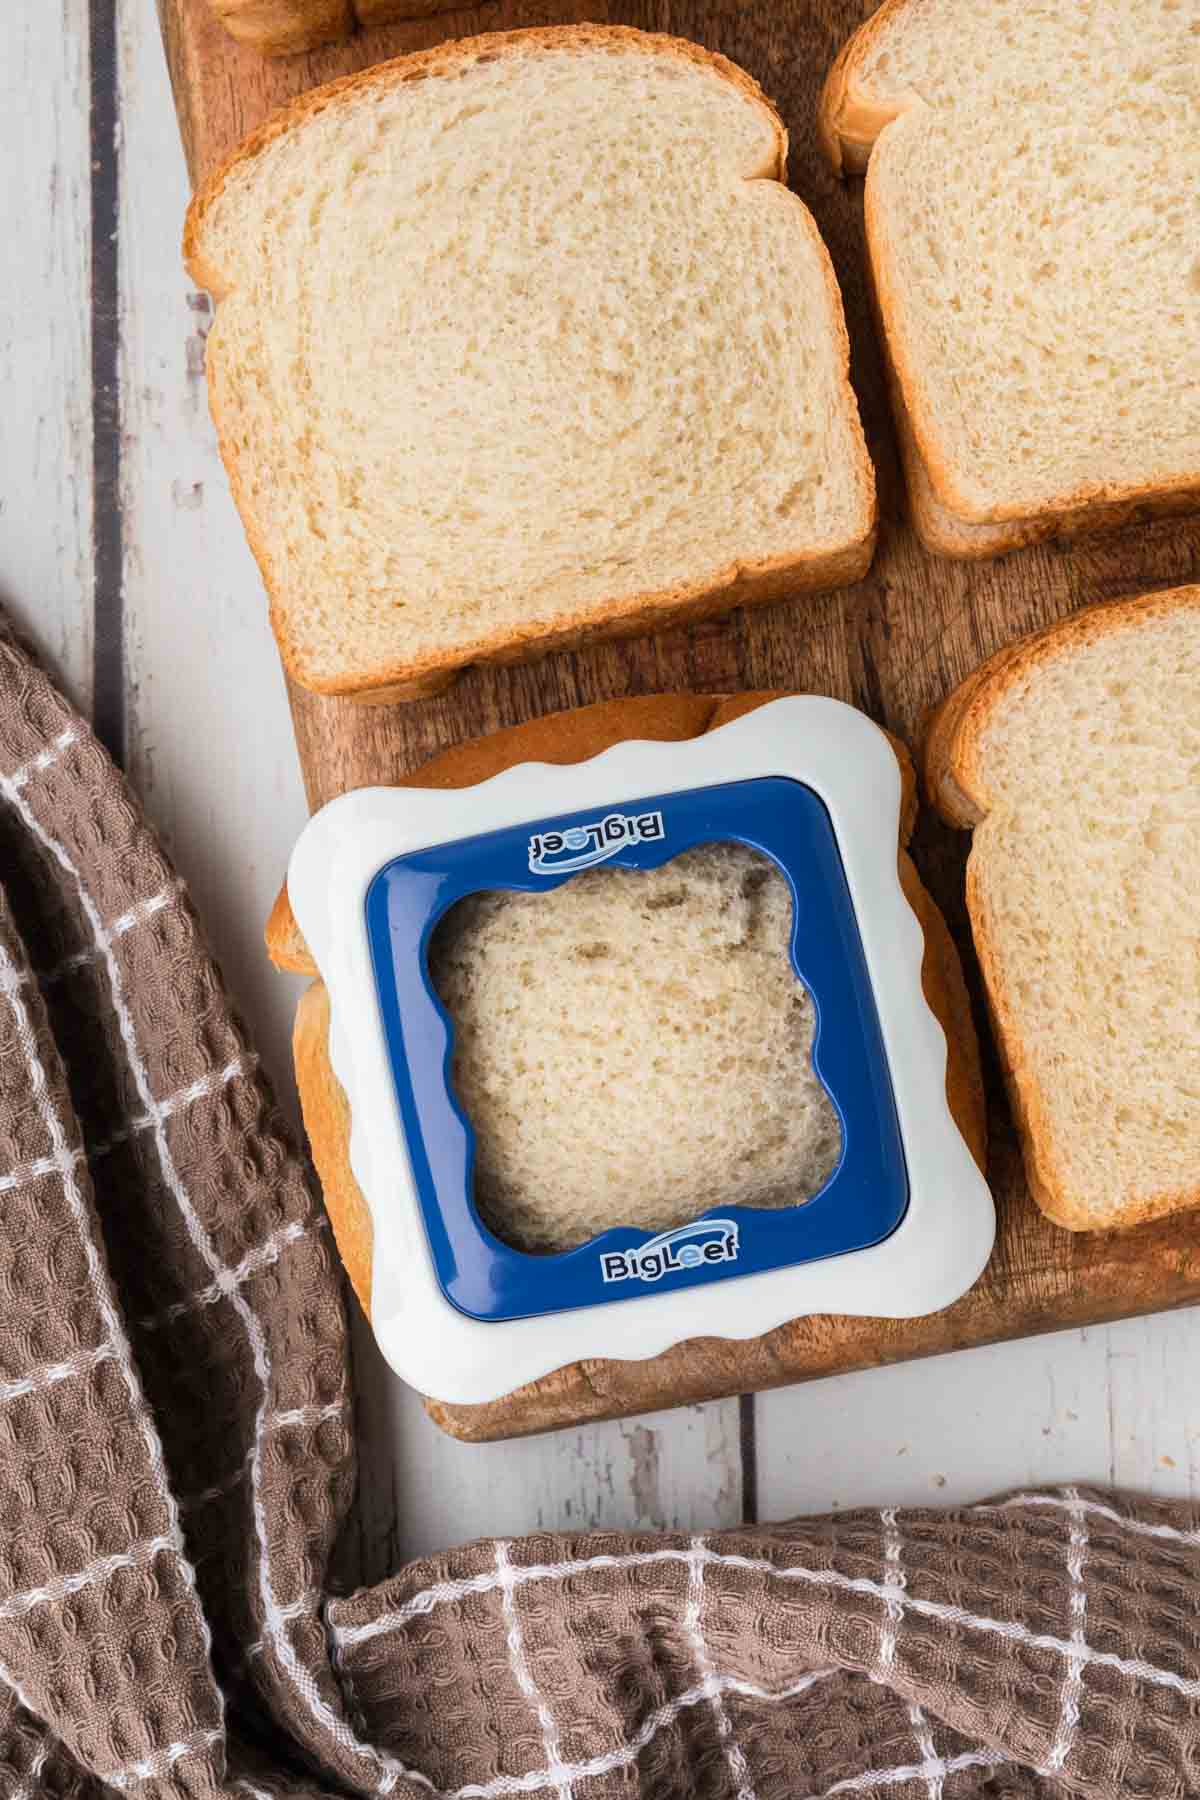
Step 4 – Place cutter on top of sandwich and press down firmly (make sure crust is completely cut away). Remove crust while cutter is still in place. Make sure you have pressed down completely on the blue center sealing piece.
- Step 5 – Lift off cutter and place sandwich in sandwich bag or serve.
Recipe Tips
- Bread – Make sure you get bread that is large enough to trim without hitting the crust. You will need 2 pieces of bread for each sandwich. You can use white or wheat bread.
- Thin Layer of Peanut Butter – By applying the peanut butter to both pieces of bread, you are preventing the sandwich from getting soggy.

Serving Suggestions
My kids love PB&J Sandwiches and we make them for lunch at home or when we are heading out to the park for a picnic. But making our own homemade uncrustables makes this classic sandwich taste even better.
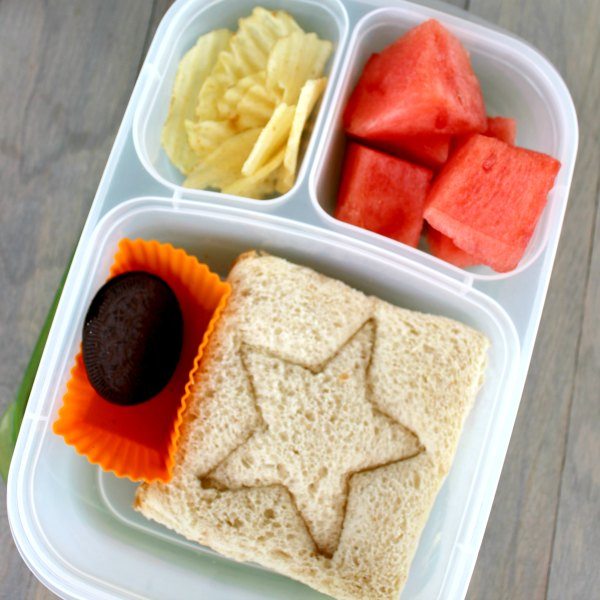
These peanut butter and jelly sandwiches are perfect for the kids lunch, vacation, and long road trips. I often pack their favorite snacks to serve with them such as chips, gold fish and chopped up fresh fruit.
Frequently Asked Questions
Yes, this is the perfect recipe to make ahead of time and freeze. I like to flash freeze the uncrustables on a baking sheet and then store them in freezer bags. You can do this individually or put them all in one large bag. Since they were flash frozen, you don’t have to worry about the sandwiches getting stuck together. They will stay fresh for up to 3 months.
You really can use anytype of bread that your family likes. We like using soft bread that is fresh such as white bread sandwich bread or whole wheat bread.
After making the uncrustables, do not throw out the crust. We like to use it to make Homemade Croutons or use it to make homemade breadcrumbs to use on these Air Fryer Chicken Nuggets.
You can take the Homemade uncrustables from the freezer straight to the lunchbox. You can place in the fridge the night before to thaw. However, it should thaw by the time your child has lunch at school. I just place them in the lunchbox straight from the freezer and they are nice and cold for my kids.

More Easy Lunch Ideas
Easy Snacks to Make
Peanut Butter and Jelly Sushi Rolls
Easy Kid Friendly
Quick Lunch Idea for Kids – Cookie Cutter Sandwich!
Recipes for Lunch
How to Make Homemade Lunchables
If you make these Homemade Uncrustables, please let us know how they turned out. We love hearing from you.
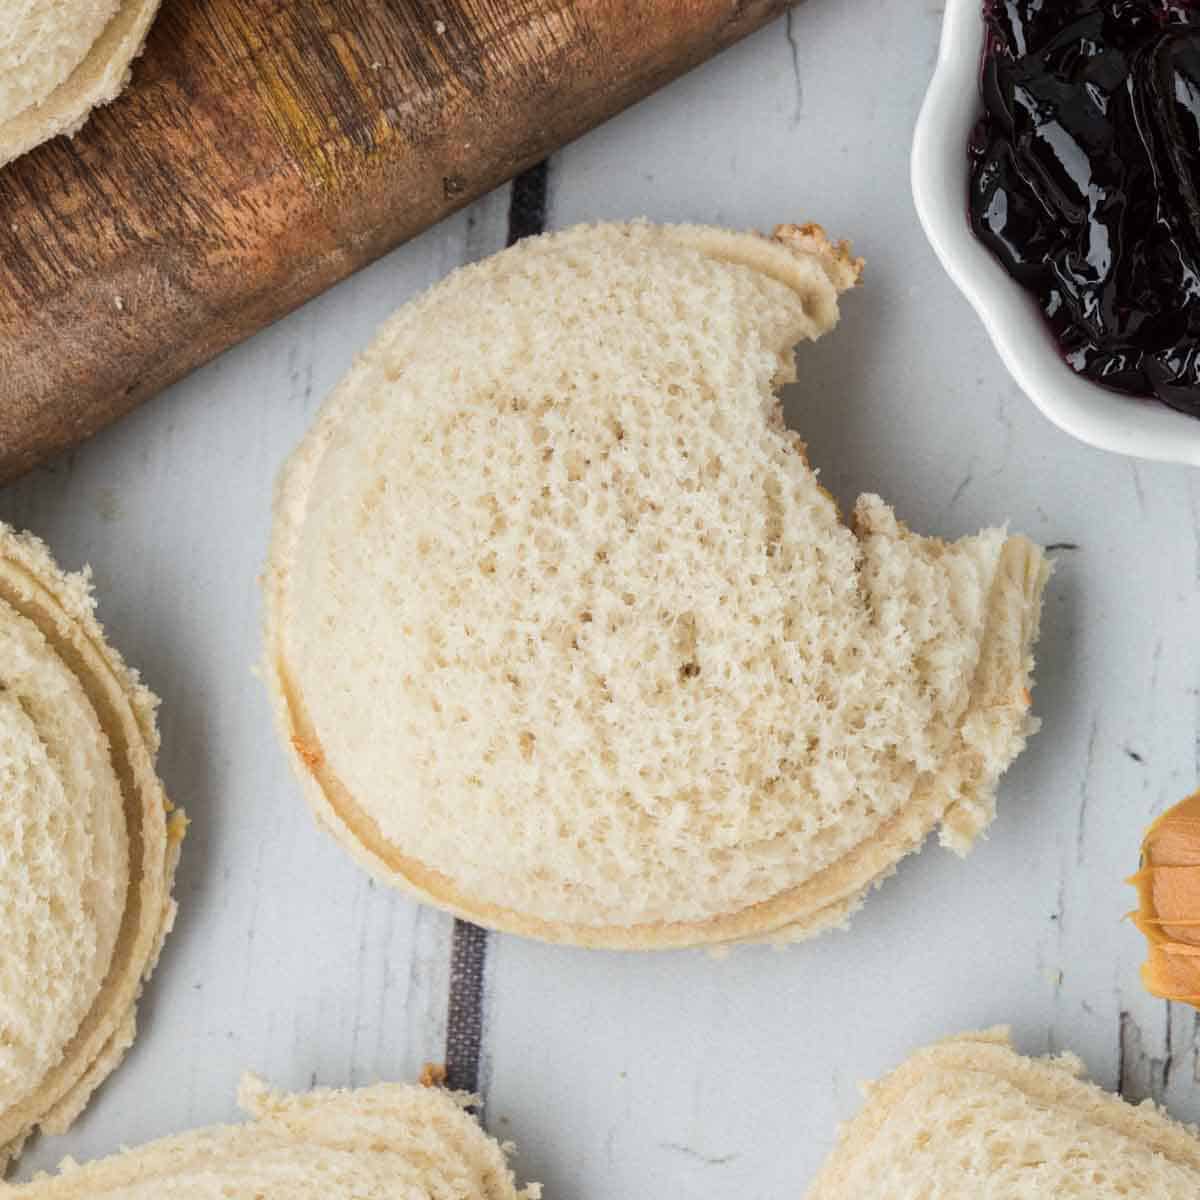
Homemade Uncrustables
Ingredients
- 12 Slices Bread
- ½ Cup Grape Jelly
- ¾ Cup Peanut Butter
Instructions
- Spread peanut butter on all slices of the bread. Stay in the center and don’t worry about the edges. We like to put peanut butter on every slice so that the bread does not get soggy from the jelly.
- Then spread jelly on 6 slices of the bread on top of the peanut butter.
- The put the peanut butter only bread slices on top of the peanut butter and jelly slices of bread.
- Use a sandwich cutter to cut out the center of the bread and to seal the edges. Remove the crust while the cutter is still in place.
- Lift off the cutter. Place each sandwich in an individual sandwich bag and freeze.




JELLY!!!
I use flash freezing for diced onions, celery, bell pepper, etc. and keep large bags of individually frozen veggies for cooking in my freezer. It saves me a lot of prep time because I have what are called “essential tremors” which cause my hands to shake whenever I try to use them. This way I can take my time when I am not in a hurry trying to get a meal on the table and then throw the meal onto the stove top, into the oven, pressure cooker, slow cooker, etc. in much less time.