These Halloween Rice Krispie Treats turn store bought treats into spooky monsters and mummies with icing, candy eyes, writing gel, and sprinkles. They cost just $0.97 each and are a fun Halloween activity you can make with kids in under 30 minutes.
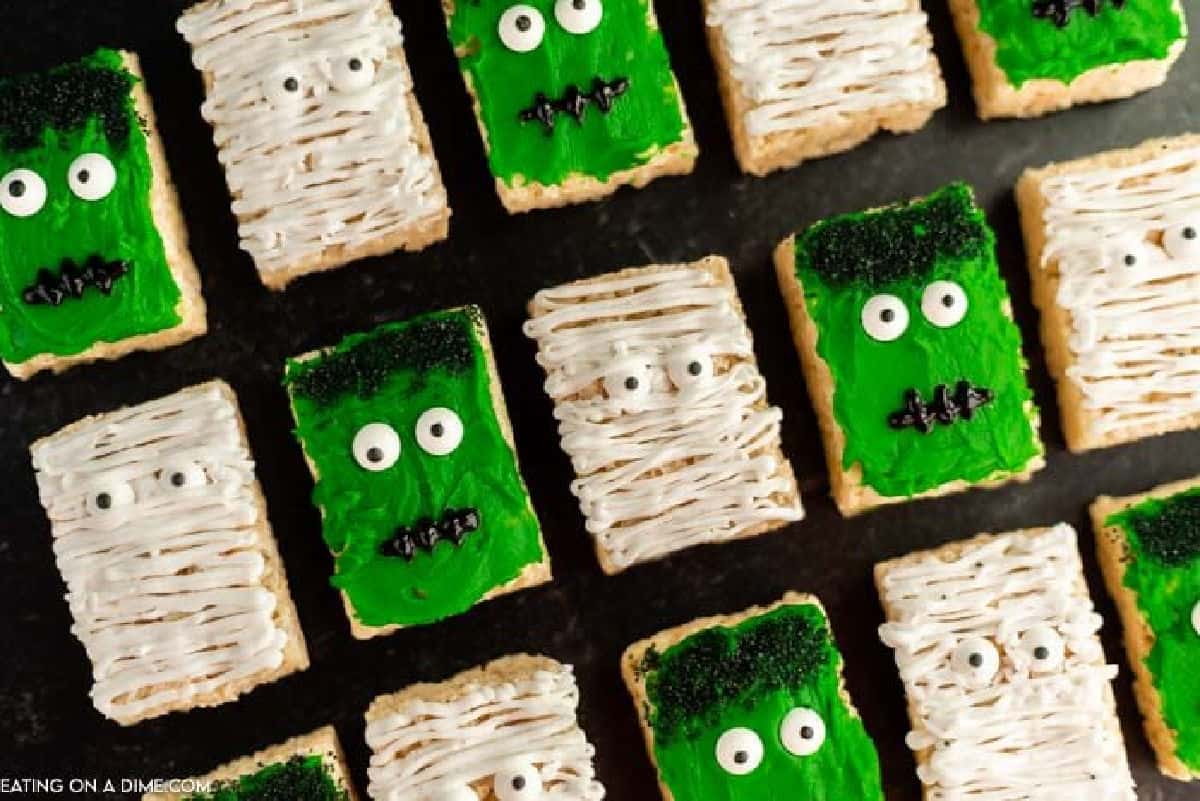
Halloween Rice Krispie decorating has become one of our favorite October traditions. I set out the icing, candy eyes, and sprinkles, and my eight kids create their own monsters and mummies. After 20 years of baking for my family, I know some of the best Halloween treats are the ones the kids help make.
If you love easy Halloween treat recipes like this one you will also love our Halloween Chex Mix, Ghost Twinkies and Mummy Hot Dogs to Spider Cupcakes. These treats are easy and fun to make. You must also try these Jack-O-Lantern Chocolate Covered Oreos or these Mummy White Chocolate Truffles.
Make sure to also check out these 10 Easy Halloween Dinner Recipes To Enjoy Before Trick-or-Treating or 15 Spooky & Fun Halloween Recipes Your Kids Will Love!
Why This Recipe Works
- Quick and Easy – They are the cutest and can be made in minutes making them the perfect last minute Halloween treat.
- Simple Ingredients – Start with pre-made rice crispy treats from your local grocery store. Then add your favorite decorations for crowd pleasing Halloween Rice Crispy Treats.
- Perfect Party Treat – If you love to plan a Halloween Party this would be the perfect activity for the kids to do.
Ingredients
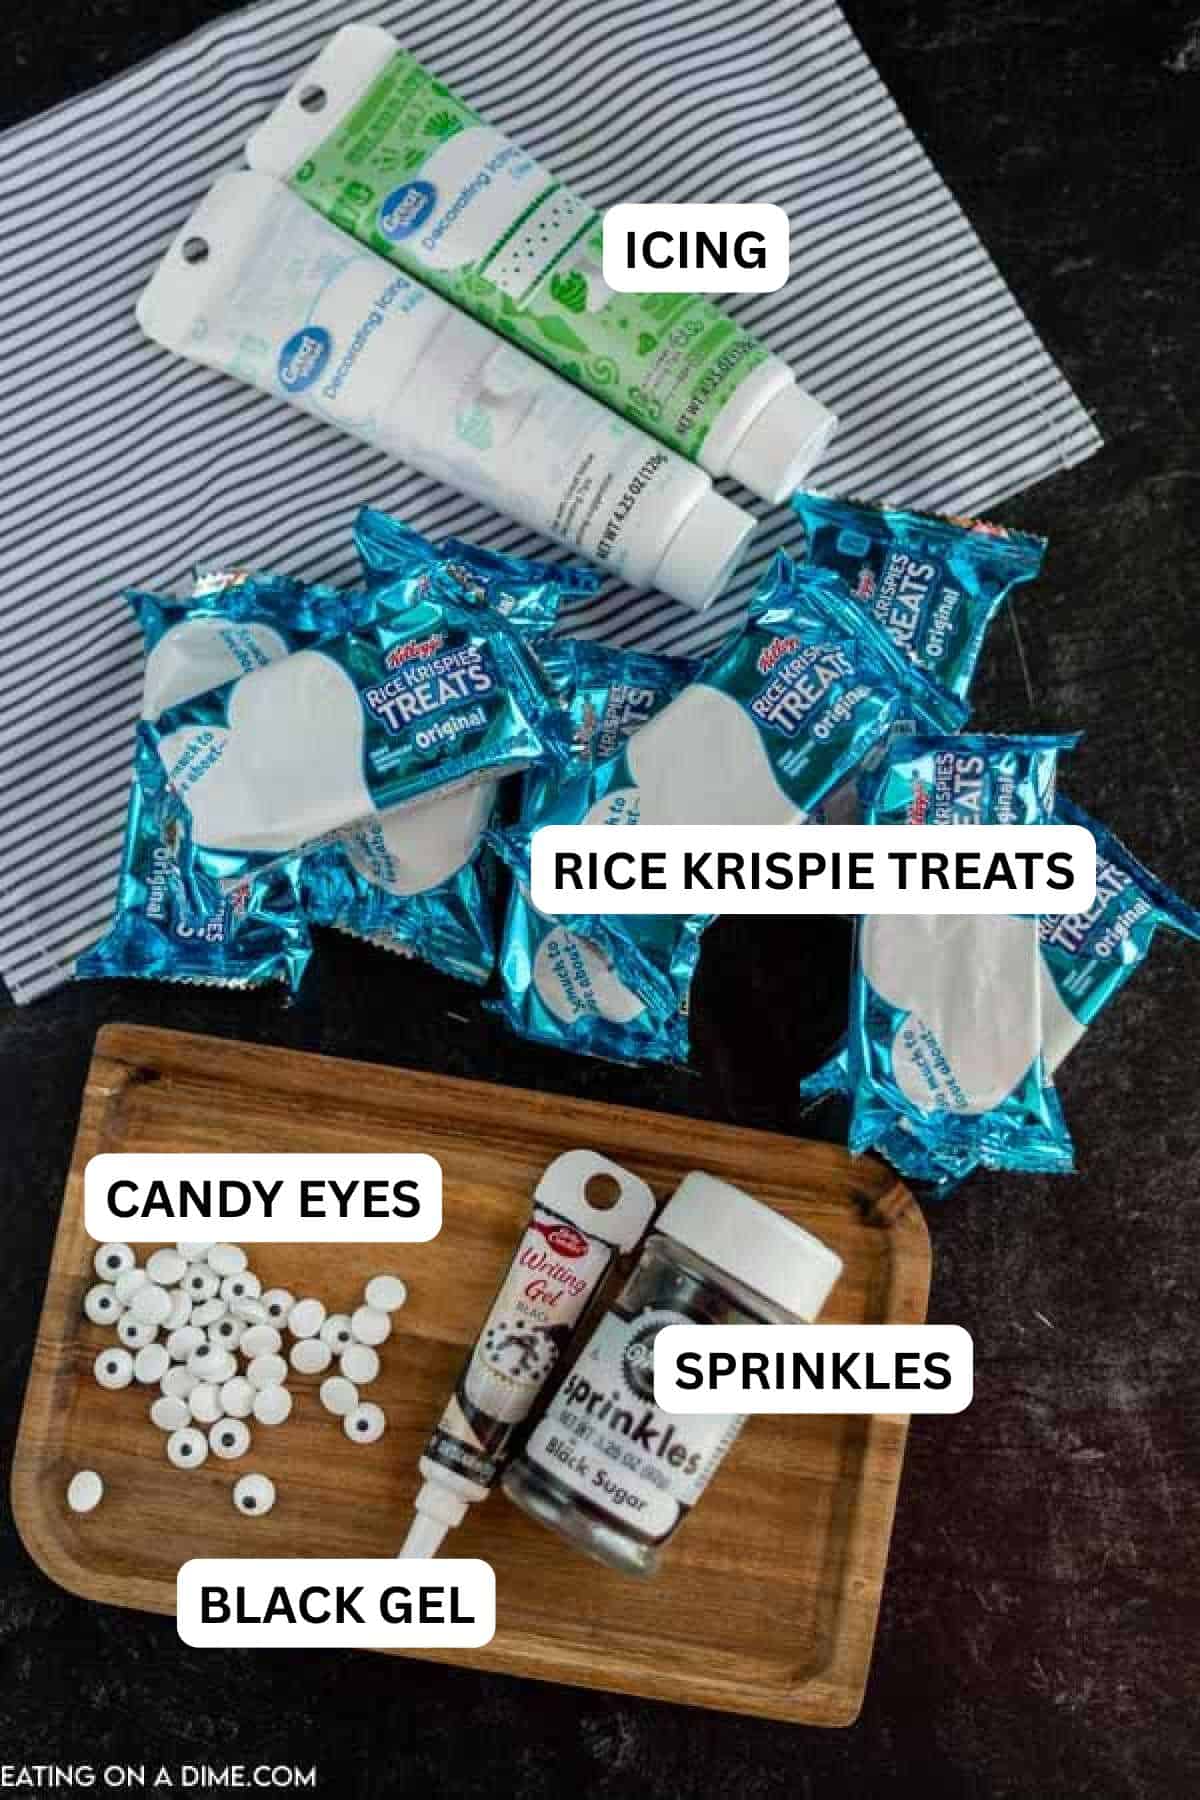
- Pre-made original Rice Krispie Treats – 16 standard store-bought treats give you the perfect amount for 8 monsters and 8 mummies. Original flavor works best as the neutral base for the decorations. Mini treats work for bite-sized versions. Homemade rice krispie treats work equally well.
- Candy eyes – 32 eyes gives you 2 per treat. These are available in the baking aisle of most grocery stores or at any craft store near Halloween. Mini candy eyes give a more delicate look and jumbo candy eyes give a funnier more cartoonish result.
- Green pre-made decorating icing – Used for the monster faces. Store-bought tubes give you the most control for spreading. If using white icing, tint with green gel food coloring for a vibrant Frankenstein green
- White pre-made decorating icing – Used for the mummy wrapping lines. The white color against the tan rice krispie treat gives you the classic mummy bandage appearance
- Black writing gel – Used to pipe the monster mouth and add detail to both designs. Writing gel is thinner and more precise than regular icing. It flows through a small tip perfectly for clean lines and details
- Black sugar sprinkles – Scattered over the green monster icing to create the Frankenstein hair detail. Black sanding sugar or any dark sprinkle works as a substitute
Carrie’s Tip: You do not need a piping bag. Add the icing to a zip-lock bag, snip a small corner, and use it to easily pipe the icing.
Homemade Rice Krispie Treats Option
Store bought Rice Krispie treats are the quickest option, but you can also make them from scratch.
For homemade treats, use 6 tablespoons of butter, 2 10 ounce packages of marshmallows, and 12 cups of Rice Krispies cereal. Melt the butter and marshmallows together, then gently stir in the cereal until evenly coated.
Press the mixture into a greased 9×13 pan and let it cool for completely.
Tips for Soft Rice Krispie Treats:
- Press the mixture gently into the pan. Packing it too firmly can make the treats hard.
- Grease your hands or spatula before pressing so the mixture does not stick.
- Let the treats cool completely before cutting or decorating.
How to Make Monster Rice Krispie Treats
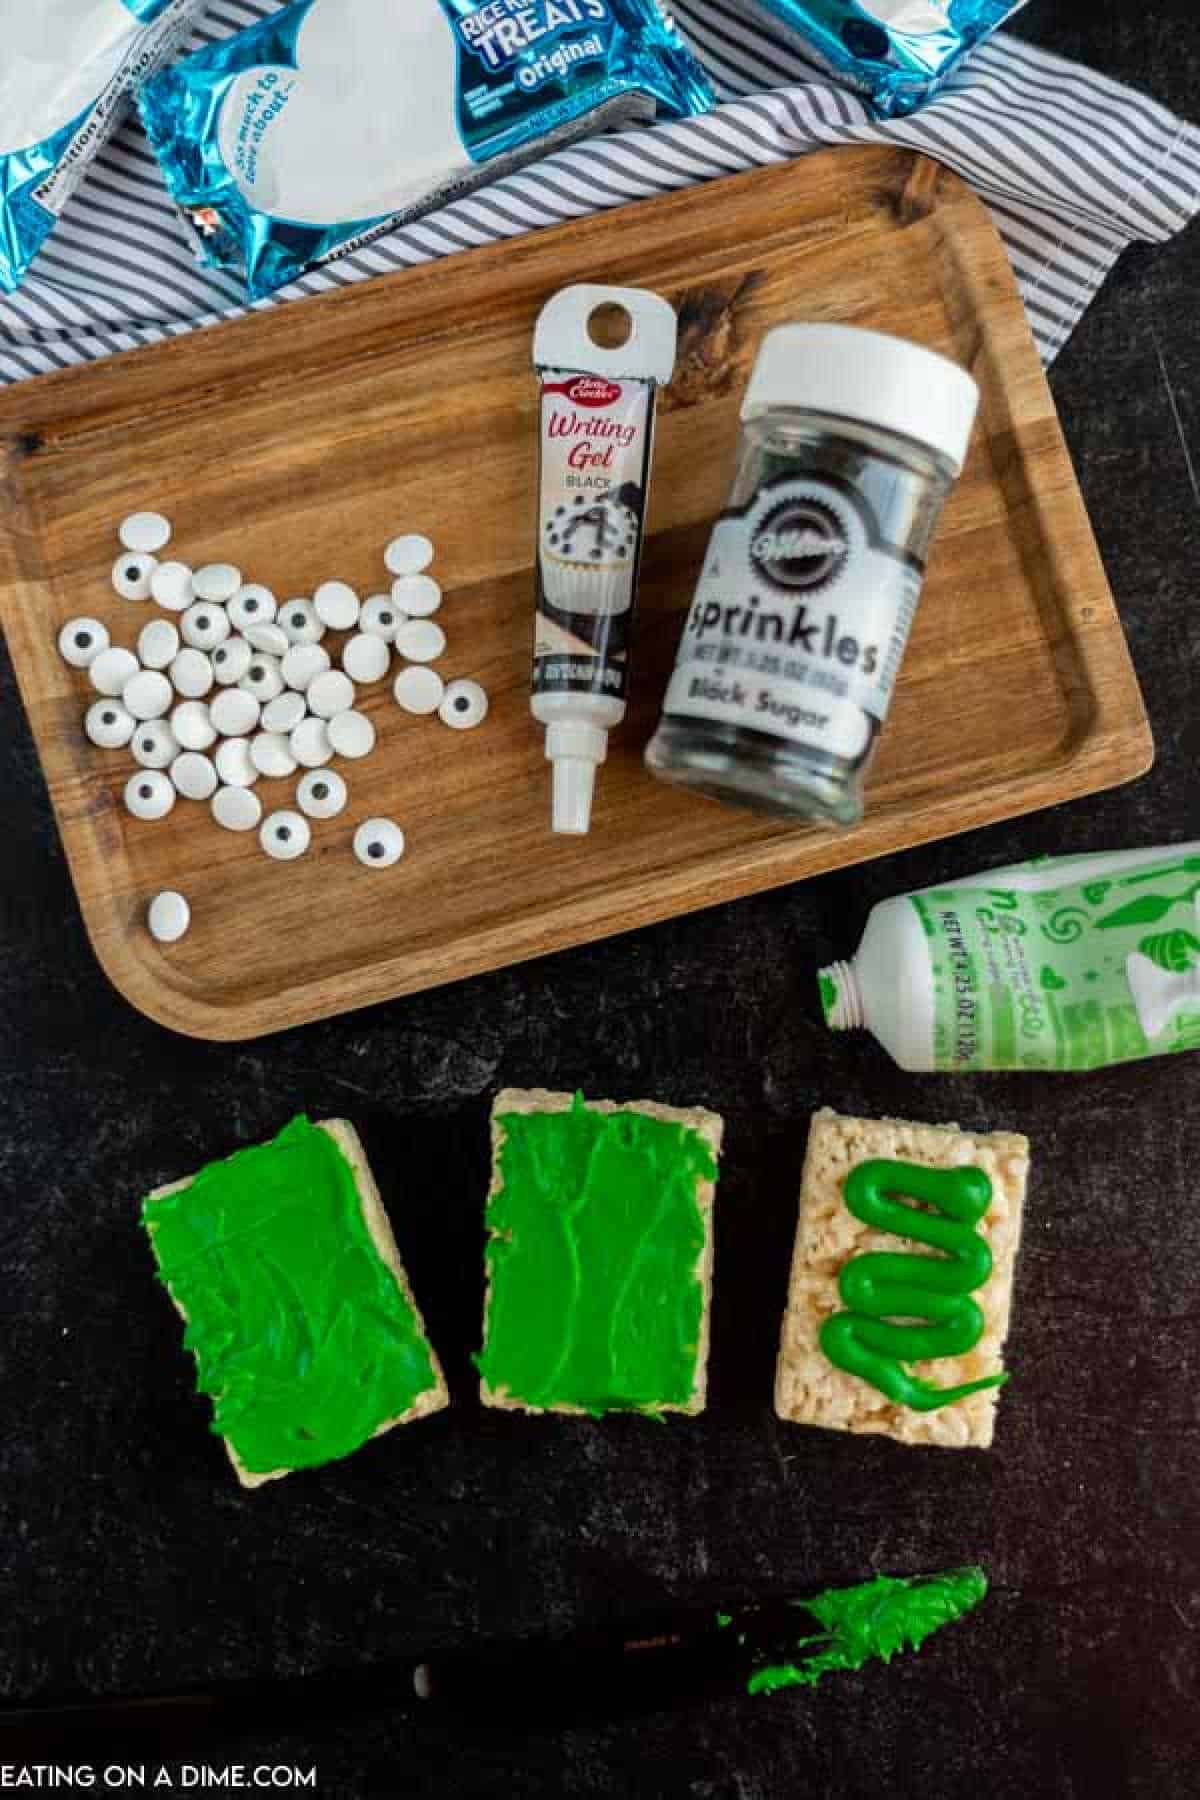
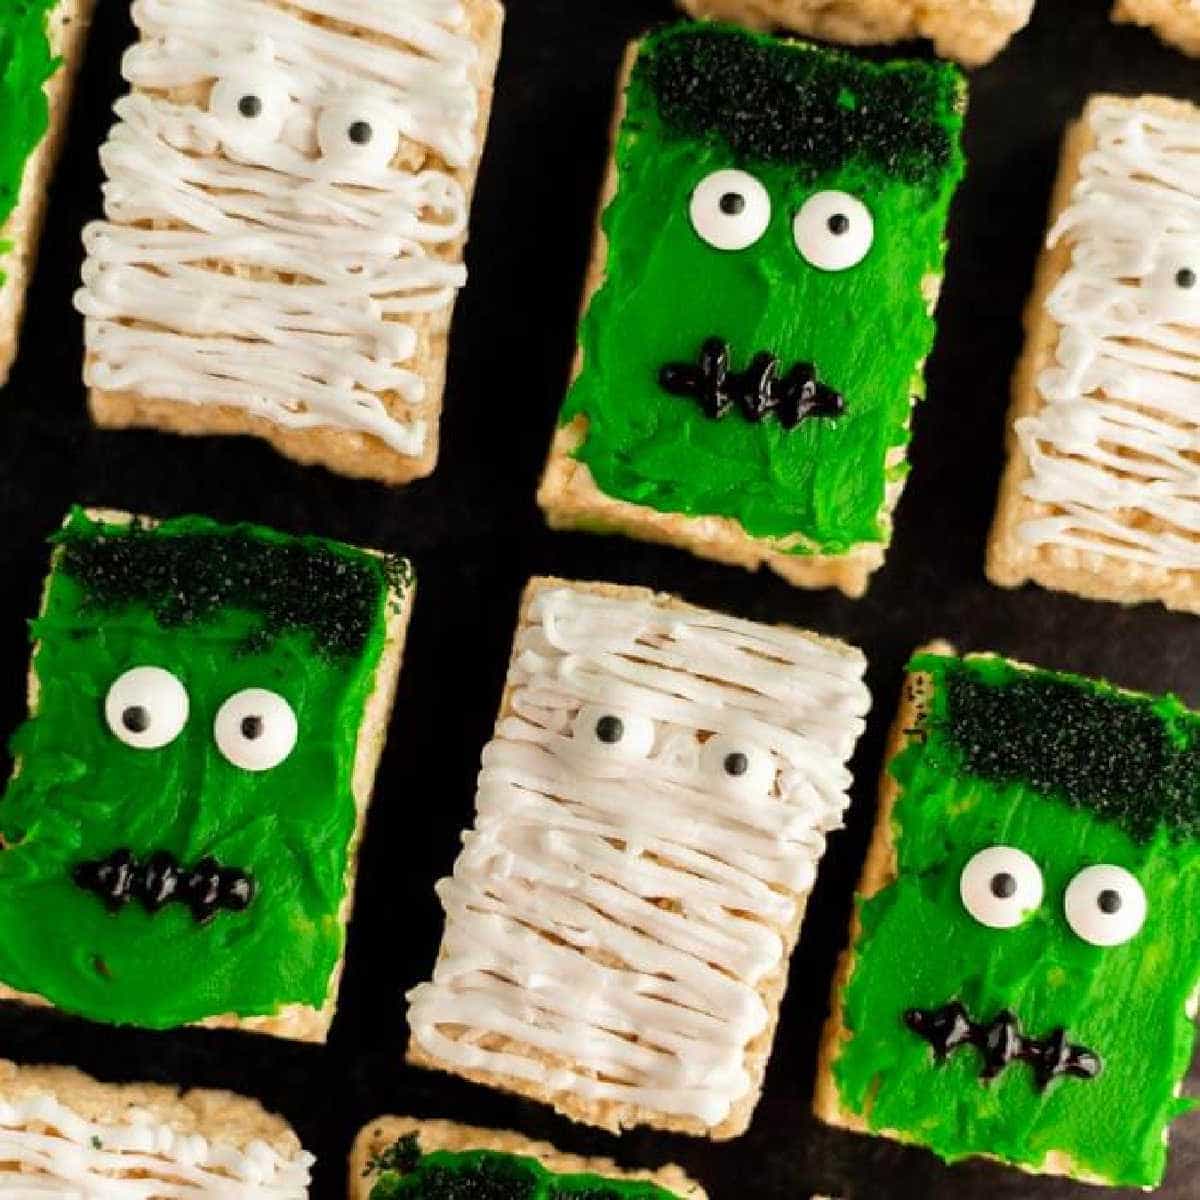
Step 1 – Make Homemade Rice Krispie Treats or pick up premade at the store. Take the rice krispie treats and spread green icing on about half of them.
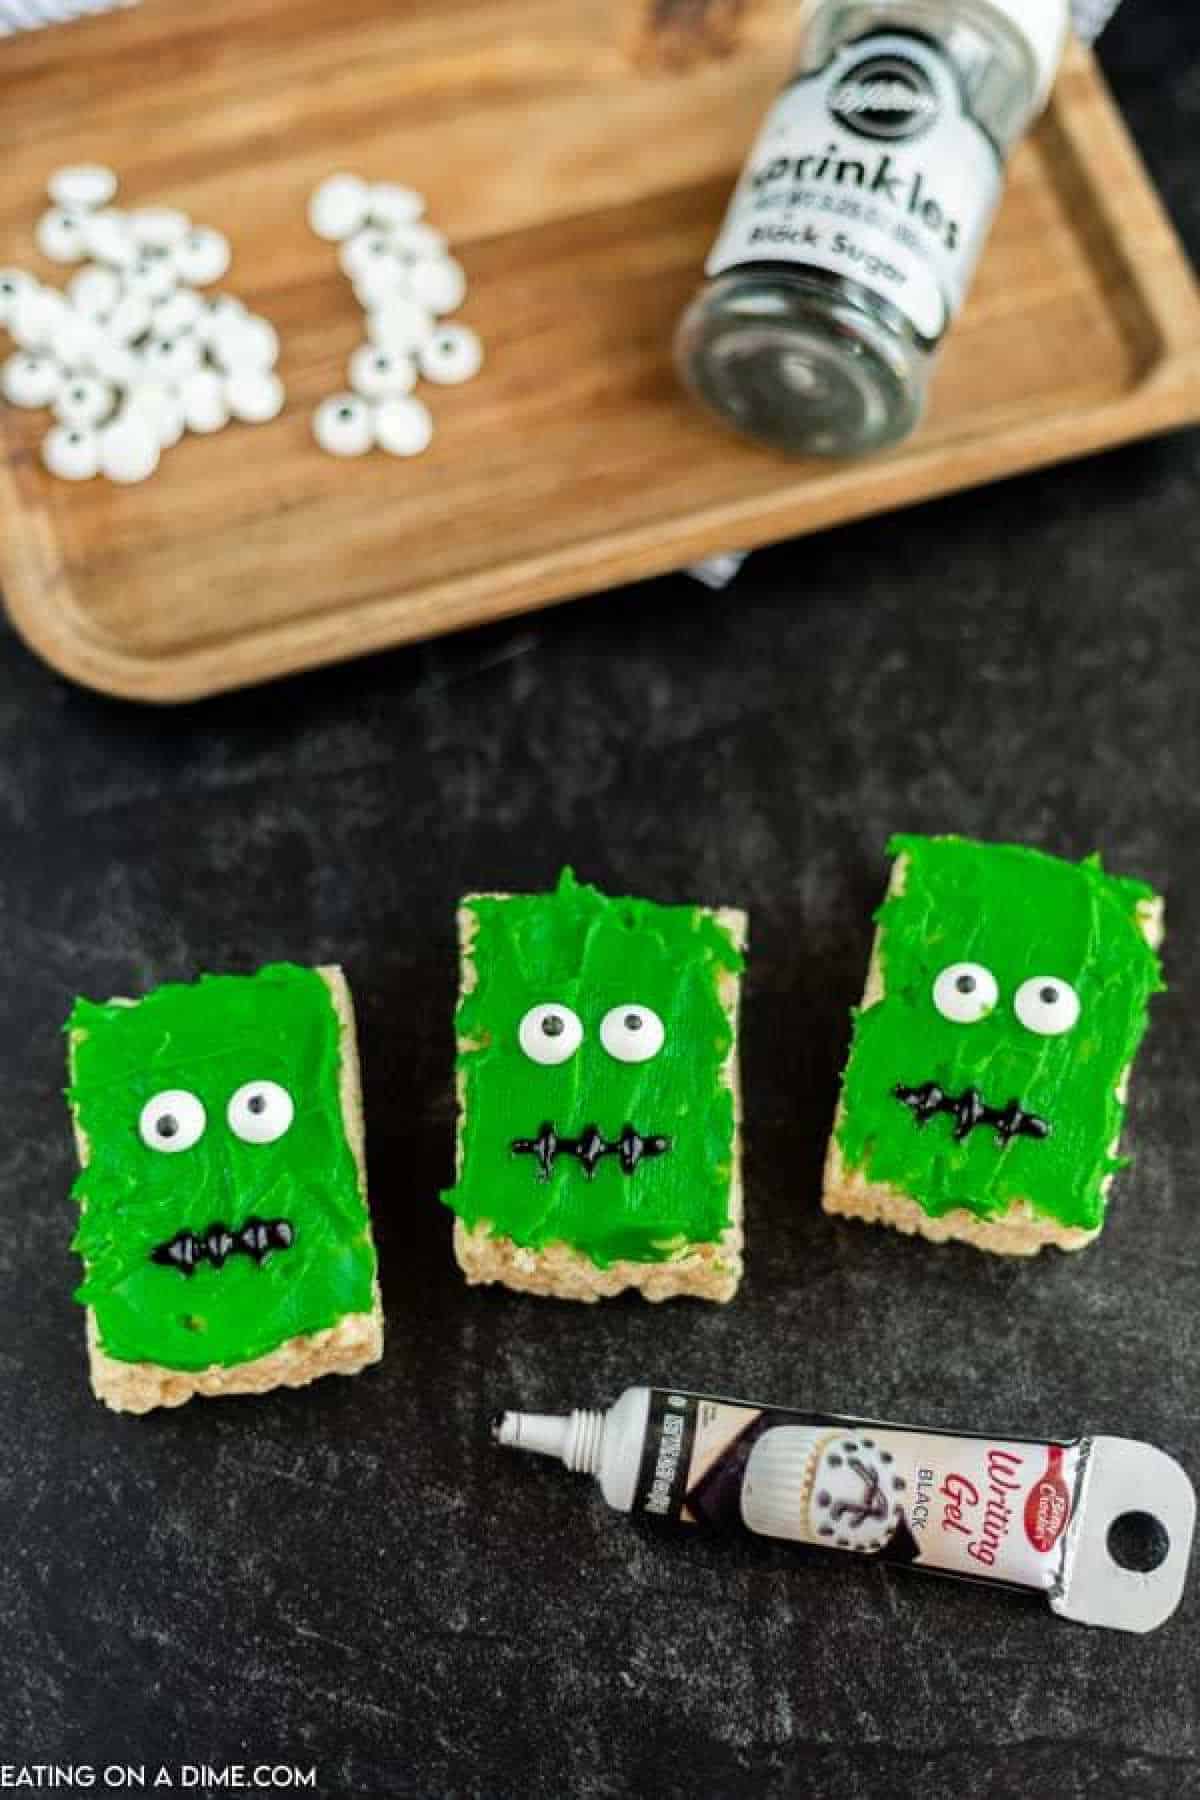
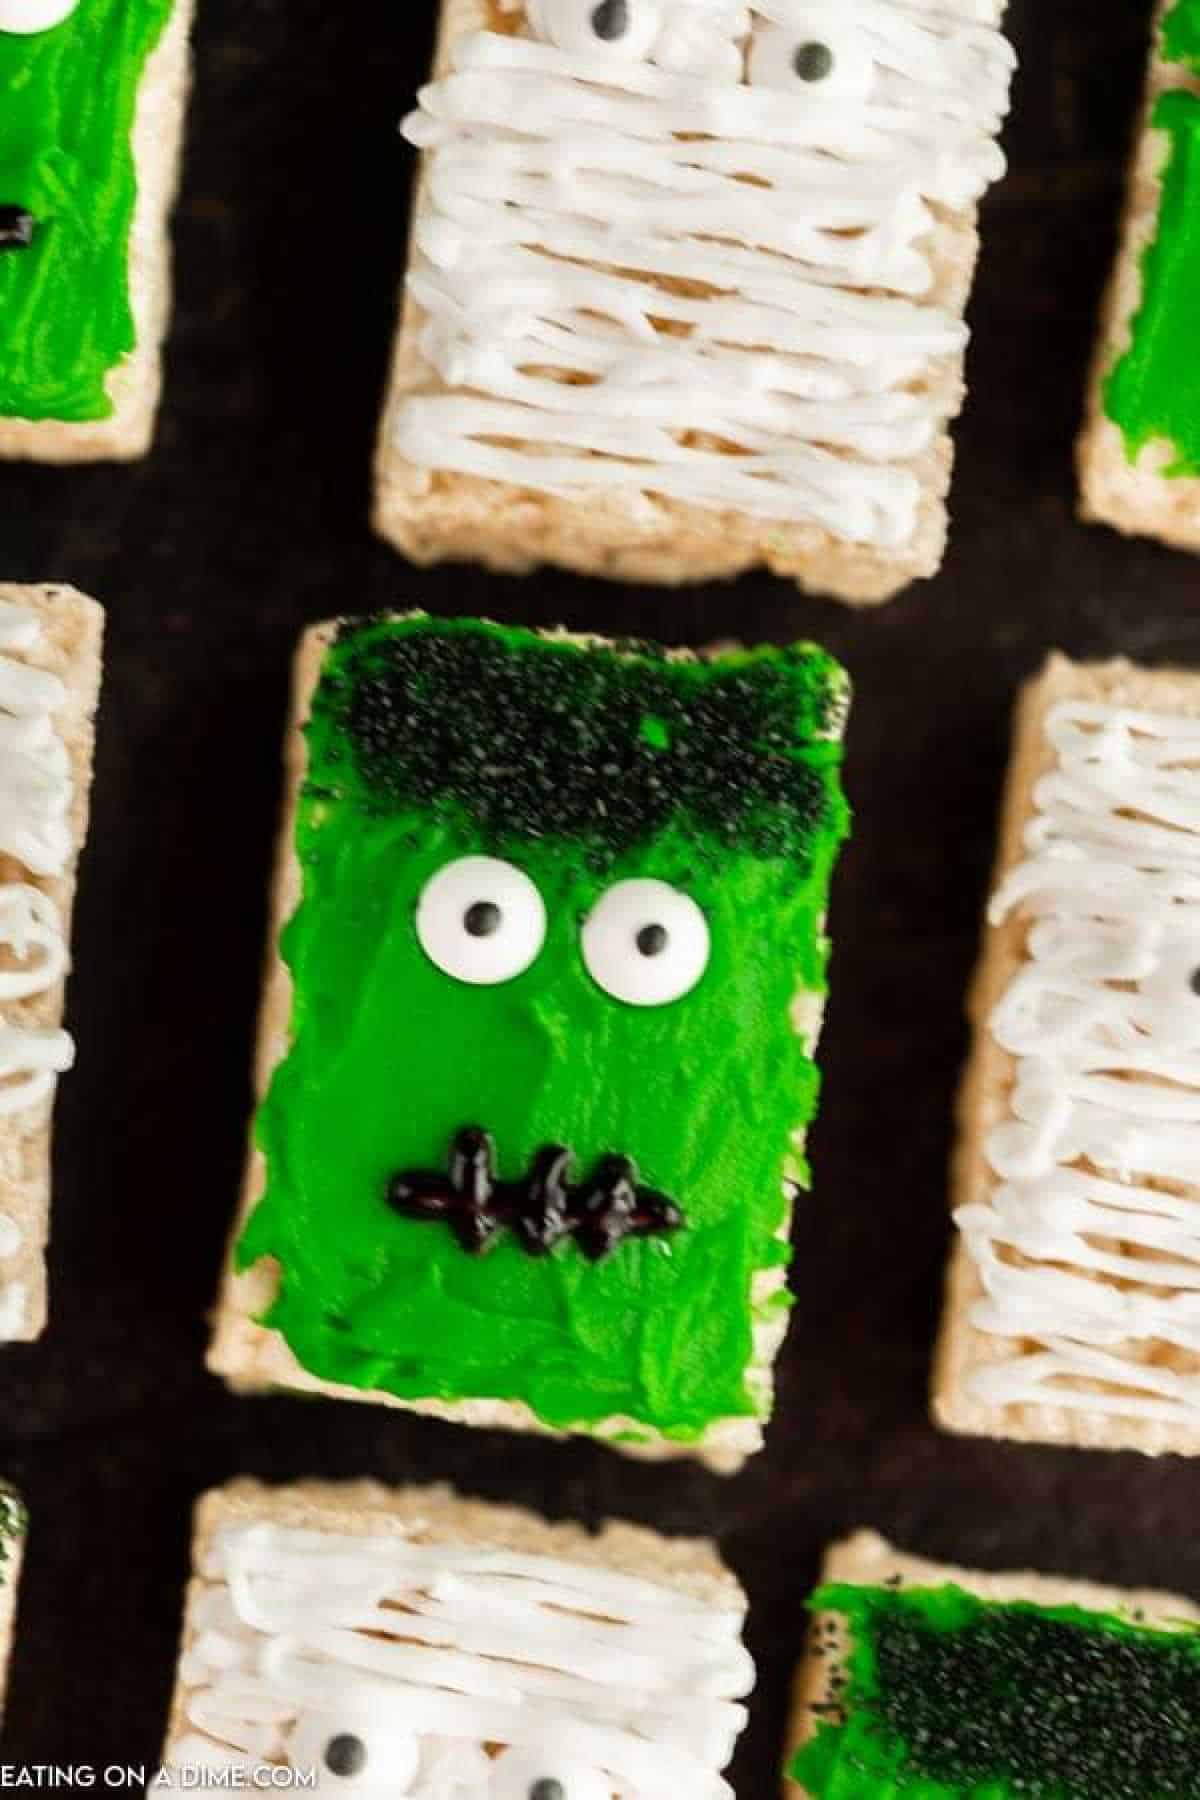
Step 2 – Place 2 candy eyes on each treat. Make the mouth with the black frosting. I used a sandwich bag to make the mouth but you can use a piping bag. A little sprinkles for the hair and these monsters are done.
How to Make Mummy Rice Krispie Treats
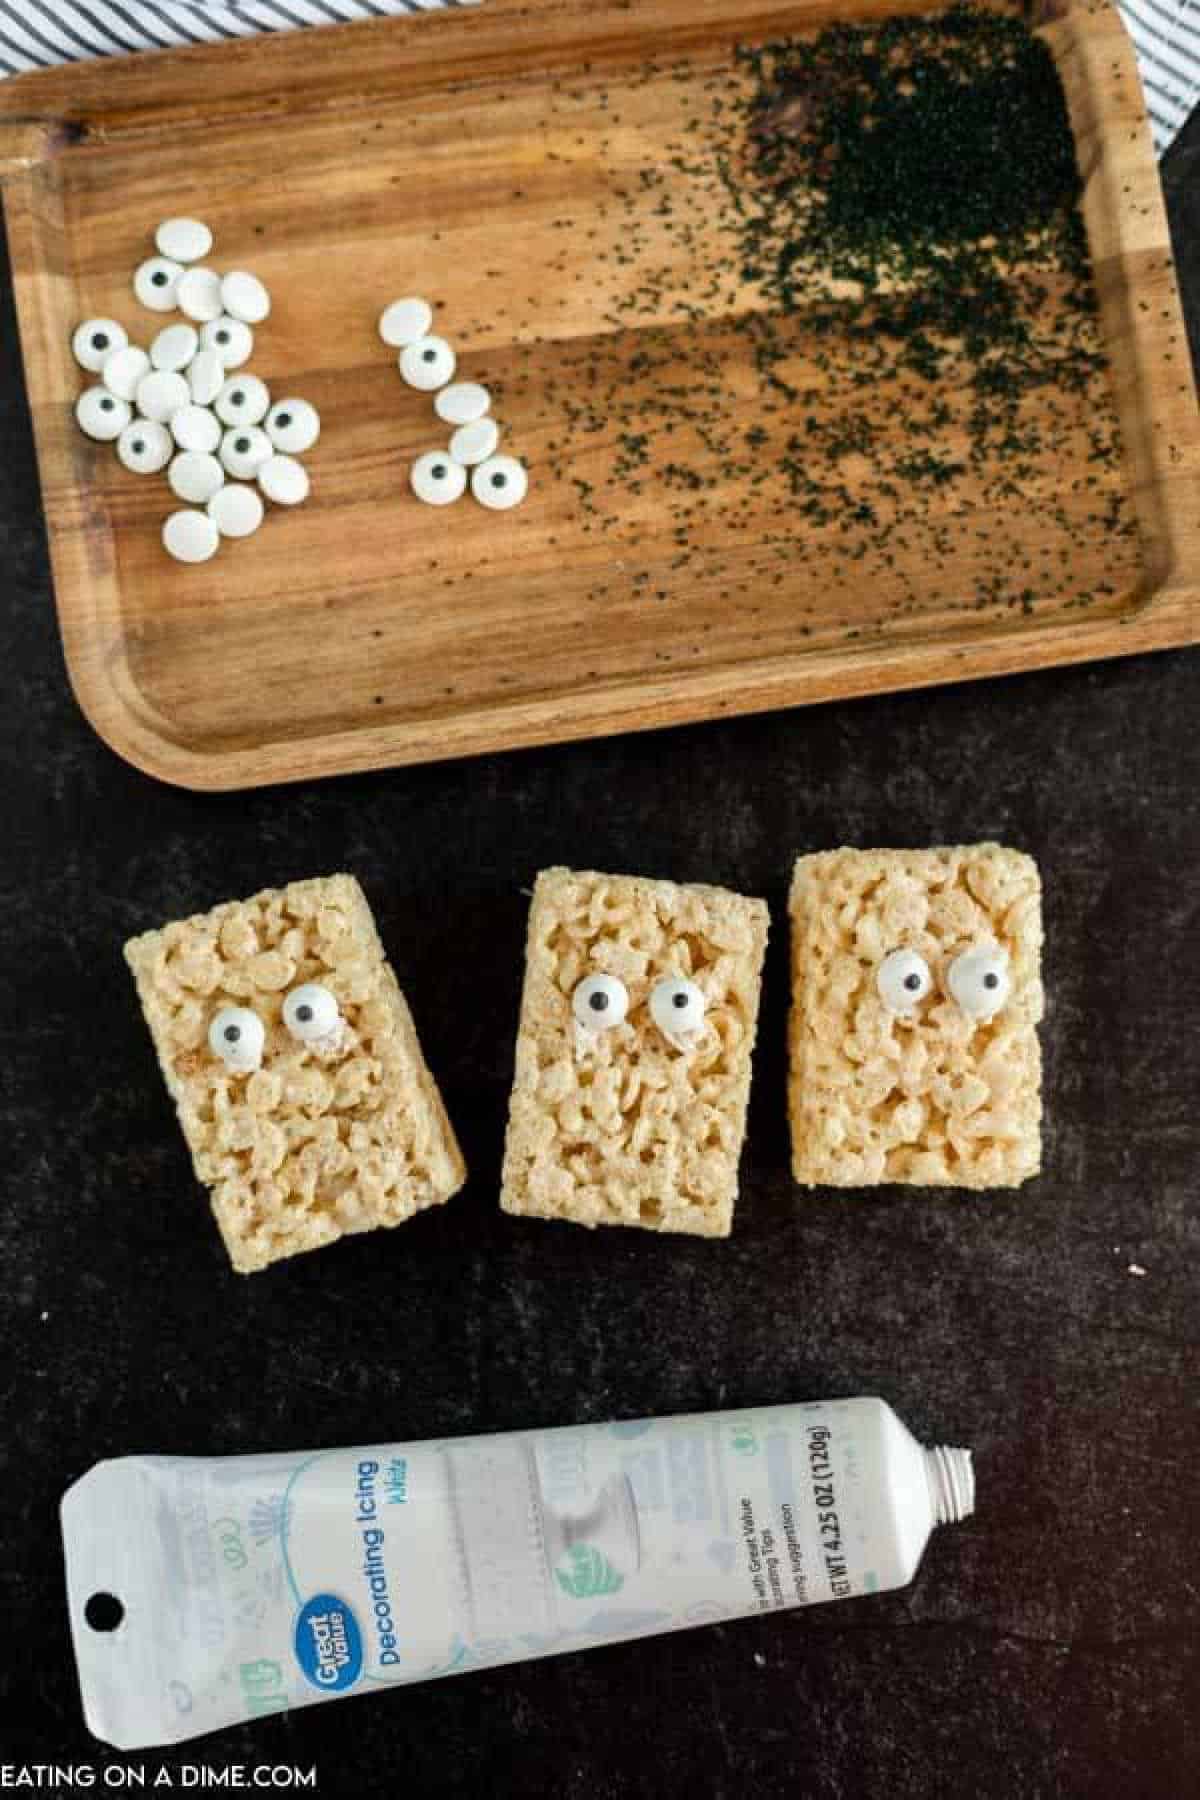
Step 1 – On the remaining Rice Krispie treats, put the eyes in the middle. Use a little bit of icing to glue on some eyes. You can even use chocolate chips for eyes if you do not have any candy eyes.
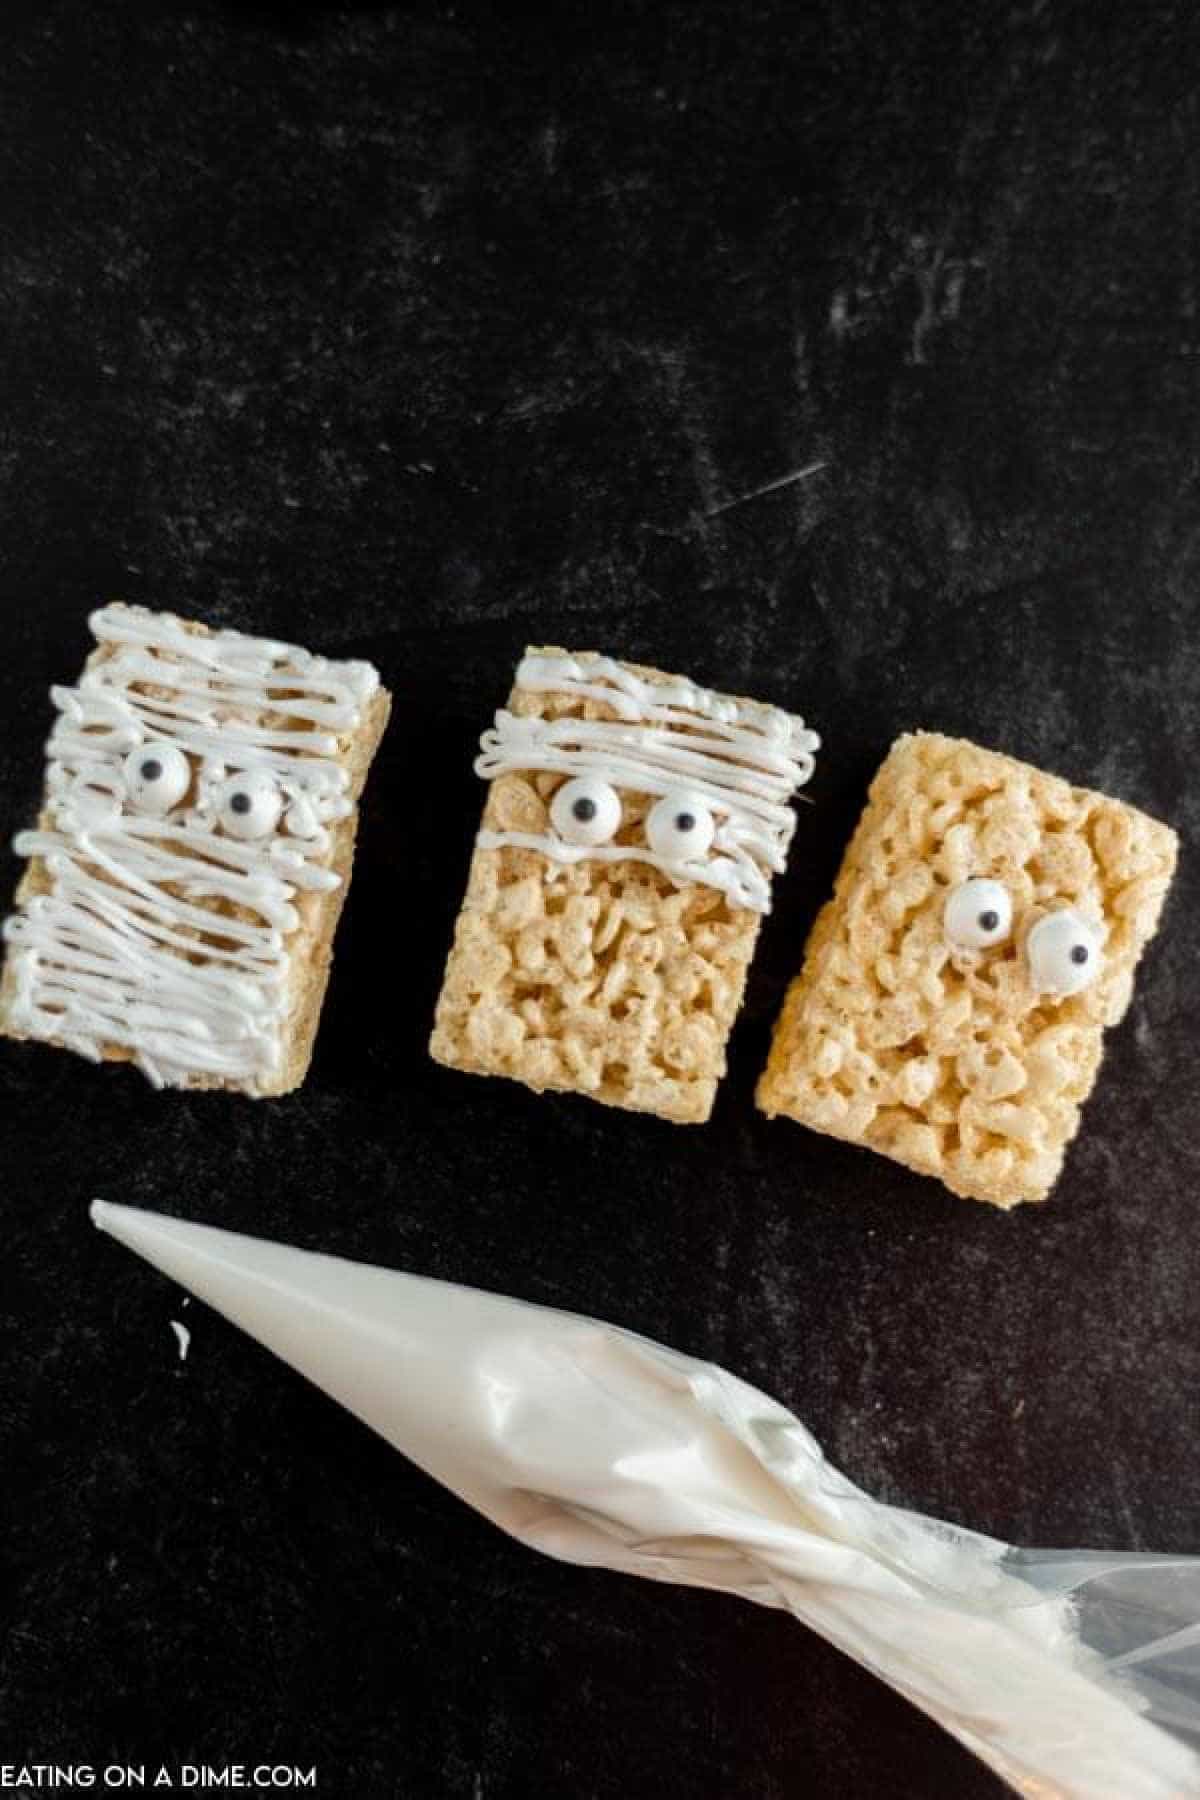
Step 2 – Then, I put some icing in a sandwich bag. I pressed all the icing towards the corner and I cut the corner to make a homemade piping bag. Then I “piped” the lines on the Rice Krispies Treats to look like Mummies.
Step 3 – Serve at your next Halloween Party for a fun and festive treat.
More Halloween Design Ideas
Use the same Rice Krispie treats and decorating supplies to make several fun Halloween designs.
- Ghosts – Use white frosting or melted white chocolate and add candy eyes.
- Spiders – Add pretzel pieces for legs and candy eyes on top.
- Pumpkins – Decorate with orange frosting and add a small pretzel piece or candy for the stem.
- Jack-O-Lanterns – Use orange frosting with black icing to make simple faces.
- Cookie Cutter Shapes – Cut the treats with pumpkin, ghost, or bat cookie cutters before decorating.
Tips for Success
- Set up a decorating station first. Lay out all the icing, candy eyes, sprinkles and Ziploc bags before you open a single treat. Once you start decorating, you want everything within reach
- Work one design at a time. Complete all the monsters before starting the mummies so the icing does not set before the decorations go on
- Less icing is more. A thin even layer of green icing on the monster gives a cleaner result than a thick glob. Spread thinly and evenly for the best appearance
- Snip the smallest possible hole. Start with the tiniest snip on the zip-top bag corner — you can always make it bigger but you cannot make it smaller. A small hole gives you far more control over the icing lines
- Let them dry completely before stacking. Always let the icing set for at least 15–20 minutes before stacking or packaging. Wet icing smears and the candy eyes can shift
Variations and Substitutions
- Use candy corn instead of candy eyes for a different Halloween look
- Swap black sugar sprinkles for mini chocolate chips for the monster hair
- Add orange sprinkles or Halloween-themed confetti sprinkles for extra festivity
- Use pumpkin-flavored rice krispie treats as the base for a fall twist
- Melt candy melts in green, white and black instead of tube icing for a glossy finish
- Make mini versions using snack-size rice krispie treats for classroom parties and trick-or-treat bags
- Decorate as Jack-O-Lanterns using orange icing and black writing gel for a third design option
Serving Ideas
These Halloween Rice Krispie treats are easy to serve at parties, school events, or fall gatherings.
- Party Platter – Arrange the treats on a try with Halloween candy for an easy dessert display.
- Treat Pops – Insert a paper straw or lollipop stick into each treat and stand them in a jar filled with candy.
- Individual Treat Bags – Wrap each treat in a clear bag and tie with ribbon for classroom parties or party favors.
- Dessert Table – Mix the different monster designs together on a large platter for a colorful Halloween centerpiece.
Make Ahead and Storage Instructions
Make Ahead
- Decorate up to 2–3 days ahead and store in a single layer in an airtight container at room temperature. The icing sets firmly overnight making them actually easier to stack and transport by the next day
Storage
- Store in an airtight container at room temperature for up to 4 days. Separate layers with parchment paper to prevent the decorated surfaces from sticking together
Packaging for Parties
- Wrap individual treats in small cellophane bags tied with an orange or black ribbon for the most impressive Halloween party favor presentation.
Homemade Option
- Make homemade Rice Krispies treats using butter, mini marshmallows, and Rice Krispies cereal. Line the pan with parchment paper cut into rectangles and decorate the same way. Homemade treats are slightly softer than store-bought and give a more rustic result
Freezing
- To freeze, wrap the undecorated treats individually in plastic wrap and place them in a freezer-safe container or bag for up to 1 month. Thaw at room temperature before decorating. For the best appearance, decorate the treats after they have thawed. Freezing decorated treats may cause the candy eyes to bleed or the decorations to lose their texture.
FAQs
We used store bought Rice Krispies treats but you can just as easily make homemade Rice Krispies Treats. These fun treats are made with mini marshmallows, butter and Rice Krispie cereal.
Yes. Melt green, white and black candy melts according to package directions and use in place of the tube icing for a glossier more polished finish.
Use a black food coloring marker to draw the monster mouth and mummy details or melt a small amount of black candy melts and pipe through a zip-top bag as a substitute.
This recipe makes 16 decorated treats, 8 green monsters and 8 white mummies using one 16-count box of store-bought rice krispie treats.
You can make the treats up to 3 to 4 days in advance. Store them in an airtight container and add any delicate decorations closer to serving.
Not always. Regular Rice Krispies cereal is not considered gluten free, so use a certified gluten-free crispy rice cereal and check all decorating ingredients.
They may have been pressed too firmly into the pan or cooked too long. Press the mixture gently and avoid overheating the marshmallows.
More Halloween Treat Ideas
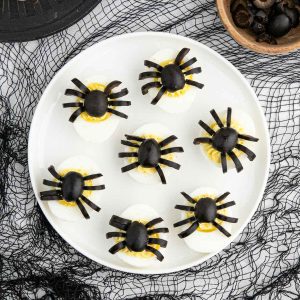
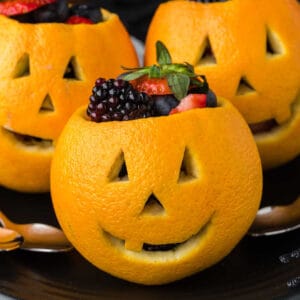
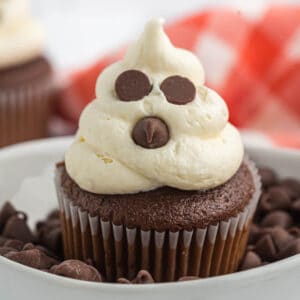

These Halloween Rice Krispie Treats are one of our favorite October traditions. The spooky monsters and mummies cost just $0.97 each, and my 8 kids love decorating them. Set up the supplies before they get home from school and enjoy an easy Halloween activity together. When you make these Rice Krispies Treats for Halloween, make sure to leave a comment and let us know how they turned out.
Halloween Rice Krispie Treats
Ingredients
- 16 Pre-made Original Rice Krispies Treats
- 32 Candy Eyes
- 4 ounces Green Pre-made Decorating Icing
- 4 ounces White Pre-made Decorating Icing
- 0.67 ounces Premade Black Writing Gel
- Black Sugar Sprinkles
See how we calculate recipe costs.
Instructions
- Unwrap all pre-made Original Rice Krispies Treats and place them on a work surface.
- Spread green pre-made decorating icing onto 8 of the Rice Krispies Treats.
- Then sprinkle the black sugar sprinkles on the top portion of the Rice Krispies Treats with the green frosting. Place 2 candy eyes on each green-frosted treat. Use the 0.67-ounce black writing gel to pipe a monster mouth onto each of the green-frosted treats.
- On the remaining 8 Rice Krispies Treats, place 2 candy eyes in the center of each treat using the 4 ounces white pre-made decorating icing as the adhesive.
- Drizzle the remaining white decorating icing across the tops of the treats to resemble mummy bandages. Allow the icing to set for a few minutes before serving.
- Serve and enjoy!