How to Grill Corn on the Cob in the Husk is a delicious but often overlooked cooking method. It results in tender and flavorful corn without much work.
We love grilled corn on the cob and recently starting cooking it with husk on. It is absolutely fabulous and results in the best corn for an amazing side dish.
The corn husks help to seal in the steam and heat from the grill. It makes the corn so tender. This is a must try recipe for a quick but delicious side dish. For the best flavored corn, buy your corn at your local farmers market.
Check out more Corn Recipes – Mexican Street Corn Pasta Salad, Bacon Wrapped Corn on the Cob, Air Fryer Corn on the Cob, and How to Microwave Corn on the Cob.
What's in this post: How to Grill Corn on the Cob in the Husk
Pros and Cons to Grilling Corn in the Husk
- Pros: You get all the smoky flavor from grilled corn with all the tenderness of boiled corn. It is the perfect combination. The husks help to steam the corn for great results.
- Cons. The process is a bit more time consuming due to having to soak the corn husks prior to cooking. It also takes a few extra minutes to cook than grilling directly on the grates.
Ingredients
- Fresh Ears Corn – Choose bright-green husks
- Butter and Salt – For Serving
Scroll to the bottom for the full recipe and ingredients in the recipe card.
How to Grill Corn in the Husk
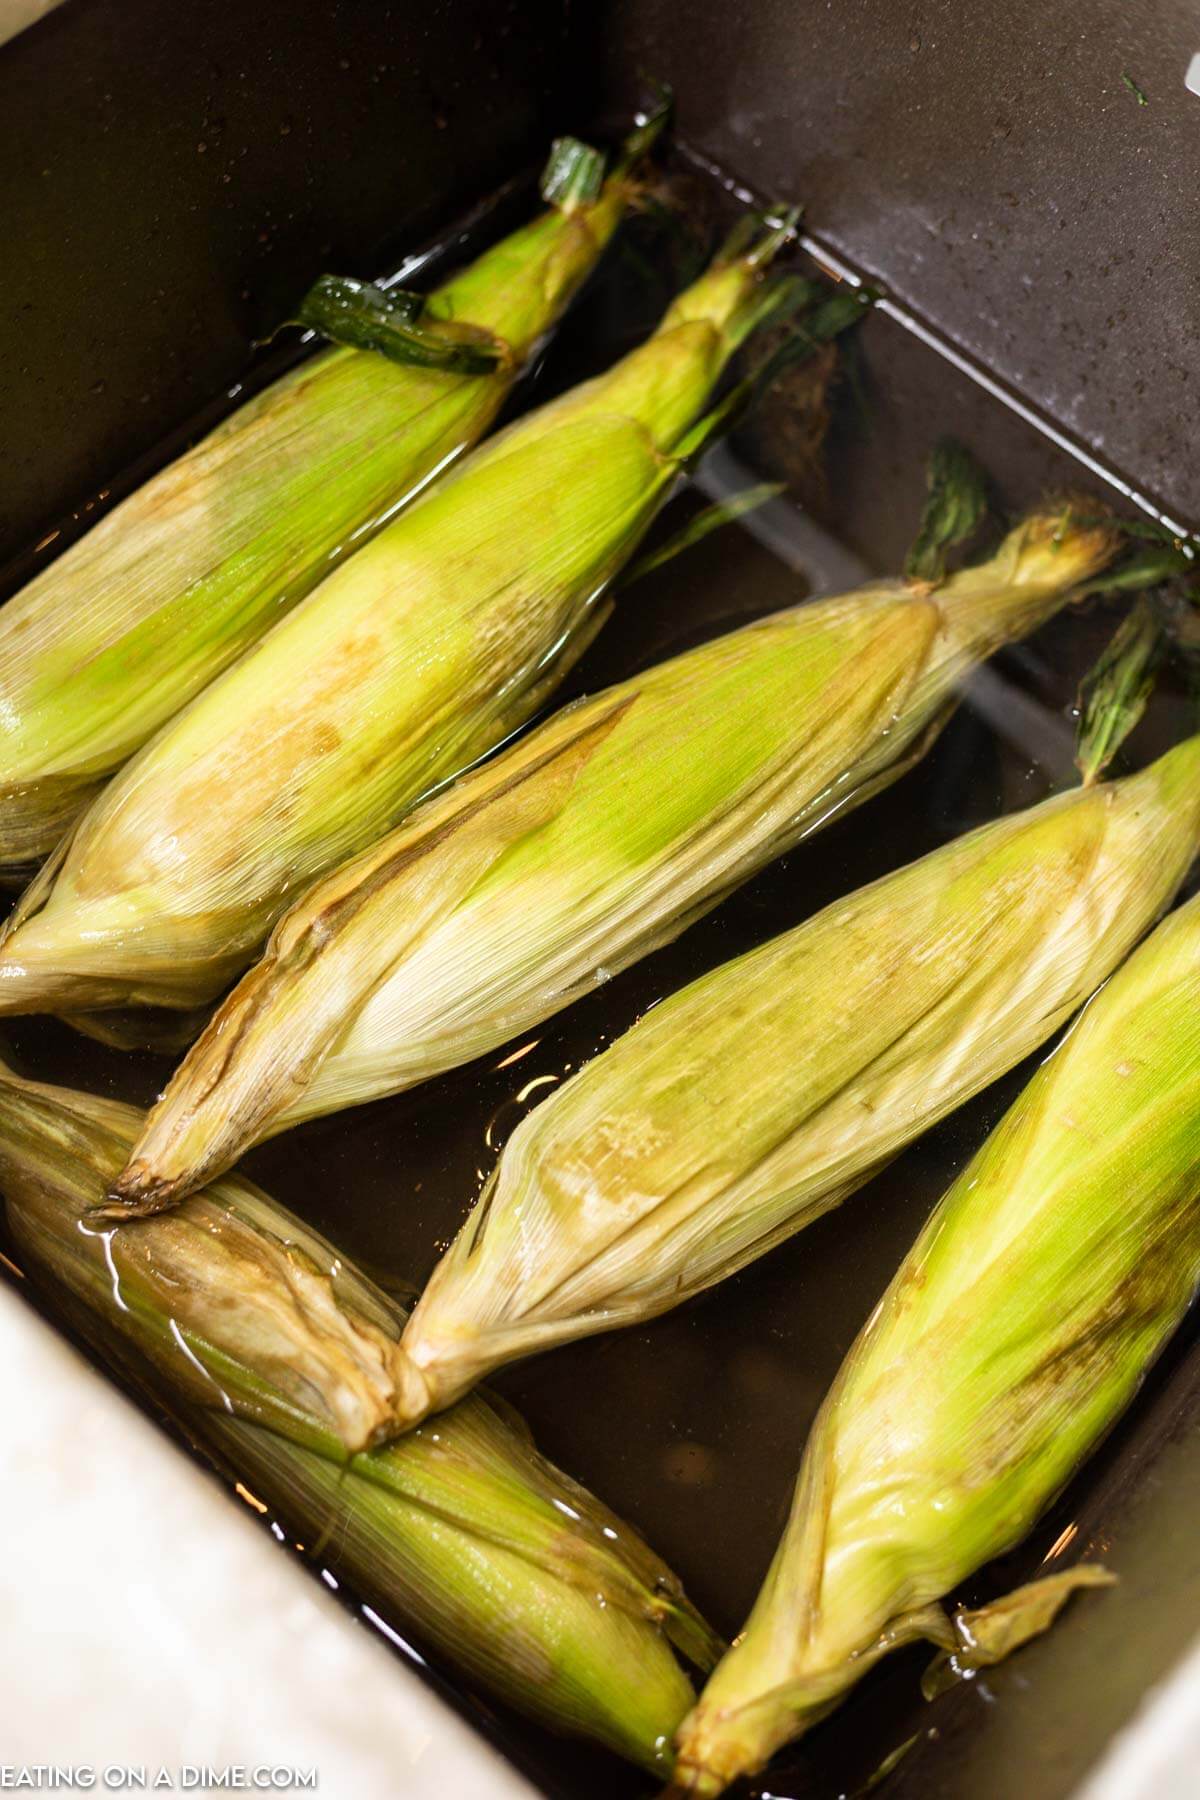
- Step 1 – Soak the corn prior to grilling. Soak the ears of corn in cool water for at least 20 minutes to prevent the husks from burning on the grill. I soaked the corn in a sink full of water but you can use a large bowl.
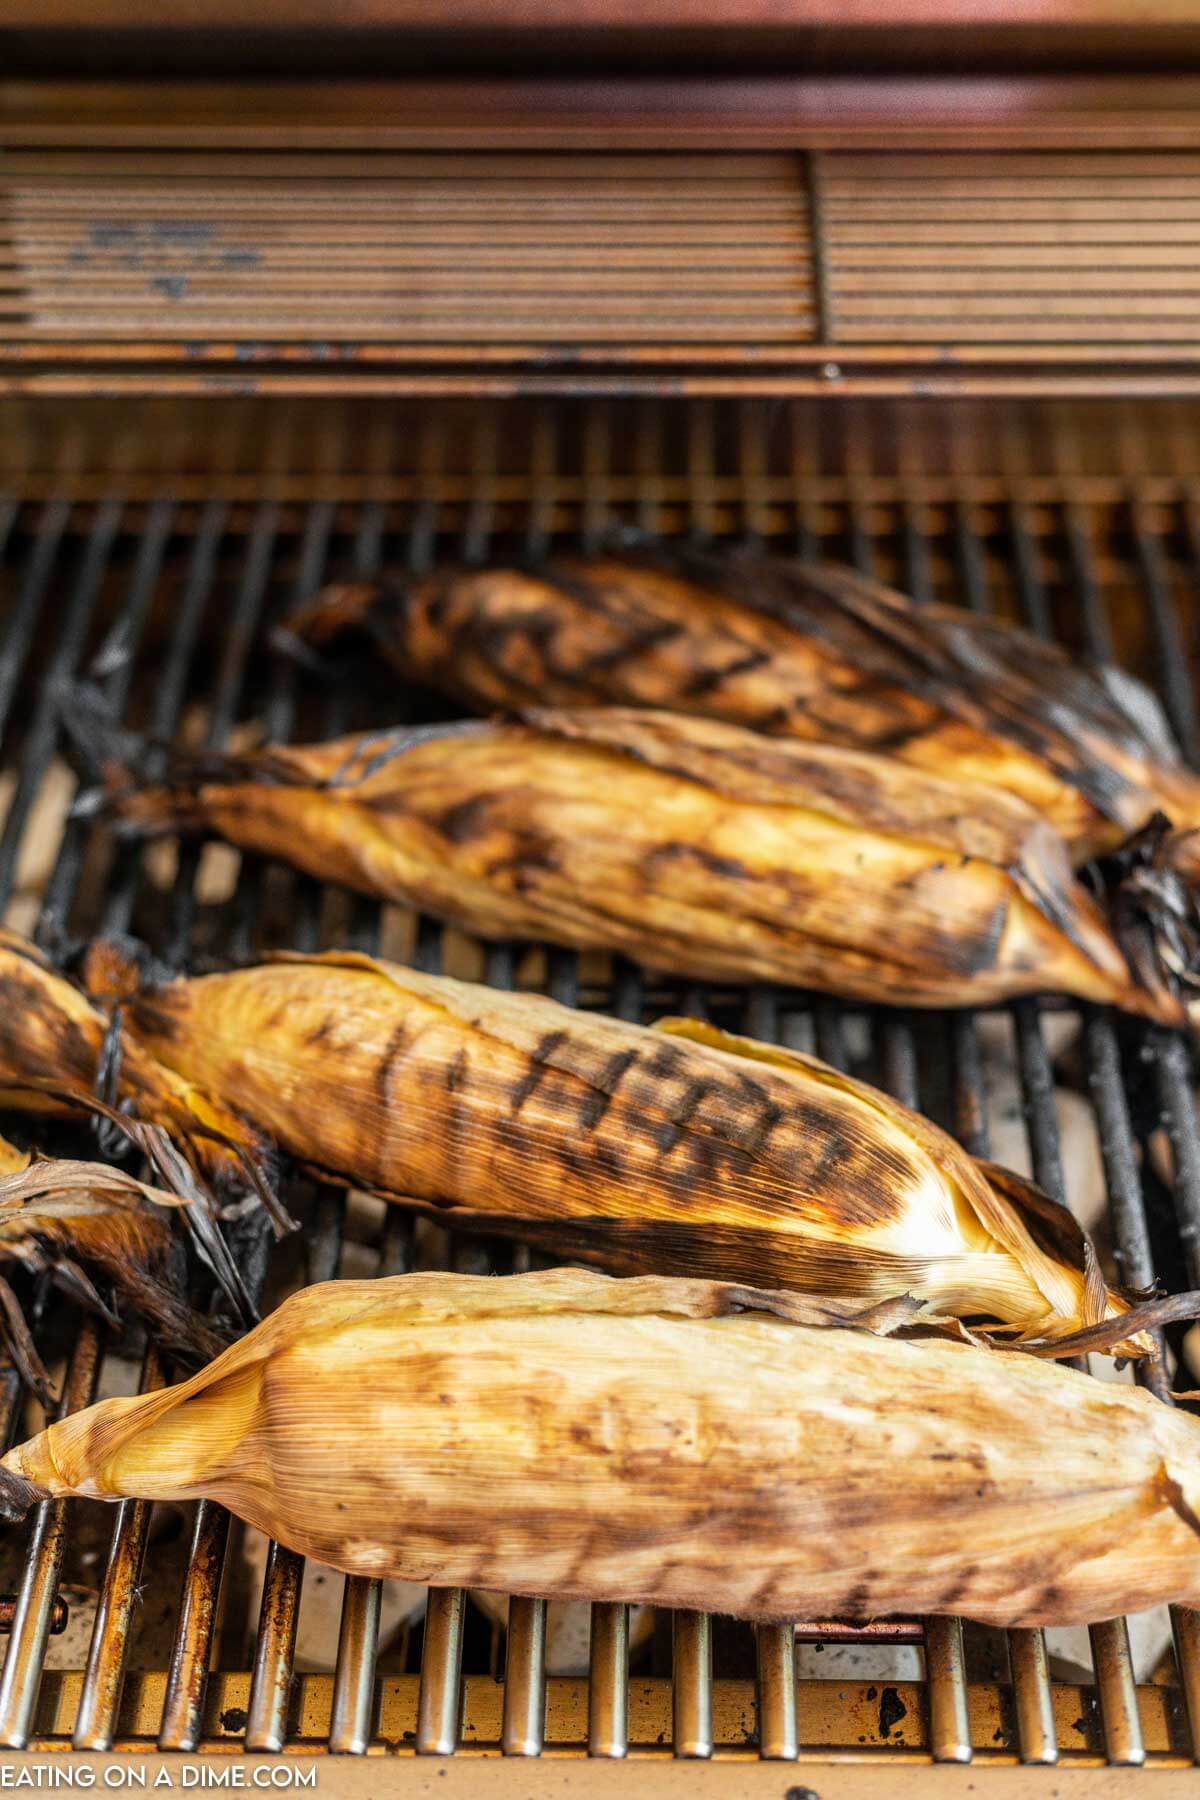
- Step 2 – Preheat the gas grill. Set the grill to medium heat to medium high heat (approximately 400 degrees F). You can also grill on charcoal grills.
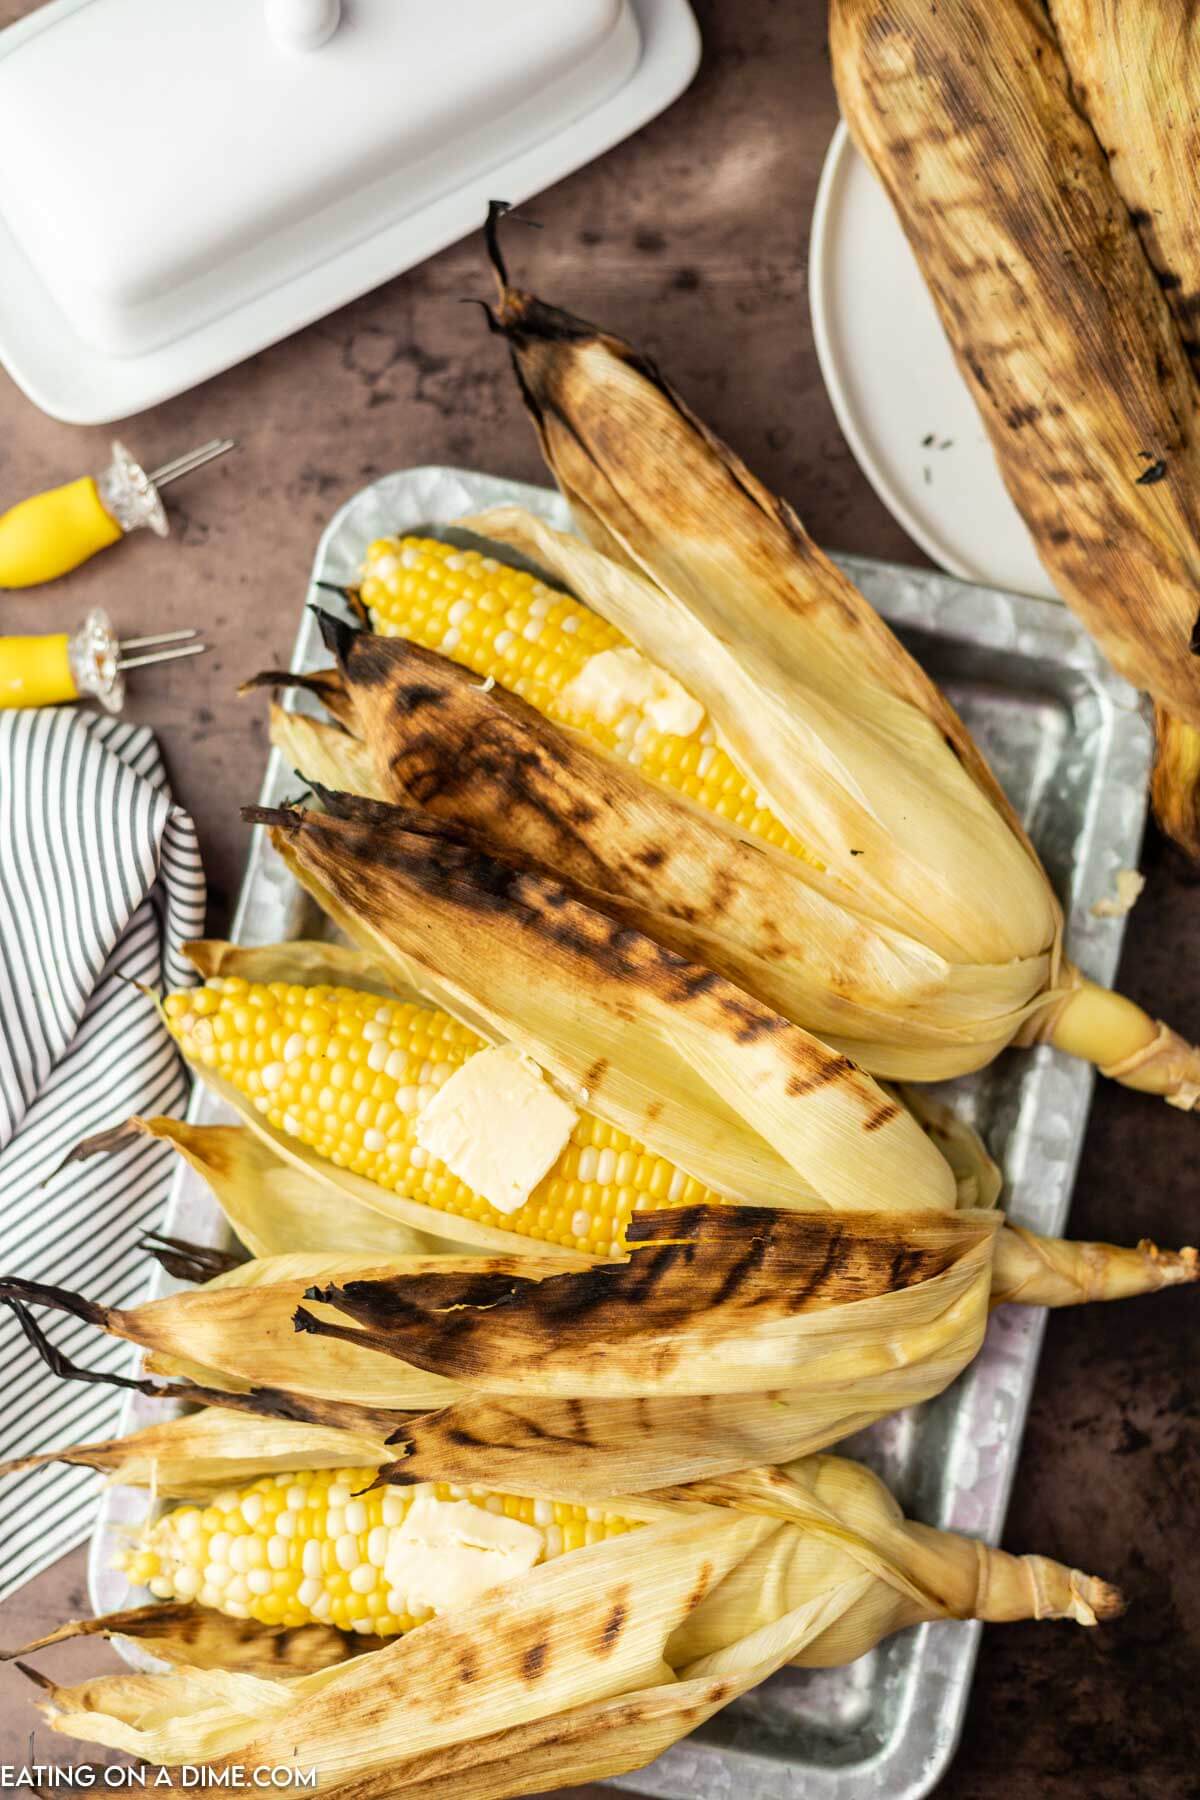
- Step 3 – Put the corn on the grill. Then place the ears of corn directly on the grill grates over the burners. Cook the corn golden brown for 20-22 minutes turning occasionally until the corn is cooked through and the husks are charred outer leaves. I checked the char corn by pulling back part of the husk with tongs and made sure that the corn is a bright yellow color and cooked through.
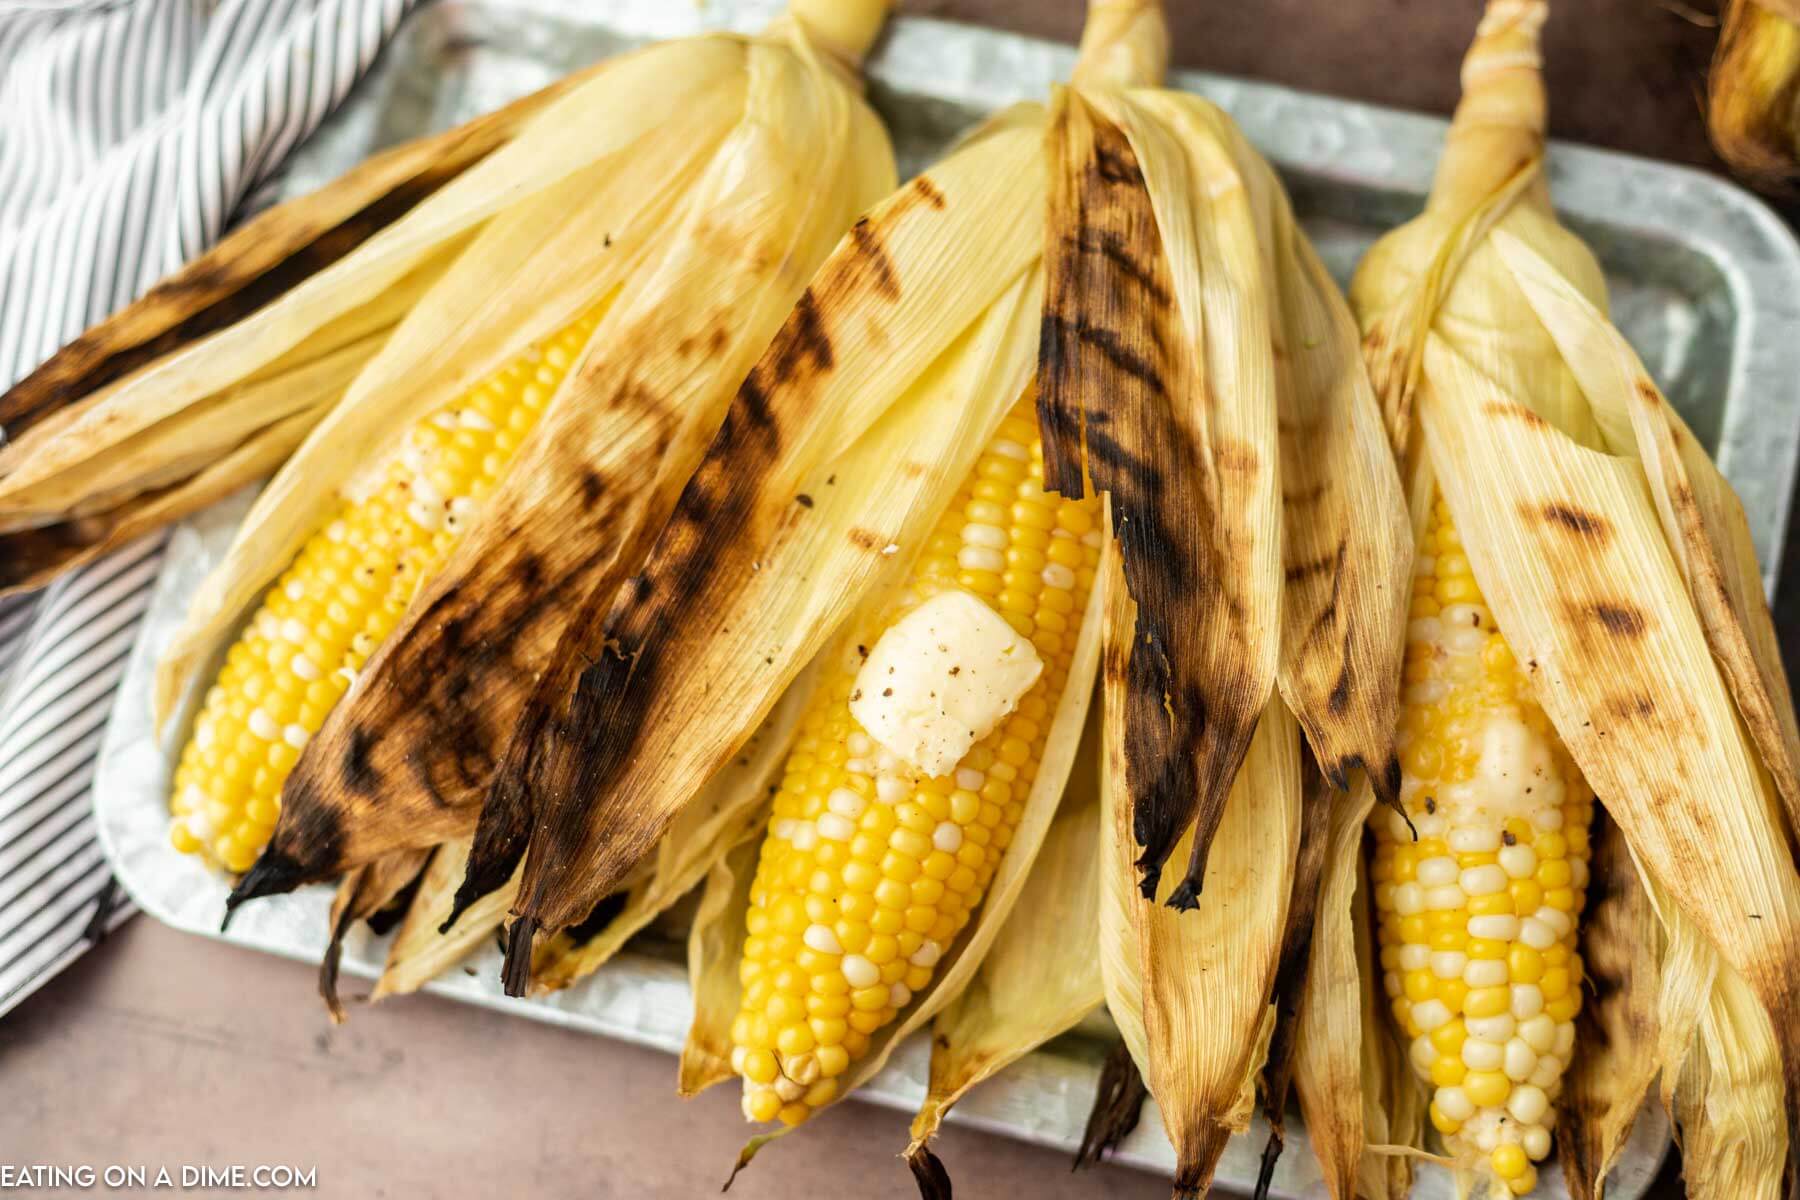
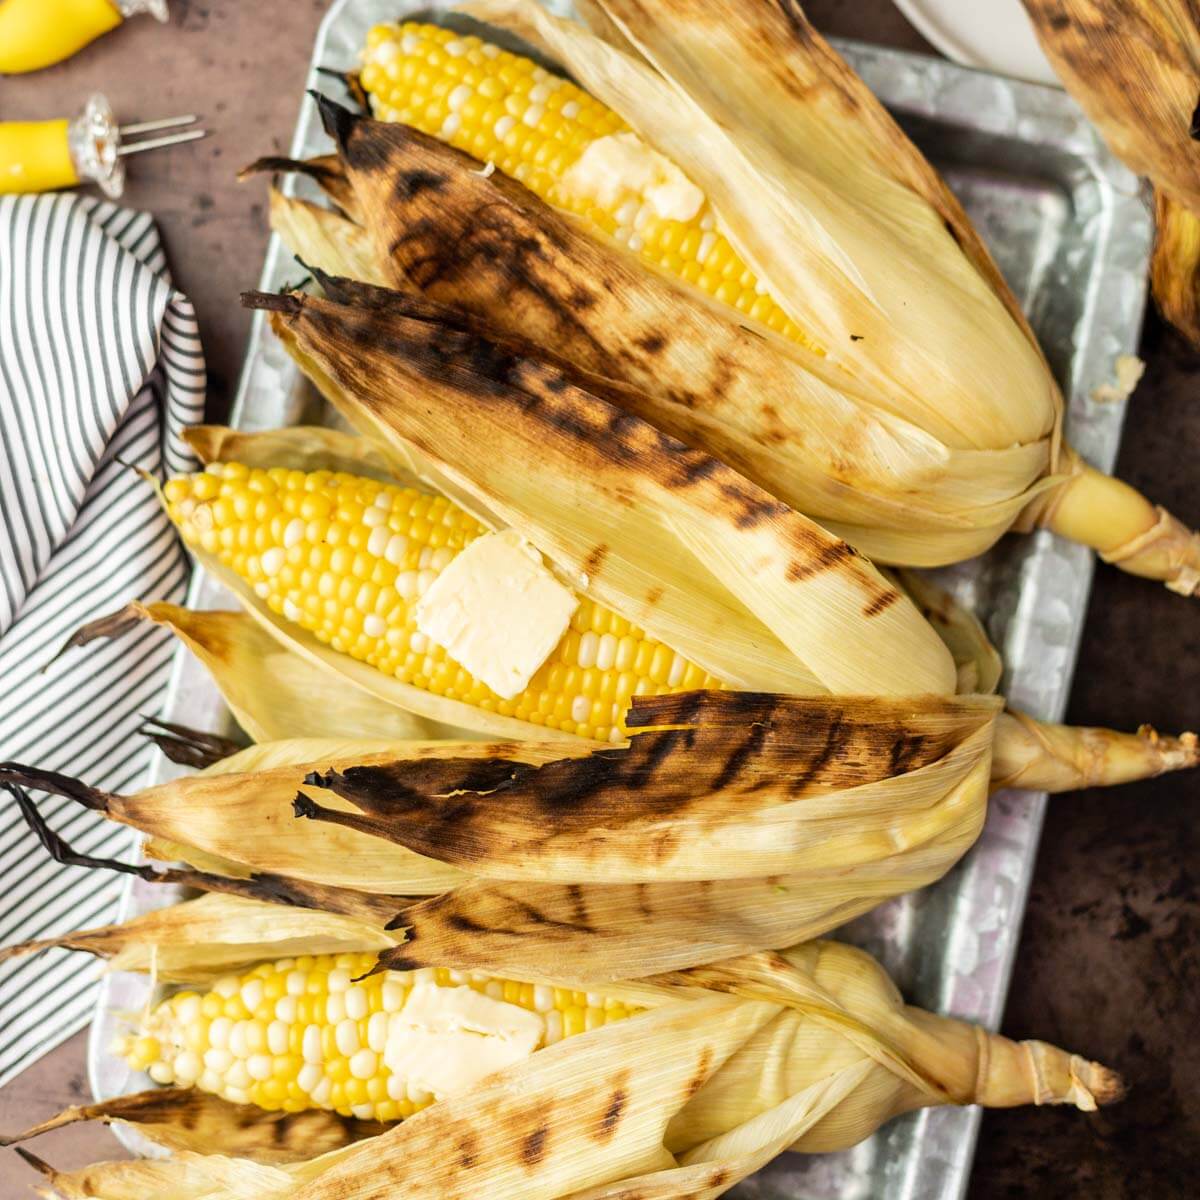
- Step 4 – Remove the corn. Take the corn off the hot grill grates. Let it cool until it’s cool enough to handle. Then pull the husks and silks on the corn.
- Step 5 – Serve the corn and enjoy. Serve topped this sweet corn recipe with the sea salt and butter. Enjoy!
Recipe Tips
- Shucking – Some recipes call for remove the silk before grilling. I find that it’s too difficult to remove without removing the husks. Once it’s cooked, the silk and husk remove easily and taste great too!
- Soak Freshest Corn – It is important that you soak the corn in cold water prior to grilling. This will prevent them from catching on fire. Soak the corn for 20 minutes to 30 minutes.
- Cooking Corn – Turn the corn during cooking to help them cook evenly.
Seasoning Ideas
- Butter, Salt and Black Pepper
- Parmesan Cheese
- Taco seasoning
- Cotija cheese
- Lime juice and garlic
- Chili Powder
- Fresh Herbs – Cilantro
How to Cut Corn off the Cob
This is actually simple to do with a few easy tips. I prefer to prop the ear of corn in the center of a bundt pan. As you cut the kernels, they fall right into the pan.
Plus, the pan helps to stabilize the corn as you cut the corn off the cob. It is the easiest trick to quickly do this.
Use the grilled corn kernels to make this Grilled Corn Salad or Mexican Street Corn Pasta Salad.
Frequently Asked Questions
You can freeze corn on the cob to enjoy later. Since the corn is already cooked, simply wrap in plastic wrap. Then place inside a freezer bag and freeze. I like to mark the bags with the date to help me remember when I froze them. Find lots of tips to learn how to freeze corn.
Refrigerate the leftovers in air tight container for up to 1 week. You can also remove the kennels from the cob and refrigerate the kennels or freeze them for a future meal.
It takes a bit longer than grilling corn without the husk. The corn will need to cook about 20 minutes or so. The corn also needs to be turned every now and then as it cooks.
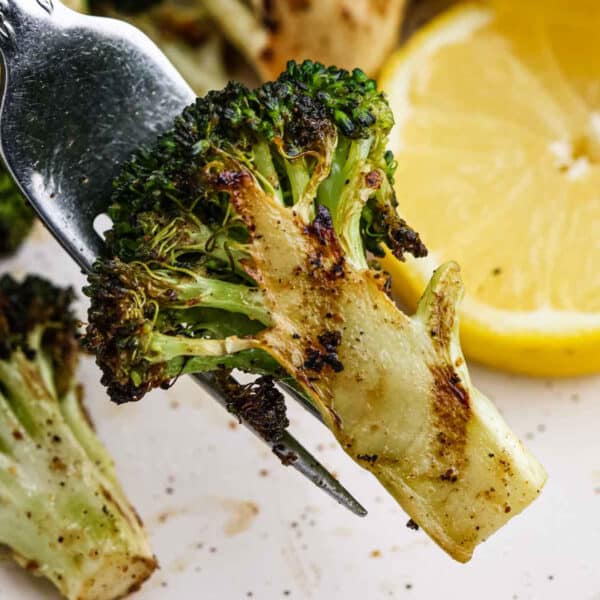
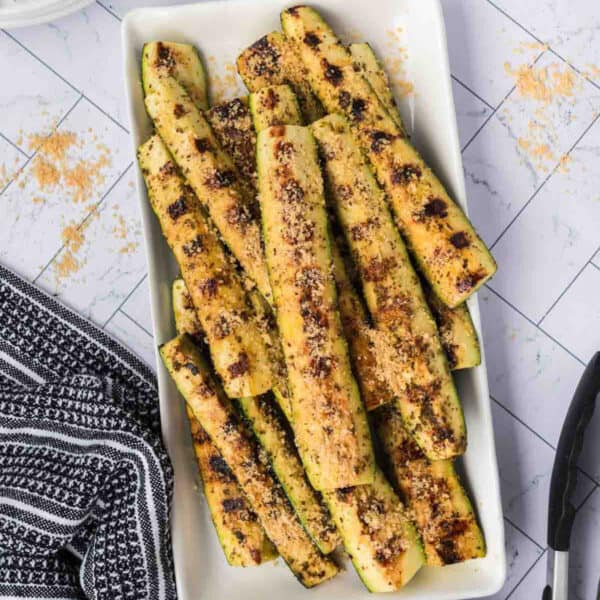
More Easy Grilled Side Dishes

We love to hear from you. If you make this corn on the cob grilled in husk recipe, please leave us a comment or a star review.

How to Grill Corn on the Cob in the Husks
Ingredients
- 6 Fresh Ears Corn
- 3 Tbsp Butter for serving
- 1 tsp Salt for serving
See how we calculate recipe costs.
Instructions
- Soak the ears of corn in cool water for a least 20 minutes to prevent the husks from burning on the grill. I soaked the corn in a sink full of water.
- Preheat the grill over medium high heat (approximately 400 degrees F).
- Then place the ears of corn directly on the grill grates. Cook the corn for 20-22 minutes turning occasionally until the corn is cooked through and the husks are charred. I checked the corn by pulling back part of the husk and made sure that the corn is a bright yellow color and cooked through.
- Remove the corn from the grill. Let it cool until it’s cool enough to handle. Then remove the husks and silks on the corn.
- Serve topped with the salt and butter. Enjoy!